Hello, friends! I'm sharing a quick post for my card featuring some of Honey Bee Stamps' new Hello Harvest release products. I'm part of an Instagram hop where you will get to see lots of awesome ideas for many of the new products! There's always a prize too! So be sure to check it out!

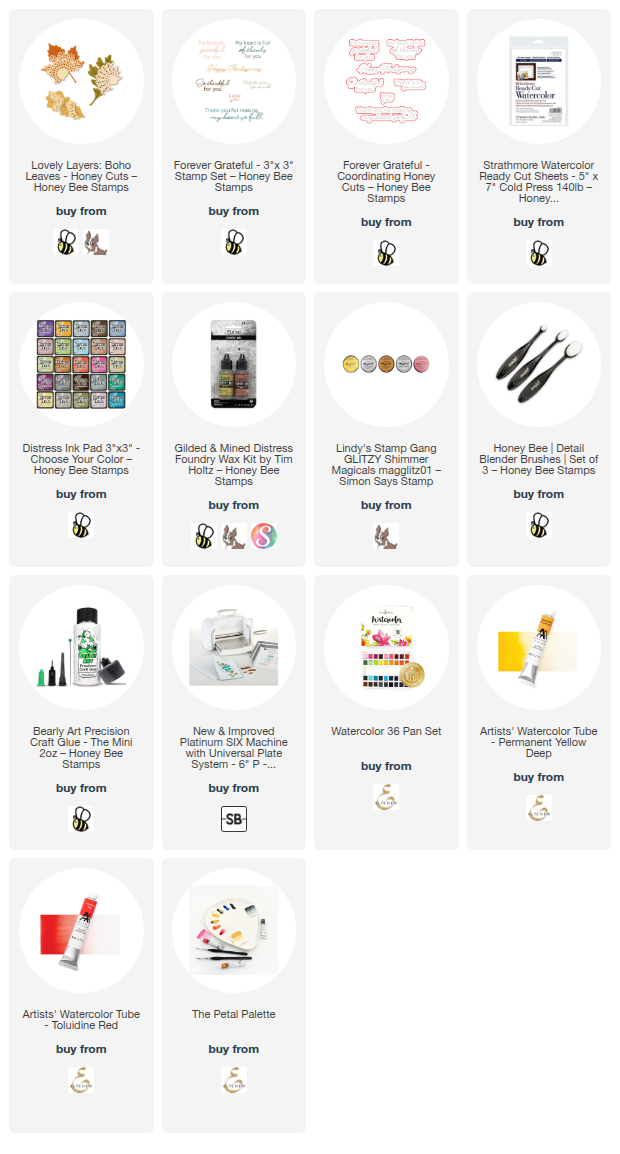
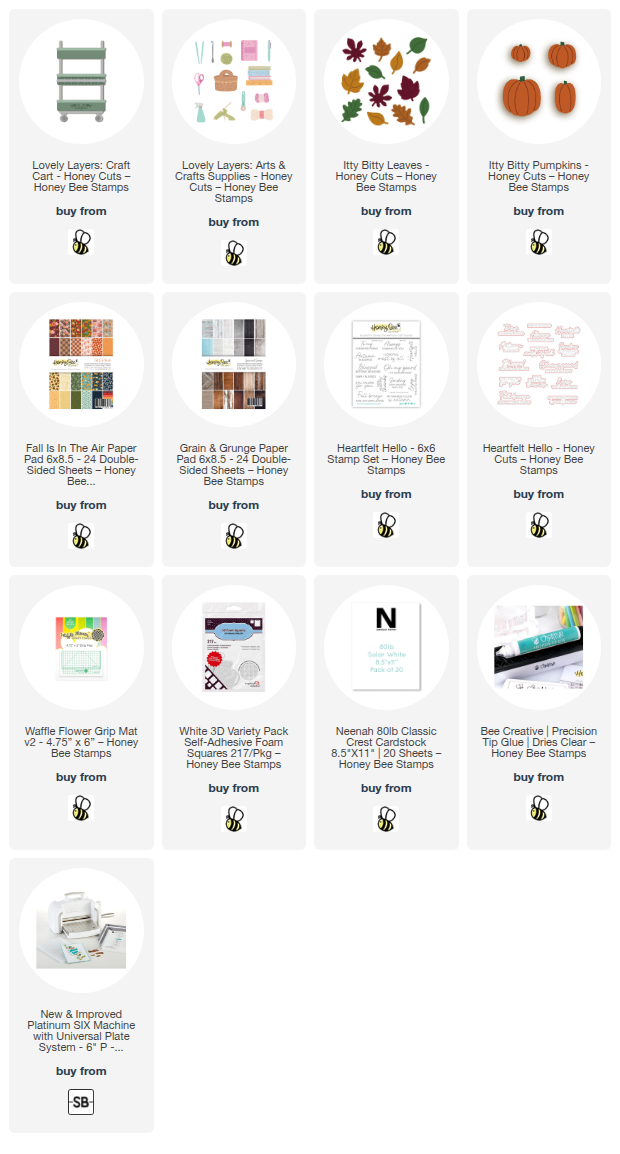
I've made a beautiful Thanksgiving card using the new Lovely Layers: Boho Leaves. First I made some lovely watery autumn colored panels. I used watercolor cardstock and painted on various green, golden yellow, and warm red watercolors from my stash. I have all of the available products in the list below.
I tore a strip of brown cardstock and then inked it up with Walnut Stain Distress ink. Do you still have one of those crimping tools? I do, and pulled it out and crimped the strip of cardstock. Then I used my finder to add Gilded Foundry Wax to the edge of the strip and used my heat tool to set it. Love how it turns to a beautiful shiny gold!

I added some patterned paper to the card base that is part of a "Free Bee" that is automatically added to any Honey Bee order over $100. The brown crimped stripped is popped up with foam tape.
Before I adhered the Boho Leaves with glue and foam tape, I inked the edges with Peel Paint Distress ink. Then I tied a bow with some twine I have in my stash and adhered it with a Glue Dot.
I used sentiments that are in the Forever Grateful stamp set. After I stamped them with clear embossing ink, I added gold embossing powder and set it with my heat tool. I cut them out with the coordinating dies and adhered them to the card with foam strips.

I love the grungy chic style of this card! I hope you will join me over on Instagram for the hop! I know you will love all of the inspiration for the Hello Harvest release! Thanks so much for stopping by!
Thank you for using my affiliate links to shop (never any additional cost to you)!