Friday, March 29, 2024

You Are Amazing -- Stenciling, Die Cuts, and Coloring!

 Hello crafty friends!  I've shared my reel over on Instagram for Picket Fence Studios where I've used their Garden Topper Cover Plate die.  Add in some fun stenciling with texture pastes and Copic coloring and I really enjoyed making this card!

You can watch some of my process to make this card on my Instagram reel!

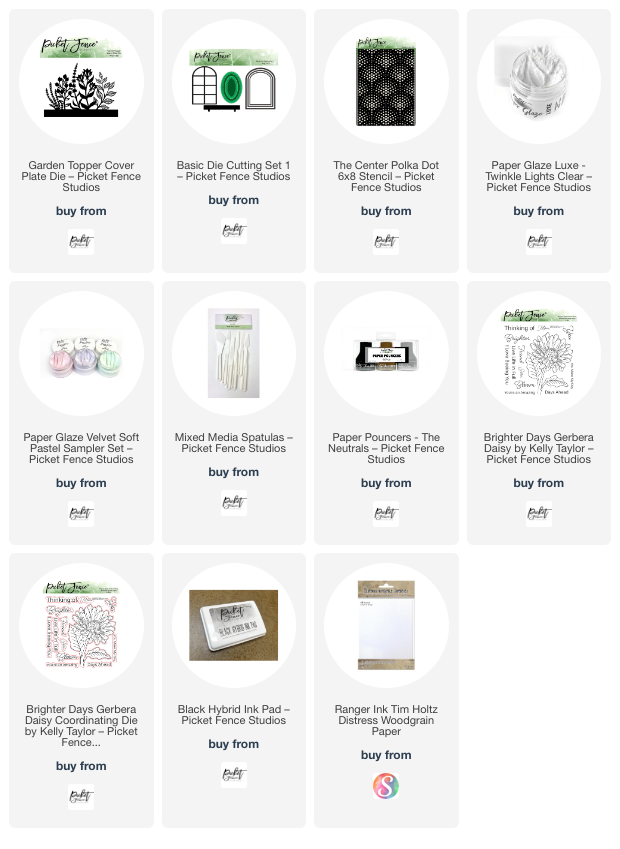
All of my supplies are linked below for your reference.  After I added two Paper Glazes through the Center Polka Dot stencil and it was dry, I cut it out with an arch shaped die from the Basic Die Cutting Die Set 1.  I also used this die to create my shaped card base.

I die cut the window box and frame (also in the Basic Die Cutting set) from woodgrain cardstock.  Then I used a Paper Pouncer to color it with Gathered Twigs Distress Ink.

I die cut the Garden Topper Cover Plate from 80# Neenah and then colored it with various Copic Markers.  Then I adhered it behind the window box and then I glued it to the window frame.  I used glue to adhere it to my card base and then trimmed of the bits that were hanging off the edges.

The sentiment is from the beautiful Brighter Days Gerbera Daisy stamp set and cut out with the coordinating die.

Thank you so much for stopping by!  I hope your Easter weekend is filled with many blessings!

Thank you for using my affiliate links to shop (never any additional cost to you)!

Wednesday, March 27, 2024

Sending You Sweet Birthday Wishes

It's release day for Honey Bee Stamps 9th birthday celebration!  Happy 9th birthday to Honey Bee!!  My card today features a few of the new products from the Celebrate release and are now available.  I've used the gorgeous Wonderful Wishes Honey Cuts and Wonderful Wishes stencil set along with the Soiree 3D embossing folder and Mini Messages: Birthday for my sweet birthday card.

I die cut 80# Neenah with the dies in the Wonderful Wishes set. Then I used the awesome new Beeluxe Blending Brushes (isn't that a cute name?) to color through the Wonderful Wishes stencils. These brushes come in three sizes and are small pencil shaped brushes. The small size is so good to use on the detailed areas of the stencils!

The Wonderful Wishes dies includes separate dies to cut out extra flowers to pop up. I used the flower stencils to make some extra flowers and cut them out. Then I added foam tape to the back of these and added them to the cake.

Those of you that look closely at details may be saying to yourself that you only see five flowers popped up. Well, you are correct!! It seems that I forgot to stick the last one on before I took my photos! Haha!

I finished coloring with the other stencils for the candles and cake stand.  Distress Oxide inks were used in these colors: Saltwater Taffy, Ripe Persimmon, Mustard Seed, Mowed Lawn, Rustic Wilderness and Lost Shadow. I glued the candles and stand to the cake and then added foam dots to the back.  Notice I added nine candles since it's Honey Bee's 9th!

I embossed a 5" x 7" piece of 80# white cardstock with the gorgeous new Soiree 3D embossing folder and used glue to adhere it to a 5" x 7" card base.

I think you will want the Mini Message Banners to use with the new Mini Messages: Birthday stamp set!  There are LOTS of sentiments in this set, so be sure to check it out!!  

To finish I added some pretty coordinating pearls from the Celebration Pearl Stickers set. For a bit more sparkle I added Star Dust Stickles to the candle flames.

I love this new set and how there are so many occasions it could be used for! I hope you'll come back to Honey Bee's shop this evening to order your favorites from the Celebrate release! Thank you so much for stopping by!

Thank you for shopping with my affiliate links (never any additional cost to you)!

Sunday, March 24, 2024

Thinking Of You -- Masking, Ink Blending, & Heat Embossing

Hello crafty friends!  Today I'm sharing my card that features Brass & Bliss Craft Co.'s new Silhouette Wildflowers set.  This card was quick and easy and all you need are inks and just that stamp set!

I really enjoyed this masking process!  I have all of the step-by-step details and photos over on the Brass & Bliss blog.

I die cut a circle from masking tape and positioned it along with two more strips of masking tape on my card front layer.  Then I used ink blending brushes to add the blue and green inks.

I removed the moon mask and carefully added dabs of gray ink for definition in the moon.  Before I removed the other masking tape strips, I added splatters of metallic white watercolor.

After I made sure the ink was completely dry, I treated the piece with my anti-static tool and then stamped the Silhouette Wildflowers image and sentiment from the set with black pigment ink.  Then I sprinkled on black embossing powder and heat set it.

I created a coordinating layer for the main layer by swiping Azure ink along the edges of white cardstock.

And that's it!  I love how this card turned out.  The sentiment is perfect to use for a card to send as a sympathy card or to someone going through a hard time.

Be sure to check out the seven other sentiments in beautiful fonts included in the Silhouette Wildflowers set.  Several occasions are covered for versatility in our card making!  Thanks so very much for stopping by today!

Thank you for shopping with my affiliate links (never any additional cost to you)!

Friday, March 22, 2024

Just Wanted To Say... -- Spellbinders Stitching Die Of The Month

Happy Friday friends!  Today I'm sharing my fun card featuring Spellbinders March Stitching Die of the Month called Stitched Read & Sip!  If you've ever thought about trying a stitching die, this is a good one to try.  It has minimal stitching and would also be beautiful without any stitching!

All of Spellbinders monthly clubs, including the Stitching Dies of the Month have a window of time to enroll and receive that month's featured product.  This month's "window" is March 6-27.  The only time it might not be available is if the item has sold out for the month.  Also, you can cancel at any time.  Check out all of the specific details here.

I die cut the Stitched Read & Sip from purple, green, yellow, and neutral cardstocks.  All available cardstocks are linked in the list below.  I added a bit of shading to the cup and flowers with coordinating ink.

Then I used purple and green DMC embroidery floss for the quick stitching.  The thread on the book is one that I had in my stash that I saved years ago when I used to do counted cross-stitch a lot.

To adhere the stitched layers to the base layer, I just put glue on the back of the stitching and aligned it with the base piece.  It gives instant dimension!

I embossed a white cardstock panel with the Checkered Scallops embossing folder.  This is the March Embossing Folder of the Month.  I embossed all but about ¾" of the bottom edge of the panel.  Then I glued it to an A2 card base.

I adhered the Stitched Read & Sip elements to the card.  I added a sentiment from the Just Wanted to Say Glimmer set that I foiled with Fuchsia Flower Glimmer Foil.  For easy foiling I used Spellbinders Glimmer Specialty cardstock.

I hope I've inspired you today to try these fabulous stitching dies.  It's really fun and makes a very special and unique card to give.  Thank you for stopping by!

Thank you for shopping with my affiliate links (never any additional cost to you)!

Wednesday, March 20, 2024

Die Cut Spring Flowers Card

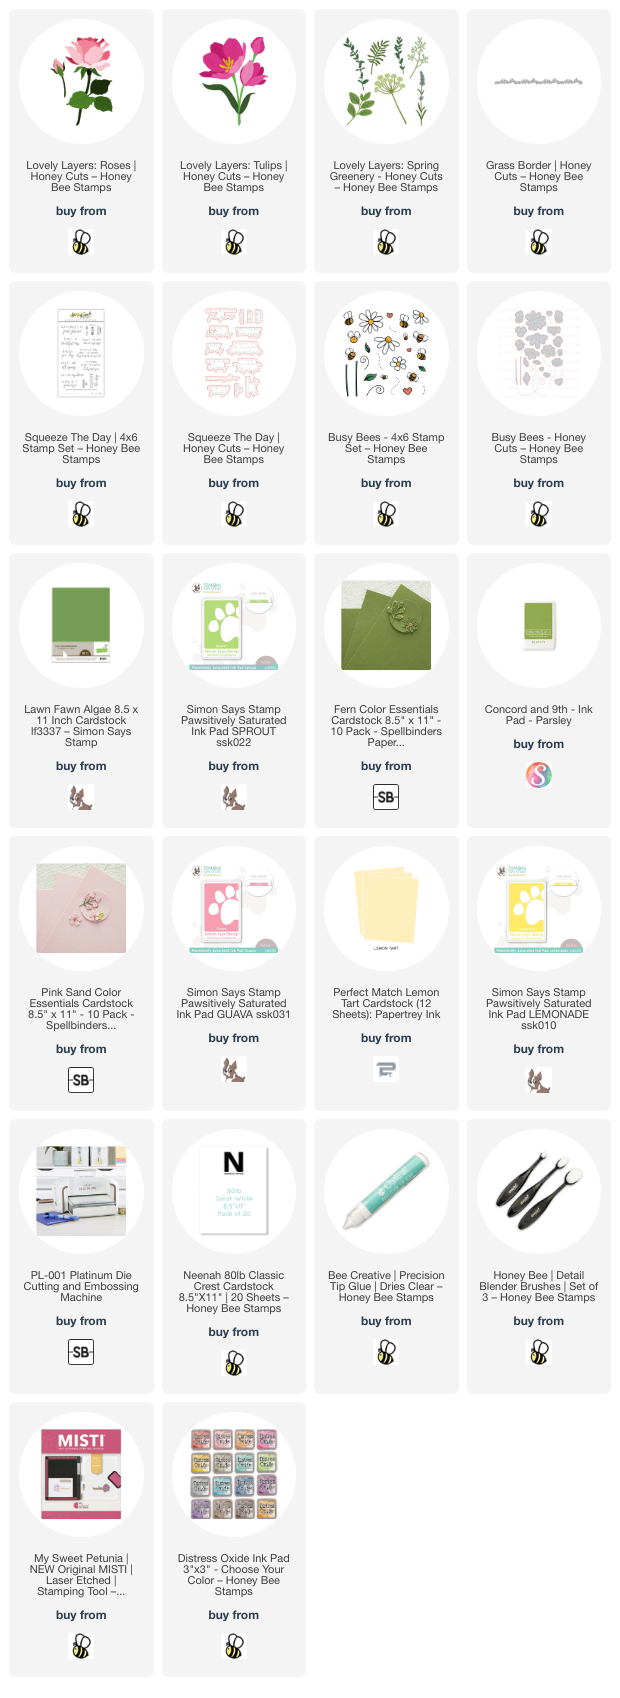
Happy spring crafty friends! I love springtime and we have beautiful tulips in bloom and bright green leaves showing now!  I was inspired to use some of my favorite floral Honey Bee Stamps Lovely Layers sets and make a springtime card! My card features three Lovely Layers sets:  Lovely Layers: TulipsLovely Layers: Roses, and Lovely Layers: Spring Greenery.

My tip for today is to die cut your flowers and greenery from colored cardstock, then use a few inks to add a bit of shading. This saves so much time! I used yellow, pink, and three shades of green cardstock to cut out the layers of the RosesTulipsSpring Greenery, and Grass Border. (Note: I only used the closed tulip and tulip bud and one die from the Spring Greenery for this card.)

Then I used blending brushes to blend on coordinating pink, yellow, and green inks to the layers. This detail adds so much depth and dimension! Then I used glue to adhere the layers together. Don't forget that the Lovely Layers sets have downloadable Layering Guides to help you layer the flowers.

Before I adhered the flowers to my card base, I added Tumbled Glass Distress Oxide ink to the card with a blending brush. I added the ink from the center out, but not all the way to the edges. Then I added water drops and used a paper towel to dry it.

I played around with various arrangements of the flowers and greenery. When I was happy, I used a piece of Press N Seal to pick up the arrangement and flip it over. I added glue to the back of the elements, then picked up the arrangement and adhered it to the card. I added a foam dot to the back of the tulip and rose buds. Then I used scissors to trim off the Spring Greenery that was hanging over the edges. I used foam dots to adhere the Grass Border at the bottom of the card.

Next I diluted a few drops of Bee Shimmery liquid shimmer watercolor with water. I used a paint brush to add splatters to the flowers and background.

The sentiment from the Squeeze The Day stamp set is stamped in black pigment ink and cut out with the coordinating die.

I just had to add some adorable little bees from one of my very early Honey Bee sets I bought:  Busy Bees stamp set. These were previously colored and cut out with coordinating dies. (I saved a bunch of these finished bees to have on hand to use when needed.)

I sure hope you are seeing signs of spring where you are! If not, I hope my card reminds you that it's not far away! I always appreciate your visit to see my cards! Thank you, and have a wonderful, crafty day!

Thank you so much for using my affiliate links to shop (never any additional cost to you)!

Monday, March 18, 2024

You're An Amazing Friend!

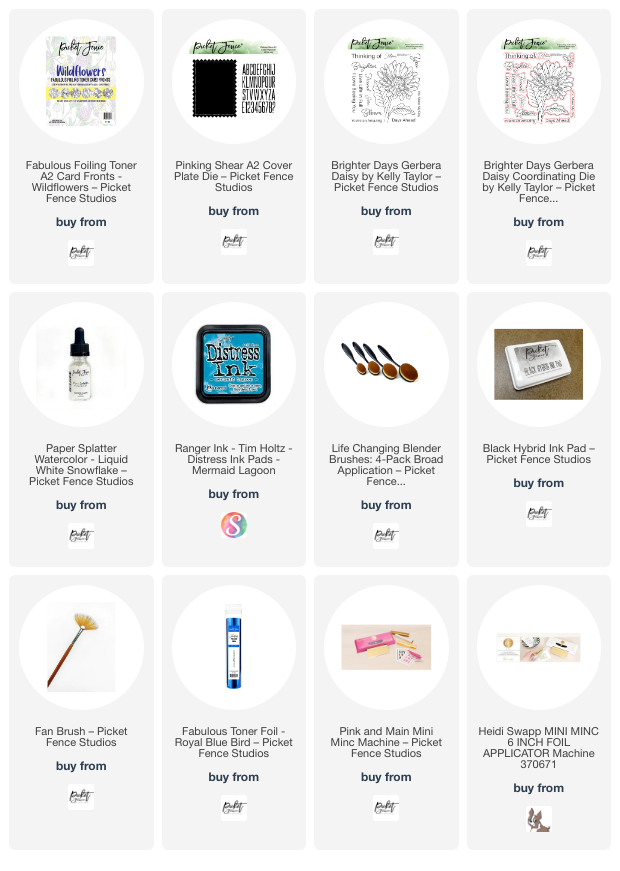
 Happy Monday!  Today I have a bright, cheerful card with Picket Fence's Wildflower Toner Card Fronts.  It's subtle, but the blue foil I used has a beautiful effect, especially in real life!

I selected one of the six designs included in the Wildflowers Fabulous Foiling Toner Card Fronts package.  I decided to color an ombré blue background so the daisies would really stand out.  These are the Copic markers I used:

  • background:  B18, B16, B06, B05, B04, B02
  • leaves & stems:  YG17, YG25, YG03
  • flower centers:  YR23, Y08, Y06
  • flower petals:  C5, C3, C1, C00

I will admit that I had some streaks from the lightest blue marker, and just couldn't get a smooth look.  So I had an idea to ink blend Mermaid Lagoon Distress ink over the top portion!  I just used bits of temporary tape to cover up the flowers as needed.  While this didn't totally cover the streaks, I think this step makes it totally acceptable.

I added a strip of blue toner foil to cover the daisies and put it through my Mini Minc foiling machine (aka laminator--haha!)

Next I added splatters of white snowflake Paper Splatter Watercolor.  I put a few drops onto my craft mat and diluted it with a couple drops of water.  I just started using this fan brush to add splatters and I really like it!

Then I die cut the panel with the Pinking Shear A2 Cover Plate Die and adhered it to an A2 card base with glue.

I used a sentiment from the Brighter Days Gerbera Daisy stamp set.  After I stamped it with Black Hybrid Ink I cut the sentiment out with the coordinating dies.

I added some strips of foam tape to pop them up on the card for dimension.

If you haven't seen my reel for making this card, join me over on Instagram for a look.  Thanks so much for stopping by today.  I hope you have a crafty and wonderful week!

Thank you so much for shopping with my affiliate links (never any additional cost to you)!

Sunday, March 17, 2024

Just Buzzing By To Say Hi Light-Up Card

 Hello friends!  Today I'm sharing this fun light-up card I made as part of a collaboration with Picket Fence Studios and Pear Blossom Press.  We are having an Instagram hop and each company will give away a $25 gift card to a randomly chosen commenter!

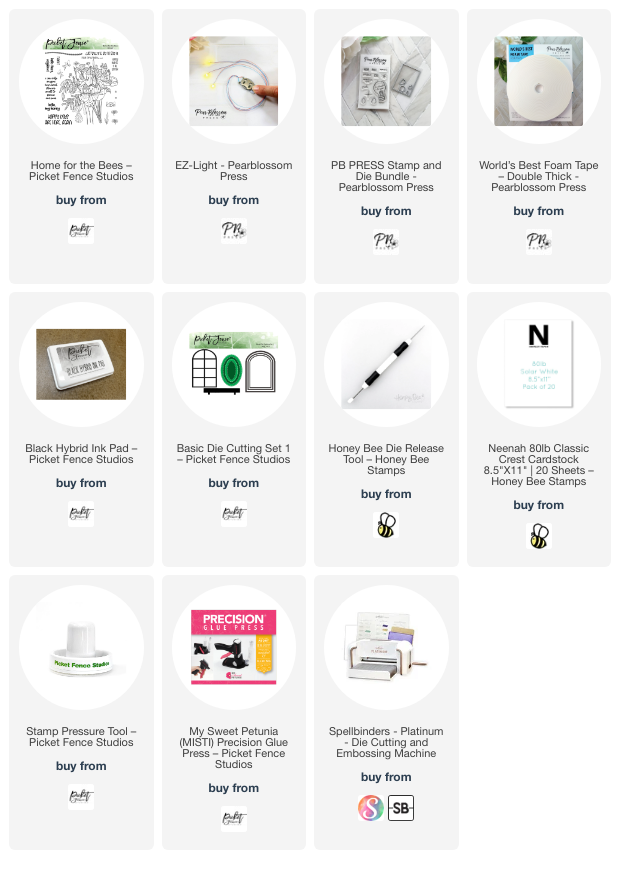
I made this card with Picket Fence Studios' adorable Home For The Bees stamp set and one of Pear Blossom Press's EZ-Light.

I stamped the Home For The Bees image onto white cardstock with Picket Fence's Black Hybrid Ink.  Then I used an assortment of Copic markers to color it.  I colored the flowers with these markers:  RV69, RV66, RV17, RV55, R83, R81.  The leaves were colored with a ridiculous number of YG and G markers--LOL.  For the bee house roofs, I used a yellow colored pencil and a black Micron pen.  These was much easier than trying to use my markers!  I also used a green pencil on some of the thinner stems.

I wanted to make a shaped card with the arched dies from the Basic Die Cutting Die Set 1.  But let me tell you, after I spent the time coloring the image, I was pretty nervous to cut into it like this!!  What if I messed it up?!!

Thank goodness it worked out just fine!  After I used the largest arched die to cut a folded card base I glued on the outer piece of the die cut image and began to plan the placement of the EZ-Light.

I stamped the tiny "press here" stamp in a light gray ink in the lower right corner, as you can see in the photo above.  This is in Pear Blossom's Stamp and Die Bundle.  Then I used my die pick tool to poke a hole in three of the windows.  I placed the piece over the card and made a pencil mark through the holes to indicate where I will need to tape down the lights.

After I inserted the battery into the battery pack and tested it, I added a piece of red line double sided tape to the back of it to adhere the pack to the card.  Then I taped the lights where the pencil marks are.  I added pieces of Pear Blossom's Worlds Best Foam Tape.  It REALLY is the BEST as the tape is temporary for about 30 minutes which allows you to get perfect placement of anything you put onto it!

I removed the backing from the tape and placed the die cut image onto the card.  Take a look at how pretty it looks all lit up!

I have a short video included in my Instagram post showing the lights in action, if you'd like to check it out.

I stamped one of the sentiments from the Home For The Bees stamp set and trimmed it into a strip.  I added thin foam squares to the back to adhere it to the card.

Have I inspired you to try making your own light up card?  These are so fun and will be a surprise to your recipient too.  I hope you will join my over on Instagram for the hop.  You will see so many awesome light up cards!

Thank you so much for using my affiliate links to shop (never any additional cost to you)!
Wednesday, March 13, 2024

Loving Memories -- Spring Flowers, Stenciling, and Die Cut Layers

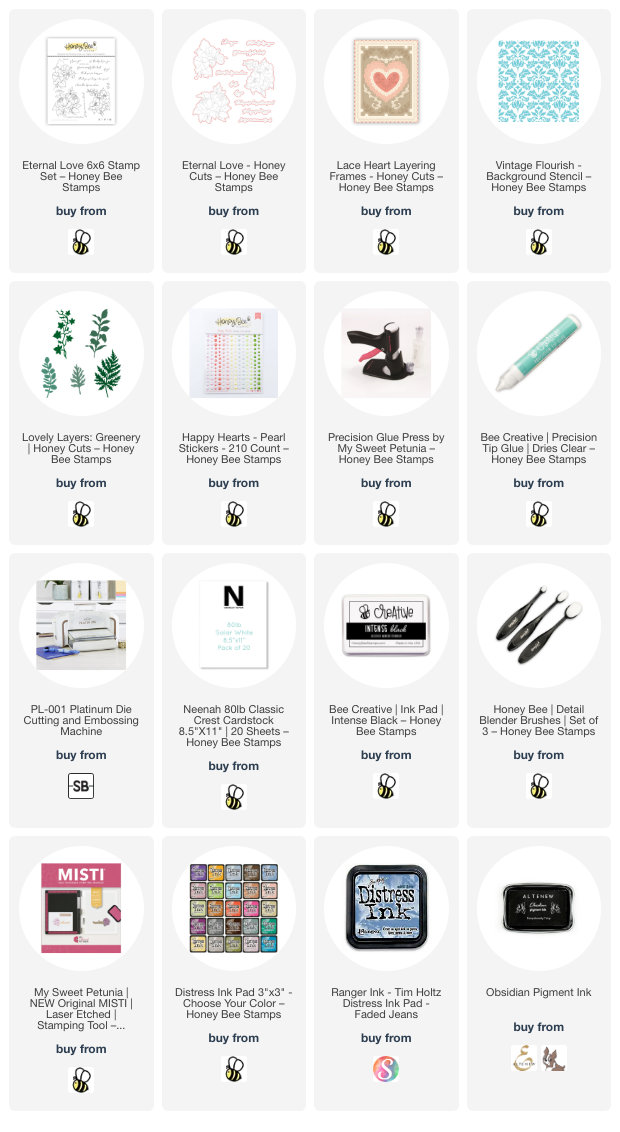
Hello crafty friends! Today I am sharing my card that features the beautiful Eternal Love stamps and Honey Cuts. While this card is a sympathy card, I think that it would work as many other types of cards with a quick change of the sentiment.

First I stamped the morning glory image from the Eternal Love stamp set in a black Copic marker safe ink. I love blue morning glories so that's why I chose this color! The Copic marker colors I used are:

  • Blue morning glories: B37, B34, B23, B21, B000, B000, YG01, YG03
  • leaves: G28, YG67, YG17, YG25, YG25, YG03

Next I cut them out with the coordinating die. I added foam dots to the back and set them aside to work on the other card elements.

I die cut the following from 80# Neenah white cardstock with the following sets: two frames from Lace Heart Layering Frames, two pieces of ivy from Lovely Layers: Greenery.

I adhered the largest Lace Heart Layering Frame to an A2 card base with glue. Then I used the Vintage Flourish stencil and an ink blending brush to add Faded Jeans Distress Ink to two corners of the other die cut frame. I faded off the ink to leave the center of the frame white.

After I adhered the stenciled frame to the card with foam tape I trimmed the two pieces of Lovely Layers: Greenery ivy to fit the design of my card and tucked one under each of the colored images.

Next I stamped the sentiment found in the Eternal Love stamp set with black pigment ink and cut it out with the coordinating die.

For a touch of subtle bling, I added some pretty coordinating pearls from the Happy Hearts Pearl Stickers.

It was quite enjoyable to spend a bit of time with my neglected markers to color these beautiful images. I find coloring very relaxing--do you? I hope you've enjoyed my card today and that you have a wonderful day!

Thank you so much for shopping with my affiliate links (never any additional cost to you)!

Monday, March 11, 2024

Spellbinders Through The Arbor Garden Carnation Birthday Card

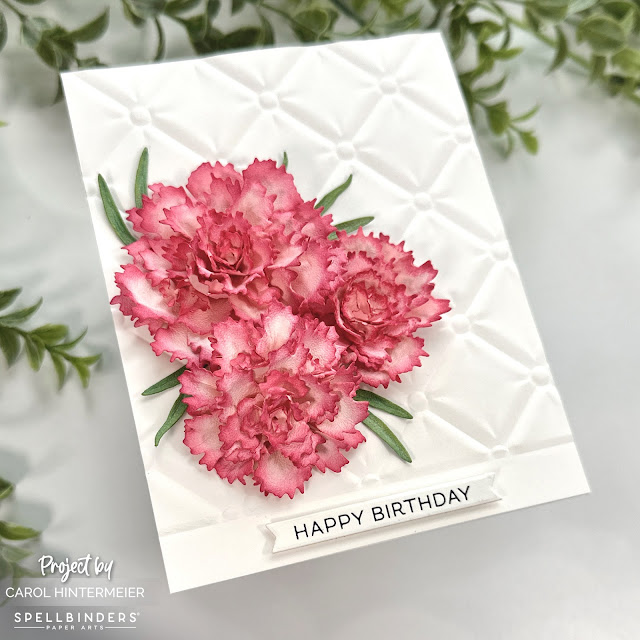
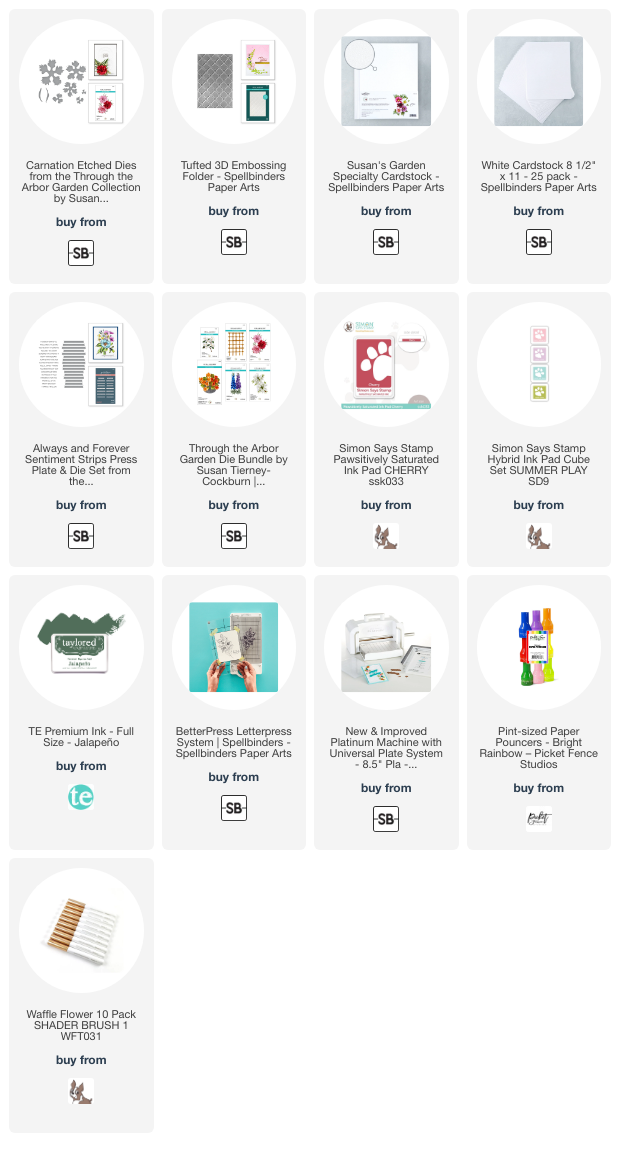
Today I'm sharing my card I made with the absolutely gorgeous Carnation die set from the Through The Arbor Garden collection by Spellbinders.

A little bit about me is that some of my very first dies were flower petal dies to make shaped flowers.  To this day I find it so fun and satisfying to take plain white cardstock and create beautiful flowers!

I used, for the first time, this specialty cardstock called "Susan's Garden Specialty Cardstock".  I don't even remember when I ordered it, but I surely should have used it a lot sooner! Haha!  I die cut all of the Carnation dies from this cardstock.  These dies have a number etched into them to indicate how many times they should be die cut, which is so helpful.

I used paper pouncers and a small ink blending brush to color the flowers with Cherry and Twirling Tutu inks and the leaves with green ink.  The inks are in the list below for your reference.

For the shaping and construction of the Carnations, I followed the directions on Spellbinders' YouTube.  With the shaping tools and these directions, it's easy to get beautifully shaped carnations!

I embossed the background layer with the Tufted 3D embossing folder, leaving the bottom edge hanging out.  The sentiment is one that I had on hand.  The Always and Forever Sentiment Strips letterpress plate creates 16 sentiments at once!  There's also a die included that cuts them out all together.


If you think you could never create beautiful paper flowers, I would disagree!  I really hope I've inspired you to give this a try.

Thank you so much for stopping by.  Have a wonderful week!

Thank you so much for using my affiliate links to shop (never any additional cost to you)!
Sunday, March 10, 2024

Wishing You A Beautiful Day

Hello friends!  Today I'm over on the Brass & Bliss Craft Co. blog (formerly Rubbernecker Stamps) with my card featuring their Gentian Blooms dies with the Tree Branch stencil.  The Brass & Bliss Craft Co. website went live last week and it's a new improved and lovely site--be sure to check out the products, including the latest release!

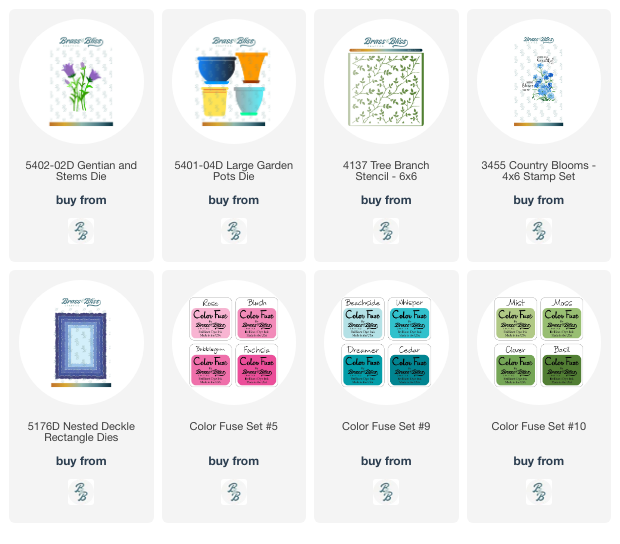
All of my card details are on the Brass & Bliss Craft Co. blog.  Please click HERE to check it out!  After I die cut and colored the Gentian flowers I added them to one of the four flower pots from the Large Garden Pot die set.  I used small ink blending brushes and Color Fuse ink sets #5, 9, and 10.  I die cut it with a Deckle Rectangle die before adhering it to my A2 card base.

The stenciled background is the Tree Branch stencil colored with the Color Fuse ink set #10.

I chose a sentiment from the Country Blooms set and hand trimmed it.  The flower pot is adhered with glue to a deckle cut rectangle piece of vellum.  I added foam tape to the back of the vellum to pop it up.

I have many more details and photos over on the Brass & Bliss blog, and I hope you will join me there!  Thanks so much for stopping by!

Thank you so much for shopping with my affiliate links (never any additional cost to you)!

Saturday, March 9, 2024

Oh Happy Day!!!

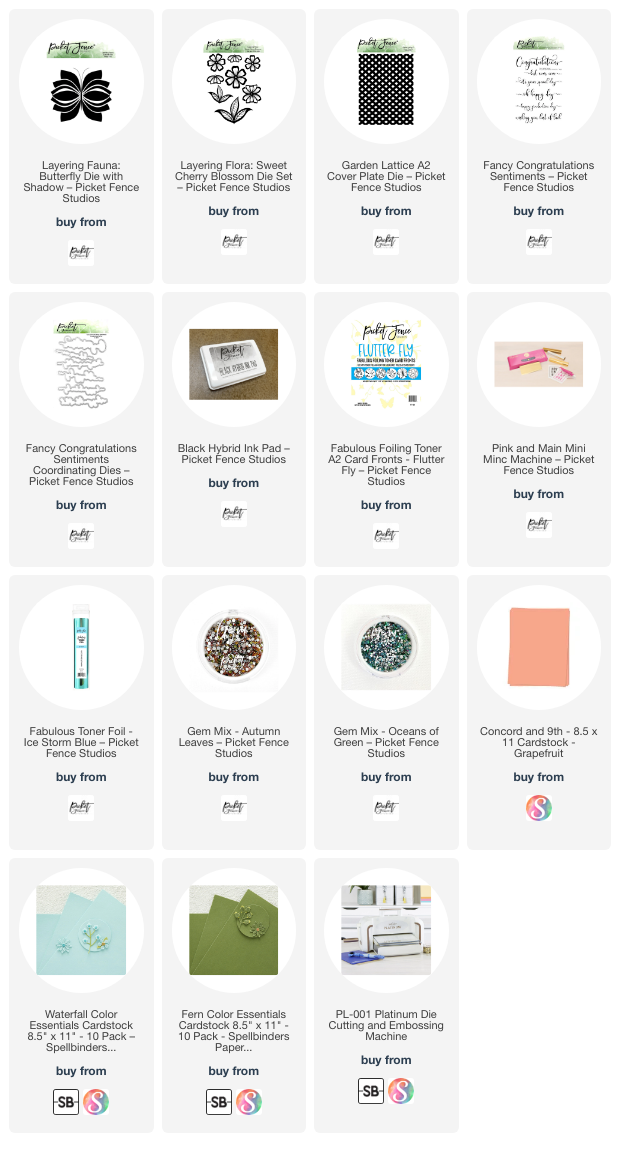
 Happy Saturday!  Today I have a reel over on my Instagram to show some of my process to make this card!  I featured Picket Fence Studios beautiful Layering Fauna: Butterfly Die and the Layering Flora: Sweet Cherry Blossoms dies from the latest release.

I used my Minc Mini machine to add aqua toner foil to a Flutter Fly toner card front.  Then I die cut the foiled card front with the Layering Fauna: Butterfly Die.  I adhered the pieces to white cardstock I cut with the outer Butterfly die.

I die cut white cardstock with the Garden Lattice A2 cover plate die and adhered it to my A2 card base.  After I die cut the Layering Flora: Sweet Cherry Blossom dies from colored cardstock and adhere them to the card.  The butterfly is popped up with foam tape.

I stamped the sentiment from the Fancy Congratulations Sentiments in black ink.  After I cut it out with the coordinating die, I adhered it with a few small pieces of foam tape.

Thank you so much for stopping by today!  I hope your day is filled with crafting fun!

Thanks so much for shopping with my affiliate links (never any additional cost to you)!