Wednesday, December 21, 2022

Sparkling Winter White Poinsettias Card

Hello crafty friends! Today I'm sharing my monochromatic winter card that features the Lovely Layers: Poinsettia Honey Cuts with lots of gorgeous sparkles! I love adding sparkles to cards anytime I can get away with it! Haha!

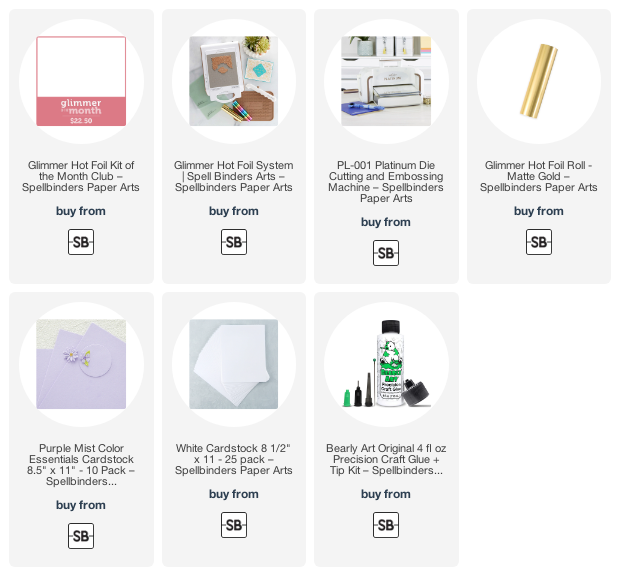
For the card base, I used a Detail Blender brush to add Stormy Sky Distress Oxide just around the edges of the folded card base. Then I used one of the papers that comes in the current "FreeBee" paper pack (free with a qualifying purchase). I used Bee Creative glue to adhere it to the card base.

Next I die cut the Lovely Layers: Poinsettia and Lovely Layers: Winter Greenery (pine sprigs, branch, and berries) from 80# Neenah. To add the sparkle to the poinsettia, I used an embossing dabber and swiped it along the edges of the petals. Then I added some embossing powder that I've had in my stash forever (and I just learned it is now discontinued) but I think that this sparkly gold embossing powder would be beautiful too.  I also linked a few at the end of my supply list below that would be very pretty!  I heat set the powder and repeated the steps for each layer of the poinsettia. I used glue to adhere the layers together.

Before I embossed the leaves and berries, I colored them with some Stormy Sky Distress Oxide using a Detail Blender brush. I repeated the embossing steps. My reverse tweezer made this easy and also protected my fingers from the heat!

I quickly colored the twigs with a blender brush and some Brushed Corduroy Distress Oxide.

I arranged the poinsettia and other die cuts on my card. I used a piece of Press N Seal to pick up all of the stems and branches to add glue to the back. Then just replace the Press N Seal to adhere the die cuts to the card. I added glue to the poinsettia to adhere it. Then I tucked in the leaves with some glue. To add more dimension, I used my fingers to slightly shape the twigs, sprigs, and leaves.

Next I colored a scrap of white cardstock with Stormy Sky Oxide. Then I brushed it with my anti-static tool and stamped the sentiment from the Home For The Holidays stamp set with clear embossing ink. I added white sparkle embossing powder and heat set it. Then I used the coordinating Honey Cut to die cut it out. I popped it up with a few foam squares.

I added a few gem stickers from the Winter Wonder gem sticker set to the center of the poinsettia.

I so wish cameras would pick up the gorgeous sparkle! It's so pretty in real life. If you celebrate Christmas, I wish you the happiest of holidays! If not, have a wonderful day, and I'll see you next week after Christmas! Thank you so much for stopping by--you are so appreciated! 
Thursday, December 15, 2022

Simon Says Stamp Hugs Release!

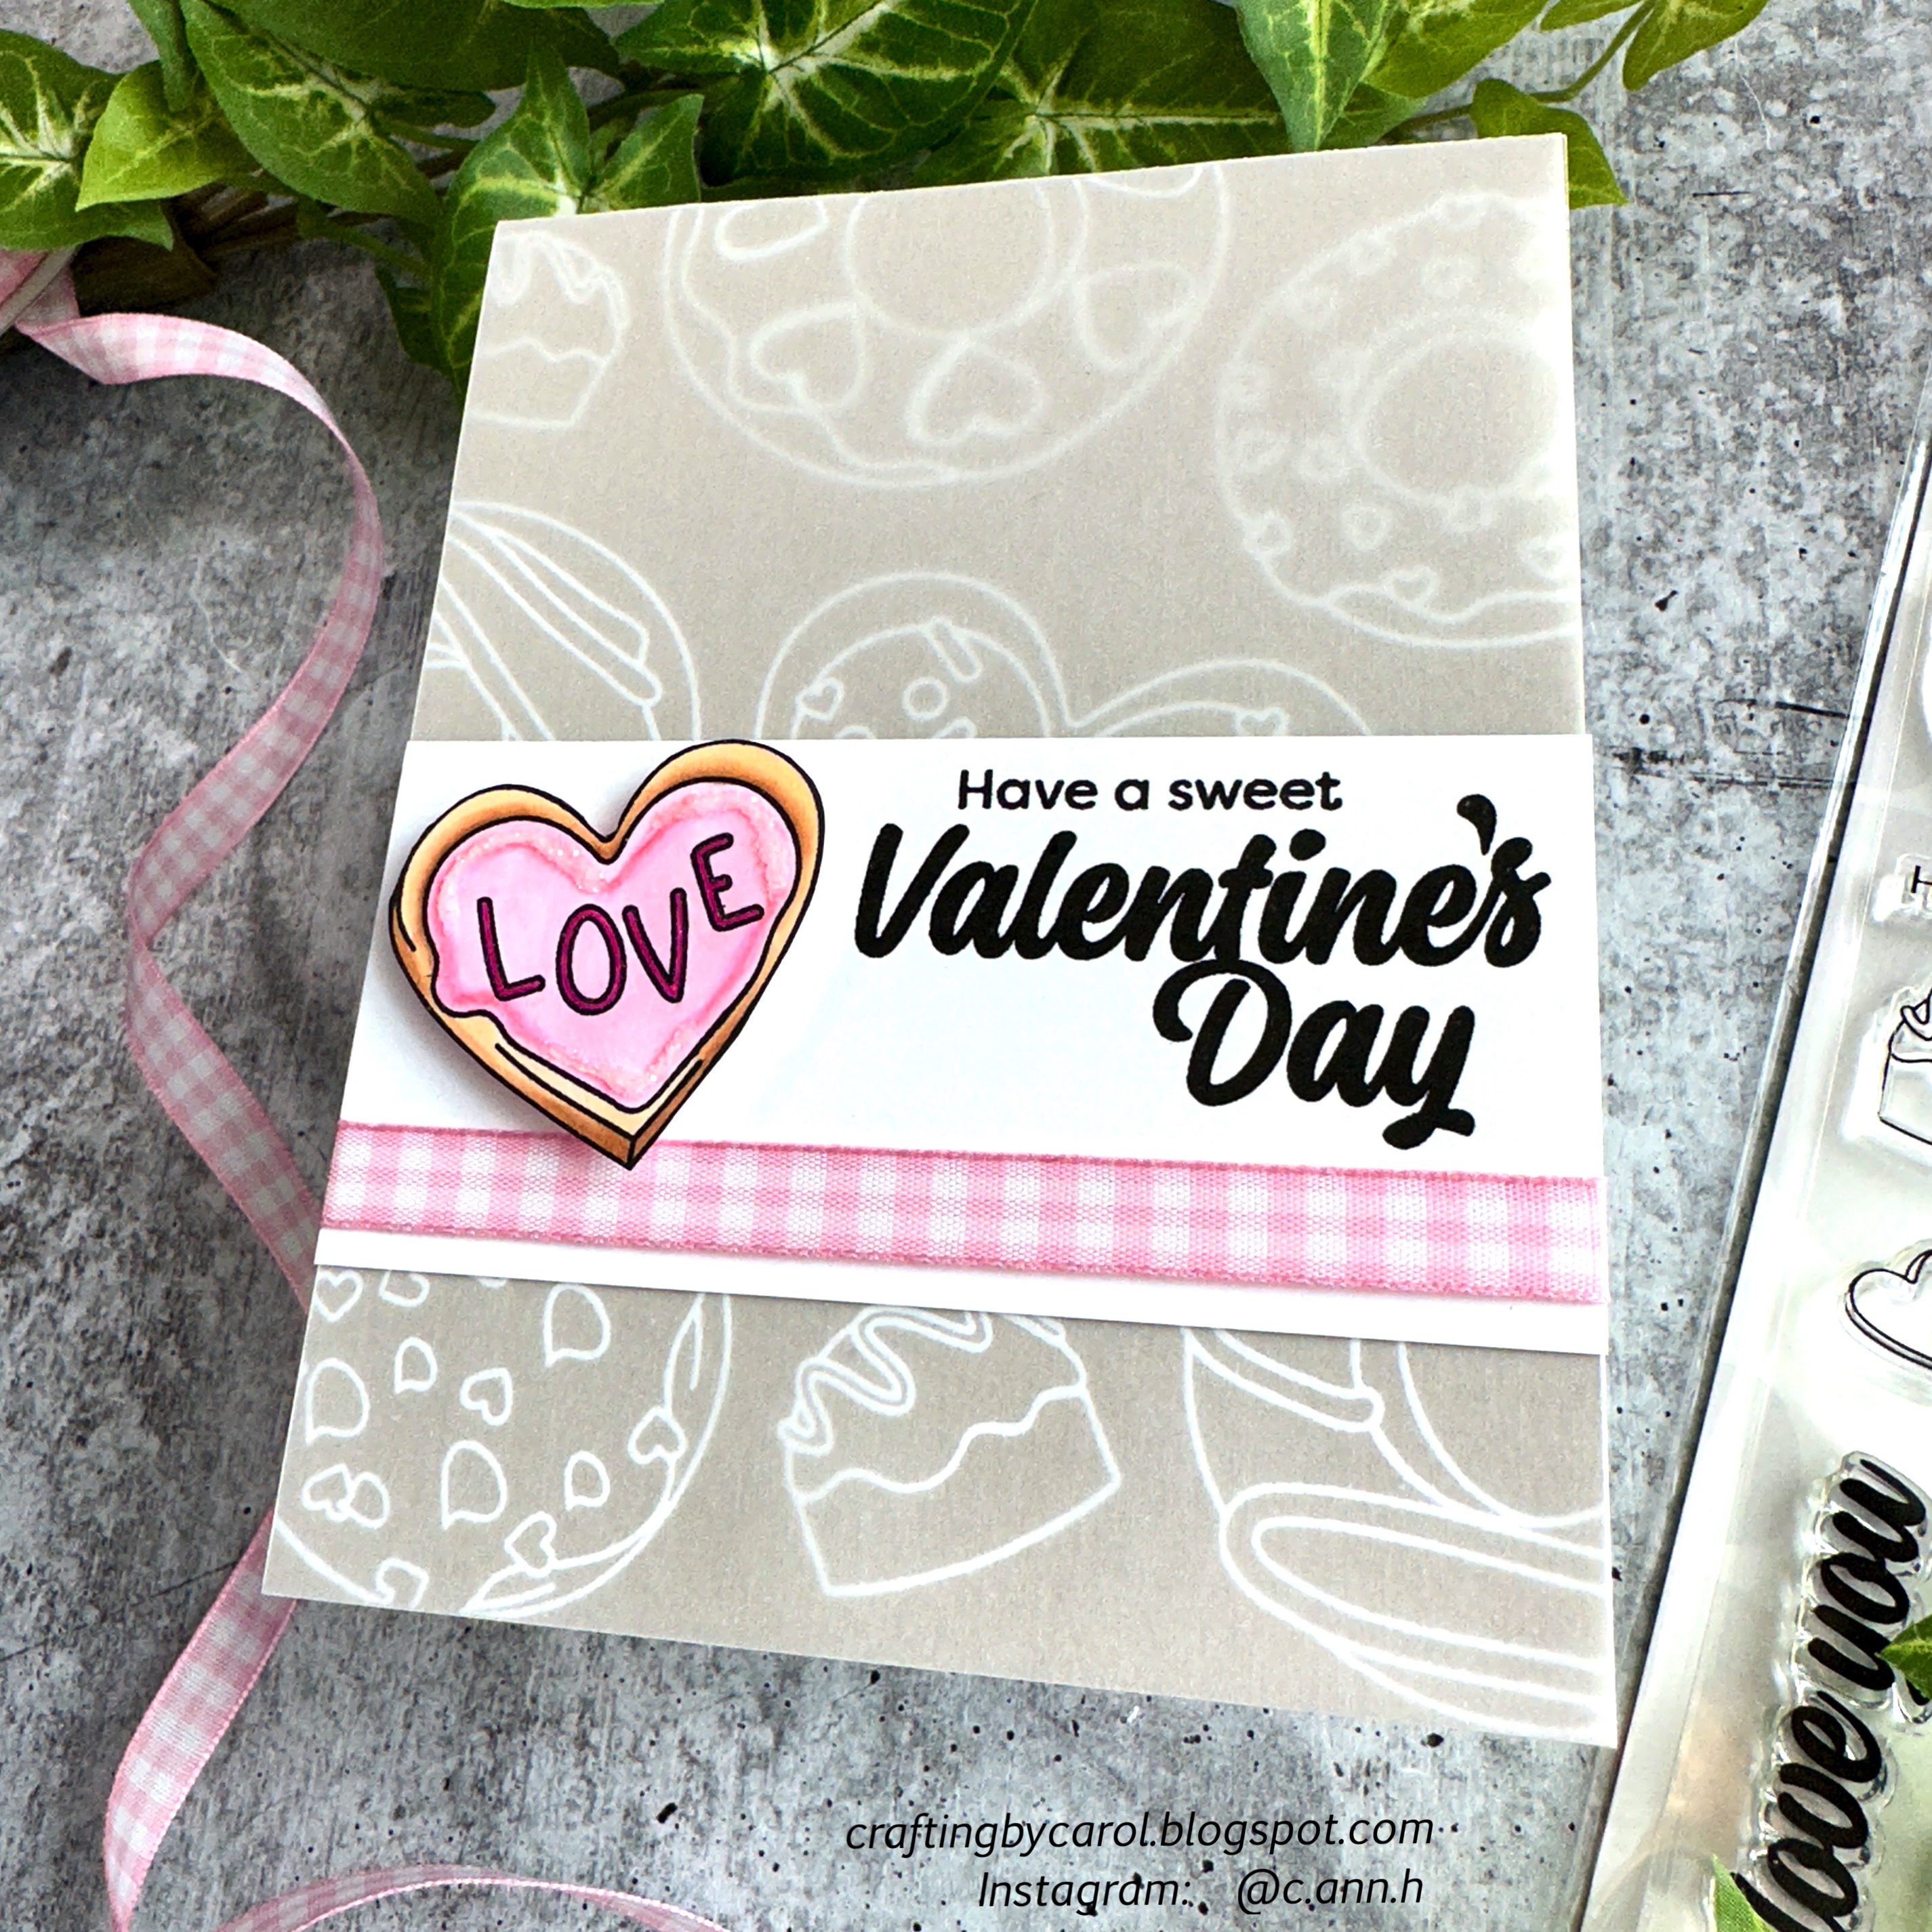
Hello friends!  It's release day over at Simon Says Stamp and there are SO many awesome new crafty goodies in the Hugs Release!  I'm sharing my card with heat embossing and a vellum overlay that features the oh, so sweet A-Glazing stamp set!  Check out the details of how to make this below!

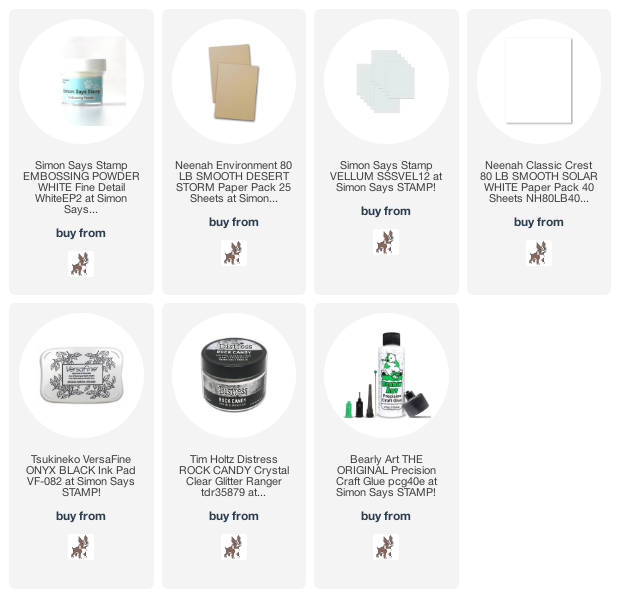
 First I stamped the images with clear embossing ink randomly onto Neenah Desert Storm cardstock and heat set them with white embossing powder.

Then I trimmed a piece of vellum to 5-¾" x 4-½".  I scored and folded the vellum at ¼" and adhered the narrow folded strip to the back of the embossed panel.  Next I adhered the piece to an A2 card base.

I stamped the heart cookie with Copic safe ink and colored it with a few Copic markers.  I fussy cut it out and added foam tape to the back.  I stamped the sentiment from the A-Glazing Day stamp set with Versafine Onyx black ink on a strip of white cardstock.  

Before I adhered the stamped strip to the card I wrapped a piece of pink gingham ribbon around it.  Then I used double sided tape to adhere it to the card.

This card was super easy and quick to make, but looks so pretty and sweet!  Be sure to check out lots more inspiration and see the entire Hugs release over at Simon Says Stamp.  Thanks so much for stopping by!

Thank you for using my affiliate links to shop (never any additional cost to you).

Wednesday, December 14, 2022

Cold Noses, Warm Heart - Winter Friend Card

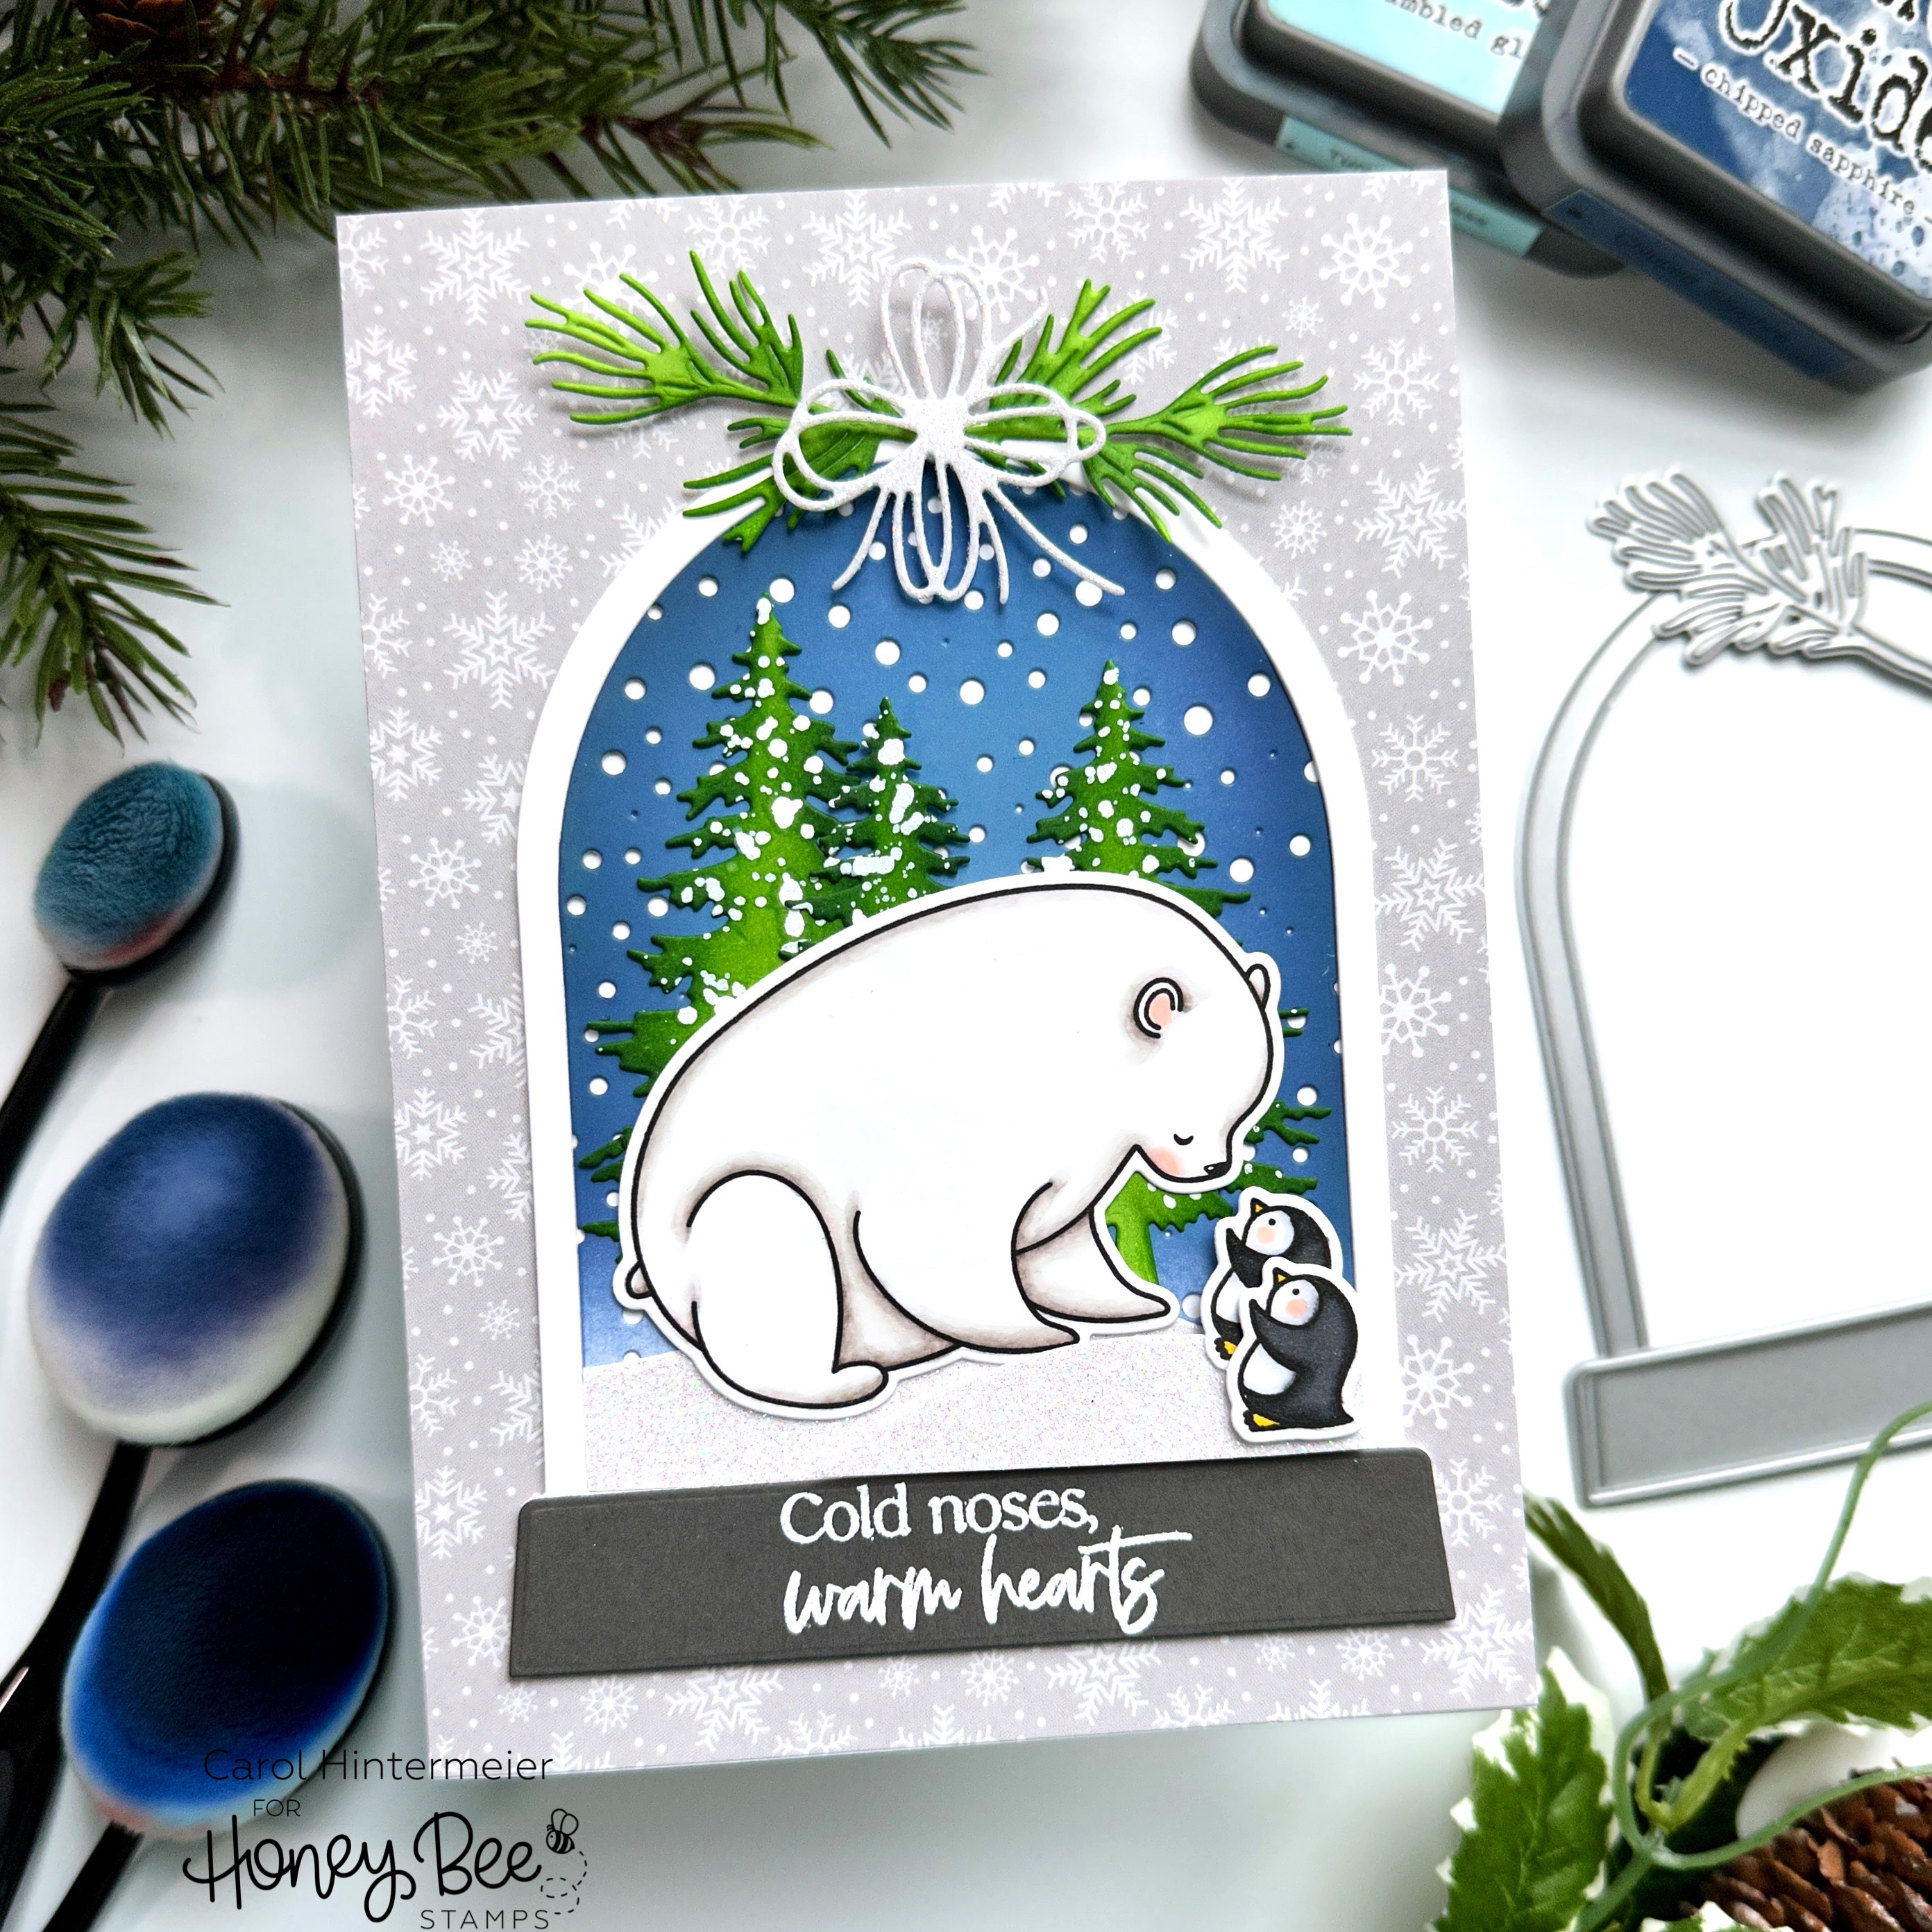
 Hello Honey Bee friends! Today I'm sharing my looks-like-a-shaker-card, but it isn't card! I've used the new Polar Pals stamps and Honey Cuts and placed them in the Snow Globe A2 Shaker die on a 5" x 7" card. With the sentiments I used on the outside and inside of the card, this is just perfect to send a paper hug to that special someone!

Let's begin from the card base upwards:

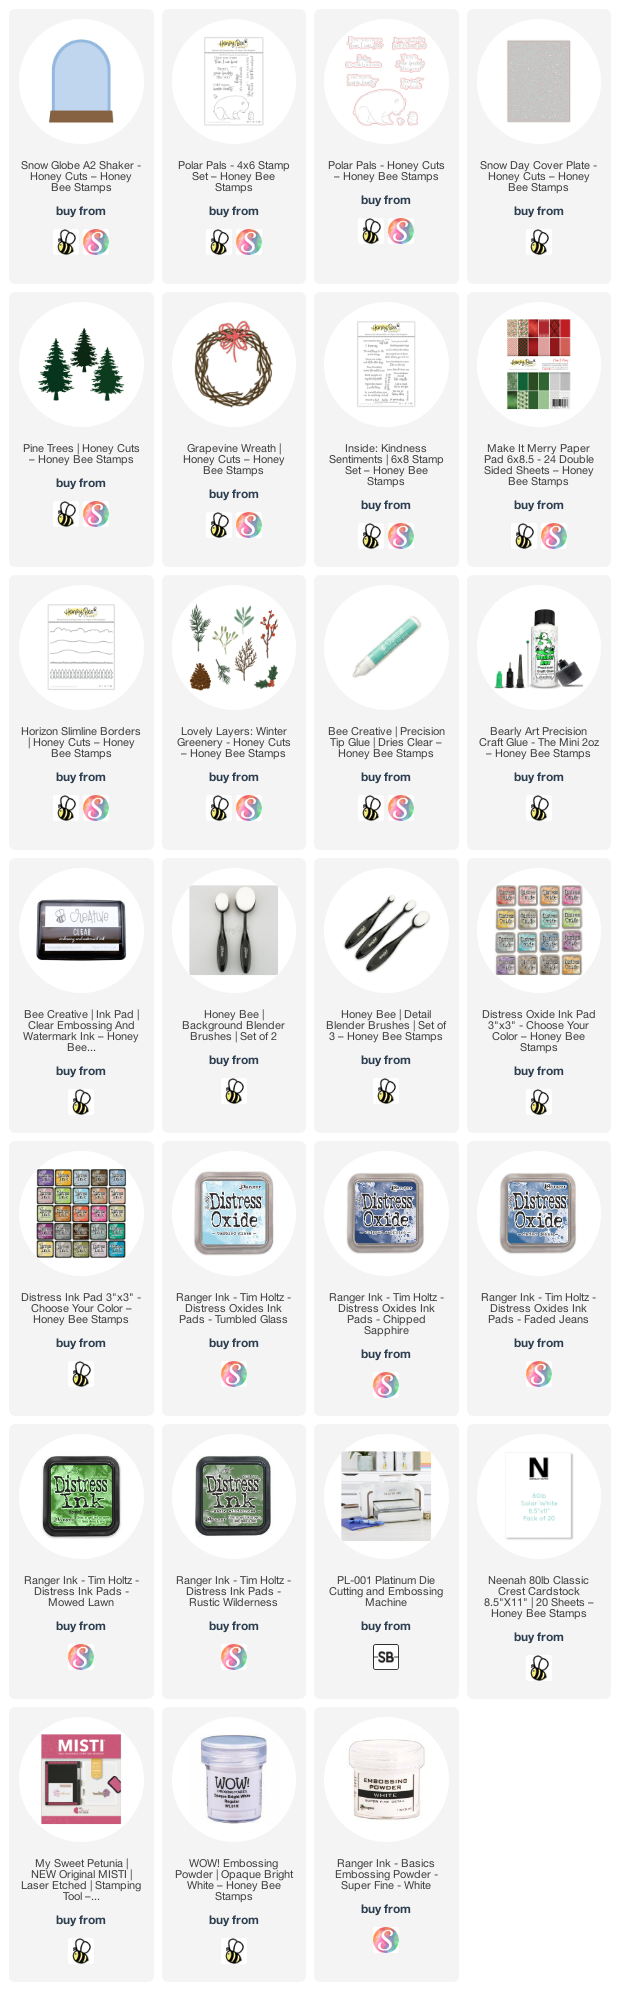
  • Cut a piece of the patterned paper from the Make It Merry paper pad to 5" x 7".
  • Adhere it to an A7 card base.
  • Stamp the sentiment from the Inside: Kindness set on the inside of the card in black ink.
  • Next die cut the pieces of the Snow Globe A2 Shaker Honey Cuts from 80# Neenah.
  • Die cut the frame three times and layer together with glue.
  • Die cut the base from dark gray cardstock.
  • Next stamp the sentiment from the Polar Pals stamps onto the gray base in clear embossing ink and heat set with white embossing powder. Adhere to the snow globe with glue.
  • Ink blend Tumbled Glass, Faded Jeans and Chipped Sapphire Distress Oxide inks onto the center piece of the snow globe.
  • Die cut the ink blended piece with the Snow Day Cover Plate die.
  • Then die cut two hills using the Horizon Slimline Borders Honey Cuts from white glitter cardstock.
  • Trim them with scissors to fit the bottom of the inked snow globe center piece.
  • I adhered one with glue and popped up the small hill with some foam tape.
  • I assembled the snow globe and adhered it to the card base with glue.
  • Next I stamped the polar bear and penguins from the Polar Pals set in Intense Black ink. I used a few Copic markers to color them and then cut them out with the coordinating Honey Cuts.
  • Next I die cut the Pine Trees Honey Cuts and two pieces of pine sprigs from the Lovely Layers: Winter Greenery. I used an ink blending brush to color them with Mowed Lawn and Rustic Wilderness Distress ink.
  • I splattered the pine trees with diluted white paint and adhered all of the pieces to the snow globe with glue and foam squares.
  • I die cut the bow from the Grapevine Wreath Honey Cuts from white glitter cardstock.
  • I splattered the pine trees with diluted white paint and adhered all of the pieces to the snow globe with glue and foam squares.

I just adore the sweet Polar Pals set!! So did I succeed in making my pretend shaker card kind of look like a shaker? I think it works and hope you do too! Thank you so much for stopping by today. You are always so very appreciated!

Thank you so much if you use my affiliate links to shop (never any additional cost to you).

Tuesday, December 13, 2022

Snowflake Stenciled Winter Thank You Card

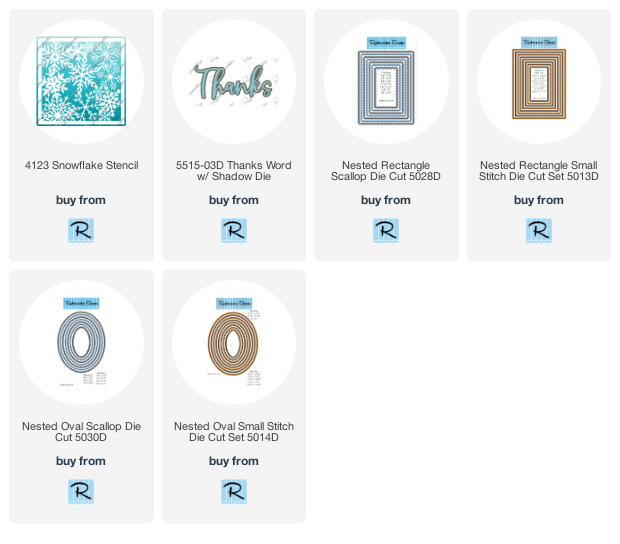
Today I'm sharing my wintery thank you card with Rubbernecker Stamps beautiful Snowflake Stencil and Thanks Word with Shadow die!  Other than the time for my texture paste to dry, this card came together very quickly!

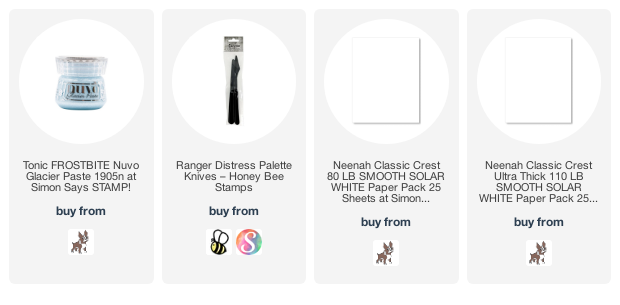
First I placed the Snowflake Stencil over some 110# Neenah white cardstock.  I spread Frostbite Nuvo Glacier paste through the stencil with a pallet knife.  I spread a bit more of the paste on some scrap cardstock in an area large enough for the Thanks Word die.  I set these aside to dry and cleaned up my tools.

I die cut a Nested Rectangle Scallop die from 80# Neenah and added foam tape to adhere it to an A2 card base.

I die cut the dry stenciled panel with a Nested Rectangle Small Stitch die and adhered it with glue.  I just LOVE the shine of the Glacier Paste!!!

The Thanks Word die sentiment shadow is die cut once from white cardstock. I die cut the work three times from white cardstock and also from the Glacier Paste piece.  I adhered these together with glue and added them to stitched and scalloped die cut ovals.

For a touch of bling I added some sequins and snowflakes I had in my stash here and there on the card!

I really think this is one of my most favorite thank you cards!!!!  Thank you so much for stopping by!!

Thank you if you choose to use my affiliate links (never any additional cost to you).

Wednesday, December 7, 2022

Blue Bird in a Country Christmas Wreath Holiday Card

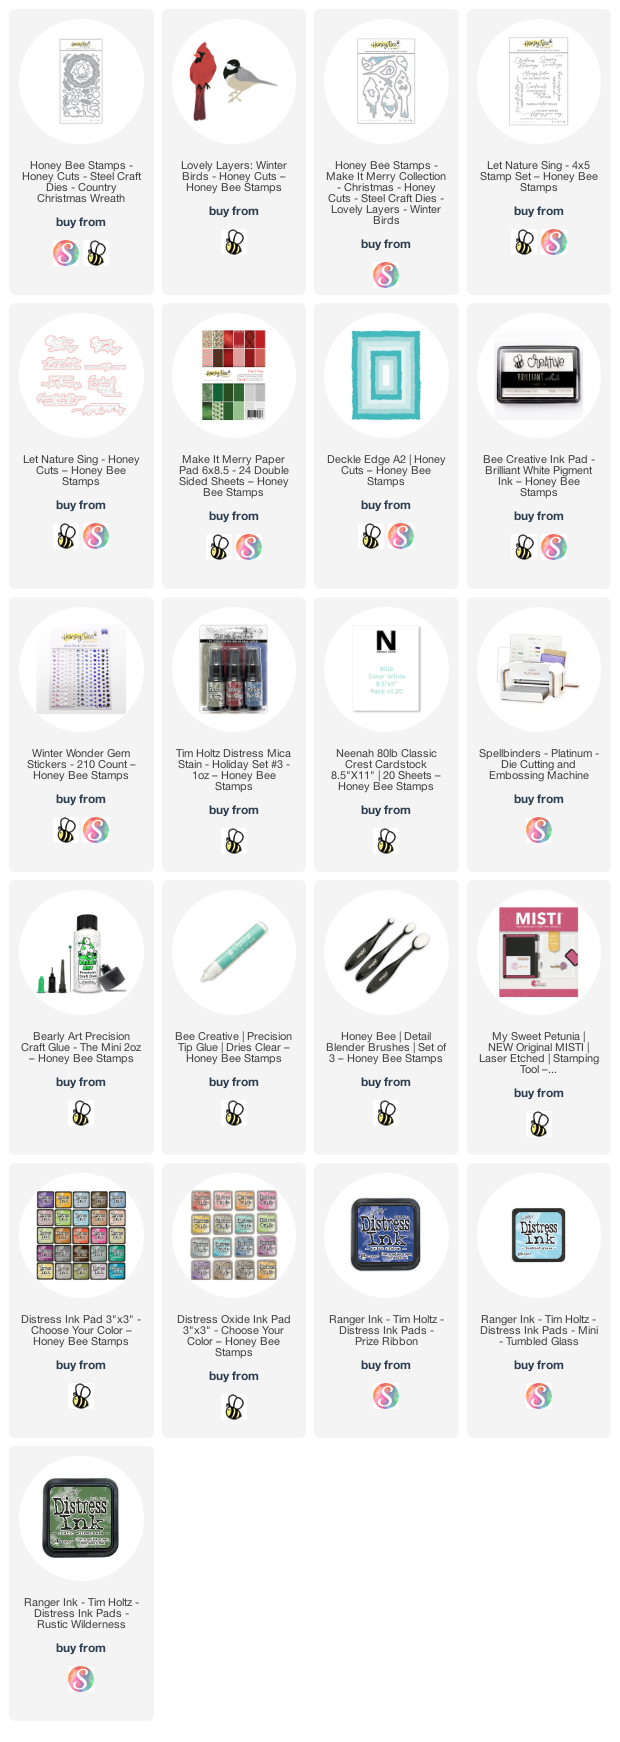
Hello crafty friends!  Today, as I did last week, I pulled out one of my most favorite previously released Honey Bee holiday sets. Some of the older set are still my most favorite and I'll never get rid of them! So I pulled out the beautiful Country Christmas Wreath  by Honey Bee and paired it with the new favorite Lovely Layers: Winter Birds!! My inspiration for this came from the raucous, but beautiful, Blue Jays we have here in Texas. They have a crest and a similar body shape to the Cardinal this is intended to be. I think it works!!

For ease of reading, I'll list the steps for each component of my card starting with the wreath.

  • From the Country Christmas Wreath Honey Cuts, I die cut the wreath from 80# Neenah.
  • Then I chose two shades of green cardstock from my stash and a piece of white 80# Neenah. Then I used the Fresh Balsam Distress Mica Stain to lightly spray the pieces.
  • WOW! I ordered these recently and this is the first time I've used them. These sprays give such a beautiful shimmer and shine that a photo just cannot capture! (P.S.: I need them all--LOL!)
  • Once the pieces were dry, I chose a few of the greenery dies in the Country Christmas Wreath and die cut them from the mica panels.
  • I tried to keep count and think I die cut about 34 of the pine sprigs and maybe a dozen of the leafy branches. I die cut the small leafy sprigs from white cardstock.
  • Then I put dots of glue on the small leafy sprigs and dipped them into Clear Rock Candy Distress Glitter and set them aside to dry.
  • I used glue and my reverse tweezers to arrange the pine branches and leafy sprigs around the die cut wreath.
  • Lastly I added in the glittered small leafy sprigs around the wreath.
  • I used a piece of paper from the Make It Merry paper pad and die cut it with the largest Deckle Edge A2 Honey Cut. Then I adhered it to an A2 card base.
  • I used Bee Creative glue to adhere the wreath to my card base.

Next I created my "Blue Jay" inspired bird:

  • I die cut the layers for the bird in the Lovely Layers: Winter Birds Honey Cuts from 80# Neenah. The feet, beak and eye is black cardstock. Did you know that there is a downloadable layering guide? The link to it is just under the product description in the Honey Bee shop.
  • Then I used a couple of the little bitty Detail Blender brushes to color each layer. I used Prize Ribbon and Tumbled Glass.
  • To get the lighter shade in the middle of the birds belly, I lightly inked on some Brilliant White pigment ink with a detail blender brush.
  • I always begin with inking/coloring the bottom layer of all of the Lovely Layers sets. Even though you don't need to color the entire layer, I added some ink around all of the edges as I usually like to pop up the layers and didn't want the white cardstock to show.
  • I added thin foam squares for dimension between the bird's body layers. I used glue to adhere the rest.
  • Since the bird is sitting over the wreath, I added a few pieces of foam tape to the back to adhere it.
  • I stamped the sentiment from the Let Nature Sing stamp set with Rustic Wilderness Distress Oxide ink. I cut it out with the coordinating Honey Cut.
  • As if there's not enough shimmer and shine, (Haha!) I added a few gem stickers from the Winter Wonder set onto some of the green leafy sprigs.

I wish photo could capture the depth and beautiful shimmer of the wreath!  Thank you so much for stopping by today!

Thank you if you choose to use my affiliate links (never any additional cost to you).

Sunday, December 4, 2022

Birthday Card feat. Spellbinders Floral Frenzy 3D Embossing Folder

 I'm on a roll with my Spellbinders projects!  Haha!  I'm sharing this beautiful birthday card I made with Spellbinders gorgeous Floral Frenzy 3D embossing folder.  I wanted the star of this card to be the embossing folder so I kept the rest of the cards sweet and simple!

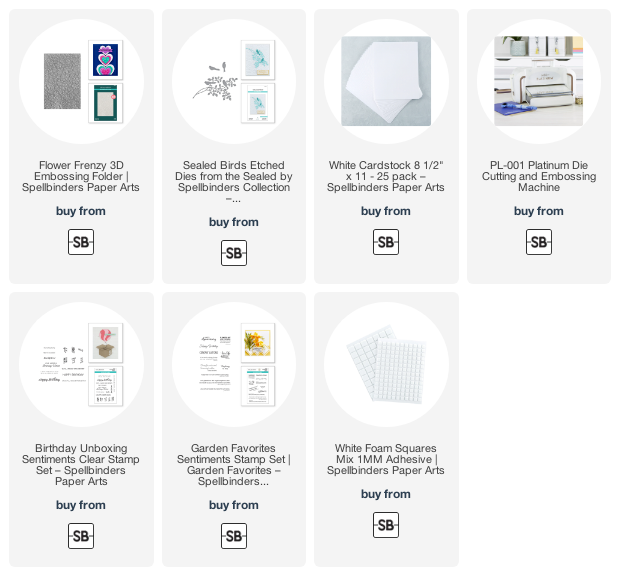
First I partially embossed a piece of 3-¾" x 5" white cardstock with the Floral Frenzy 3D embossing folder.  To do this, just leave a portion of the cardstock hanging out of the folder.

I thought the font of the sentiment from the Essential Sentiments set was perfect for this card!  (And, I just discovered that this set is evidently discontinued--apologies--I linked a couple other sets below that would work!)

I added foam tape to the back and popped the panel up onto an A2 card base.

Next I die cut the branch and birds from the Sealed Birds die set from 80# Neenah.  I used a few Copic markers to color the images.  I'm no artist, but I really wanted bluebirds for this card.  So I just did a web search for bluebird images to use as my coloring guide.  I think I got it close enough to convey my idea.  What do you think?  I glued the branch onto the card and popped up the birds with foam squares.

This card really was that easy!  Thank you so much for stopping by!  I hope you have a fabulous week!

Thank you for choosing to use my affiliate links (never any additional cost to you).

Saturday, December 3, 2022

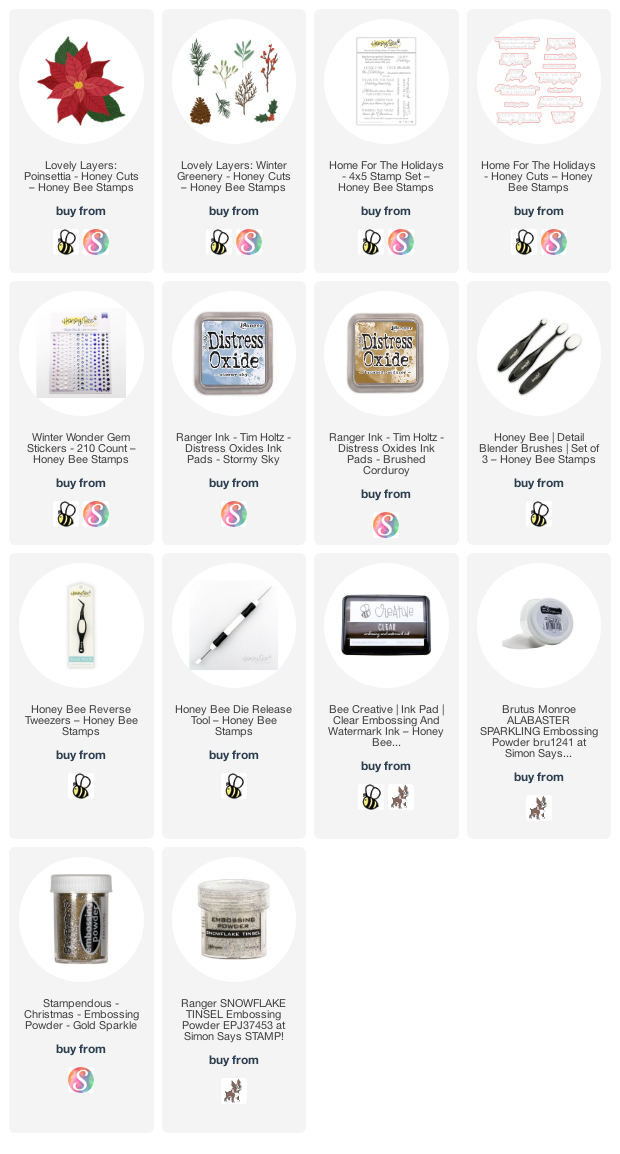
Spellbinders December 2022 Glimmer Hot Foil Kit

Hello friends!  Today my card features the December 2022 Glimmer Hot Foil Kit by Spellbinders!  I created a window card using the included dies and I love how it turned out!  Read on for the details.


 First I trimmed some lavender cardstock (all supplies are listed below) to 4" x 5-¼".  I used some temporary tape to adhere it to an opened A2 card base.  Then I positioned the included scallop heart die over both pieces.  I ran this through my Platinum die cutting machine to create the window opening. 

Then I foiled the floral heart onto the lavender cardstock centering it around the die cut opening.  I used glue to adhere it to the card front taking care to center the die cut openings.

Next I foiled the scallop heart hot foil plate onto white cardstock and die cut it with the scallop heart.  (I used Matte Gold Glimmer foil on all of the foiled elements.)  I closed the card and adhered the foiled scallop heart with glue.


 Did you notice that the solid heart has a distressed foiled look?  Well, I haven't had time to verify, but I think it happened because I used some extra foil that had already been heated!  It was the center of the scallop foiled heart!  I popped that up with some thin foam tape.

The banner sentiment is die cut with the included die.  There's just enough overhang that I was able to add a few dots of glue to the ends to adhere it across the heart on the front of the card!

I used the dies from the kit to die cut the flowers and leaves from more lavender cardstock and some green cardstock.  I popped the flowers up with foam tape and glue the leaves.

To finished up I added some sparkly gem stickers to the flower centers!

This was such a fun card to make!  If you'd like to learn more about Spellbinders Club Kits, check it out HERE.  Thank you so much for stopping by.

Thank you for using my affiliate links for your shopping (never any additional cost to you).