Sunday, December 15, 2024

You Are Always On My Mind Stenciled Card

Happy Sunday crafty friends!  I'm sharing photos of my card I made for Altenew's December 2024 release Instagram hop.  There's still time to head over to my Instagram and leave comments on the hop (until December 18) for your chance to win an awesome prize!

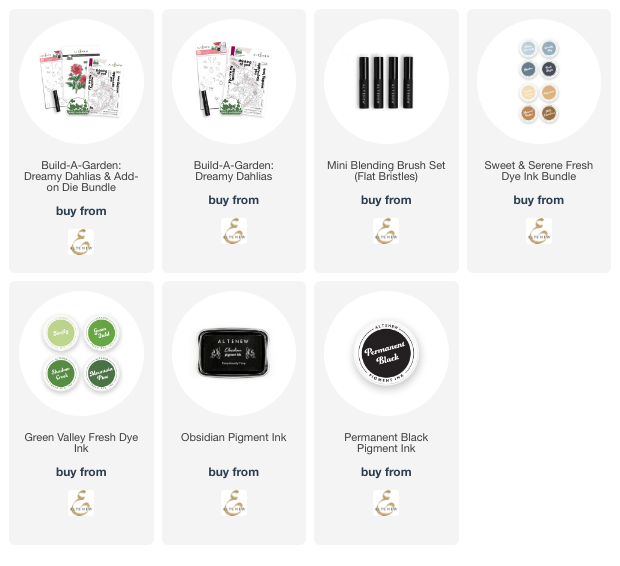
This card features the new and so beautiful Build-A-Garden: Dreamy Dahlias set!

I used all of the inks in the new Sweet & Serene Fresh Dye Ink bundle, plus the green inks in the Green Valley ink bundle with the stencils in the Dreamy Dahlias bundle to color the flowers and leaves.

The sentiments I used are two of several included in the Dreamy Dahlias stamp set.  The larger sentiments also have coordinating dies in the Dreamy Dahlias Add-On die set.

Join me over on Instagram to watch me make this beautiful card!  Have a wonderful day!

Thank you for choosing to use my affiliate links to shop (never any additional cost to you)!
Wednesday, December 11, 2024

Santa Is Coming Down The Chimney Holiday Card

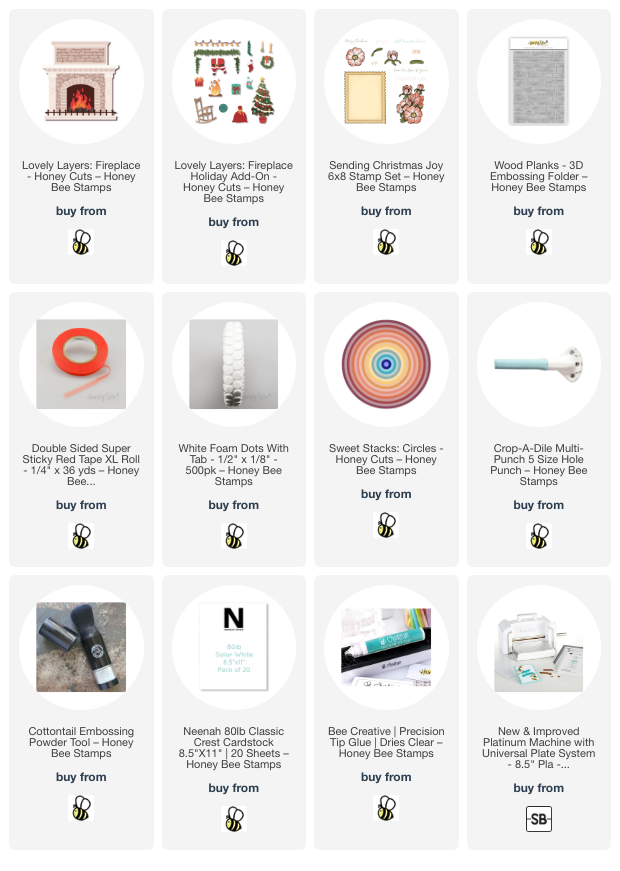
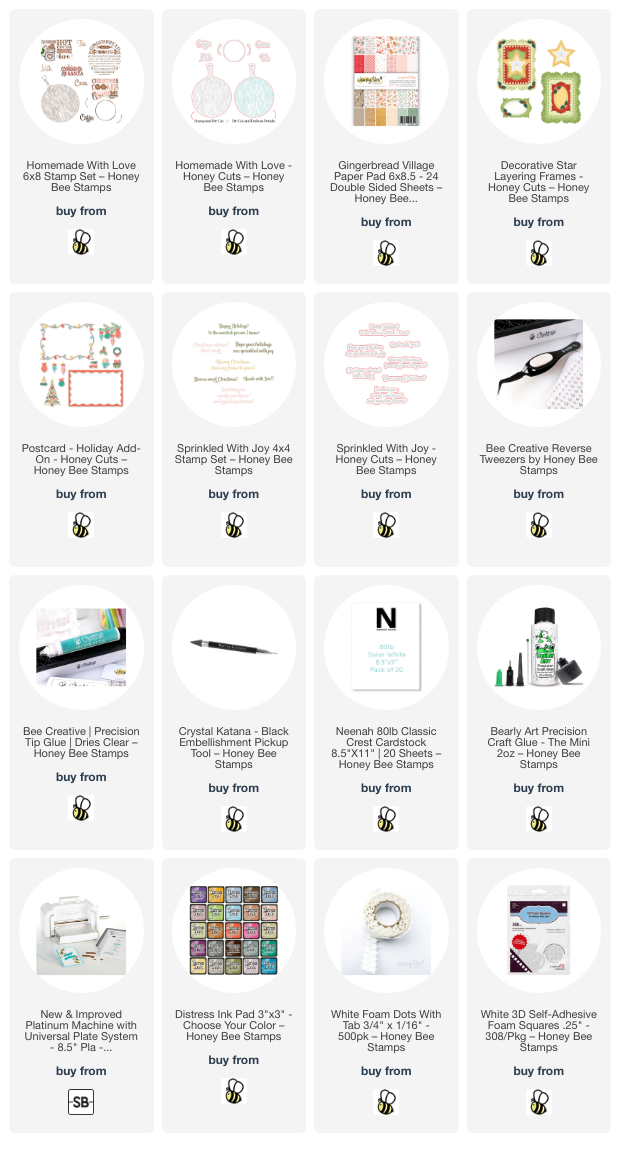
 Hello crafty friends! Today I'm sharing my interactive card featuring Honey Bee Stamps' Lovely Layers: Fireplace with the Lovely Layers: Fireplace Add-On Honey Cuts. Santa is swinging on down the fireplace in this cute scene! I love these sets because I can create any color of theme and also use the "fire" dies for the fireplace too!

I first created my 5" x 7" card base and added a white cardstock layer that I embossed with the Wood Planks 3D embossing folder. I trimmed 1-¼" off of the bottom before adhering it to the card with glue. I stamped the sentiment from the Sending Christmas Joy stamp set onto a 1-¼" x 5" strip of white cardstock in black pigment ink. I adhered this to the bottom of the card and glued on a strip of dark gray cardstock just above it.

Next I die cut the Lovely Layers: Fireplace dies from three shades of gray cardstock. I used the Layering Guide to help me in assembling the fireplace layers with glue. I did not adhere the inner fireplace brick piece at this time.

Then I die cut the desired pieces from the Lovely Layers: Fireplace Holiday Add-On from green, red, white, brown, and black cardstock. I, again, referred to the Layering Guide as I glued the pieces together. I added some sparkle to the lights with a clear glitter pen.

Next I worked on the interactive portion of the card. I will do my best to explain it here, but I will have a reel posted over on my Instagram soon where you will get a visual of how I made this. Here are the steps for the interactive portion:

  • Using the completed fireplace as a guide, I used a pencil to trace the opening onto the card.
  • Then I adhered a piece of dark gray cardstock that is larger than the tracing.
  • Still using the fireplace as a guide, I added glue to the back of the brick insert and glued it to the dark gray piece.
  • Next you will need a circular, dimension piece for the swinging portion. You can use a penny, or die cut/punch several small circles (no larger than ¼" and adhere them together. It just needs to have a bit of height for the Santa to swing.
  • First cut a strip of cardstock that is a bit wider than your chosen circular piece and is about 1" to 1-½" long.
  • Adhere your dimensional circle to the card with a small piece of strong double-sided tape. Then I used my anti-static tool on the adhesive that is around my dimensional circle so that the Santa piece will not stick to it.
  • Now you will need to trim a piece of cardstock that is a bit wider than your dimensional circle and about an inch or so long. Punch a hole that's a bit wider than your dimensional circle near the top of the strip.
  • Glue this strip to the back of the Santa.
  • I placed a piece of removable tape onto the front of the Santa and fireplace to hold him in place.
  • Then I added thick foam dots to the back of the fireplace to adhere to the card and removed the temporary tape.

I finished up the card by placing the other elements of the scene around the fireplace. I used glue and more thick foam dots to adhere them.

If I decide to mail this card I will used a padded envelope. It will be a bit more postage but I think this card is worth it!! If you have any questions about how to make this fun swinging Santa card, please leave me use the "contact me" form in the left column, and I will be happy to help.

Thank you so much for stopping by today! Have a wonderful day!

Thank you for using my affiliate links to shop (never any additional cost to you)!

Monday, December 9, 2024

Three Quick and Easy Holiday Gift Tags

 Hello crafty friends!  Today I'm over on Brass & Bliss' blog to share all of the details of these three beautiful gift tags.

What made these so easy to make is I just used two colors of cardstock, used the same tag die for them all and the same Kittle Says Christmas stamp set for all of the sentiments.  First I die cut kraft cardstock three times with the largest Holiday Gift Tag die.  Then I add white paint splatters to all three.

This tag features the Greenery Wreath w/Flowers die and a sentiment from the Kittie Says Christmas stamp set.  It's finish with red gems and a gingham ribbon.

I die cut a few different snowflakes from the Large Snowflake die set for this tag and added silver gems for some sparkle.

This final tag features the beautiful Large Stacked Poinsettia dies.  I used a round tipped stylus to add shape to the petals before gluing the layers together.  It's finished off with gold gems and twine from my stash.

If you would like to see more details of how I made these, be sure to head over to the Brass & Bliss blog!  Thank you for stopping by!

Thursday, December 5, 2024

Sweet Garden Bird Winter Scene

 Happy Thursday crafty friends!  I'm sharing just a few details of my card that features Altenew's beautiful Sweet Garden Bird layering die set.  If you would like to see more, please visit my Instagram for my reel!

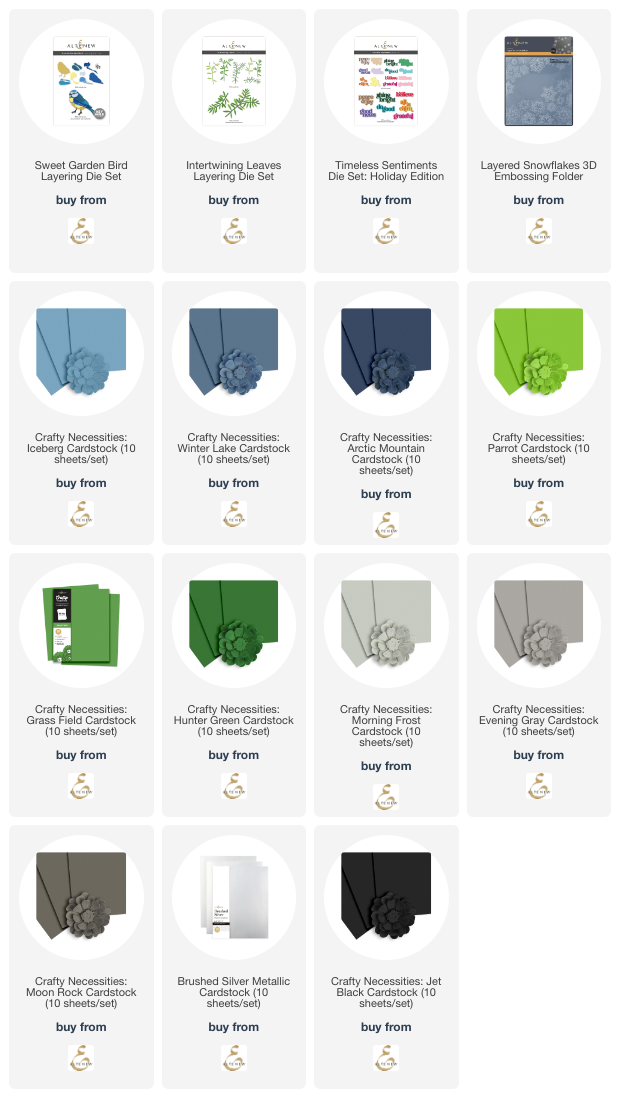
I used several of the Crafty Necessities Cardstock colors for this Sweet Garden Bird.  I really love how there are gradient shades of cardstock that work so well together!  All of the colors I used are linked in the supply list below.

To set the winter vibes, the background layer is Arctic Mountain cardstock embossed with the gorgeous, and my favorite, Layered Snowflakes 3D embossing folder.  After I trimmed it to 4" x 5-¼", I swiped a white pigment ink pad over the raised areas to set off the snowflakes.  Then I added white splatters to the entire panel.

I glued an A2 sized piece of Brushed Silver Metallic cardstock to my card base and then glued the Snowflake embossed layer to the card.

I die cut three green cardstock shades from the Intertwining Leaves layering dies and added a few white splatters to it.  I glued it to the card and trimmed the excess from the edges.

I perched the Sweet Garden Bird on a branch I die cut with dies from the Intertwining Leaves die set.  I die cut more Brushed Silver and Arctic Mountain cardstock for the sentiment from the Timeless Sentiments 3 die set and popped it up with more foam tape.

Thank you so much for stopping by today!  If you click over and see my reel, please say "hi" so I'll know you were there!  Have a wonderful day!

Thank you so much for shopping my affiliate links (never any additional cost to you)!

Wednesday, December 4, 2024

Beautiful Window Scene Card

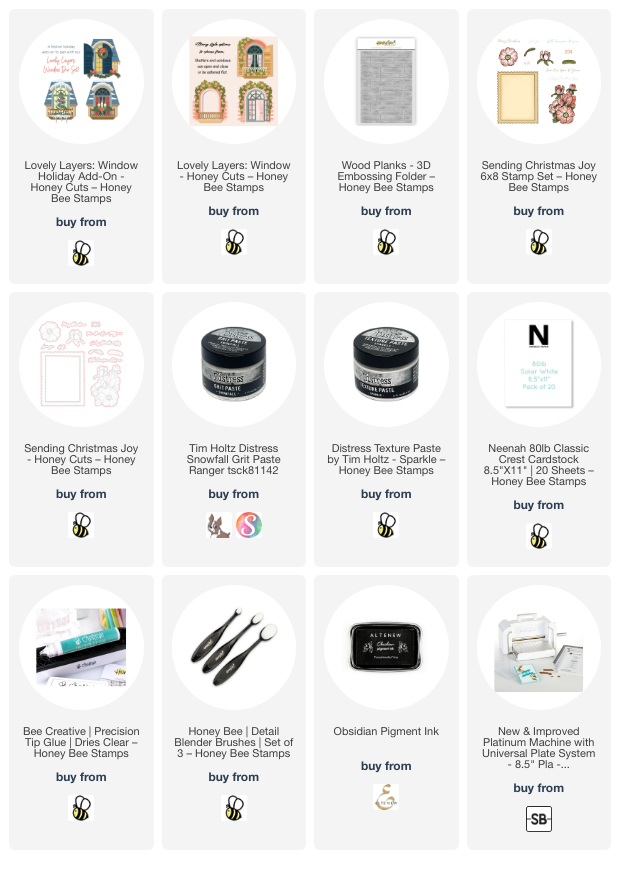
Hello crafty friends!!! Can you believe it is December?!! It is now only three weeks until Christmas! Which means we still have time to get our holiday cards made. Today I'm sharing my card that features the so fun and beautiful Lovely Layers: Window with the new Lovely Layers: Window Holiday Add-On.

Except for the sentiment, this entire card is die cut with an embossing folder background. I die cut all of the dies from the Lovely Layers: Window and Window Holiday Add-On from either white cardstock and some colored cardstock, with two exceptions. The warm yellow you see through the window was white cardstock inked using a yellow ink and a detail blending brush. I inked up a scrap of white cardstock with Festive Berries Distress Ink to use to die cut the tree ornaments and holly berries.

For the snow layers on the roof and balcony, I first die cut the snow dies with white cardstock. Then I used a palette tool to dab on Snowfall Distress Grit Paste. This will dry clear with some sparkle and a subtle crackle which adds to the icy feel, I think. If you don't have that paste, this one would be just as pretty.

I always print out the Layering Guides that are found in the products' description on the website. These are so very handy and makes gluing your die cuts very easy! When I am finished assembling the Lovely Layers, I store the guide with the product. All of the Window layers are adhere together with glue.

I added a layer to my A2 card base that I embossed with the Wood Planks 3D embossing folder. Then I adhered the window to the card with foam dots.

I thought this sentiment from the Sending Christmas Joy stamp set was perfect for this card. I stamped it and the Merry Christmas stamp with black ink and then cut them out with the coordinating Honey Cuts. I adhered the Merry Christmas sentiment with glue to the inside of the card. The other sentiment is popped up on the card front with foam tape strips.

I added a bit of shine to the holly berries with some Nuvo Crystal Drops that I still have in my stash.  Do you still have any of these? 

I love making die cut cards! I hope you've found some inspiration here today! Thanks so much for stopping by!

Thank you very much for using my affiliate links to shop (never any additional cost to you)!

Sunday, December 1, 2024

Simon Says Stamp DieCember® Release & Card Featuring The Whirl Fancy Leaf Die

Happy December, and happy Simon Says Stamp DieCember®!!!!  Simon's release this month is all about the dies!  I'm thrilled to be a part of Simon's Blog Party to celebrate all the wonderful new dies!  Check out the list of designers over at Simon Says Stamp Blog.

I had lots of ink smooshing fun with this beautiful new Whirl Fancy Leaf die!  See the "shadow" prints in the background?  I made those with one of the die cuts!  Read on for details.

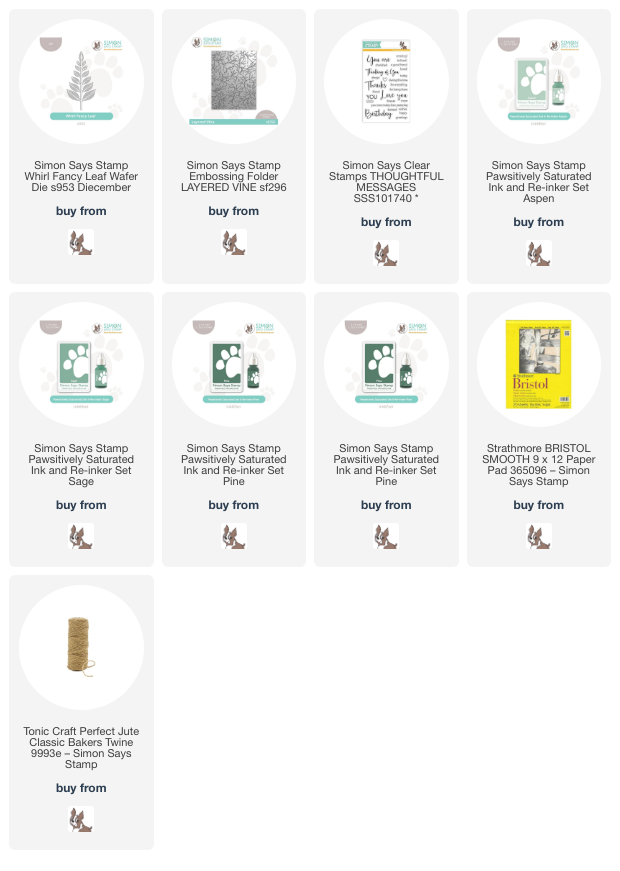
First I die cut Whirl Fancy Leaf die from Bristol Smooth cardstock five times.  I will usually die cut extra in case I need them.  I used three shades of Pawsitively Saturated Inks for my ink smooshing--Aspen, Sage, and Pine.  I smooshed each ink pad onto my silicone craft mat and added a few spritzes of water to the inks.

Then I dipped each die cut into the inks, using my heat tool between each color to dry.  I accidentally got one of the die cuts with way too much ink on it.  So I just pressed it onto a scrap piece of paper to try to remove some of the ink.  To my delight, I discovered that this is a way to "stamp" shadows of the die cut onto my background!

So I pulled out another piece of Bristol Smooth cardstock to plan and "stamp" the leaf shadows for a background.  Note:  wear disposable gloves if you are averse to having stained fingers!

When all of the pieces were dry, I ran the "stamped" background through my die cutting machine with the Layered Vine embossing folder.  I trimmed the piece to 4-¼" x 4-½" and adhered it to an A2 card base.  After I glued the embossed piece to my card, I inked up a narrow strip of white cardstock with Sage ink and then adhered it at the bottom edge of the panel.

I stamped the sentiment from the Thoughtful Messages stamp set in black ink at the bottom of the card base.

I used glue to adhere three of the Whirl Fancy Leaf die cuts to the card.  To finish it off, I added a bow of twine and a few enamel dots.

This super fun to make and I hope I've inspired you with my card!  Thanks so much for stopping by!


Wednesday, November 27, 2024

Gingerbread Sweet Christmas Card + A Black Friday Sneak Peek!

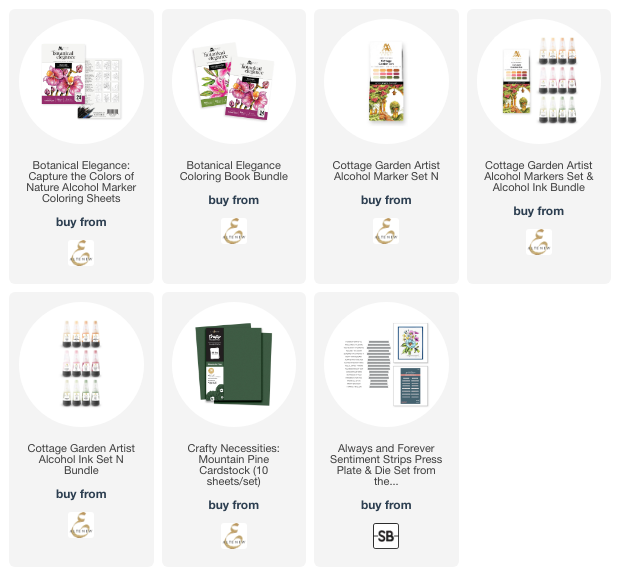
Hello friends! Today I'm sharing my card featuring products from Honey Bee Stamps Cozy Christmas release along with a sneak peek of their Black Friday Free Bee. This adorable die set will be free, while supplies last, with any orders over $100! Of course, you know there will be more fun on Black Friday, so watch for it over at Honey Bee's website!

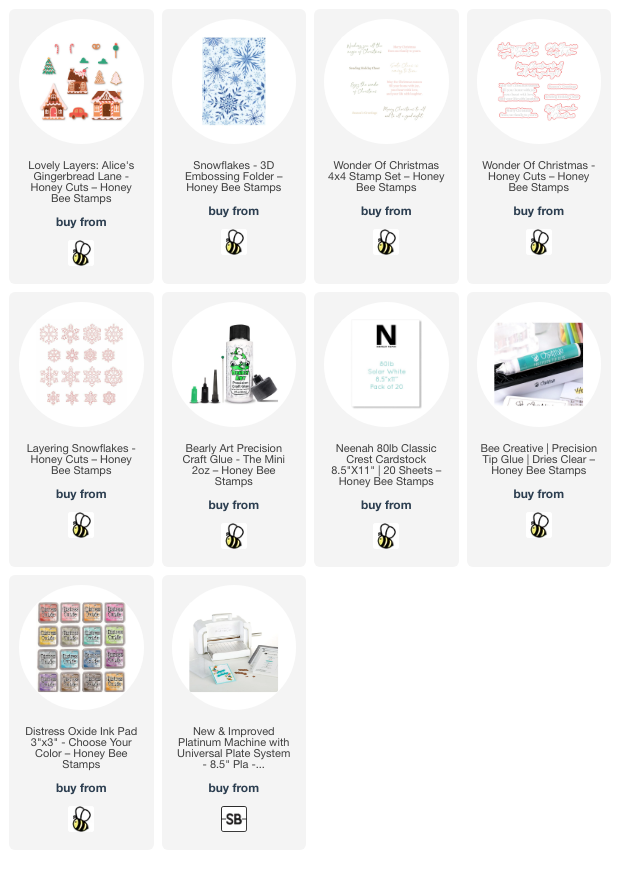
I die cut the adorable dies from the BF Free Bee die set from red, brown, and white cardstocks. I added a bit of shading to the gingerbread with a blending brush and Walnut Stain Distress Ink. I used glue to adhere these cuties together. Using your reverse tweezers and pick-up tool makes assembly so easy!

Next I stamped the wooden tray from the Homemade With Love stamps set with a very light brown ink. Next I stamped the gingerbread recipe onto the board (from the same stamp set) in a dark brown ink. Then I cut it out with the coordinating die.

I tied a red gingham bow onto the board, added some twine at the top, and foam dots to the back. It's adhered to an A2 card base with a piece of paper from the Gingerbread Village paper pad and a white cardstock layer I cut with a die from the Decorative Star Layering Frames dies.

To add a bit more interest and color, I die cut green cardstock with a pine branch die in the Postcard Holiday Add-On dies. I used glue to tuck them in at the top of the board.

I added foam dots and squares to the gingerbread people to adhere them to the card front. I stamped a sentiment from the Sprinkled With Joy stamp set with dark brown ink and cut it out with the coordinating die.

The BF Free Bee die set is so cute and fun to use. I think these would be adorable as a tag for sweet treats to gift during the holidays too! There are lots of sets from the Cozy Christmas release to coordinate with this adorable Free Bee set! 

Thank you so very much for stopping by! If you are celebrating Thanksgiving tomorrow, or not, I hope you have a most wonderful day!

Thank you so much for choosing to shop with my affiliate links (never any additional cost to you)!

Monday, November 25, 2024

Floral Happy Birthday Card

Hello crafty friends!  Have you tried any of Altenew's marker coloring sheets?  I tried one out for my card today, and I really love them!  These are preprinted onto smooth cardstock and come with 12 designs.  There are two of each, one in a bold black outline and another in a subtle gray outline for a no-line coloring look.

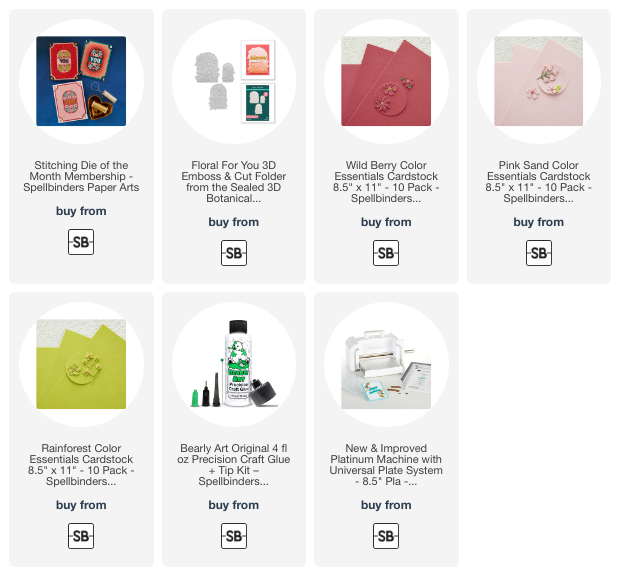
This beautiful floral image that I colored today comes from the Botanical Elegance marker coloring sheets set.  Another first for me is using Altenew's alcohol markers!

I selected one of the 12 prints that I wanted to use from the Botanical Elegance set.  I colored the image using nothing but the alcohol markers from the Cottage Garden Set.

I thought I was going to do something different in my card design, but after I finished the coloring, I just did not want to add another image or cut it up a lot smaller.  So I decided to trim it into a 5" square.  I glued it to a card base that I made from Mountain Pine cardstock and measures 5-¼" square.

The sentiment is one that I had previously made from Spellbinders Always and Forever Sentiment Strips press plate.

I added a few coordinating green enamel dots for a bit of bling.

After using these Botanical Elegance Marker Coloring Sheets, I can definitely say that I recommend them!   The cardstock is smooth, and I really love that I don't have to worry about any ink from stamping will get smeared while coloring!

During this week of our Thanksgiving holiday, I hope you realize how thankful I am for those of you that stop by here!

Be sure to check out all of the Black Friday sales that have begun over at Altenew!  Have a wonderful week and a very blessed holiday!

Thank you for choosing to use my affiliate links (never any additional cost to you)!

Fast & Easy Encouragement Card!

Happy Monday friends!  This card features a few new products from Picket Fence Studio's latest release!  Want to know the secret for this super quick card?  Read on for the details!

First I used Paper Pouncers and Distress Oxide inks with the On A Cloudy Day stencil to create the background.  I used Festive Berries, Kitsch Flamingo, Squeezed Lemonade, Mowed Lawn, Evergreen Bough, and Dusty Concord.

Before removing the stencil, I spread some Twinkle Lights Clear Paper Glaze with a palette tool.  You could skip this step to avoid the drying time for an even quicker make!

While the stenciled piece was drying, I chose two of the Adventures in Hot Air Ballooning Glossy A2 card fronts.  These are beautiful preprinted sets of 12 sheets with 3 different designs.  I used my scissors to cut out the balloons.

When the Paper Glaze was dry, I trimmed the piece and added it to an A2 card base with a black layer.  I popped up all but two of the hot air balloons with foam tape.

The sentiment from the Freckle Friends: Climbing Calliope set.  After I stamped it with black ink I cut it out with the coordinating die.  I added some of the pretty gems from the Starry Skies gem mix for a bit of fun sparkle!

Be sure to check out my reel for this card over on my Instagram (click the image in the left side of this blog).  Also, be sure to check out the 25% off the entire Picket Fence site (except the latest release items).


Sunday, November 24, 2024

Thanks For Always Being So Wonderful

Happy Sunday!  I'm over on the Brass & Bliss Craft Co. blog today to share my card featuring the new, and so beautiful, Wildflowers in the Breeze layering stamp set.

The card base is A2 size and layered with an embossed panel.  I dry embossed the Flourish stencil by using my tan rubber mat according to the directions for embossing with my die cutting machine.

I stamped the layers of the Wildflowers in the Breeze stamp set with Color Fuse inks.  Then I die cut the panel with one of the Nested Deckle Rectangle dies.

Before I popped the panel up with foam tape, I used the Flourish stencil again with blue ink.  I used a very light hand so that the stenciling wouldn't distract from the stamped image.

The sentiment is from the Thank you stamps and dies set and stamped with black ink.  Then I cut it out with the coordinating die.

Please join me on the Brass & Bliss blog for even more details and process photos!  Thanks so very much for stopping by!

Wednesday, November 20, 2024

Adorable Holiday Card with Die Cuts

Hello crafty friends! Well, I certainly loved Honey Bee Stamps' Lovely Layers: Beach Bound set for the summer, and now, with the new Lovely Layers: Beach Bound Holiday Add-On, this set is at the top of my favorites!!!

The card base is an A2 white cardstock, with a layer of patterned paper from the North Pole paper pad. (The papers in this paper pad are gorgeous!) Then I used my scissors to trim glitter paper from my stash for a snowy hill. I adhered the hill to the card with foam tape.

I die cut the adorable pieces from the Lovely Layers: Beach Bound and Holiday Add-On from various cardstocks. The red part of the bus is white cardstock colored with two Copic markers (R59 and R27). The striped part of the bus is also from the North Pole paper pad. I also used black cardstock, red glitter cardstock, and some silver metallic cardstock.

If you feel like you may be overwhelmed by the layers, let me assure you, that the provided Layering Guides are your best friend!

I used glue to assembled this adorable bus (with blue eyes like mine :) and added foam tape to the back to adhere it to the card.

I added a tree in the background with dies from the Postcard Holiday Add-On dies. I really like how the set makes adorable postcards, but also that the pieces can be used individually on any card!

I stamped a sentiment from the Sprinkled With Joy stamp set in black ink. I cut it out with the coordinating Honey Cut die. I love popping up sentiments with the foam tape strips!!

I just think this Beach Bound Add-On is so adorable!! How cute are those eyelashes? Thank you so much for stopping by today! Have a wonderful day!

Thank you so much for using my affiliate links to shop (never any additional cost to you)!

Saturday, November 16, 2024

Beautiful Butterfly Birthday Card

Happy Saturday!  Today I'm sharing some details about my card that features Altenew's beautiful Craft Your Life Project Kit: Wings & Petals.  I love monarch butterflies!  Each October they migrate through our area here in Texas and I always think of my mother.  We would always tell each other when we saw the first monarchs passing through.  I miss her, but I know she would love this card!

The Craft Your Life Project Kit is one of several of Altenew's monthly subscriptions.  The reason this particular one is my favorite is because it includes a few of my most favorite products!  I love 3D embossing folders and having the layering stencils to color the embossed image is awesome!  You can purchase this Kit separately, but if you subscribe, you will save $16.  Check out this subscription and the other options on the Altenew website.

First I die cut the Wings & Petals butterfly dies from Sunkissed and Jet Black cardstock.  I used blending brushes to add shading with Autumn Blaze and Orange Cream inks (Warm & Cozy collection) to the solid die cut.  After gluing the black top layer to each piece, I glued them together.

I embossed white cardstock with the Wings & Petals Botanical 3D embossing folder and trimmed it to 4" x 4-¼".  Then I stamped the sentiment from the Wings & Petals stamp set at the bottom of an A2 card base with Obsidian black ink.

I added a strip of Jet Black cardstock to separate the embossed cardstock from the sentiment.  The Intertwining Leaves layers are die cut from Grass Field and Hunter Green cardstock.

I used foam tape to adhere the butterflies to the card.

I absolutely love the details of the Wings & Petals butterfly dies!!  Thank you so much for stopping by.  I hope you have a wonderful and crafty weekend!

Thank you for using my affiliate links to shop (never any additional cost to you)!

Wednesday, November 13, 2024

Altenew Stampwheel 2.0 Blog Hop & Giveaway ($300 in total prizes!)

I'm so thrilled to be part of the blog hop to feature the brand new and totally awesome Stampwheel 2.0!
Thank you for joining us on this fabulous hop!  If you would like to start at the beginning, please head over to the Altenew blog.  You can check out all of the details of the larger, new Stampwheel 2.0 here.

Be sure to check out the prize details below!  You won't want to miss out on your chance to win either a $100 gift certificate or one of four $50 gift certificates!

For the first time using the Stampwheel 2.0, I used the beautiful, and large, stamp set from the Build-A-Garden: Magnificent Branch collection.  Check out the photos of the Stampwheel 2.0 in use and compared to the original Stampwheel (which I do still use!).

This card is a slimline card I made with the awesome Build-A-Garden: Magnificent Branch in black.  I used the coordinating stencils and blending brushes to color the image.  Because of the size of the Stampwheel 2.0, I was able to keep the stamped image on the sticky mat, remove the side piece, and color through the stencils with ease!

As you can see in this photo, there is a significant difference in the sizes of the original Stampwheel and the new Stampwheel 2.0!

When you remove the detachable side, you can stamp on a full 8-½" x 11" piece of cardstock.

I really enjoy being able to keep the sticky mat in place and use the coloring stencils by removing the side.

I have used the Stampwheel 2.0 many times recently, and I highly recommend it as part of your crafting tools necessities!

Be sure to leave a comment here on my blog, and at all of the other stops, to increase your chance to win a prize!

Click this link to continue on each stop of the hop and leave your comments!  You don't want to miss the awesome inspiration from the designers!

You are invited to the Inlinkz link party!

Click here to enter