Sunday, October 6, 2024

Spellbinders October 2024 Club Kits -- Simple & Quick Holiday Cards

 Hello!  Today I'm sharing my cards that feature two of the Spellbinders' October 2024 Club Kits.  I've used the Stitching Die and the 3D Embossing Folder Club Kits.  This month's stitching die is so easy and very quick to finish that I created two cards!

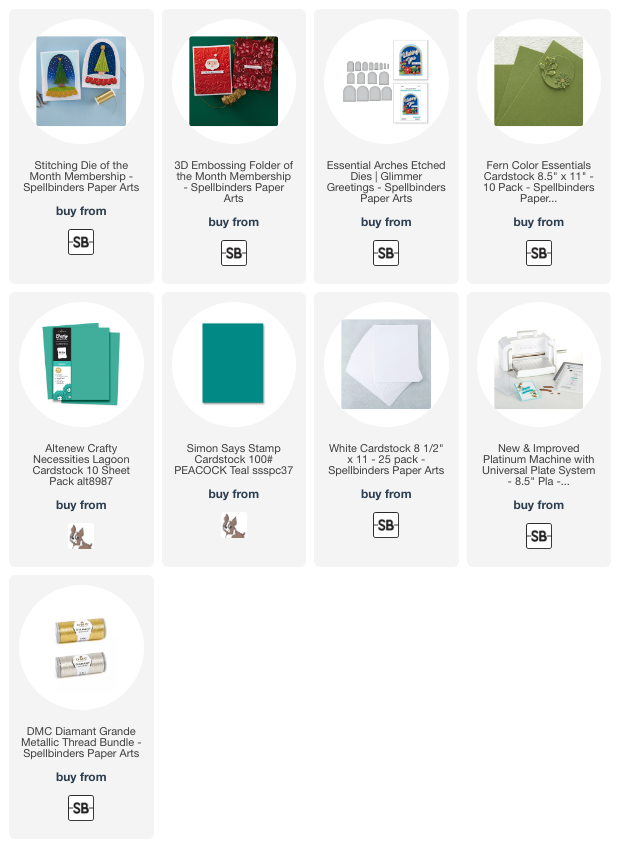
This first card features most of the dies included in the Merry & Bright Cloche Stitching Die Kit.

I embossed white cardstock with the beautiful Joyful Candy Canes 3D embossing folder of the month.

I die cut teal and white cardstocks with the dies in the Merry & Bright Cloche stitching die set of the mont.  The quick and easy stitching was done with white Coton Perle thread.  I used six strands of DMC 801 to stitch the trunks.

There are two sentiments in the Merry & Bright Cloche to choose from to add with the included oval die too!  I added coordinating gem stickers to the tree for some pretty sparkle.

My second version uses the Merry & Bright Cloche tree dies and the other sentiment that's also included.

For the background layers, first I die cut an Essential Arches die from an A2 sized piece of white cardstock.  Then I put the two pieces into the Joyful Candy Canes 3D embossing folder and ran it through my Platinum machine.

The Merry & Bright Cloche tree is stitched with silver DMC Diamant Grande thread.

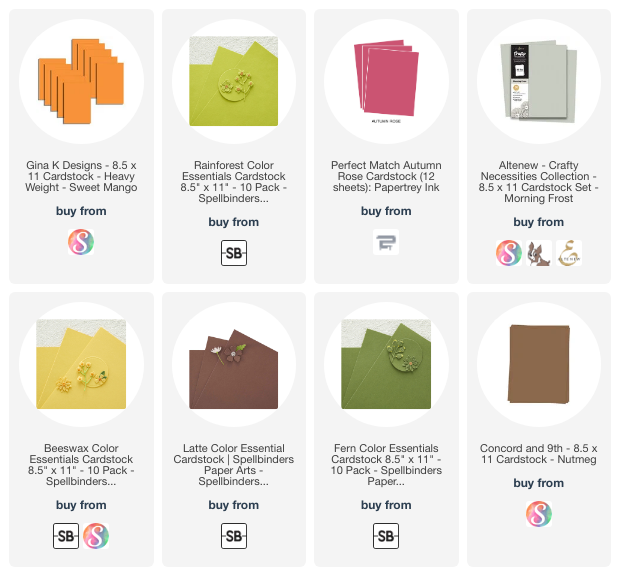
I've included the available cardstock colors I used in the list below.  This time I've added some silver gems to the tree.

If you've ever thought of trying the stitching dies, this month would be a good one to get started on!  The clubs have very flexible rules and you can always cancel at any time!

Thank you so much for stopping by!

I so appreciate your using my affiliate links to shop (never any additional cost to you)!


Wednesday, October 2, 2024

Hello Fall Card With A Decorative Sign

Happy October crafty friends! I love the decorated signs you see in gift shops and was excited to see the new Lovely Layers: Seasonal Signs dies by Honey Bee Stamps!  This is a fun set that you can use year round!

EDIT:  Today, October 5 is World Card Making Day and to celebrate, EVERYTHING in the Honey Bee shop is 20% off!  No coupon code needed!  Check off your wish list and shop at Honey Bee!

I started out by die cutting the Lovely Layers: Seasonal Signs round sign die from white woodgrain cardstock. I use an ink blending brush to add Gathered Twigs Distress Ink to color it.

Next I used the Seasonal Signs stencil set and placed the stencil with the words " hello Fall" onto the sign and taped around the edges to cover the rest of the sign. Then I mixed texture paste with a drop of Carved Pumpkin re-inker. I used a pallet tool to spread the colored embossing paste through the stencil. Then I removed the stencil, set the piece aside to dry, and immediately washed up the stencil and tools.

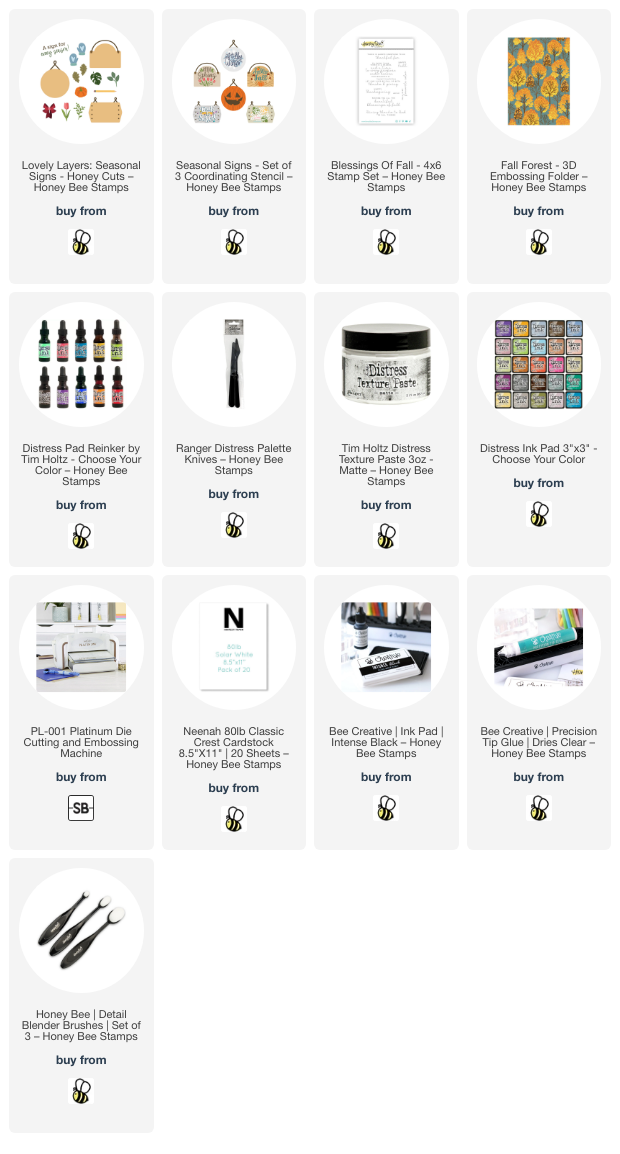
Next I die cut the pumpkins, leaves and stems (most are die cut three times) that are also in the Lovely Layers: Seasonal Signs from white cardstock. I used more Distress Inks and my blending brushes to color the pieces. Here are the colors I used:

  • Oak leaves: Aged Mahogany, Wild Honey, Rusty Hinge, Fossilized Amber, and Peeled Paint
  • leafy branches: Mowed Lawn, Rustic Wilderness
  • pumpkins: Carved Pumpkin, Crackling Campfire, and Gathered Twigs

I embossed a 5-½" x 8" piece of white cardstock with the gorgeous Fall Forest 3D embossing folder with the bottom 1" of the cardstock hanging out of the folder. Then I stamped the sentiment from the Blessings of Fall stamp set on the smooth bottom portion. I trimmed the piece just a bit to be 5" x 7". I inked up just the edges of an A7 folded card base with Gathered Twigs Distress ink and adhered the stamped/embossed panel to it with glue.

I glued the sign to the card base. Then I arranged all of the Seasonal Signs elements around the edge, adhering with glue and a few foam dots.

I topped the sign off with a cute little gingham bow!

Thanks so very much for stopping by.  I hope you are having a wonderful week so far!

I know you have many choices for shopping and I so appreciate your using my affiliate links (never any additional cost to you)!

Saturday, September 28, 2024

Elegant Red and Gold Embossed Holiday Card

Happy Saturday!  Today I'm sharing this card featuring Picket Fence Studios' Winter Blooms stamp and the Merry Christmas Word Die Set.


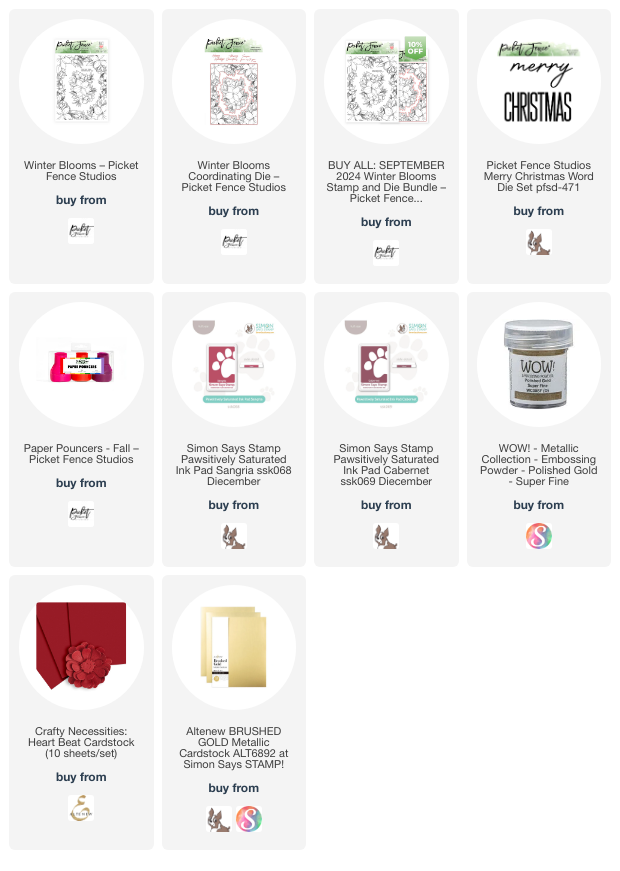
I started with a 4" x 5-¼" piece of red cardstock.  After using my anti-static powder on the cardstock, I stamped the small image from the Winter Blooms stamp set with Versamark embossing ink and added gold embossing powder.  After I heat set the powder, I inked around the edges with two shades of dark red ink.  Be sure to use a clean towel to wipe the excess ink off of the embossing!

I die cut the "Christmas" from the Merry Christmas die three times in red cardstock and once from brushed gold cardstock.  Merry is die cut from white cardstock and inked with a dark red ink using a Paper Pouncer.

I added gold gems from the North Pole gem mix for a bit of sparkle!  

Thanks for stopping by and I hope you're having a good weekend!

Thank you for using my affiliate links to shop (never any additional cost to you)!

Thursday, September 26, 2024

I Used One Set of Inks to Stencil A Card! Sisters Of The Heart

Hello crafty friends!  Sometimes when I am using a previously released product I feel a bit stumped on ideas so the project doesn't look just like any other.  I have Altenew's Mediterranean Glow Fresh Dye Ink set and I wondered if I could make a card with just those four ink colors.

These colors are so pretty, but also very unique, I think, and I am quite pleased with how this card turned out!

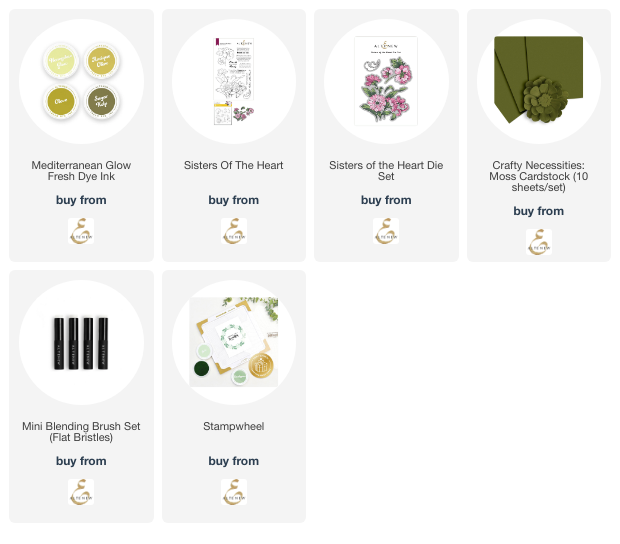
I used the Sisters of the Heart stamps and coordinating stencils for this card.  I colored the flowers using the stencils and blending brushes with the two lightest shades in the Mediterranean Glow set, Honeydew Glow and Antique Olive.  The leaves are colored with the two darkest shades, Olove (not a typo :) and Sugar Kelp.

I stamped the sentiment from the Sisters of the Heart stamp set in Sugar Kelp ink.

Then I trimmed the panel to 4" x 5-¼" and adhered it to an A2 sized piece of Moss cardstock.  These layers were then glued to an A2 card base.

This card was super quick to make, I love the sentiment, and the colors too!  Thanks so much for stopping by.

I know you have many choices for shopping and I so appreciate you using my affiliate links (never any additional cost to you)!

Wednesday, September 25, 2024

I'm Batty For You! A Sweet Halloween Card

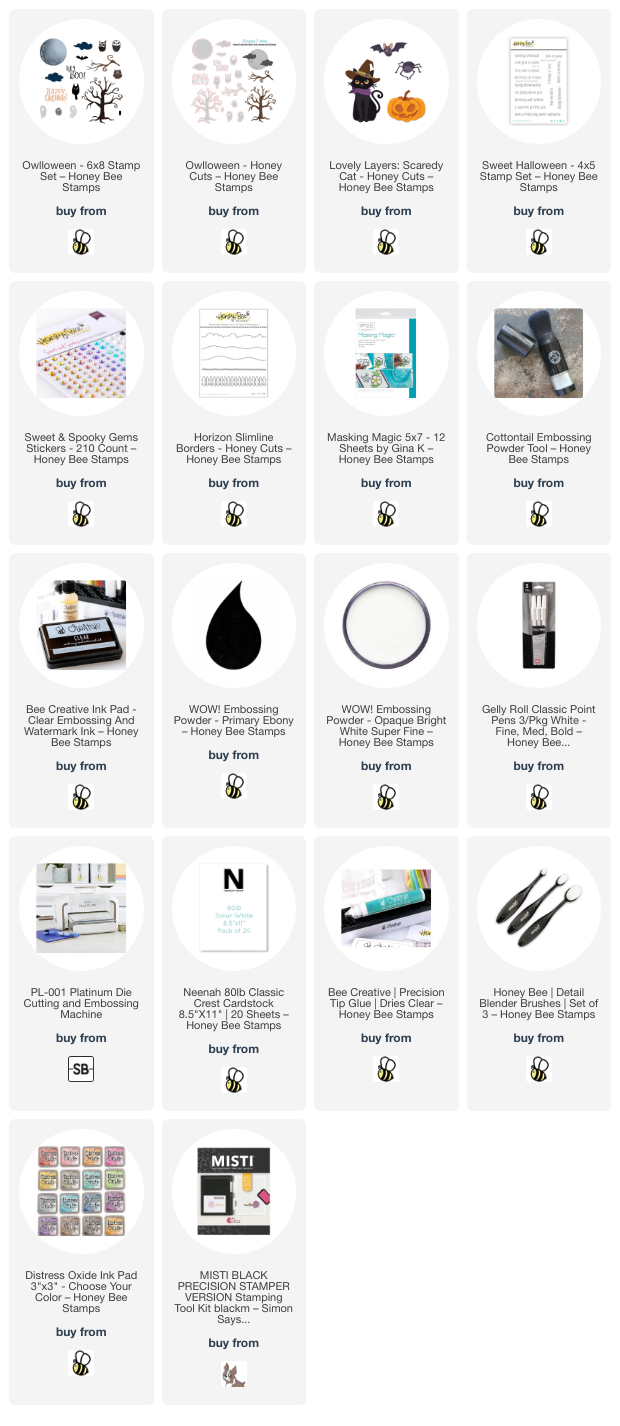
Hello crafty friends! Since it's almost October (I can't believe how time flies!) I've made a not too spooky card for Halloween featuring a few of the new sets in the Honey Bee Stamps' Falloween release! I love how so many of Honey Bee's sets work together such as the Owlloween stamps and coordinating dies with the Lovely Layers: Scaredy Cat dies.

Before I began, I die cut the moon in the Owlloween Honey Cuts from masking paper. Be sure to save the negative part to use later. Then I die cut a 4-¼" x 5-½" piece of masking paper with a hill die from the Horizon Slimline Borders dies. These will be used to mask the sky and the ground.

All of the inks I used for this background panel are Distress Oxide inks. I placed the mask for the moon onto an A2 sized piece of 80# white Neenah. I placed the mask for the ground at the bottom of the A2 white Neenah panel. Then I used ink blending brushes and the following colors to create the night sky around the moon: Prize Ribbon, Chipped Sapphire, Villainous Potion, and Black Soot.

Next I placed the negative moon mask around the moon. Using my MISTI, I inked up the moon stamp from the Owlloween stamp set with Lost Shadow. I used a blending brush to wipe away a lot of the ink in the center of the stamp so that the edges of the moon would be darker than the rest of it. I stamped the moon, then repeated this step as much as needed until I was happy with the look. Before I removed the mask, I inked on Antique Linen just around the edges of the moon.

I removed the negative moon mask and put the mask for the moon back over it. I blended on a bit more Antique Linen around the edges of the mask blending out into the sky. Then I covered the sky with the other mask and blended on Black Soot, Chipped Sapphire and Prized Ribbon for the hill. I left a portion of the ground lighter to look like the light of the moon.

I know that sounds like a lot a lot of steps, but it was actually very easy to do. If you are more visual, like me, I will have a reel posted on my Instagram soon that will demonstrate these steps.

Note: I did the following step the next day to allow lots of time for the Oxide inks to dry thoroughly. I added anti-static powder to the inked nighttime panel. Then I stamped the tree from the Owlloween stamp set with clear embossing ink and added black embossing powder. I used my heat tool to set the powder. I love the bit of dimension and shine this adds!

Then I stamped the small bat in the Owlloween set with black pigment ink onto the background piece, some hanging from the tree branches and a couple sitting on branches.

The large bat and the pumpkin are from the Lovely Layers: Scaredy Cat Honey Cuts. I die cut black cardstock with the bat die. The bat's nose/ears die and the pumpkins layers are die cut from white cardstock. After coloring the white layers with Carved Pumpkin and Crackling Campfire Oxides, I used glue to adhere the pieces together.

I used foam tape to adhere the bat and pumpkin to the card. Then I stamped a sentiment from the Sweet Halloween stamp set with clear embossing ink onto black cardstock. I added white embossing powder and heat set it. I cut it out with the coordinating Honey Cut and adhered it with a foam strip.

I added gems from the Sweet and Spooky Gem Stickers to the pumpkin's eyes. I used a white gel pen to add dots to the stamp bats' eyes.

I'm definitely on team "not too spooky" for Halloween! Are you like me, or are you more "give me all the creepiness"? Either way, you can create your preferred style with these sets!

Thank you so much for stopping by! Have a wonderful and crafty day!

I know you have lots of choices for shopping and I thank you for using my affiliate links (never any additional cost to you)!
Sunday, September 22, 2024

Autumn Grateful For Your Friendship Card

Happy Sunday!!  I'm over on the Brass & Bliss blog today to share all of the details to make this card featuring the new and so beautiful Fall Mushroom Bouquet Die Set and the Nested Woodgrain Sign Die.

I used several different colored cardstock scraps (most in the links below) to die cut the elements in the Fall Mushroom Bouquet Die set.

I really like the new Nested Woodgrain Sign Die and can think of many different ways to use it!  I added some brown ink to shade the brown cardstock after I die cut the sign.

I heat embossed the sentiment from the Kittie Says Friends stamp set in gold for some pretty shine!

Thanks for stopping by and if you'd like all of the details, please stop by the blog at Brass & Bliss!

Thanks so much for using my affiliate links to shop (never any additional cost to you)!

Saturday, September 21, 2024

Joy To The World Shaker Card

Hi crafty friends!  I have a super quick post to share a bit more about my card in my Instagram reels featuring Picket Fence Studios gorgeous Winter Blooms.

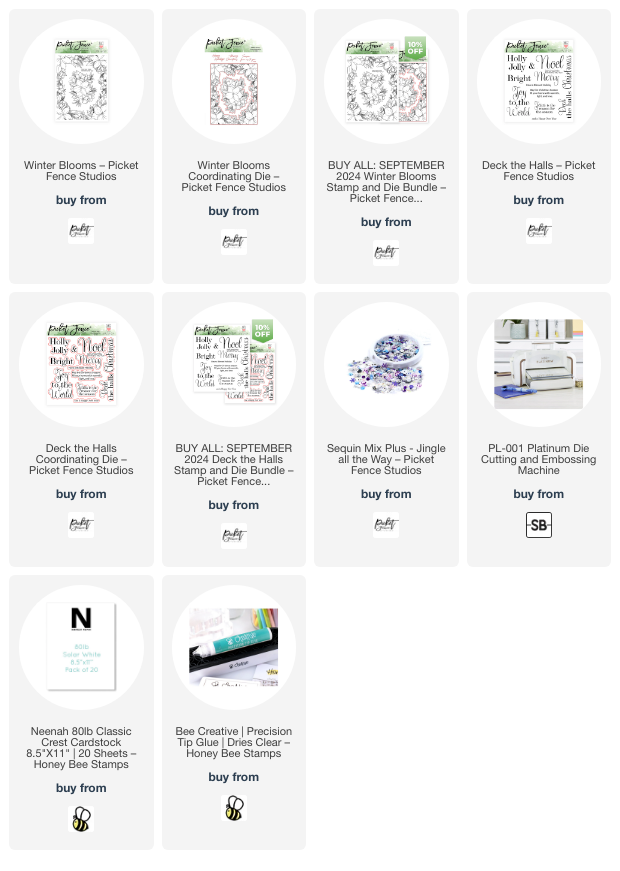
I love the colors of the Jingle All The Way sequin mix and wanted to coordinate my card colors so I could use this in a shaker card!  After I stamped the large image from the Winters Blooms set in black ink, I used these Copic marker colors:

  • Flowers: V09, V17, V15, V01; leaves: YG17, YG25, YG03, G19, G17, G09, G05, G03, G28; berries: B18, B05, B04.

I cut it out with the coordinating Winter Blooms die.  Next I added tape runner on the back around all of the images to adhere a piece of acetate and then thick foam tape all around.  Then I removed the backing paper of the foam tape.

I added probably over half of the beautiful Jingle All The Way sequin mix to the center of the acetate.  Then I added glue to the foam tape.  There's two reasons for this: 1) it gives you a bit of "wiggle room" to position the card base, and 2) the glue will hold the layers together over the long term.  I've found that just the adhesive of the foam tape alone, over time, looses its stickiness.

The sentiment is from the Deck the Halls stamp set.  I cut it out with the coordinating die and adhered it to the card with glue.

Thank you for stopping by today!  I hope it's a wonderful one!

I know there are many choices for shopping, and I really appreciate you using my affiliate links (never any additional cost to you)!