Wednesday, November 9, 2022

Simon Says Stamp Holiday Sparkle Release

 Hello crafty friends!  I'm happy to be sharing my card and coordinating gift tag I made featuring Simon Says Stamp's new So Many Presents stamp set!  This is part of their Holiday Sparkle release that is available now!

What's really fun about the So Many Presents stamp set is that the center is removable and it stamps the three presents you see on my tag!

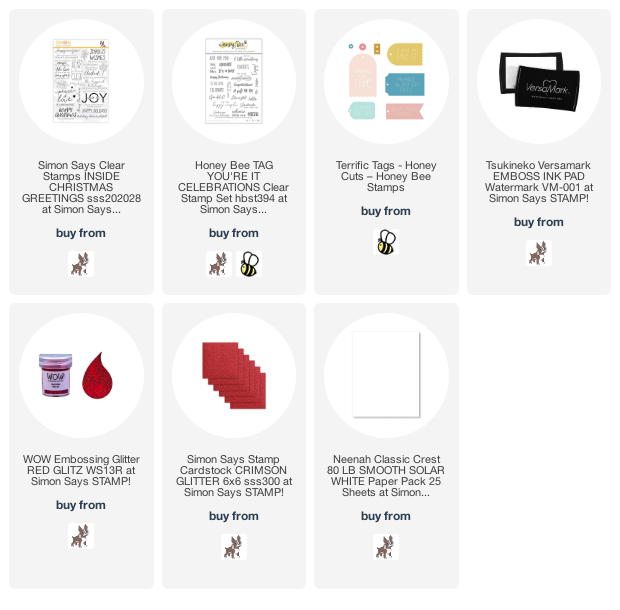
These were super easy to make and I stamped the images onto 80# Neenah Solar White cardstock with Versamark clear embossing ink.  Then I sprinkled on some red glitter embossing powder (that I've had forever!) and heat set it.

I die cut the tag and trimmed red glitter cardstock to layer behind it.  I stamped and heat embossed "to" and "from" using a set from Honey Bee.  Then  I tied on red and gingham ribbons from my stash.

I trimmed the main panel to 4" x 5-¼" and wrapped red grosgrain ribbon around it twice.  Then I added foam tape to the back and adhered it to a red glitter A2 panel.

Next I stamped the sentiment from the Inside Christmas Greetings with Versamark onto red cardstock.  I heat set the white embossing powder and added a glitter cardstock layer behind it.  Of course, I had to pop it up with foam tape!

Super easy card and tag to make!  I hope you'll check out all of the wonderful Holiday Sparkle release over in Simon's shop.  Thanks so much for stopping by!

Thank you for using my affiliate links (never any additional cost to you).
Holiday Wreath Shaker Card

Happy Wednesday!  Today I'm sharing a beautiful shaker card I made with Honey Bee stamps new Holiday Wreath stamps and coordinating dies and stencils!

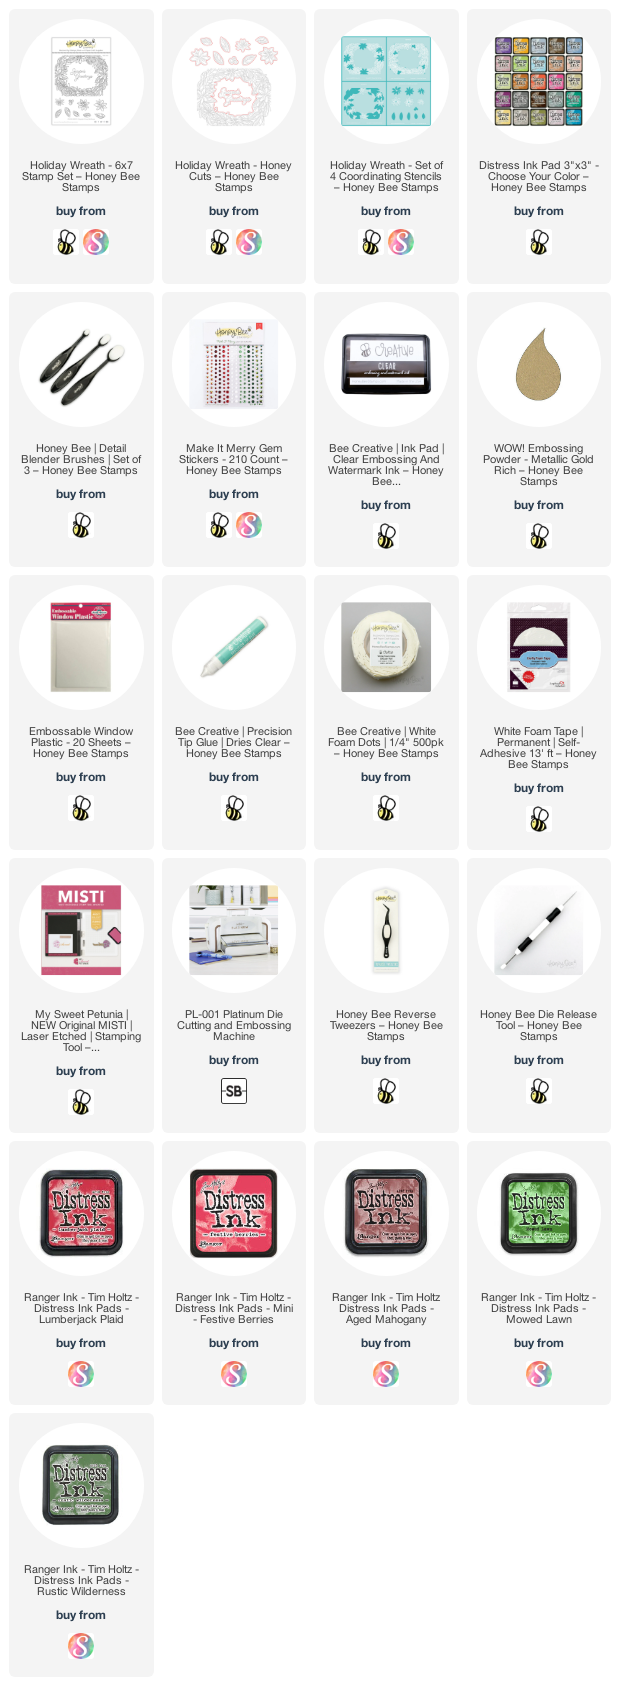
First I used the Holiday Wreath Stencils to ink on Distress Inks with my detail blender brushes.  I used the new Lumberjack Plaid Distress ink and Aged Mahogany on the flowers--these pair beautifully together!  For the berries I used Festive Berries, the leaves are Rustic Wilderness and Mowed Lawn.  I used the same  colors for the individual flower, leaves, and berries stencil.

When the stencils aren't too detailed, I do my stenciling first so I don't have to worry about any ink dulling stamped or embossed lines.  Honey Bee's stencils are so easy to line with because of the etched lines in them.  When the inks were dry, I lined up the coordinating Holiday Wreath stamp and heat embossed it with gold embossing powder.  Don't forget to use your anti-static tool first!

Next I used the coordinating dies to cut all the pieces out.  Then I stamped the sentiment from the Holiday Wreath set onto embossable window plastic and heat set it with gold embossing powder.  I used double sided adhesive to add it to the back of the wreath panel.  Then I added foam tape to the back of the panel and poured in some coordinating sequins from my stash.  I like to add another piece of acetate to the back to close the shaker window.  This makes it much easier to line it up with my card base.

After I adhered the shaker panel to the A2 card base with Bee Creative glue, I used glue and foam dots to add on the additional flowers, leaves, and berries!

I really do enjoy having coordinating stencils to color the stamped images!  I think this Holiday Wreath would be so pretty in other colors and would definitely be just as beautiful as a flat non-shaker card!  Thank you so much for stopping by today!

Thank you for using my affiliate links (never any additional cost to you).

Thursday, November 3, 2022

Spellbinders November 2022 Glimmer Hot Foil Kit of the Month

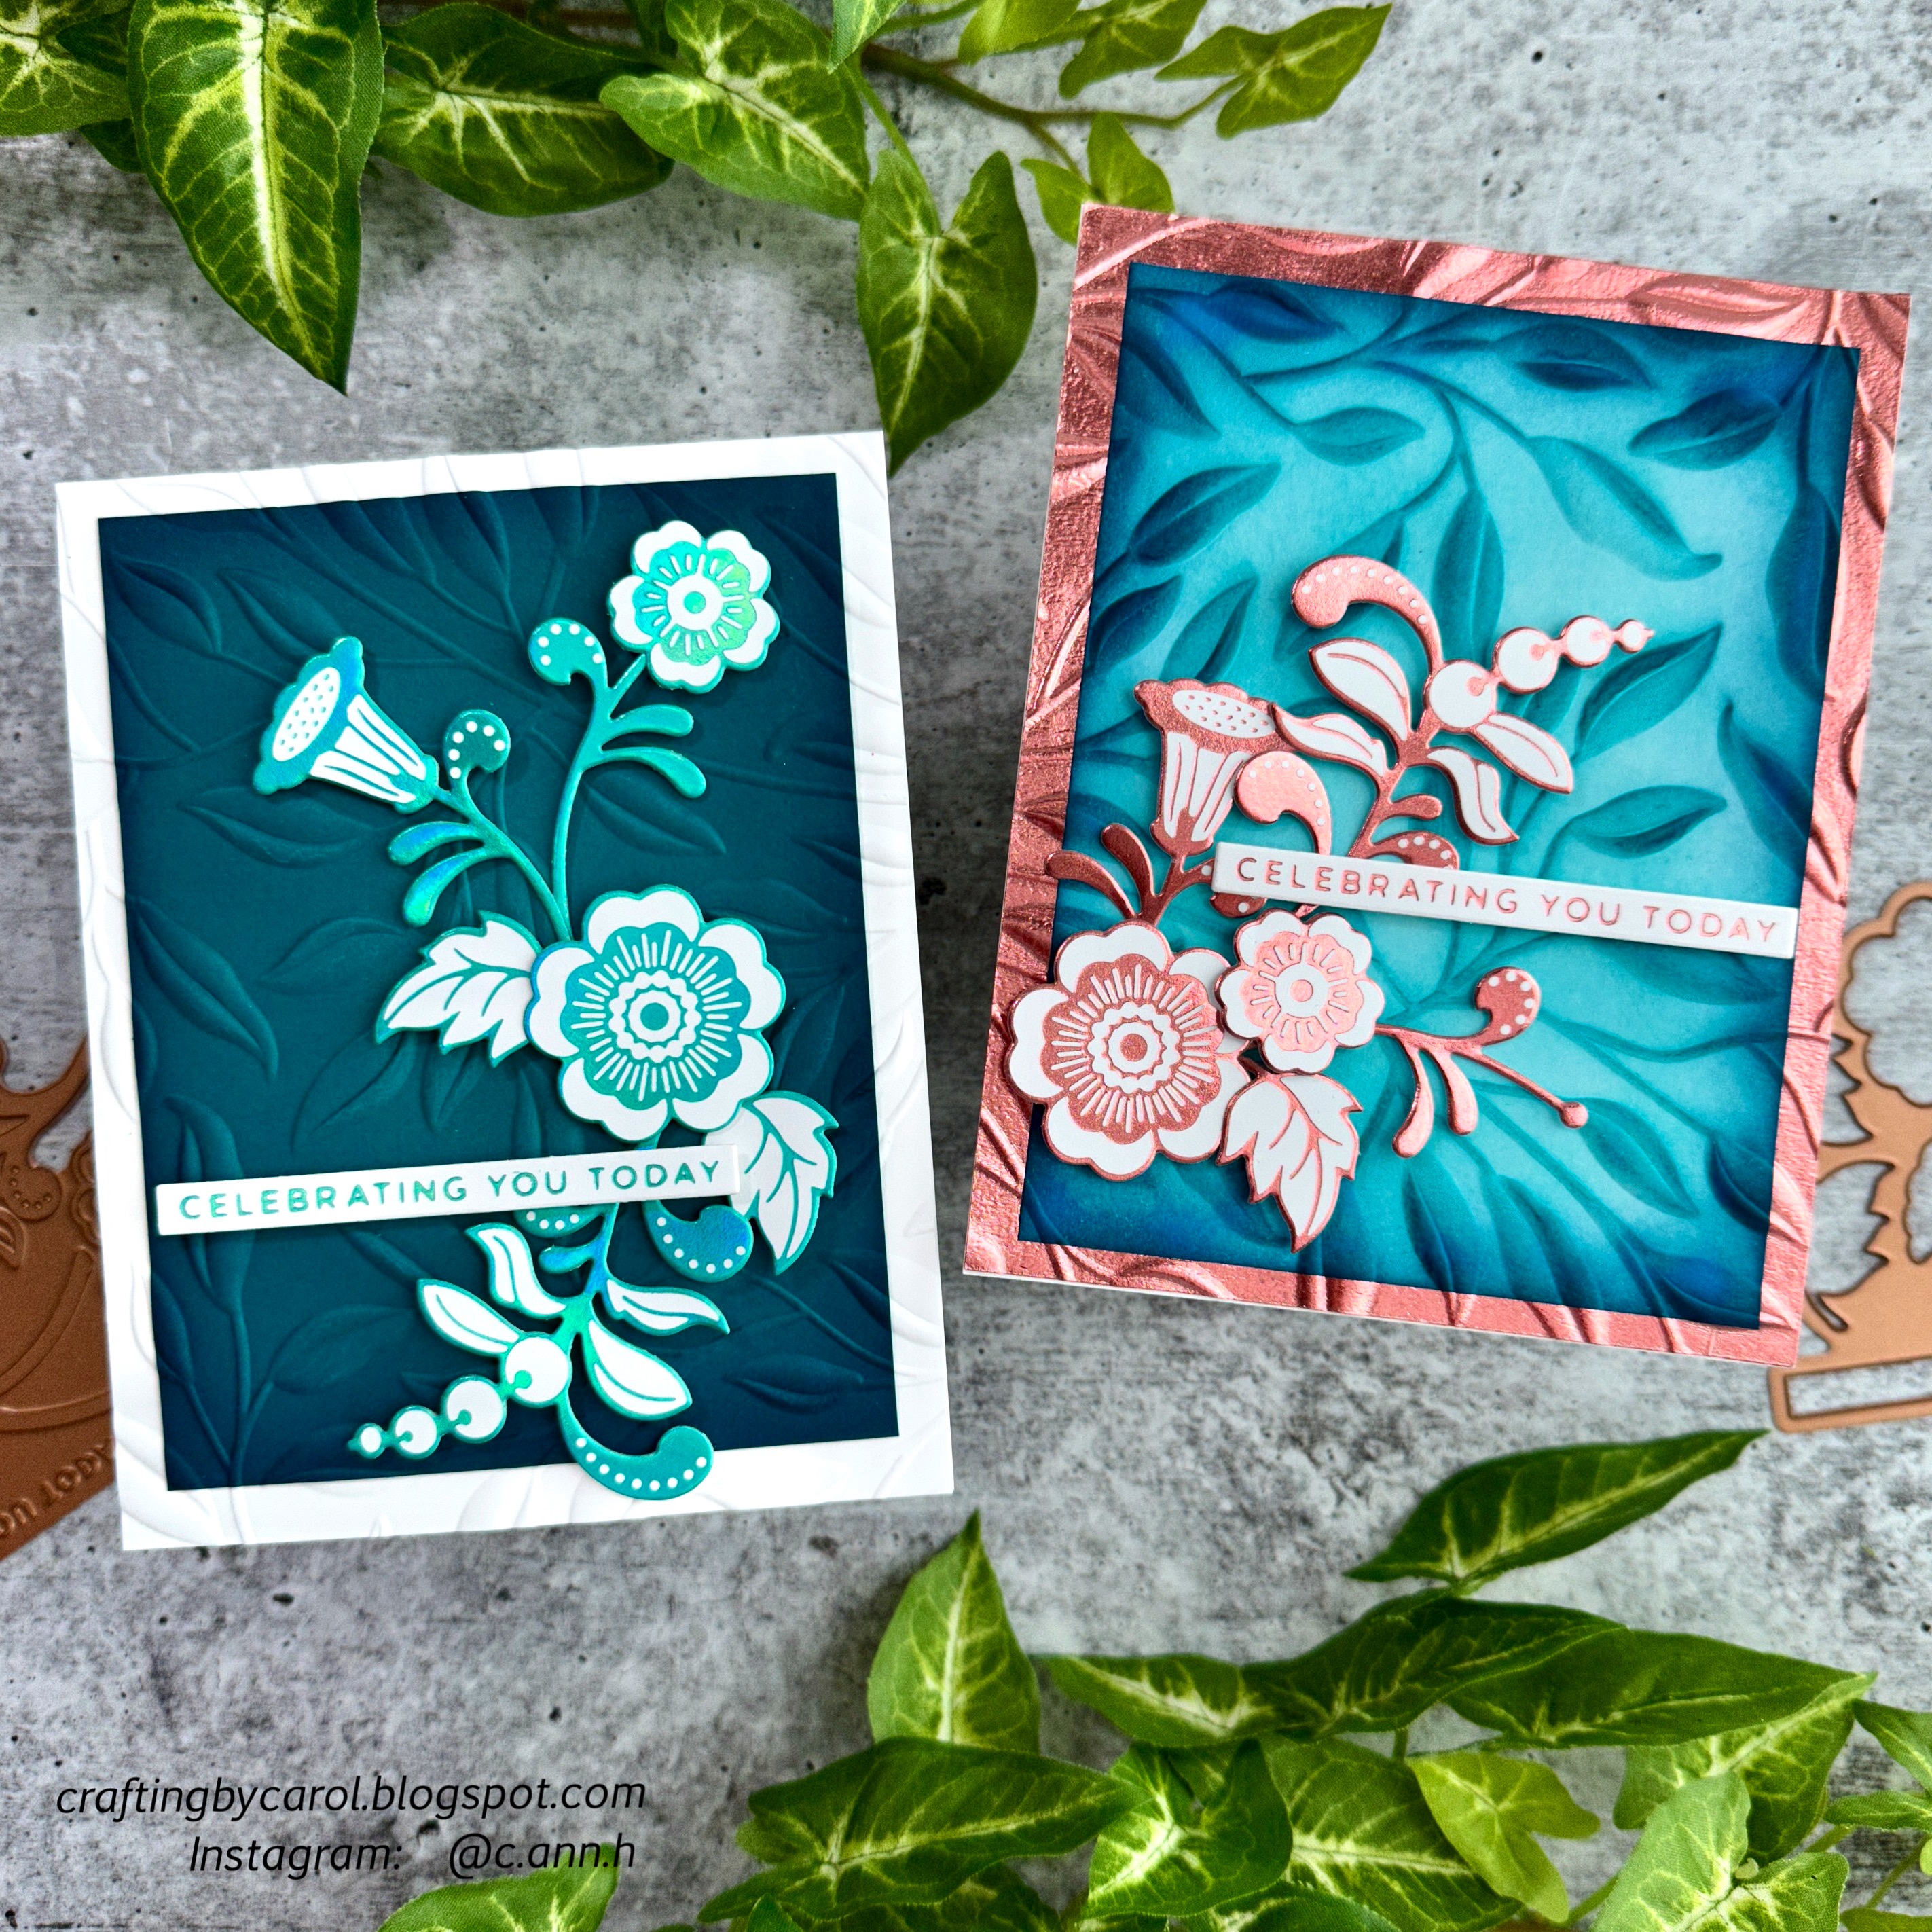
Hello friends!  Today I'm sharing two cards I made with Spellbinders' November Glimmer Hot Foil Kit.  This month's kit consists of one foiling plate for all of the images!!  I love this!  There is also one die to cut the images out along with a roll of hot foil.

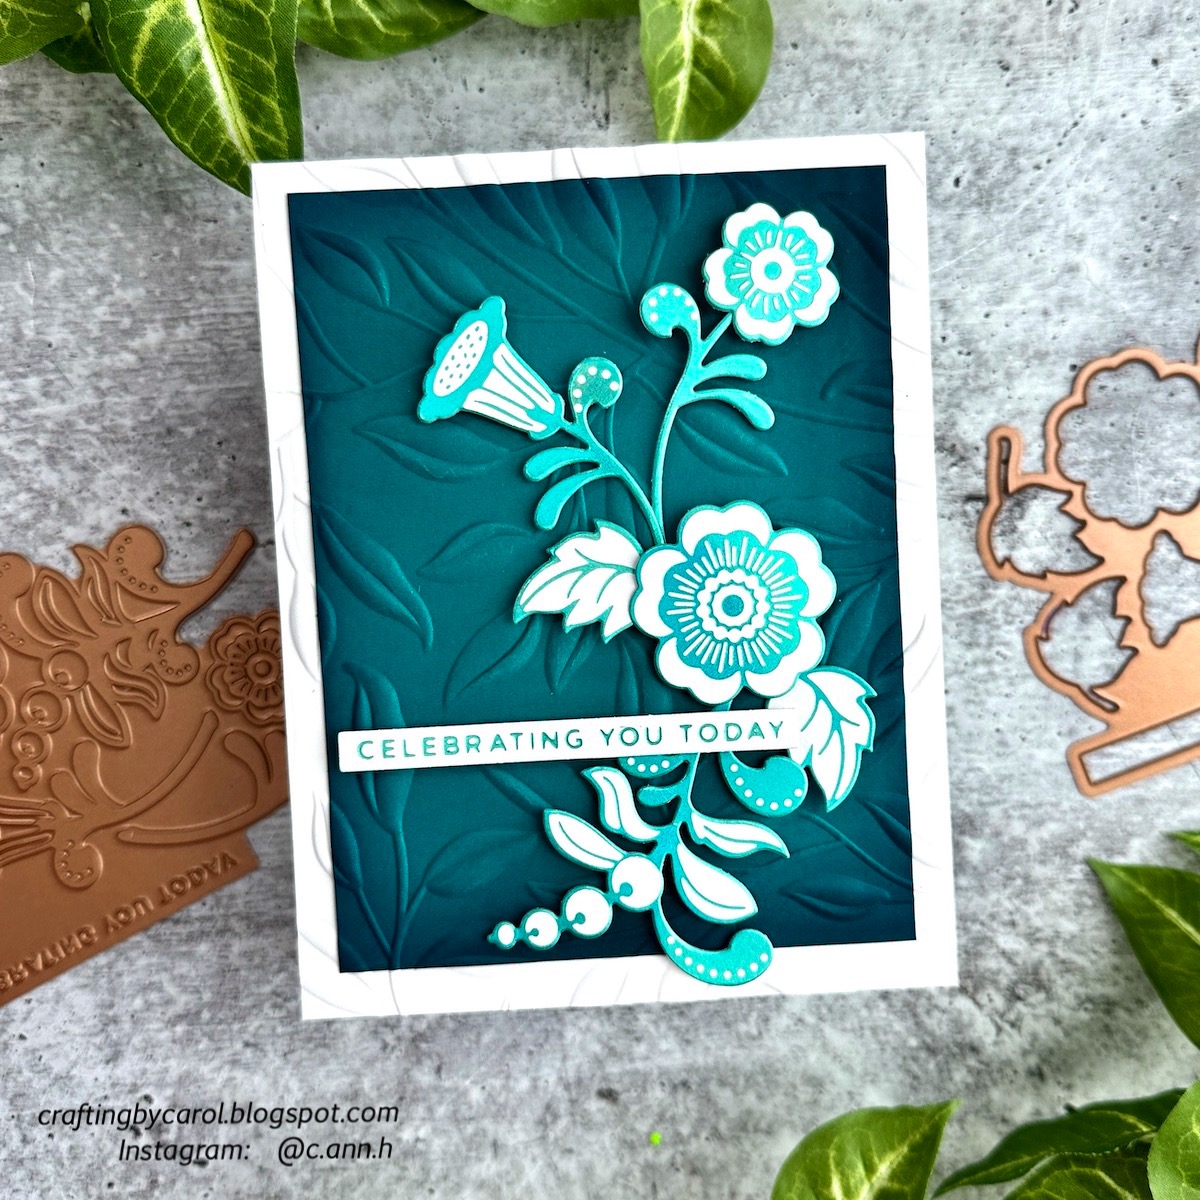
My first card uses some teal cardstock and Moondust Glimmer Hot Foil.

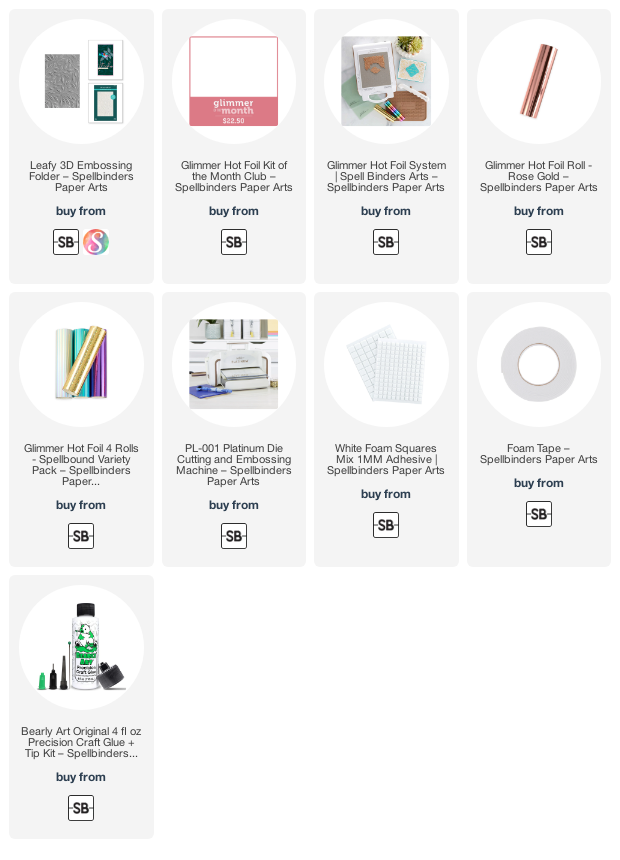
First I embossed some white and teal cardstock with the Leafy 3D embossing folder.  I trimmed the teal piece down to 3-¾" x 5" and inked the edges with Peacock Feathers and Uncharted Mariner distress inks.

After I foiled the Glimmer Kit plate with Moondust foil, I used the die to cut them out.  I popped all the elements up with foam tape.  I love the look of two different cardstocks with the embossing folder!

My second card features the Glimmer Kit plate and rose gold Glimmer foil!

I used the same Leafy 3D embossing folder here.  First I added a sheet of double-sided adhesive to some white cardstock.  I carefully slowly pulled the backer away while adhering a piece of Rose Gold Glimmer foil.  I wanted a perfectly coordinating border for this card and I love the look.  I ran the panel, along with some white cardstock through my Platinum with the Leafy embossing folder.

Then I used an ink blending brush to add Peacock Feathers and Uncharted Mariner distress inks to the white panel.  I really like how the brush emphasizes the raised embossed leaves!  Again, I adhered the foiled images with foam tape and glue.

These were fun to make and I'm not sure which I like better!  Do you have a preference?  Let me know in the comments.  Thanks so much for stopping by today.  I hope you've enjoyed my versions of the Glimmer Foil Kit!

Thank you for using my affiliate links (never at any additional cost to you).

Wednesday, November 2, 2022

Winter Village Scene Christmas Card

Happy Wednesday friends! Are you loving Honey Bee Stamps Make it Merry release as much as I am? It's absolutely wonderful and I couldn't wait to have a play with the new Winter Village Honey Cuts! I've paired the village with an older favorite, the Little Pickup Paper Piecing Honey Cuts.

The steps for this 5" x 7" card are fairly simple. I chose glitter cardstock for the hills and snowy pieces. I used the Horizon Slimline Borders dies to cut out the hills. The die for the snowy layers is in the Winter Village set. I popped up the bottom hill with foam tape and used Bee Creative glue for the top hill. I also added white splatters with white gouache to some light gray cardstock.

I chose various colors of scrap pieces of cardstock from my stash and die cut the Winter Village and Little Pickup. There's a very helpful layering guide that makes assembling your village so easy found in the product link on Honey Bee's website! I used a fine tip glue and my reverse tweezers while gluing the pieces together. You can arrange the wreaths, snow pieces, etc. however you like. It's so fun!!! As you can tell, I also added some white snow splatters to the village and red truck.

I stamped the sentiment from the Home For The Holidays stamp set with black ink and used the coordinating die to cut it out. I adhered it to the card with foam tape.

Do you have a favorite from the Make it Merry release? This Winter Village is certainly up at the top for me. I can think of many cute ways to use it! Thanks so very much for stopping by. I hope you have a wonderful, and crafty week!

Thank you if you use my affiliate links (never any additional cost to you).

Monday, October 31, 2022

Elegant Floral Frames Holiday Card & Instagram Hop

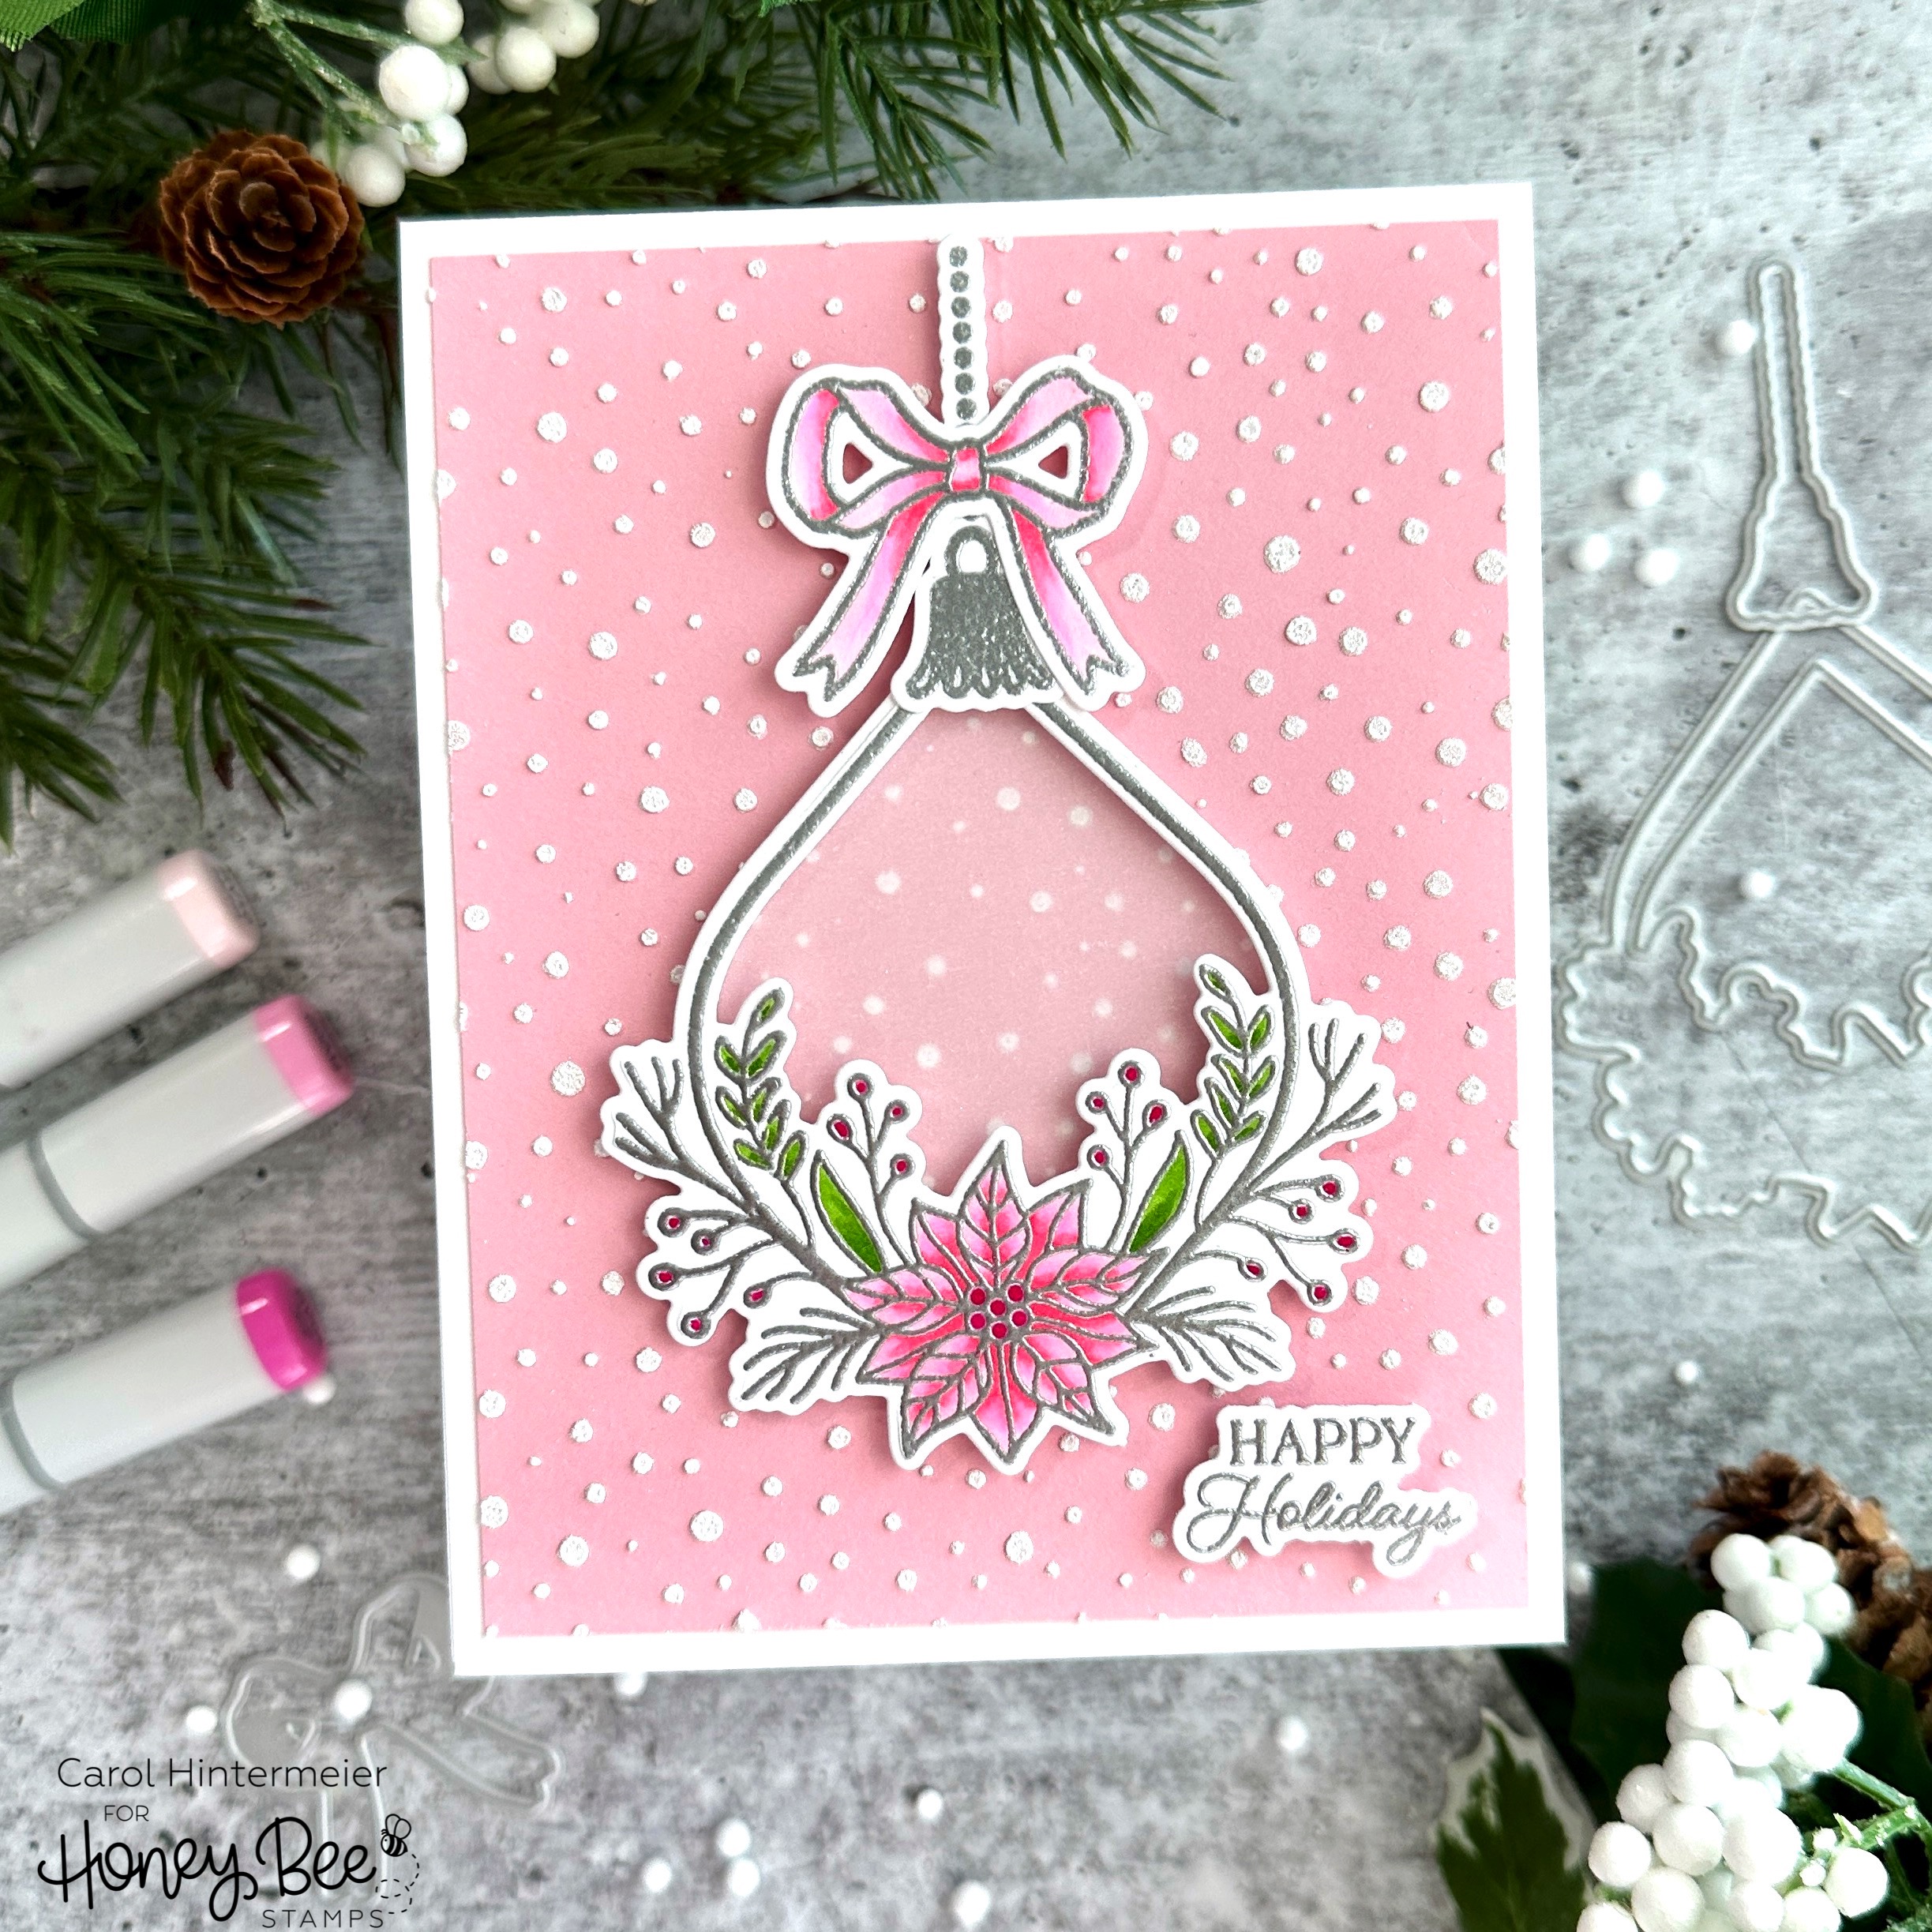
Hi crafty friends!  I'm sharing my card here that is part of Honey Bee Stamps' Instagram Hop to celebrate the release of their beautiful Make it Merry release!  Honey Bee is giving away TWO $50 gift cards to two lucky commenters over on Instagram!  This card features the beautiful Elegant Floral Frames and Home for the Holidays sets.


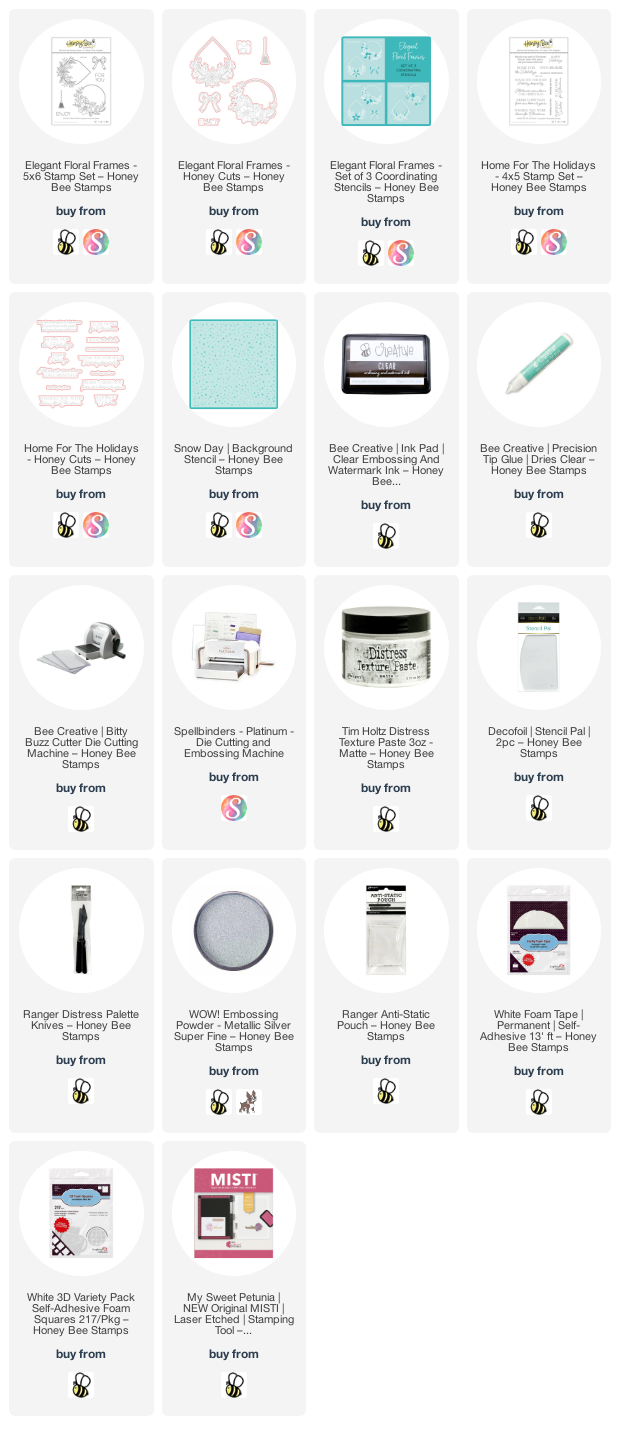
This card really was quick to make! I used the Snow Day background stencil to add texture paste to pink cardstock.  The pink cardstock is 4" x 5-¼".  I set that aside to dry, which didn't take very long as the dots are very small.

I stamped the ornament, topper and bow from the Elegant Floral Frames set in clear embossing ink.  I also stamped the sentiment that's from the Home For The Holidays set.  I sprinkled silver embossing powder over the stamped images and heat set it.

Then I used a few Copic markers to color the poinsettia, berries, and leaves.  I was careful to not color over the embossing, but it was easy to do! (There are coordinating stencils for this set to use as another easy way to color the images.) I used coordinating dies from the Elegant Floral Frames and Home for the Holidays die sets to cut everything out. 

I added foam tape to the back of the images, then decided I wanted some vellum in the center of the ornament.  I used the die for it to cut the vellum and stuck it to the foam tape.  Some dots of glue helped to adhere it to the card.

Thanks so much for stopping by today!  I hope you'll join me over on Instagram for the hop.  I have all of the hop details in my post.  Click HERE to get there!  Have a wonderful week!

Wednesday, October 26, 2022

Grandma's Christmas Tree - New 3D Embossing Folders & Coordinating Stencils

 Hello crafty friends! Are you loving the Honey Bee Stamps' Make it Merry release as much as I am? There are so many wonderful products that it's so hard to choose what to make next! I couldn't wait to have a play with Honey Bee's new product: the 3D embossing folder that coordinates with the Grandma's Christmas Tree Honey Cuts and stencils. There are so many possibilities with this set!

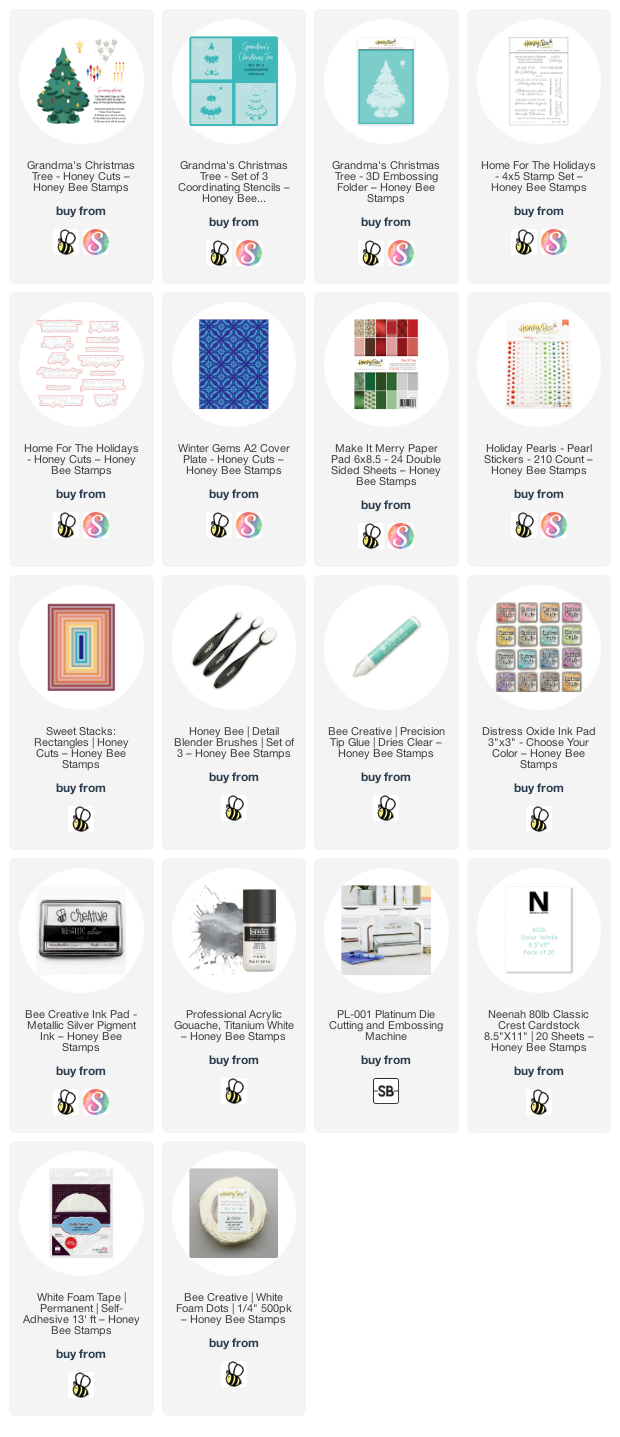
The first thing you need to do is die cut your tree with one of the dies in Grandma's Christmas Tree Honey Cuts. I chose the tree die that cuts the little slits to use with the lights, as I did here, and also the candles and birds. After I die cut the tree from 80# Neenah, I placed the die cut in the Grandma's Christmas Tree 3D embossing folder. I turned it face down and used a couple pieces of removable tape to hold it in place over the recessed side of the embossing folder.

I use a Spellbinders Platinum for my die cutting and found that I didn't have a plate to work for the 3D embossing folder sandwich. NO worries! Just play with creating your own sandwich! What worked for me was a couple pieces of thick chipboard along with a few layers of printer paper. The main thing is you don't want to force it through your machine.

Next I used the coordinating Grandma's Christmas Tree stencil set to add some Bundled Sage and Rustic Wilderness Distress Oxide inks with a couple of detail blending brushes. For the final stencil, I added iridescent glitter gel and then set it aside to dry. I also added white splatters with some diluted white gouache and a paint brush. Then I adhered some white and green pearls from the new Holiday Pearl Stickers set.

After I die cut the light bulbs (x 3) I added drops of White Blizzard Nuvo Glitter Drops. While those were drying I added Metallic Silver ink to the star with a sponge dauber. I used Bee Creative glue to adhere the lights after slipping them into the little slits.

I stamped the sentiment from the Home For The Holidays stamp set with Rustic Wilderness Distress Oxide ink. Then I cut it out with the coordinating die.

The A2 card base is layered with some beautiful paper from the Make It Merry paper pad and a white layer that has the Winter Gems A2 Cover Plate embossed onto it. I used a Sweet Stacks: Rectangles die to trim the white layer down. Then I finished up by popping up the tree and sentiment with foam tape.

This was such a fun card to make and the 3D embossing folder adds so much beautiful detail!! Thank you so much for stopping by today! Have a wonder, and crafty week!!

Tuesday, October 25, 2022

Floral Friendship Card with New Patterned Paper!

Hi crafty friends!  How can October be almost over?!!  You know that means Christmas cards are next, but I'm still loving making autumn themed cards!  My card today features Rubbernecker Stamps beautiful Warm Sunset stamp set along with the gorgeous paper from the Autumn Leaves paper pad.

First I made the card base by running the Diamond Pierced Cover Die and some A2 80# Neenah through my die cutting machine.  Then I trimmed the panel into two strips measuring: 5-½" x 1" and 5-½" x 1-¾".

Next I trimmed a gold piece of paper from the Autumn Leaves paper pad into two narrow strips.  Then I adhered these to the die cut panels.  I added foam tape to the back, but don't adhere these yet!!

I trimmed the pretty patterned paper into a strip that is 5-½" x 2" and placed it on an A2 card base, using the die cut white strips for a guide to know where to adhere the patterned paper.  Then I removed the backing from the foam tape and adhered the white panels to my card.

I stamped the flowers and leaves from the Warm Sunset stamp set with black ink.  Next I stamped the flowers and leaves with the following Color Fuse inks:  Apricot and Citrus (set #2) and Clover and Basil (#10).  I used the coordinating die to cut out the flowers, and I fussy cut the leaves.  I adhered these with glue and with a few foam squares on the part over the recessed area.

To finish up, I stamped the sentiment from the Kitty Says Friends stamp set in Versafine Onyx Black and trimmed it into a strip before popping it up with foam tape.  I added a few coordinating gem stickers for a bit of sparkle.

I always appreciate you very much for stopping by to check out my cards!  Thank you!  I hope you are having a wonderful, and crafty, week!

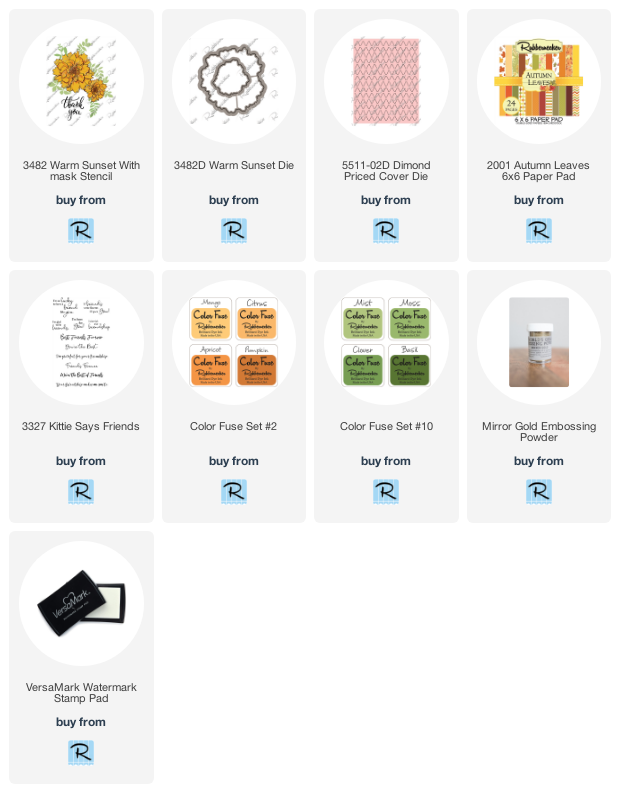
These are the Rubbernecker products I used for my card: