Wednesday, July 12, 2023

Birthday Card with a Flower-Filled Vintage Creel

Today I'm sharing a sweet birthday card where I've filled Honey Bee Stamps' Vintage Creel from the Adventure Awaits release with flowers and greenery! All of my card elements were colored via the "ink smooshing" technique? I really enjoy this technique! Keep reading to learn how I used a new type of ink to emphasize the embossed lines of Vintage Creel!

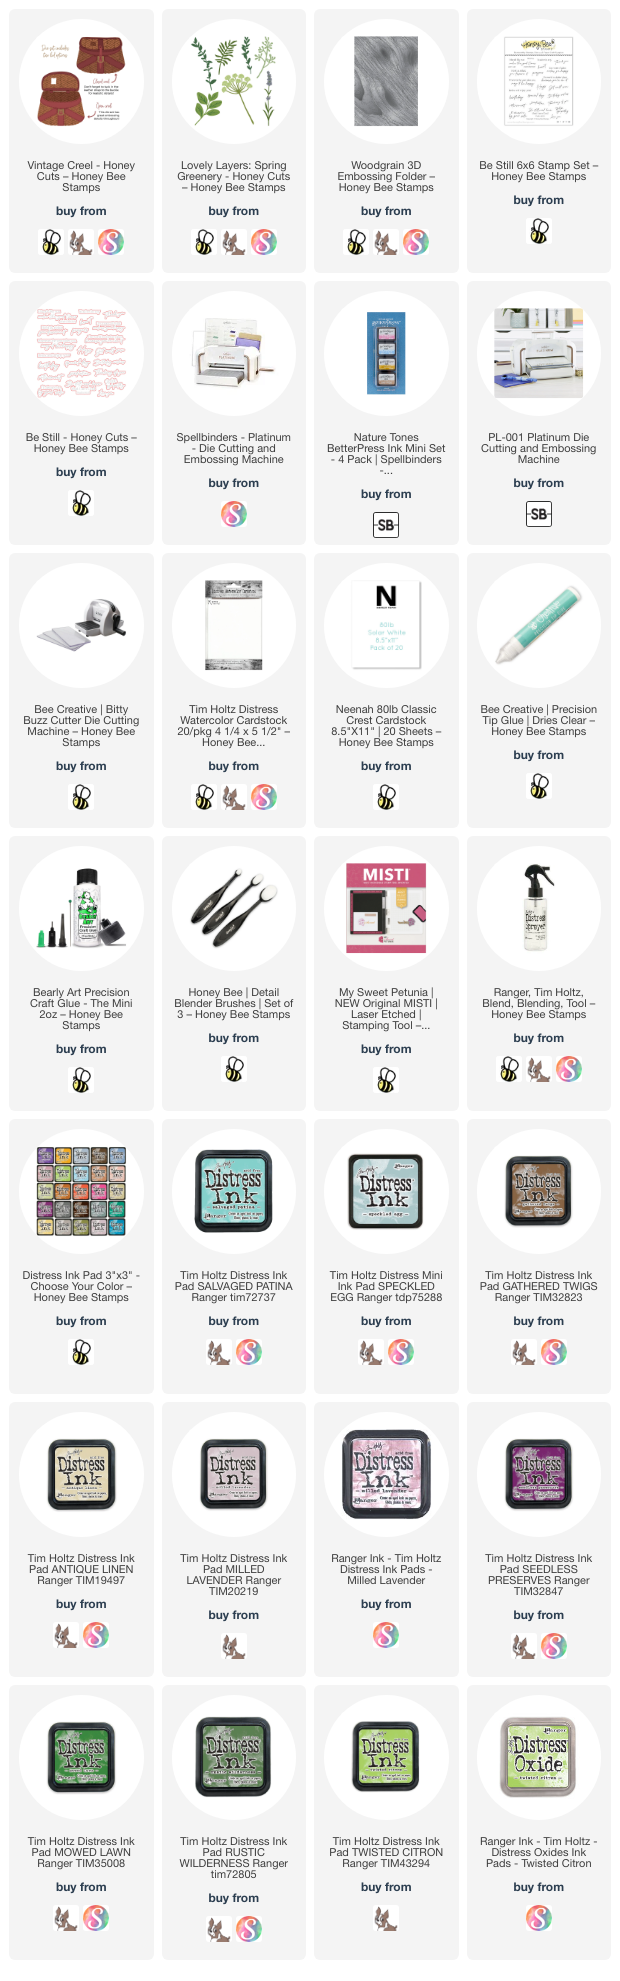
All of the elements for the Vintage Creel and the Lovely Layers: Spring Greenery were inked with Distress Inks onto Distress Watercolor Cardstock. Are you familiar with what I call "ink smooshing"? If not, the way I do this technique is to take my ink pad and "smoosh" it onto my glass craft mat. I use a water sprayer to mist water onto the inks. You just want a few sprays of water so the ink is not too diluted. Then take your piece of watercolor cardstock and dip into the ink. Pick it up and use your heat tool to completely dry the piece. Next, repeat the dip and dry steps as often as desired. Add more ink to your crafting surface as needed.

These are the Distress Inks I used for the creel and flowers:

  • Creel basket: Speckled Egg, Salvaged Patina, Antique Linen (white splatters are acrylic paint)
  • Creel trim: Gathered Twigs, Antique Linen
  • Greenery: lighter greens: Mowed Lawn, Twisted Citron; darker greens: Mowed Lawn Rustic Wilderness
  • Flowers: Milled Lavender, Seedless Preserves
Here's a closeup photo of the Spring Greenery pieces after I glued the layers together.

Before I assembled the Vintage Creel, I noticed that the embossed lines that the die adds were not really visible.  I suppose this was because of the various layers of ink on the cardstock.  I had an idea pop into my head and was asking myself "Will this work?"  So I tried it, and it worked!!

THE PROCESS:  Use the new ink formulated for the new Spellbinders BetterPress and tap it onto the Vintage Creel die in the same way the directions say for the BetterPress Plates.  I carefully placed the die cut piece back into the die, added removable tape, and ran it through my Platinum die cutting machine again.  I used the same sandwich as I would for die cutting.  AND, viola!  The Tawny Brown ink I used shows up subtly in the embossed lines of the Vintage Creel!!

I used dots of Bee Creative glue to tuck the Spring Greenery pieces into the Vintage Creel. Trim off the stems to shorten them as needed. I used very little glue as I wanted to have the dimension of the pieces naturally floating above the card.


For the card base I ran a piece of 80# Neenah through my die cutting machine with the Woodgrain 3D embossing folder. I glued the embossed piece to an A2 card base. Next I added glue to the back of the Vintage Creel and to a few of the flowers and adhered it to the card.

I stamped the sentiment from the Be Still stamp set in brown ink and cut it out with the coordinating die. I added a narrow strip of foam tape to the back to pop it up on the card.

If you need to add birthday cards to your stash, this is a fun one to make and did not take me very long either! Thanks so much for stopping by today! I hope the rest of your week is good and filled with lots of crafting!

I so appreciate you using my affiliate links to shop (never any additional cost to you)!
Tuesday, July 11, 2023

Christmas in July! with new Polar Bear Friends

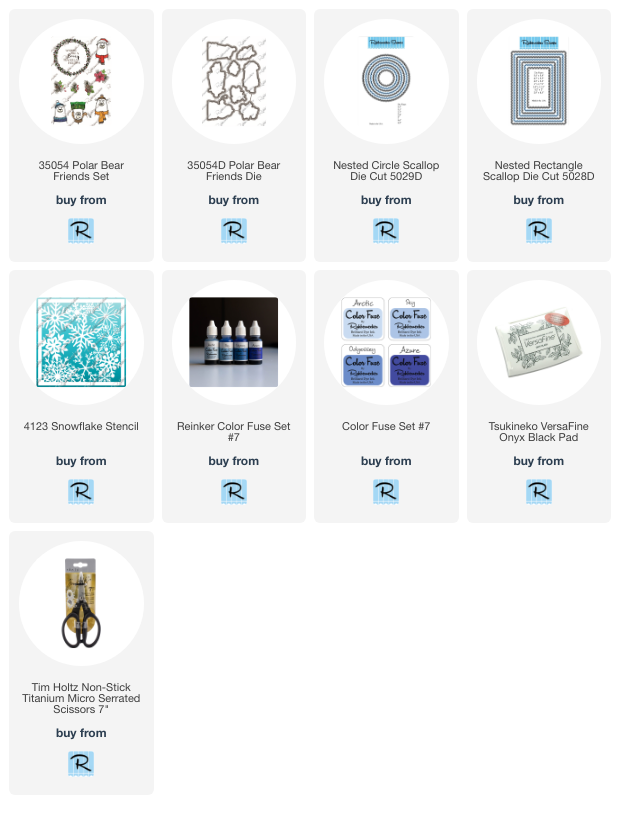
Hello friends!  Today's card features a new stamp set by Rubbernecker Stamps called Polar Bear Friends!  It's so cute and there are three other adorable polar bear faces that I didn't use!

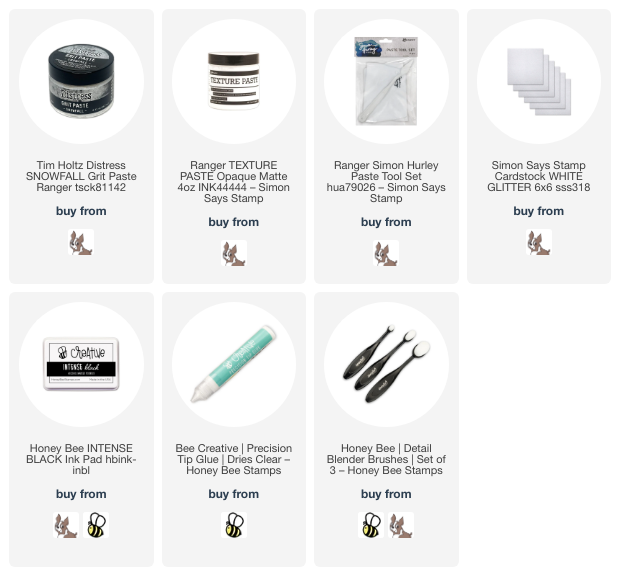
First I die cut some glitter cardstock with the largest Nested Scallops Rectangle die.  Then I mixed a drop of Sky re-inker with Snowfall Grit Paste (you can also use texture paste).  I spread that through the Snowflake Stencil onto the panel.  I set it aside to dry and washed the stencil and my tools.

I stamped the wreath and bear from the Polar Bear Friends set in Copic safe black ink.  After I colored it with my markers, I cut the bear out with the coordinating die and fussy cut the wreath.

Next I die cut 80# Neenah with the second and third largest Nested Circle Scallop dies.  I inked up the edges of the largest one with Sky ink.  I added a blue shadow in the center of the smaller circle with the same ink.

I adhered the two scallop circles together and then to the card with glue.  I popped up the wreath and bear with foam tape.  The sentiment from the Polar Bear Friends set is stamped in black ink, die cut with a Scallop Circle, and also popped up.

If you're a fan of bear stamps like I am, this Polar Bear Friends set is a great one for  your stash!  Thanks so much for stopping by!

Thank you so much for using my affiliate links to shop (never any additional cost to you)!

Thursday, July 6, 2023

Just A Note: I Care Hot Foiling and Stencils

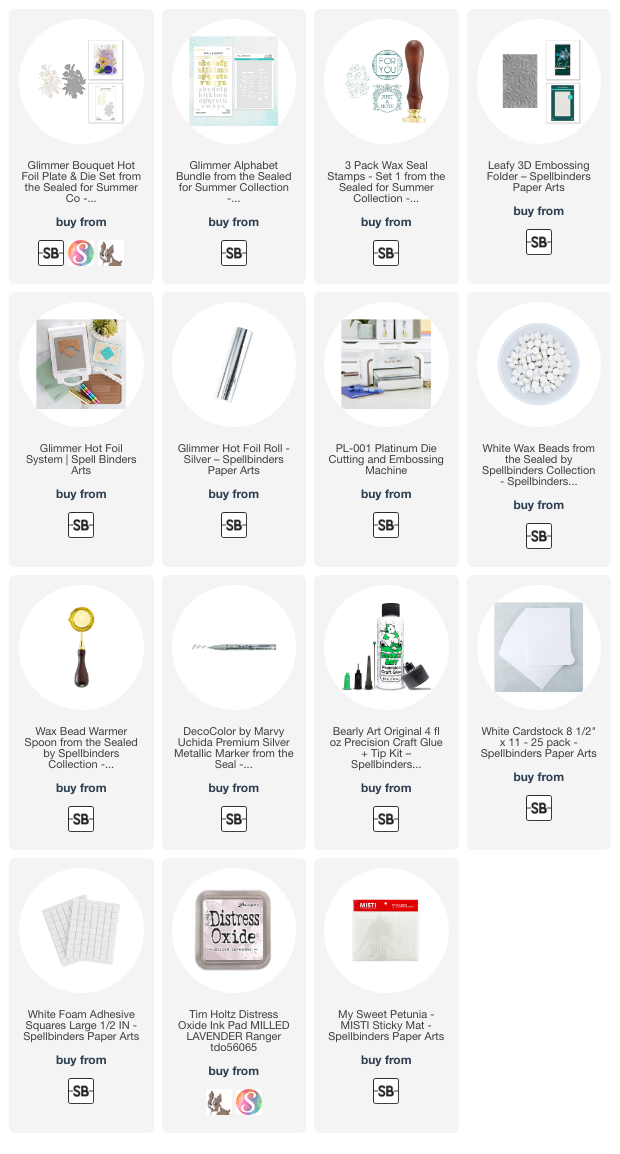
Today I'm sharing a sweet card featuring a few new products from Spellbinders' Sealed For Summer release.  The pretty Glimmer Bouquet along with the Glimmer Alphabet make it easy to create a customized card!  Check out the details!

First I used my Glimmer Hot Foil System and silver foil with the Glimmer Bouquet hot foil plate.  Then I used these Copic markers to color the image:  Y11, Y04, Y00, Y32, Y35, V12, V01, V000, YG63, YG61, YG11, YG06.  I cut it out with the coordinating die.

After I embossing white cardstock with the Leafy 3D embossing folder, I trimmed it to 4" x 5-¼" and adhered it to an A2 card base.

Next I hot foiled the Glimmer Alphabet hot foil plates (there are two that have the entire lower case alphabet) with silver foil.  There's a coordinating stencil that I used to ink on some Milled Lavender Distress Oxide ink.  I cut the letters out with the coordinating dies.

I die cut two more sets of letters from white cardstock.  After I decided on my sentiment I glued the foiled letter to two of the white cardstock letters.

TIP:  I used my MISTI sticky mat to align the letters perfectly straight!  I stuck them along the top edge with part of the letter hanging off.  I found that if I used removable tape to pick them up like I usually would, the tape removes some of the foiling!  So by leaving part of the letters off of the sticky mat, I could add my glue there to adhere to the card.  Here's a visual for you:

When the glue on the letters dried, I was able to use glue with a fine tip applicator to put some glue on the back of the bottom half of the letters.

I made the white wax seal with one of the wax stampers from the All-Occasion 1 Wax Seal Stamp Set.  Then I used a silver pigment pen to color the details of the stamp.

To adhere the wax seal to the card I added glue to a few foam tape squares and then put them onto the back of the seal.  When that dried, I was able to remove the foam backing and adhere it to the card.

Thanks so much for stopping by today!  I hope you have a wonderful, and crafty, day!

Thank you so very much for using my affiliate links to shop (never any additional cost to you)!

Wednesday, July 5, 2023

Game Changer For Your Stenciling! New Waffle Flower Grip Mat

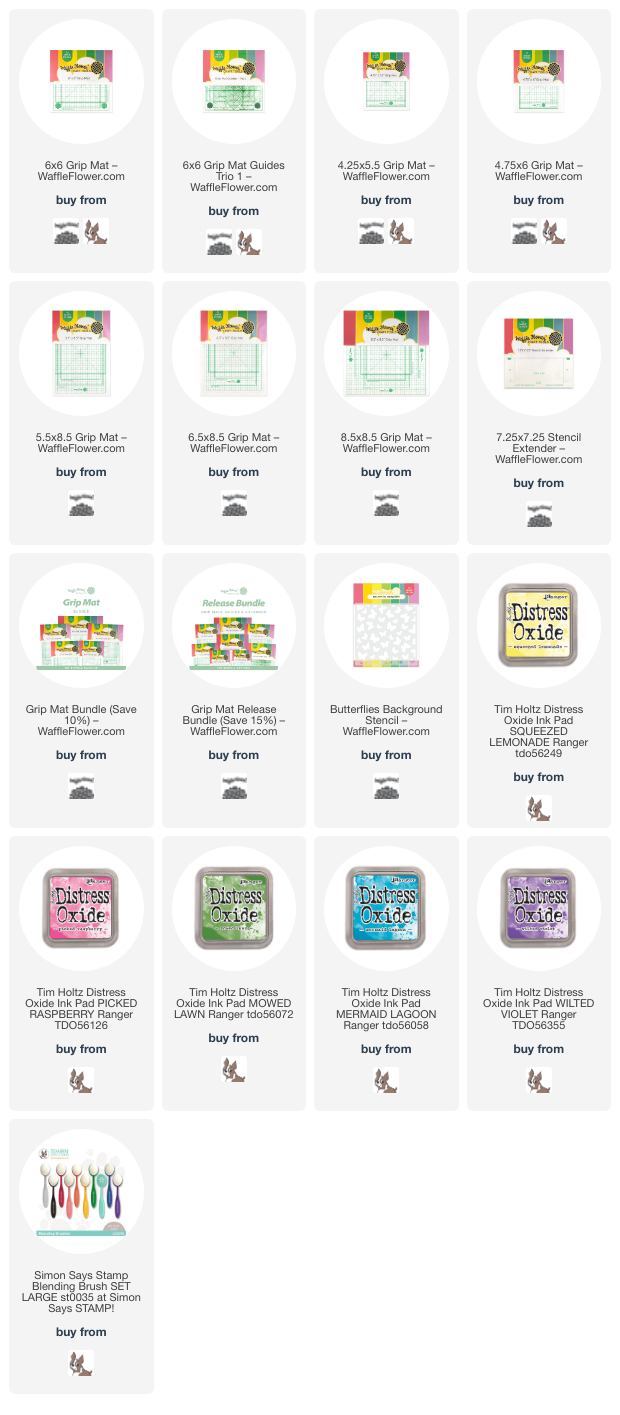
 Hello!  I was gifted and invited to share Waffle Flower's new product called the Grip Mat!  This amazing new product eliminates the need for using removable tape with your stencils!  It comes in six different sizes and can be used more ways than I had time for today! 

This will be a super short post today, as I am sharing a reel over on my Instagram showing how I used the Grip Mat to create my card shown in the photo.  Check out the reel by clicking HERE.

Here is a photo of the Grip Mat fit guide to help with choosing a size:

I highly recommend this awesome new Grip Mat!  I will definitely be ordering another size.  I think I want the 5.5" x 8.5" that will fit into my original MISTI, replacing the foam pad it came with!


Check out these amazing new products by clicking a graphic below (affiliate links-never any additional cost to you)!

Summer Cabin Beach Scene Dimensional Card

 Hello crafty friends!! Today I'm sharing another way to create a different scene with my favorite Honey Bee Stamps Summer Cabins! It's super hot here now and I wish I had a beach trip planned, (but I don't) so I'll just pretend with this fun beach scene card!

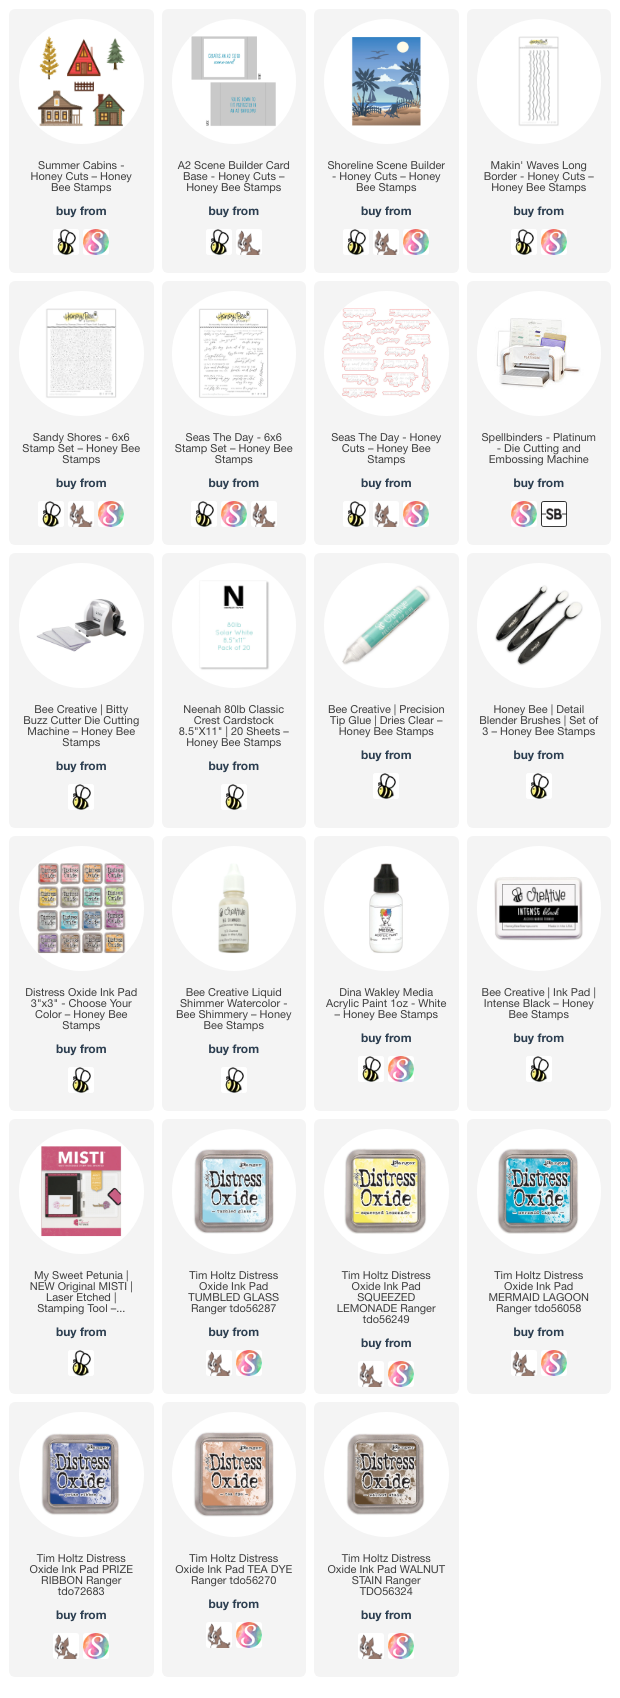
I began by die cutting teal and white cardstock with the two dies in the A2 Scene Builder Card Base set. Next I die cut two strips of white cardstock with two of the waves dies in the Makin' Waves Borders Honey Cuts. I used blender brushes to add Mermaid Lagoon to one strip and Prize Ribbon Distress Oxide ink to the other. I trimmed these strips to 5" wide and one to about 1" tall and the other 1-½" tall. I scored the ends at ¼".

Before I adhered them to the teal frame, I splattered on diluted white paint and some Bee Shimmery liquid shimmer watercolor for some fun sparkle. I added 1/8" double sided tape to the scored tabs to secure the layers to the scene. I created the layer of sand by stamping beige cardstock with the Sandy Shores Background stamp and Tea Dye and Walnut Stain Distress Oxide inks. I hand-trimmed the piece and used my trimmer to cut it to 4-½" and then glued it directly to the back of the frame.

Before I glued on the back of the Card Base I created the other elements for the scene. (I find it easier to glue them in place without the Card Base back adhered.) I chose this cute little cabin from the Summer Cabins Honey Cuts for my scene. I die cut the layers from yellow and teal cardstock and use Bee Creative glue to adhere the pieces. Using your reverse tweezers to place the pieces makes it super easy!

See the little "bushes" in front of the cabin? Well, actually I die cut them using the tiny cloud die in the Shoreline Scene Builder Honey Cuts! This set also is where the palm tree, sailboat and birds are from. I die cut the pieces from white cardstock and used a few Copic markers to color them.

Next I added color to the back of the Card Base by inking on Mustard Seed and Squeezed Lemonade Oxide inks for the sun. I inked on Tumbled Glass Oxide for the sky.

I used glue to adhere the cabin, palm tree, and saiboat to the card layers as shown. Then I folded the back of the Card Base at the score lines and used glue to adhere it to the sides of the card front.

I stamped the sentiment from the Seas The Day stamp set in black ink and cut it out with the coordinating die. Then I glued it and the birds to the back.

I just love that I thought of another scene for the Summer Cabins! I sure hope you've found inspiration too, and thank you so much for stopping by today!

Thank you so much for using my affiliate links to shop (never any additional cost to you)!

Friday, June 30, 2023

Stampendous Hugs Collection by Spellbinders

Happy Friday!  Today I'm sharing two cards that feature products from the new Stampendous Hugs Collection. In addition to the bears I used, there are also kitty and puppy sets that are SO cute!  Did you know that Spellbinders now carries Stampendous products?

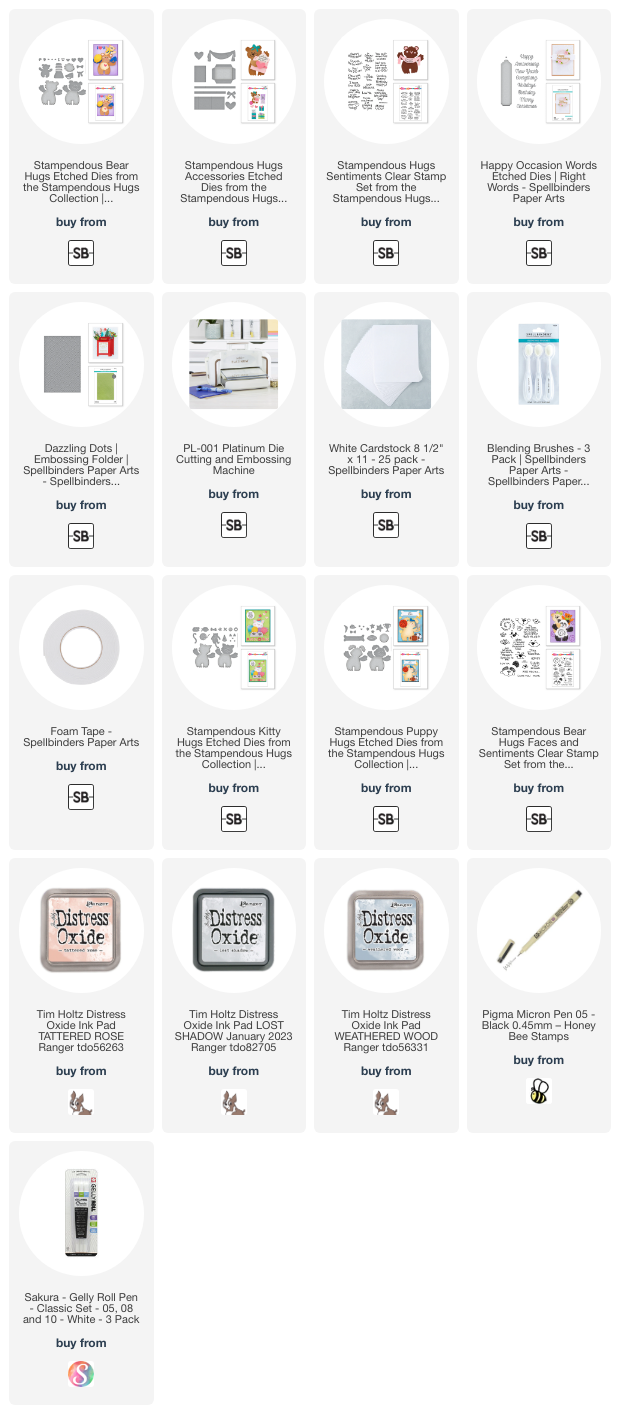
I used the totally adorable Bear Hugs die set for the main elements of both cards.  The set includes both the large and small bear plus several adorable accessories!

For this first card I die cut the large bear and the dies for the tummy, ears, nose, and eyes from white cardstock.  I added the die for the face and ran that through my Platinum machine.  I also cut the banner die from the new Hugs Accessories die set from white cardstock.

I stamped a sentiment from the Bear Hugs Faces and Sentiments sets onto the banner.  I did use my MISTI since I had to curve the stamp to fit onto the banner.  There is a sweet sentiment stamp set in this collection with a few curved sentiments that I have on my wish list!

Then I used C00, C01, and C03 Copic markers to add shading to the bear and banner.  I inked up the tummy and bow using a blender brush and Tattered Rose Distress Oxide ink.  Then I added shading to both with a coordinating R11 Copic marker.  I colored the ears and cheeks with R11and R00 Copic markers.

After I glued the pieces on the bear I set that aside to create the background.  I stamped the paw print found in the Bear Hugs Faces and Sentiments set with Saltwater Taffy Distress Oxide ink.  I trimmed the piece to 4" x 5-¼".  Then I colored a scrap of white cardstock with the R11 Copic and when it was dry, die cut the hearts (Bear Hugs die set).

I glued the hearts around and between the paw prints with some hanging off the edges.  After I trimmed off the overhang, I glued those around the edges of the panel.  Then I used a black marker to add dots.  It's one I've had forever, and is no longer produced.  It was made by Zig and called Dotta•Riffic--LOL!  The smaller dots are made with a black Micron 05 pen.  I trimmed it to 4" x 5-¼" and glued it to an A2 black cardstock panel, and then to an A2 card base.

I added a few details to the cheeks and ears with a white gel pen.  And now for my second card.

This sweet card came together so quickly for me!  (Which rarely happens--Haha!)   I created the card base and layers by first inking up the edges of an A2 sized piece of white cardstock with Saltwater Taffy Distress Oxide ink.  I glued that to a top-folding A2 card base.  After I embossed white cardstock with the Dazzling Dots embossing folder and trimmed it to 4" x 5-¼", I adhered that to the card.

Then I die cut the small bear (Bear Hugs) and the bow, heart, and ribbons (Hugs Accessories) from white cardstock.  I die cut the envelope (Hugs Accessories) from some patterned paper in my stash.

I inked Saltwater Taffy Oxide onto the bow and heart with an ink blending brush.  I used a fine tipped glue to assemble the pocket (that looks like a present since I added the bow!) and adhered the ribbon and bow to it.

I colored the bear with Lost Shadow and Weathered Wood Oxide inks.  Then I stamped his cute face (Bear Hugs Faces and Sentiments) in black ink.  I used a Copic marker to color the cheeks.

The sentiment is stamped with black ink and then I did some partial die cutting with a die in the Happy Occasion Words die set.  After I punched a hole at the top I tied on the twine and adhered it to the little bear's paw.  I inserted the bear into the pocket and added a few dots of glue to secure it.  Then I popped the piece up with foam tape.

These sets are so sweet and totally adorable!  Be sure to check out the entire Stampendous Hugs Collection!  Thanks so much for stopping by, and I hope you have a wonderful, and crafty, weekend!

Thank you for using my affiliate links to shop (never any additional cost to you)!

Wednesday, June 28, 2023

Birthday Card with a Cute Pink Cabin

Happy Wednesday crafty friends!! Today I'm sharing a sweet birthday card for Honey Bee Stamps featuring a pink Summer Cabin and the gorgeous Spring Medley embossing folder.

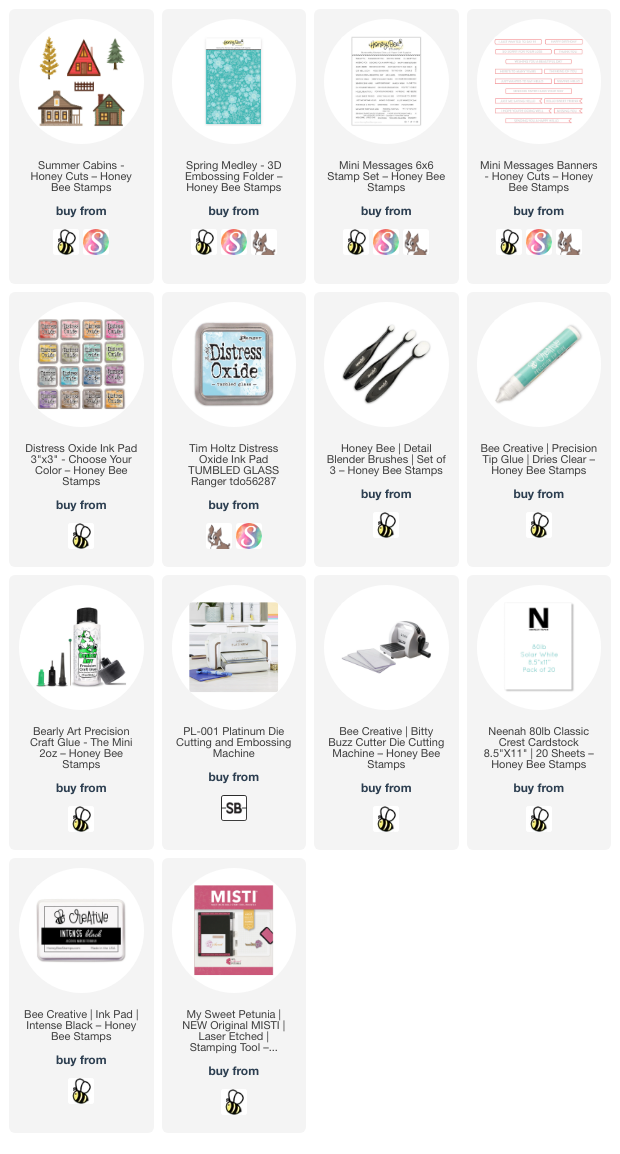
First I die cut one of the cute cabins from the Summer Cabins Honey Cuts. The white pieces are 80# Neenah and the others are colored cardstock from my stash. I did use a brown Copic marker to color the trunks of the trees and also a blue marker for the backing I made to go behind the windows.

Next I used glue with a fine tip to make it easy to assemble the pieces of the cabin and trees. There's also a very handy link to a layering guide you can download and print in the product description.


Next I ran the Spring Medley 3D embossing folder and pink cardstock through my die cutting machine. I trimmed the embossed piece to 4" x 2-¾". I also trimmed a narrow strip of green cardstock.

Before adhering any element to my A2 card base, I used a Detail Blender brush to ink on a bit of Tumbled Glass Distress Oxide ink to create a sky for my scene. I used the embossed panel and the cabin as a guide for where to place the ink.

Next I adhered the pink embossed piece to my card and then the green strip. I used thin foam circles to adhere the cabin, and glue to adhere the other elements except the small tree. I popped it up with foam tape.

I stamped the sentiment from the Mini Messages: Everyday set in Intense black ink. Then I cut it out with a die from Mini Messages Banners. I added a narrow foam tape strip to pop it up.

I totally love how this turned out, and I hope you do too! I enjoy using sets like the Summer Cabins in a bit of an unexpected way. Thank you so much for stopping by today--you are appreciated!

Thank you for using my affiliate links to shop (never any additional cost to you)!