Happy Friday! Today I'm sharing two cards that feature products from the new Stampendous Hugs Collection. In addition to the bears I used, there are also kitty and puppy sets that are SO cute! Did you know that Spellbinders now carries Stampendous products?
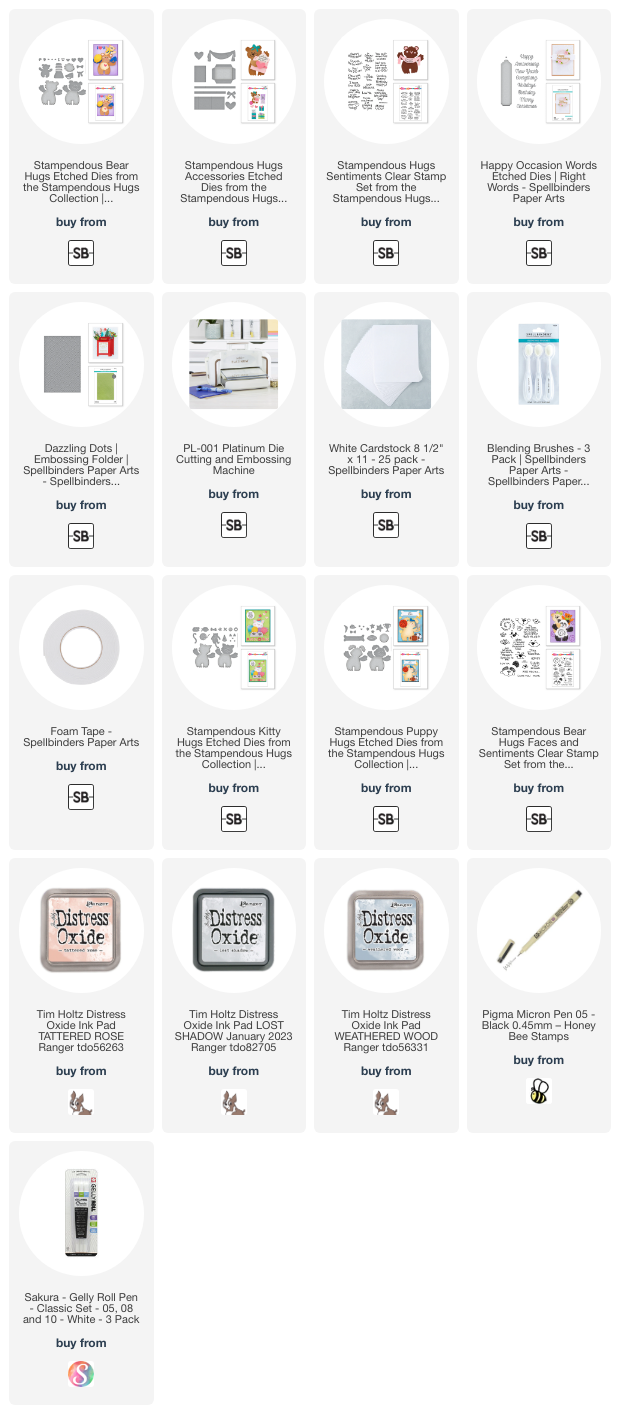
I used the totally adorable Bear Hugs die set for the main elements of both cards. The set includes both the large and small bear plus several adorable accessories!
For this first card I die cut the large bear and the dies for the tummy, ears, nose, and eyes from white cardstock. I added the die for the face and ran that through my Platinum machine. I also cut the banner die from the new Hugs Accessories die set from white cardstock.
I stamped a sentiment from the Bear Hugs Faces and Sentiments sets onto the banner. I did use my MISTI since I had to curve the stamp to fit onto the banner. There is a sweet sentiment stamp set in this collection with a few curved sentiments that I have on my wish list!
Then I used C00, C01, and C03 Copic markers to add shading to the bear and banner. I inked up the tummy and bow using a blender brush and Tattered Rose Distress Oxide ink. Then I added shading to both with a coordinating R11 Copic marker. I colored the ears and cheeks with R11and R00 Copic markers.
After I glued the pieces on the bear I set that aside to create the background. I stamped the paw print found in the Bear Hugs Faces and Sentiments set with Saltwater Taffy Distress Oxide ink. I trimmed the piece to 4" x 5-¼". Then I colored a scrap of white cardstock with the R11 Copic and when it was dry, die cut the hearts (Bear Hugs die set).
I glued the hearts around and between the paw prints with some hanging off the edges. After I trimmed off the overhang, I glued those around the edges of the panel. Then I used a black marker to add dots. It's one I've had forever, and is no longer produced. It was made by Zig and called Dotta•Riffic--LOL! The smaller dots are made with a black Micron 05 pen. I trimmed it to 4" x 5-¼" and glued it to an A2 black cardstock panel, and then to an A2 card base.
I added a few details to the cheeks and ears with a white gel pen. And now for my second card.
This sweet card came together so quickly for me! (Which rarely happens--Haha!) I created the card base and layers by first inking up the edges of an A2 sized piece of white cardstock with Saltwater Taffy Distress Oxide ink. I glued that to a top-folding A2 card base. After I embossed white cardstock with the Dazzling Dots embossing folder and trimmed it to 4" x 5-¼", I adhered that to the card.
Then I die cut the small bear (Bear Hugs) and the bow, heart, and ribbons (Hugs Accessories) from white cardstock. I die cut the envelope (Hugs Accessories) from some patterned paper in my stash.
I inked Saltwater Taffy Oxide onto the bow and heart with an ink blending brush. I used a fine tipped glue to assemble the pocket (that looks like a present since I added the bow!) and adhered the ribbon and bow to it.
I colored the bear with Lost Shadow and Weathered Wood Oxide inks. Then I stamped his cute face (Bear Hugs Faces and Sentiments) in black ink. I used a Copic marker to color the cheeks.
The sentiment is stamped with black ink and then I did some partial die cutting with a die in the Happy Occasion Words die set. After I punched a hole at the top I tied on the twine and adhered it to the little bear's paw. I inserted the bear into the pocket and added a few dots of glue to secure it. Then I popped the piece up with foam tape.
These sets are so sweet and totally adorable! Be sure to check out the entire Stampendous Hugs Collection! Thanks so much for stopping by, and I hope you have a wonderful, and crafty, weekend!
Thank you for using my affiliate links to shop (never any additional cost to you)!


Both cards SO, SO cute!
ReplyDelete