Saturday, September 3, 2022

Spellbinders September Glimmer Kit of the Month - Hot Foiled Autumn Card

 Happy weekend crafty friends!  Today I'm sharing my card that features Spellbinders' September Glimmer Kit of the Month.  I've used some beautiful copper hot foil and my Copic markers to make this gorgeous autumn card.  Read on for the details.

This month's Glimmer Kit includes a hot foil plate for the floral spray (I foiled it twice to complete the diamond shape) the little flowers and leaf and sprig, and the beautiful sentiment.  All of the floral elements also have coordinating dies to cut them out.

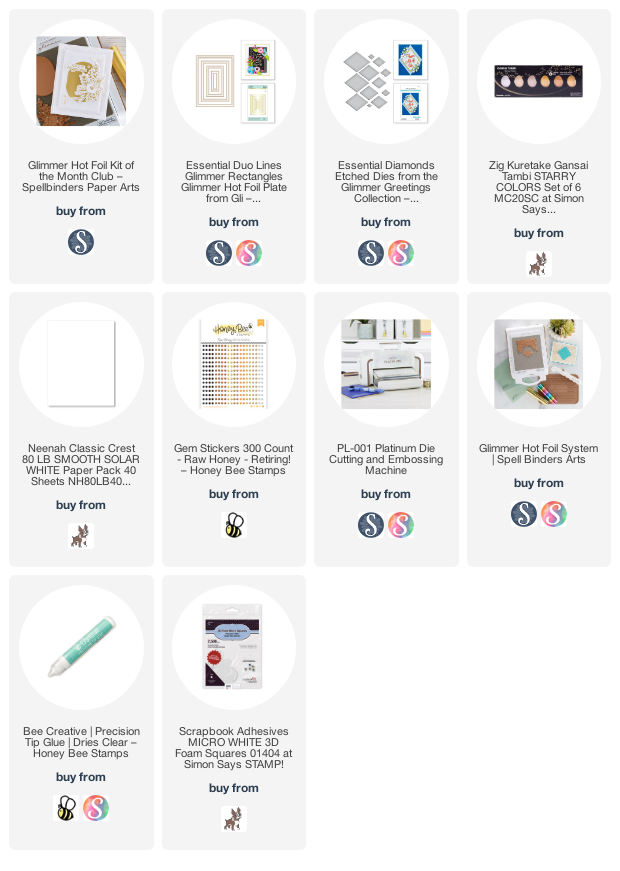
First I use two of the Essential Duo Lines Glimmer Rectangles and hot foiled them with copper foil onto an A2 sized piece of 80# Neenah.  I use the Glimmer Hot Foil System and love it!  Next I splattered dots of red gold metallic watercolor onto the panel.  Then I adhered this to an A2 card base.

Then I used the copper foil to foil the sentiment and floral hot foil plates onto 80# Neenah.  I repeated the foiling process once more for the large piece and twice more for the small floral pieces.

I die cut the sentiment out with an Essential Diamond die, added foam tape to the back and centered it on the card front.

Then I used my Copic markers to color the hot foiled elements.  Here is a list of the colors I used:

  • Red leaves and small flowers: E19, R39, R27, R17
  • Orange leaves: Y38, Y35, Y32, YR18, YR09
  • Green leaves: G99, G94, G43
Next I adhered the elements to the card with glue and a few bits of foam tape.

I added coordinating gem stickers to the flower centers to finish it up.  I just love the color of the copper foil!  I hope you've enjoyed my project and if you'd like more information about the Glimmer Kit, click here.  Thank you so much for stopping by!

Thank you very much if you choose to use my affiliates links (never any additional cost to you).
Friday, September 2, 2022

Simon Says Stamp STAMPtember® & Honey Bee Stamps Collaboration: Warm Wishes

 Woohoo!  Honey Bee Stamps and Simon Says Stamp have done it again with this absolutely adorable collaboration stamp set called Warm Wishes!  Now's the time to go grab it as it is limited, exclusive, and only available while supplies last, and will not be re-stocked!  These are only available over at the Simon Says Stamp shop and you can find it by clicking HERE.  There if also a stamp/die combo available is you are a die loving crafter like me!

Here's a good peek at the set!


I created an almost-one-layer card with this adorable Warm Wishes stamp set!  Here are the steps for making one:

  • Plan your scene by laying out the stamps as you want them to appear on the card.
  • Stamp each image onto masking paper and cut out.
  • Remember to stamp what will be in the very front (such as the snowman's hat) first.
  • Note:  Do as I say not as I did, like stamping the snowman first, before the hat and scarf! LOL!
  • To fix my mistake, I stamped the snowman's hat and scarf again this time on some 80# Neenah with Intense Black ink.  I added the masks and stamped the snowman.  Then I fussy cut him out and colored it with my Copics.
  • I added foam tape to the snowman and popped it up over the previously stamped image.
  • Continue stamping, then masking, each image with Intense Black ink (Copic safe.)
  • When finished stamping, make sure all images are covered with a mask.
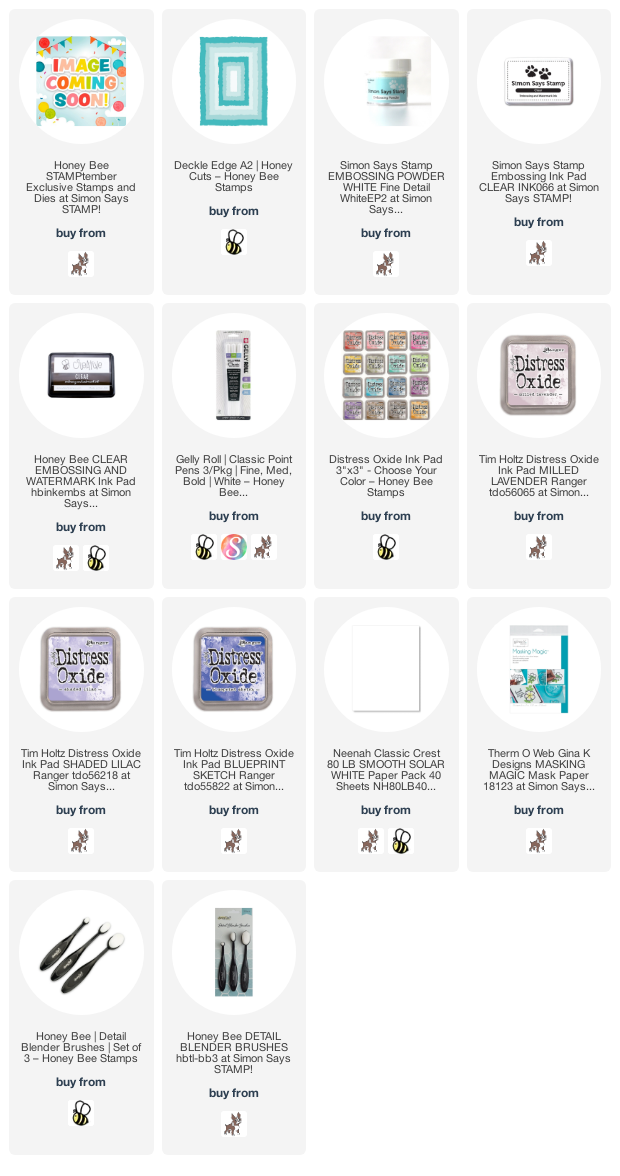
  • Ink the sky with Milled Lavender, Shaded Lilac, and Blueprint Sketch Distress Oxide inks.  I used an ink blender brush add the inks.  (Supply links are at the end of my post.)
  • Remove the masks and color the images with Copic markers.
  • I decided to stamp the gifts again on some scrap cardstock to have a couple more to pop up onto the sled.  Kind of goes with the popped up snowman!

I added shading under the snowman, sled, and trees with  a BV01 and B60 Copic Marker.  Next I stamped the sentiment from the set with Versamark and heat set white embossing powder.  Then I used the snowflake stamp from the set and repeated the heat embossing steps.

I used the largest Deckle Edge A2 die to cut the panel out and adhered it to an A2 card.  I used a white gel pen to add more dots for snow and some details to the gifts.  I added sparkles with a clear gel pen on the snowman and one gift.  I added Star Dust Stickles to the tree tops.  

I hope you've enjoyed my card and that you're able to snag this adorable set before it sells out!  Don't forget, it's only available over at Simon Says Stamp HERE.  Have a very wonderful, and crafty, weekend!

Thank you so much if you choose to use my affiliate links!  (never any additional cost to you)

Simon Says Stamptember® 2022 Blog Party!!!

 Happy STAMPtember® crafty friends!!  I'm thrilled to be a part of Simon Says Stamp's blog party to celebrate their new STAMPtember® release!  If you're new to STAMPtember®, be sure to check out Simon's Blog to get all the details!  Today is all about Simon Says Stamp's exclusive release!  There are lots of awesome products, so be sure to check it all out in their shop. 

Today I'm sharing three cards I made using the new Sassy Thankful set that is part of Simon's release!  The sentiments in this set are so fun, and there are several more sentiments that will surely bring you a smile!

Before I get started on my card details, let me share a very special offer Simon Says Stamp gave me to share with you!  Get this fabulous exclusive stamp set free with your $100 purchase by using the code: CW6D7B8N.


Now, on to my three cards featuring the oh, so fun Sassy Thankful stamp set!!

I created a background for this hilarious sentiment with the Leaves Wreath stencil set.  I used just about every autumn shade of Distress Oxide ink I own to color in these beautiful  leaves!  I used some gold metallic watercolor to add some pretty sparkles to the piece.


Next I trimmed my stenciled piece to 3-¾" x 5".  Then I heat embossed the sentiment from the Sassy Thankful set with gold embossing powder onto vellum and trimmed it into a strip.  I wrapped it around the stenciled panel, added a brushed metallic gold layer, and adhered it to the card base.


Next up is my card that was super quick and easy to make!  And...how great is this sentiment?!!!!

I put all the focus on the little turkey image and sentiment from the Sassy Thankful set by heat embossing both in gold.  I colored up the turkey with a few Copic markers.

I trimmed the sentiment piece down and added more brushed gold cardstock behind it and the patterned paper layer.  I did add foam tape to pop up the sentiment layer.

For my final card I had lots of watercoloring fun!


I started by gold heat embossing the Leafy Leaves background stamp onto watercolor paper.  Then I used several watercolors to add all the gorgeous autumn colors to the piece.

Of course, since I love shimmers and sparkle, I added gold watercolor splatters to my piece.  While that dried, I heat embossed the sentiment in gold onto vellum and wrapped it around the dry watercolored panel.

Thank you for stopping by today!  Be sure to head back to the Simon Says Stamp blog to join the party and find lots of STAMPtember® inspiration!  Also, there are lots of different "free gift" codes for different things hidden in the crafters posts!

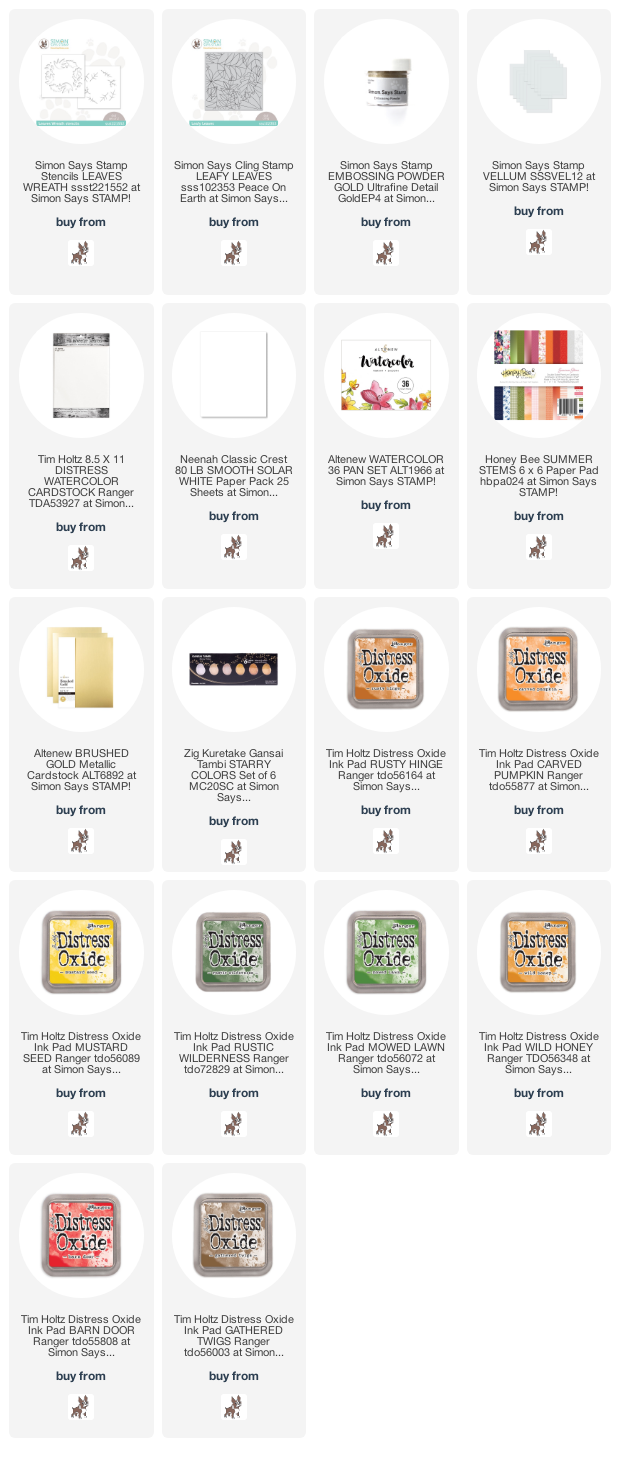
SUPPLIES

These are most of the products I've used for my cards today.  Just click on the link to see the details.  Some of the links may be affiliate links (if you make a purchase, I may receive a small commission at no extra cost to you.)  Thank you for your support!

Tuesday, August 30, 2022

Autumn is a Second Spring - Loose Watercoloring and Gold Heat Embossing

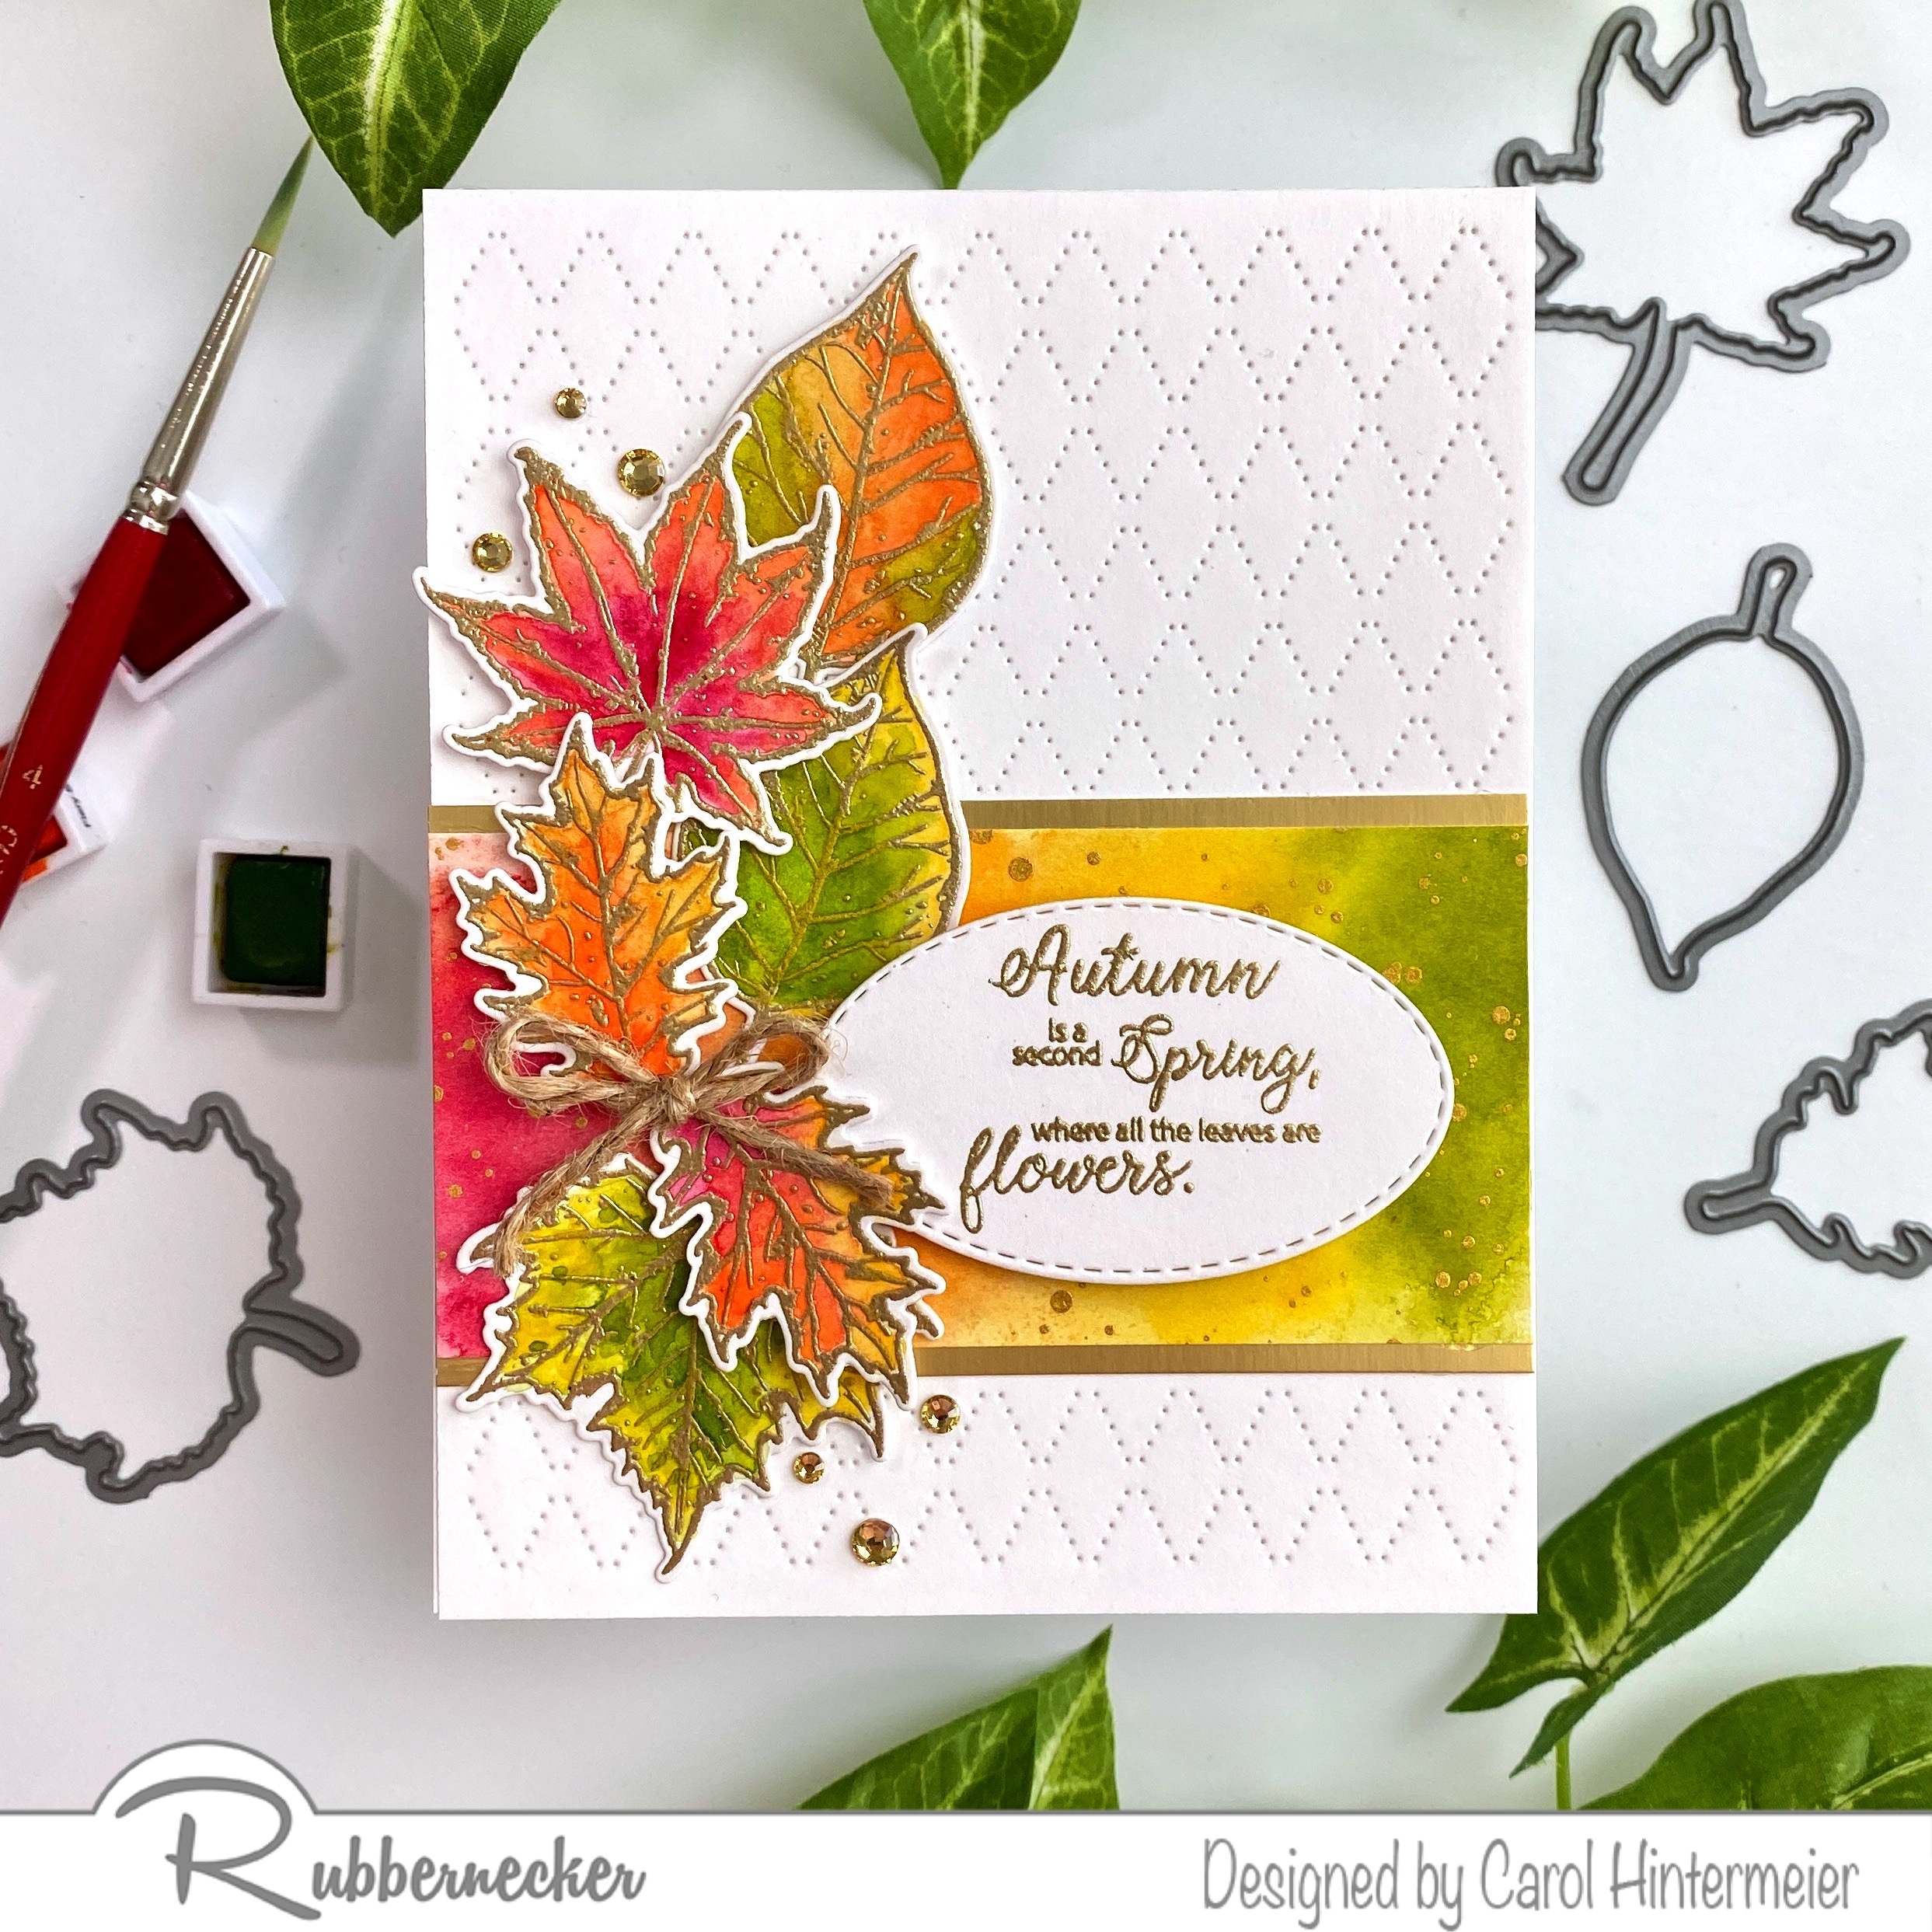
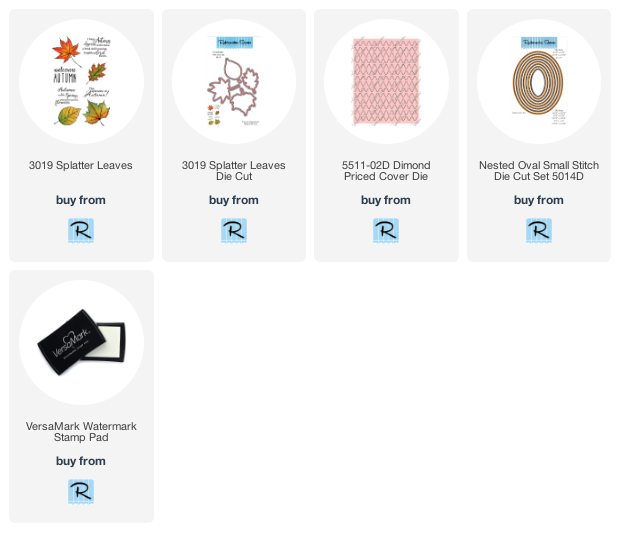
 Hello crafty friends!  I don't know how we are already at the end of August, but I'm happy it is because I'm so over these hot temperatures!  LOL!  Today I'm sharing a card I made, while thinking of cooler weather to come, with Rubbernecker Stamps beautiful Splatter Leaves set.   I did some loose watercolors for this card and have the details below!

First I stamped my leaves from the Splatter Leaves set onto Strathmore Bristol Smooth cardstock with Versamark, added gold embossing powder, and then heat set them.  While I had the supplies out, I went ahead and stamped the sentiment from the set and heat embossed it too.

Then I used some Artist Watercolors in some warm colors to color the leaves.  (The set I used is linked below. I used Red Cosmos, Fiery Sunset, Fall Harvest and Tropical Green watercolors.)  First I used a brush and water to dampen the paper and then dropped in my colors and let them alone to blend.  I let them dry and then added another layer of color.  While that was drying I took another piece of Bristol and added random water puddles and dropped in the same colors.


When the strip of color was dry, I trimmed it to 2" x 4-¼" and adhered it to a gold card stock layer measuring 2-¼" x 4-¼".  I glued this to white cardstock that I die cut with the Diamond Pierced Cover die.  I added this to an A2 card base.

Then I used the coordinating Splatter Leaves dies to cut out the leaves.  I arranged them and then adhered a few with foam tape and the others with glue.

Next I die cut the sentiment with the third smallest Nested Oval Small Stitch die.  I popped it up onto the card with foam tape.  I embellished the card with a twine bow (attached with a small Glue Dot) and a few gem stickers.

I love the gold embossing with the Autumn colors!  This was really fun to make and I hope you've enjoyed it.  Thank you so much for stopping by!


Thursday, August 25, 2022

Spellbinders Winter Wonderland Collection Guest Designer/Blogger!!!

 Hello friends!!  I'm so happy to share that I was invited to be a guest designer/blogger over on the Spellbinders blog today!!  I created three cards using the adorable Winter Wonderland Collection for this blog post.

Here's a sneak peek of one of my cards:

I hope you'll join me over on the Spellbinders blog to see the other two cards and all of the details to create them!!


Wednesday, August 24, 2022

A Sweet Trio of Baby Cards!

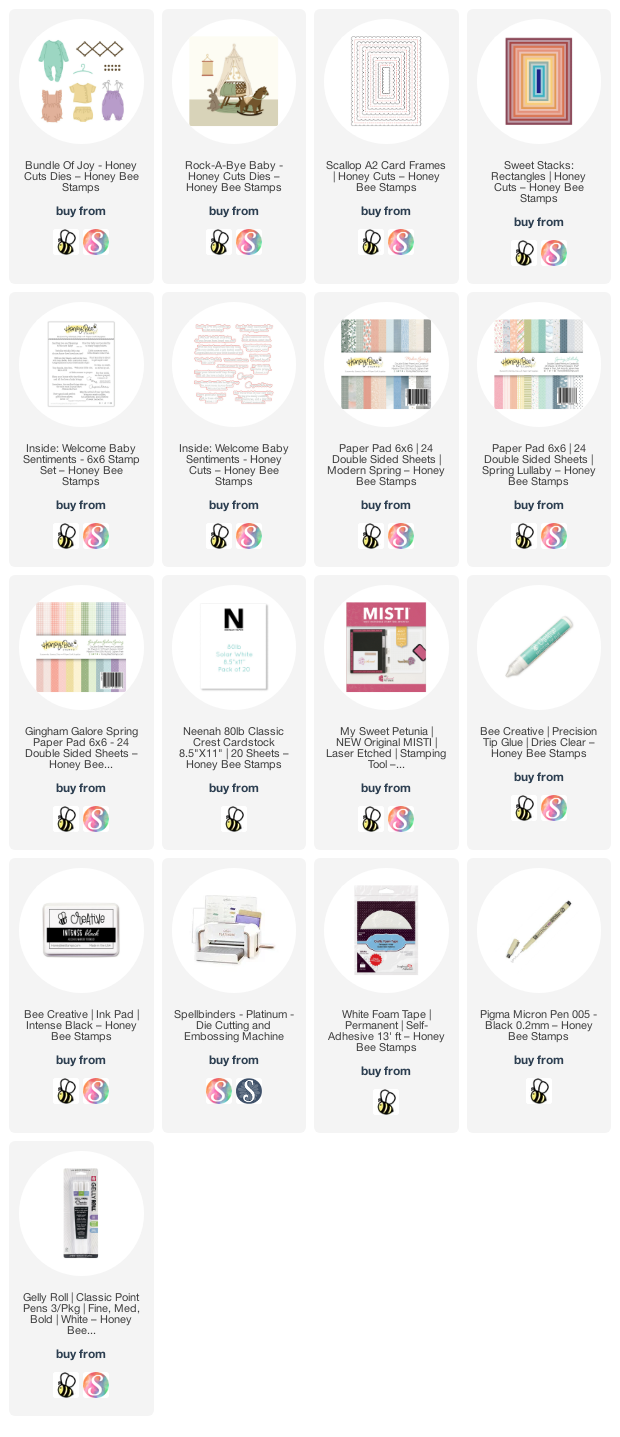
Happy Wednesday friends! Today I'm sharing three baby cards that are quick and fun to make! These feature Honey Bee Stamps Rock-a-Bye Baby and Bundle of Joy Honey Cuts and some fabulous patterned paper that Honey Bee is known for!

Other than the focal elements, all three cards are created the same way. Use these steps to create each card base:

Now that our card bases are prepared, it's time to start on the focal images for each card. This first card uses the cut little outfit from the Bundle of Joy Honey Cuts. I die cut it twice, one from patterned paper in the Spring Lullaby paper pad and the other from 80# Neenah.

I trimmed off the ruffles and the top middle of the patterned paper die cut to make a cute little strapped outfit. I adhered it to the white die cut and used a few Copic markers to add some shading. I die cut and colored the hanger and added it to the outfit. Then I added foam tape to the back to pop it up on the card.

The next two cards' focal images are from the Rock-a-Bye Baby Honey Cuts.

I die cut the two rocking horse layers and rocker from 80# Neenah. Next I added shading to the horse with some gray Copics and used brown colors for the rockers. I used scraps of blue patterned paper to die cut the mane and tail portion of the horse and glued them in place. I adhered the rocking horse layers with Bee Creative glue. The rug and rein are also die cut from the same patterned paper. This next photo will give you a good visual of the mane and tail pieces before I assembled them.


I added foam tape to the rocking horse and sentiment for some fun dimension. I love the simple blue theme to go with this precious sentiment!

My final card features the cute little bassinet with the bunny and the mobile.

I die cut all of the images from 80# Neenah except the bunny and rug. That patterned paper is in the Spring Lullaby paper pad.

After I colored the pieces with my Copic markers I assembled the bassinet and popped it up on the rug. I glued the mobile to the top of the white layer.  Next I used a white gel pen and black Micron 005 pen to add details to the bunny.  I love this card for when the baby will be a surprise and the couple are waiting to find out if it's a boy or girl!

I love how the layout of these cards puts the focal point on the images and sentiment! You can also die cut everything from colored cardstock for an equally cute look! Thanks so very much for stopping by. Have a wonderful, crafty day!

(Affiliate links--never any extra cost to you)

Saturday, August 20, 2022

Christmas Gnome Tree by Spellbinders

Today I'm sharing a card with an adorable stack of gnomes!  This fun die by Spellbinders is called Gnome Tree and is part of their Gnome for Christmas release.

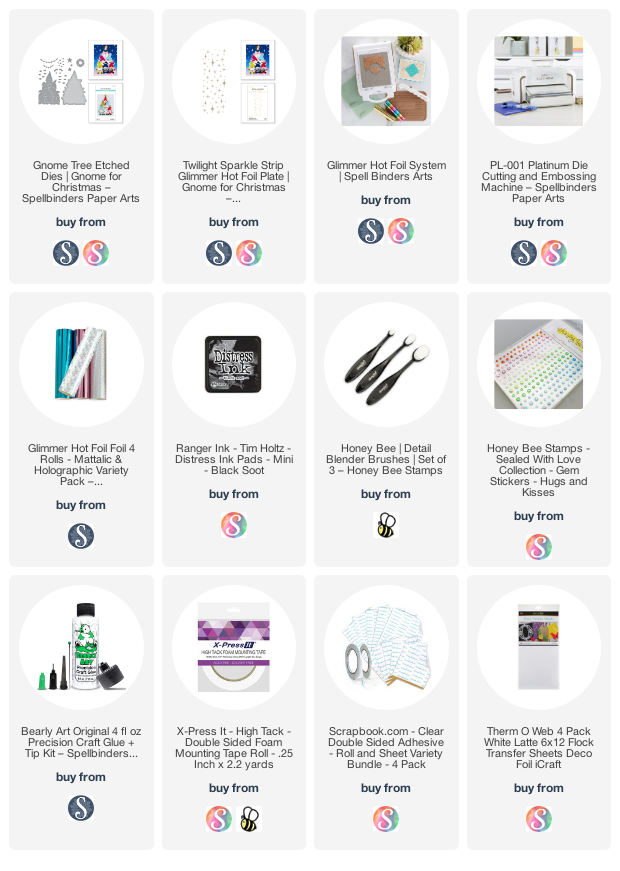
I created my A2 card base first.  I chose some red cardstock from my stash and used the Twilight Sparkle Strip hot foil plate to add silver holographic foil using my Glimmer System.  This hot foil plate is about ½ the width of an A2 card so I shifted it over and repeated the foiling.

I used an ink blender brush to add some dark red ink around the edges and finished the inking with just a bit of Black Soot Distress ink.  I trimmed the piece to 4" x 5-¼" and added it to my A2 card base.

Now for the Gnome Tree fun!  The products I used for this are:

  • Black cardstock
  • Silver cardstock
  • 100# white cardstock
  • Silver glitter adhesive foam
  • Patterned paper (retired)
  • Deco Foil Flock Transfer Sheets
  • Double-sided adhesive sheet
  • red gem stickers
First I used the outer die for the Gnome Tree to die cut the white cardstock.  Then I used the solid gnome tree die to lightly dry emboss the images on the white cardstock.  This will help with placement of all of the gnomes' pieces.  Then I added double-sided adhesive to white cardstock and die cut the tree.  I used just the beard pieces and followed the directions for adding the flocking to the beards.  I die cut the tree twice more from the patterned paper and red cardstock.

All of the other pieces are separate dies included with the Gnome Tree die set.  After I die cut the extras, I began gluing the pieces to my white cardstock die cut.  I used a white gel pen to add extra detailing to each gnome.  I decided to use these cute puffy white pom poms that I've had forever to top off each gnome's hat!  I added foam tape to the back of the tree to pop it up on my card.

I think this stack of gnomes is just the cutest!  There are so many possibilities for different looks too!  Thank you very much for stopping by today!  I hope you have a fabulous, and crafty weekend!

Thank you if you choose to shop with my affiliate links!  (never any addition cost to you)