Sunday, December 5, 2021

Making a Glittery Background with a Snowflake Stencil | Rubbernecker Stamps

 Today I'm sharing a Christmas card I made using Rubbernecker Stamps new Snowflake Stencil and the Santa Post Card set.  Want to know how I used the stencil to get an "all over" glittery background?  Read on for the details!

Let's create the glitter background:

  • Add an A2 sized piece of double-sided adhesive to an A2 sized piece of white card stock.
  • To keep the Snowflake stencil from sticking way too much, and possibly being ruined, I pounced my anti-static powder pouch heavily on the back of the stencil.  (see photo of steps below)
  • Remove the adhesive backing and lay the stencil on the card.  Press it down, especially the fine detailed pieces of the snowflakes.

  • Add the turquoise microfine glitter to the card.  Microfine glitter works best with this technique.  I used my finger to burnish the glitter to the adhesive.
  • Next, brush off all of the excess glitter.  I used a thick soft brush to sweep a lot of it away.  Also, I keep cut up pieces of Swiffer Dusting cloths handy.  These cloths grab all the stray glitter and helps with the clean up a lot!
  • Now it’s time to remove the stencil.  I used my craft pick tool to hold the card down while I carefully removed the stencil.
  • Sprinkle the Cool Diamond microfine glitter over the card.  Burnish and then sweep away the excess.  Now you have a beautiful, sparkly snowflake background!
  • Trim the panel to 4″ x 5-¼” and adhere to an A2 top-folding card base.

Steps for the image and sentiment:

  • Stamp the Santa on the sled from the Santa Post Card set with Versamark ink.  Add black embossing powder and heat set.
  • Next die cut the Santa with the coordinating die.
  • Add foam tape to the back of the Santa and adhere to the card base.
  • Stamp the sentiment (also in the Santa Post Card set) with Versamark ink.  Add black embossing powder and heat set.
  • Trim the sentiment into a strip, add foam tape to the back, and adhere to the card.

This card was lots of fun to make, and it's a good way to use the glitter in my stash!  Thank you so much for stopping by today!  Have a wonderful week!

Wednesday, December 1, 2021

Merry Mail Christmas Card | Honey Bee Stamps

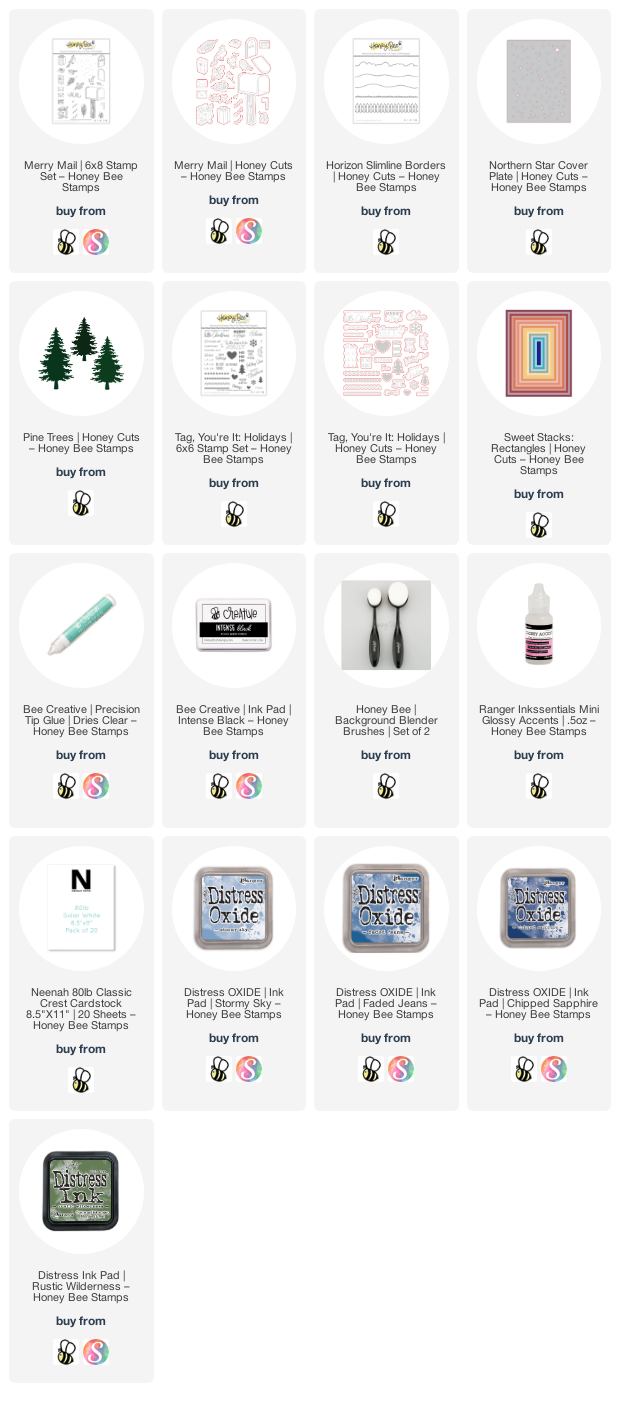
Happy December friends! I cannot believe it's already December, but I'm happy there's still lots of time to make our Christmas cards! My card today features the beautiful Honey Bee Stamps Merry Mail stamp set and coordinating Honey Cuts.  I had so much fun creating my scene for the mailbox, I kind of forgot about adding any sentiment! Haha! Keep reading to see which set has the perfect small sentiment that fit just right!

First I created my card base and layer. I inked up some 80# Neenah with my favorite wintery sky Distress Oxide Inks. I used a Detail Blender brush to blend on Chipped Sapphire, Faded Jeans and Stormy Sky in a random pattern. Next I die cut the panel with the Northern Star Cover Plate die. Then I used the second largest Sweet Stacks: Rectangles die to cut it down. I added some splatters of Confetti White Perfect Pearls with a paint brush and water. I adhered it to a top-folding A2 card base with Bee Creative glue.

To add to the background scene I die cut green card stock using the Pine Trees Honey Cuts. I added some Rustic Wilderness Distress Ink around the edges of each tree with a Blender Brush. Next I die cut white card stock to create the hills and fence using the Horizon Slimline Borders Honey Cuts. I trimmed them to 4" and arranged the trees, fence and two hills. Once I had them the way I liked, I used Bee Creative glue to adhere them all but for the top hill, which is popped up with foam tape. I added a line of glue along the top edge of the hill and sprinkled on some coarse glitter for a bit of sparkle.

Next I stamped all of the images from the Merry Mail stamp set with Intense Black Ink. (I usually just stamp everything so I can pick and choose the elements I want as I create my card.) I stamped two each of the pine branches and berry branches. Then I colored them all with my Copic markers. I used the coordinating Honey Cuts to cut them out. Now for the fun part of arranging them all! I trimmed off the bottom of the mailbox post to make it fit the perspective of my scene and popped it up with some thin foam tape. The mailbox flag is also popped up with foam tape. Before I adhered the gifts and mail to the mailbox, I trimmed off the white edge on the left side to give it a more seamless look with the mailbox.

Once everything was adhered, I added Glossy Accents to the berries. I used a black pen to add details to two of the gifts and a clear glitter pen for some sparkle. AND, it was at this point I remembered I forgot to plan for a sentiment! Haha! Well, the small sentiments from the Tag, You're It: Holidays came to the rescue! I stamped one of the sentiments with Intense Black Ink and used the coordinating Honey Cut to cut it out. Having coordinating dies for the sentiments makes it so easy to put your sentiment on your finished card!!!

I hope I've brought some inspiration to you today for your Christmas cards. I always appreciate you so much for stopping by! Have a wonderful, crafty day!

Wednesday, November 24, 2021

Die Cutting Flowers With Felt | Honey Bee Stamps

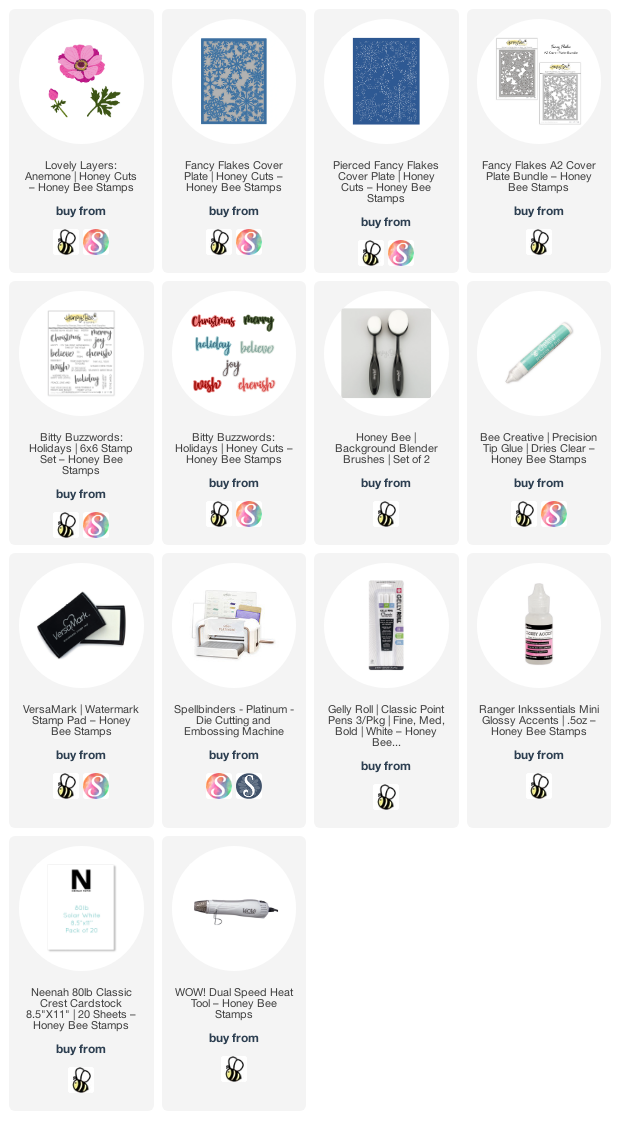
Happy Wednesday (and day before Thanksgiving) crafty friends!  Today I'm sharing my card that features Honey Bee Stamps' Lovely Layers: Anemone that I die cut using felt!  These dies cut through the felt like butter!  Also, Honey Bee Stamps will be having FOUR days of special Black Friday deals beginning Friday, November 26, 2021.  If you love Honey Bee products like I do, you will not want to miss out on these awesome specials.  I have all of the specific details at the end of my post!

As you may know, felt is very soft and flexible. I found that if I adhered a piece of printer paper to the back of the felt before die cutting, it provided just the right amount of stability to make it much easier when handling the die cut pieces. I put a piece of double-sided adhesive on my printer paper, peeled off the other backer sheet and adhered the felt to the paper. Once that was done I die cut my flower layers and three of the leaves. The black flower center is black glitter sticky back foam, which goes right along with the dimension of the felt! I used a white gel pen to add dots to the black foam. I adhered the flower layers with Bee Creative glue and set it aside to dry. Check out the beautiful layers:

I have also thought about how beautiful fabric would look with these layers. I want to dig through my remnants and give that a try too. I would definitely add some interfacing to the back of the material before die cutting. (Yes, sewing is another talent of mine--hence the fabric remnants--LOL!)

The card base is an A2 top-folding card with a white glitter card stock layer adhered to it. Next I used the gorgeous Fancy Flakes A2 Cover Plate and die cut some white textured card stock. I've had this in my stash FORever, but the Honey Bee shop has this one that I think would look wonderful! Then I placed the Pierced Fancy Flakes cover plate over the die cut and ran it through my machine. I love the piercing look! I adhered the piece to the card with Bee Creative glue. Then I adhered the flower and leaves to the card.

Next I created the sentiment using the Bitty Buzzwords: Holidays stamp set and coordinating Honey Cuts. I ink blended Barn Door Distress Oxide onto some scrap card stock with a Detail Blender brush. I die cut "believe" from the inked paper and then twice more from white card stock. I adhered the layers with glue. Then I die cut the shadow from more white glitter card stock. I adhered the sentiment pieces together. 

Next I stamped the rest of the sentiment (from Bitty Buzzwords: Holidays stamp set) onto black card stock with Versamark ink. I added some white embossing powder and heat set it. After I trimmed it into a strip, I added black foam to the back and white foam to the other sentiment and adhered them to the card. The final touch was to add some Glossy Accents to the die cut sentiment--I really like how it makes it pop!!

I hope you've enjoyed my card using felt and that I've given you more inspiration for the Lovely Layers: Anemone!  I hope you have a wonderful Thanksgiving day tomorrow filled with fun and happy times.  If you are outside the US, have a wonderful, crafty day!  Thank you so much for stopping by--I'm very thankful for you!

Links to products I've used for this card (some may be affiliate links at NO additional cost to you--thank you for using my links💗)

Please note:  The times for all deals are midnight, PST; 3 am EST

  • Friday, 11-26-2021:  TWO deals Friday only: 1) 20% off your entire purchase; 2) Receive a free Precision Tip Glue Tube with orders of $75 or more.
  • Saturday, 11-27-2021: BOGO: Buy one, get one 50% of ALL dies!
  • Sunday, 11-28-2021:  BOGO:  All HBS brand paper pads and envelopes!
  • Monday, 11-29-2021:  Take an addition 25% of ALL retiring and clearance items! 


Saturday, November 20, 2021

Winter Reindeer Holiday Card

 Happy weekend crafty friends!  I'm back today with another holiday card created with Graciellie Designs beautiful new digital set called Winter Reindeer.  This includes two reindeer and some absolutely gorgeous digital papers to print!

This deer was an absolute delight to color and practice some serious marker techniques!  I'll list my Copic colors at the end of this post.  Take a look at these awesome images that are included in the bundle! Click the image if you'd like to check it out.

Since my previous post using Gracie's digital set, I've learned a much easier way to resize the images!  It's so simple I can't believe I didn't think of this before!  I used Microsoft's Word and just inserted the .jpg image.  Then you just click on the dimensions and type in the size you want!  I kept the sizing locked to maintain the perspective.  If you are unsure, just print it on regular printer paper to check the size.  As I did before, I printed the background digital paper on matte photo paper.

Another thing I tried this time is using my Cricut to cut the image out.  (I have an Explore Air 2.)  My poor Cricut was still packed up in the box from our recent move, but she survived!  LOL!  I did have to rearrange my limited table tops to set her up.  Then I uploaded the .jpg image into Design Space and saved it as a "print and cut" file.  If you aren't familiar with this procedure, there are lots of videos on YouTube by Cricut, and many others.

I had no idea if my Cricut would cut out the intricate details around the deers antlers.  But I was pleasantly surprised to see that it did!  There were maybe three or four tiny spots that I had to use my craft knife to finish up the cut.  A side note:  I have a new printer and did have to go through the calibration process in Design Space to get the cuts more precise.  My printer is an Epson XP-7100 ink jet printer with a rear feed which is perfect for the 80# Neenah card stock.  Be sure to leave on the "bleed" feature when sending it to print.

After cutting the background paper to 4" x 5-¼' I wrapped some twine around it and secured the twine with tape.  I added some foam tape to the back and popped it up on a top-folding A2 card base.  I trimmed the sentiment and added some thin foam strips to the back of it and the deer.

If you have any questions, I'd be happy to try to help!  Be sure to use the "contact me" form on the left side of my blog so I will see your question.  Thank you so much for stopping by!  Have a wonderful weekend!!

Here are the Copic colors I used:  (I did use a Prismacolor pencil-1082-chocolate brown, to add just a touch more detail)

  • deer fur: E59, E57, E23, E21, E50
  • antlers:  E49, E47, E77, E44
  • leaves: G28, YG17, YG25
  • berries:  R39, R37, R35

Wednesday, November 17, 2021

A Merry Little Christmas | Honey Bee Stamps

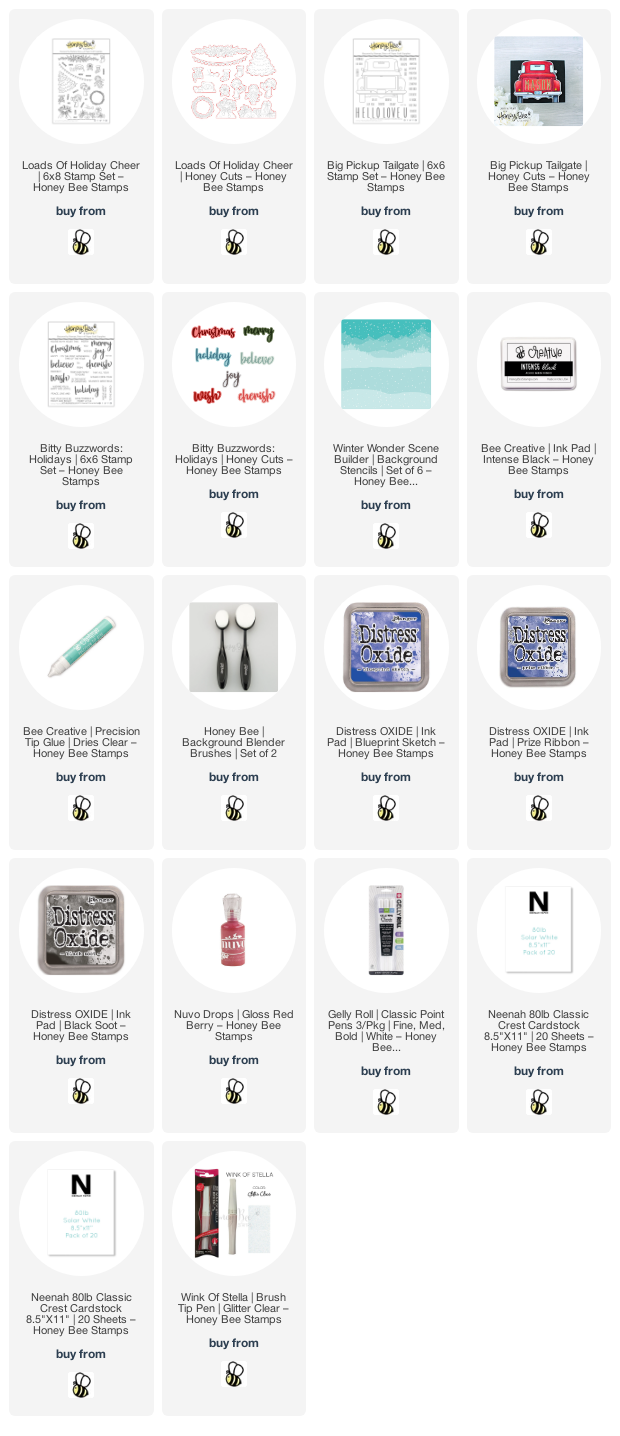
Hello crafty friends!! Today I'm sharing a holiday card using my favorite Big Pickup Tailgate set and the new coordinating Loads Of Holiday Cheer set! I truly do have fun decorating the Big Pickup for each season and love that Honey Bee makes it so easy for us to do that! I've even used some of the extras from the Loads of Holiday Cheer set to decorate the inside of my card. Keep reading for all the details!

First I created the layer for the card base:

  • I inked the edges of a piece of 6-¾" x 4-¾" blue card stock with Prize Ribbon, Blueprint Sketch and Black Soot Distress Oxide inks (in that order) using Background Blender brushes. I then used a heat tool to dry the ink.
  • Next I placed the snowfall stencil in the Winter Wonder Scene Builder Stencils set over the blue card stock and spread on some white texture paste. The stencil isn't quite large enough for this size card, so I let that dry and then stenciled the remaining area.
  • When the stenciling was drying, I adhered the panel to a top-folding A7 card base I made from 80# Neenah Solar White card stock. Bee Creative glue is perfect for this and is what I used!
  • Then I die cut two hill from white glitter card stock with the hills from the Horizon Slimline Borders Honey Cuts. I trimmed it to 4-¾" long and adhered them to the card with Bee Creative glue.

Now it's time to stamp, color and die cut the images:

  • First I stamped the pickup from the Big Pickup Tailgate stamp set with Intense Black ink. This truly is my most favorite ink ever!! Then I colored the truck with my Copic markers. I used C5, C3, C1, and C00 for the body and the bumper of the truck. The tires are C9, C7, and C5. The lights are R39 and R37. Then I die cut the truck with the coordinating Honey Cut.
  • I stamped the "hohoho" (from the Loads of Holiday Cheer stamp set) onto the license plate with Versamark ink (after applying my anti-static pouch) and sprinkled on some white embossing powder. Then I heat set it with my heat tool.
  • Next I stamped the other images with Intense Black ink, choosing several from the adorable Loads of Holiday Cheer stamp set. I used these Copic markers: reds are: R89, R39, R37, and R35; greens: G28, YG17, and YG25. The toy bag and the elf's hair are E59, E57, and E23. When I was finished coloring I used the coordinating Loads of Holiday Cheer Honey cuts to cut them out.
  • Using Bee Creative glue, I adhered the elf and toy bag to the truck. I added foam tape to the poinsettia garland and attached it to the truck.
  • Next I die cut the "Christmas" from the Bitty Buzzwords: Holidays Honey Cuts. I colored the shadow layer with a few of the same red Copic markers I used previously. I adhered the top layer to the shadow with glue.
  • Before attaching any of the images to the card front, I folded the card inside out and placed it in my MISTI. I planned out my placement of the extra images by just setting them in place without gluing. (see photo below) Then I stamped the sentiment from the Bitty Buzzwords: Holidays stamp set with Intense Black ink.

With my sentiment stamped, I can now adhere the die cut pieces to the inside of the card.

I finished up the card by adhering the pickup to the card front. I added some foam tape to the tree and added it to the card. I added details to some of the images with a white gel pen and also some more dots for snow to the background. A clear glitter pen adds some fun sparkle to the white parts of the elf's hat and candy canes, and the mirrors.


I hope you've enjoyed this version of the Big Pickup for the holidays!  Thank you very much for stopping by.  I hope you have a wonder, and crafty, day!

Thank you if you use my product links:

Tuesday, November 16, 2021

Most Wonderful Time | Rubbernecker Stamps

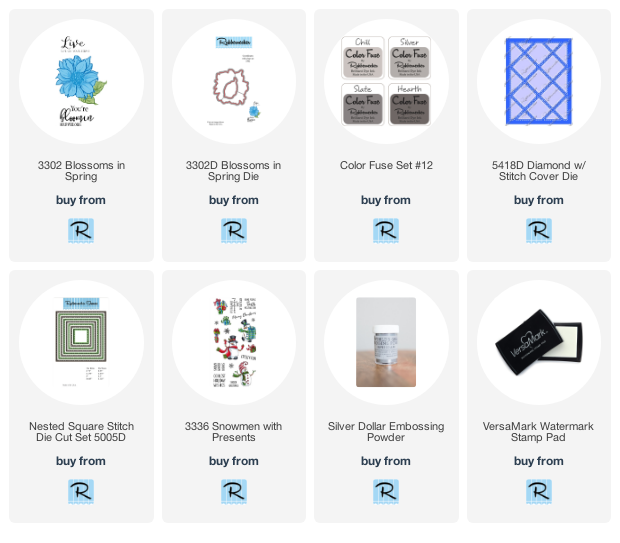
Hello friends!  Today I'm sharing a quick and easy holiday card using Rubbernecker Stamps Blossoms in Spring stamps and coordinating dies.  I've taken this non-holiday stamp set and created a shiny, heat embossed card that was really fun to make! 

Here are the steps for my card base:

  • Adhere some patterned paper to an A2 top-folding card base.  I used a piece from Honey Bee Stamps Holiday Cheer paper pad.
  • Die cut the Diamond w/Stitch Cover die three times from 80# Neenah Solar White card stock.  Adhere the layers together with glue and then to the card base.

  • Next I stamped the outline of the flower from the Blossoms in Spring stamp set with Versamark ink.  Then I sprinkled on some silver embossing powder and heat set it.  Then I stamped and heat embossed the flower center and leaf outline with silver embossing powder.
  • I stamped the detailed layer of the flower with Silver ink from the Color Fuse set #12.
  • I used both Silver and Chill inks to stamp the leaves.
  • Next I used the coordinating dies to cut out the flower and leaves.  I added foam squares to the flower and adhered it to the card front.
  • I arranged the leaves, then added some glue to the ends to adhere them to the card.
  • Next I stamped sentiment that's in the Snowmen with Presents stamp set with black ink.  I used a Nested Square Stitch die to cut it out.  I added some foam squares to the back to pop it up.
  • For a bit more shiny bling, I added some silver metallic pearls from Pretty Pink Posh to the card.

I hope you've enjoyed my quick holiday card today.  Thank you so very much for stopping by!

Product links for the details:

Wednesday, November 10, 2021

Merry Christmouse | Honey Bee Stamps

Happy Wednesday crafty friends! Today I'm sharing a cute mini slimline card I made using the totally adorable Merry Little Mice stamps and coordinating Honey Cuts by Honey Bee Stamps. I made an inky snowy background with lots of sparkles and spatters to set the scene for the mice--keep reading for the details.


 First I die cut some watercolor paper with the largest die from Sweet Stacks: Mini Slimline Honey Cuts. Then I spritzed on some Villainous Potion Distress Oxide Spray near the top of the card. I used a paper towel to dab up some of the color and then dried it with my heat tool. I don't have the Oxide Sprays of my next two colors, Salvaged Patina and Spun Sugar, but I do have the Oxide ink pad re-inkers. I just squeezed out a bit of the colors and used a brayer to swipe on the colors, overlapping them just a bit.

Then I used my heat tool to dry the panel, and spattered on some white gouache. I also used a white gel pen to add white dots.

Next I die cut more watercolor card with the hills in the Horizon Slimline Border Honey Cuts. I trimmed them to 3" and glue one directly to the inky panel and popped up the second one. I then put a line of Bee Creative glue along the edges, sprinkled on some chunky glitter and set it aside to dry.

I stamped the images from the Merry Little Mice set with Intense Black ink onto 80# Neenah Solar White. I used some Copic markers to color them and then cut them out with the coordinating Honey Cuts. I added some white dots with a white gel pen to the mice's cheeks and also to the Christmas tree.  Next I stamped the sentiment from Merry Christmouse with Versamark, added black embossing powder and heat set it.  I used the coordinating Honey Cut to cut it out.

To assemble the card, I adhered the inked panel to a side-folding card base with Bee Creative Glue. You can create by scoring a piece of 6-½" x 6-¼" card stock longways at 3-¼". I popped up all of the card images with foam tape and foam squares. I used my nonstick scissors to cut a few small foam strips for the music notes.

I decided to make a coordinating envelope to go with my mini slimline card.  I die cut some 32# printer paper I have in my stash with the Mini Slimline Envelope dies.  I adhered the pieces together with Bee Creative glue.  Then I used the Snowfall Background stencil to add some pink snowflakes to the front of the envelope.  This was really easy with a Background Blender Brush and some Spun Sugar Distress Oxide ink.

I added a bit more sparkle and shine by adding some Glossy Accents to the tree's ornaments.  Then I used a clear glitter pen to add sparkle to the star and splatters to the background.

I hope you've enjoyed my inky, mouse-filled card today!  Thank you so much for stopping by!

Links for products I've used today:  (thank you, if you use my link to purchase anything!)