Happy December friends! I cannot believe it's already December, but I'm happy there's still lots of time to make our Christmas cards! My card today features the beautiful Honey Bee Stamps Merry Mail stamp set and coordinating Honey Cuts. I had so much fun creating my scene for the mailbox, I kind of forgot about adding any sentiment! Haha! Keep reading to see which set has the perfect small sentiment that fit just right!

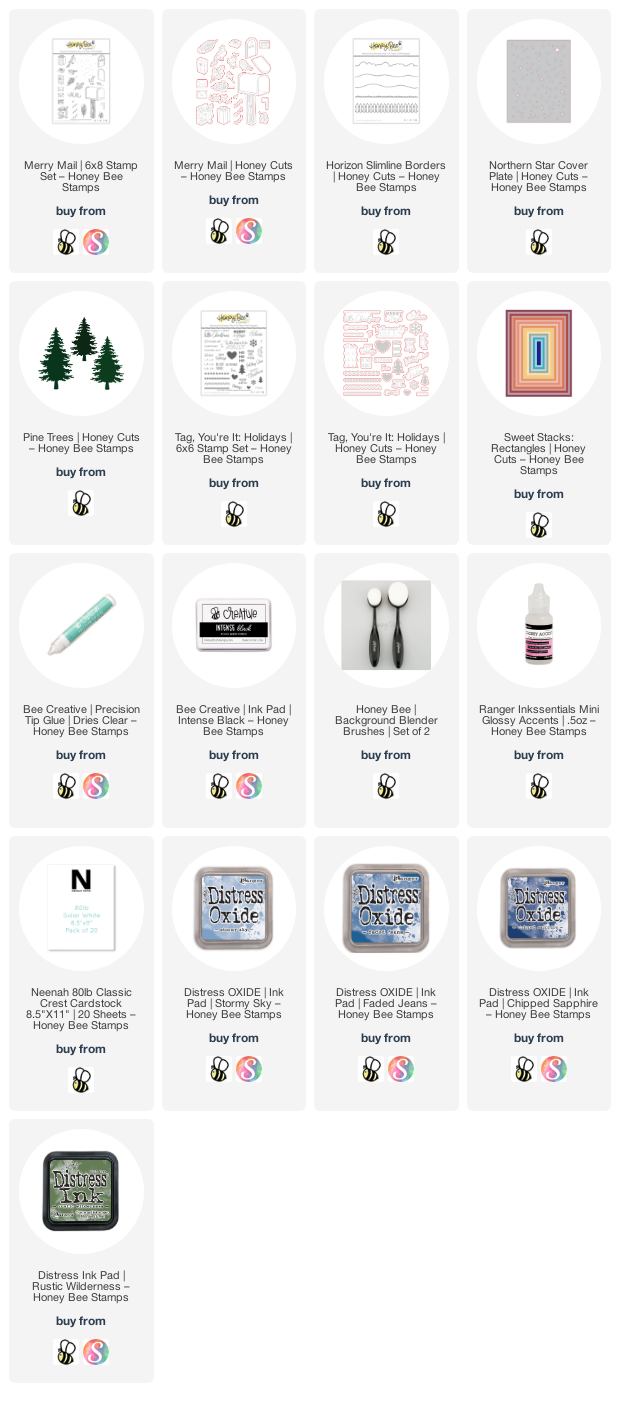
First I created my card base and layer. I inked up some 80# Neenah with my favorite wintery sky Distress Oxide Inks. I used a Detail Blender brush to blend on Chipped Sapphire, Faded Jeans and Stormy Sky in a random pattern. Next I die cut the panel with the Northern Star Cover Plate die. Then I used the second largest Sweet Stacks: Rectangles die to cut it down. I added some splatters of Confetti White Perfect Pearls with a paint brush and water. I adhered it to a top-folding A2 card base with Bee Creative glue.
To add to the background scene I die cut green card stock using the Pine Trees Honey Cuts. I added some Rustic Wilderness Distress Ink around the edges of each tree with a Blender Brush. Next I die cut white card stock to create the hills and fence using the Horizon Slimline Borders Honey Cuts. I trimmed them to 4" and arranged the trees, fence and two hills. Once I had them the way I liked, I used Bee Creative glue to adhere them all but for the top hill, which is popped up with foam tape. I added a line of glue along the top edge of the hill and sprinkled on some coarse glitter for a bit of sparkle.

Next I stamped all of the images from the Merry Mail stamp set with Intense Black Ink. (I usually just stamp everything so I can pick and choose the elements I want as I create my card.) I stamped two each of the pine branches and berry branches. Then I colored them all with my Copic markers. I used the coordinating Honey Cuts to cut them out. Now for the fun part of arranging them all! I trimmed off the bottom of the mailbox post to make it fit the perspective of my scene and popped it up with some thin foam tape. The mailbox flag is also popped up with foam tape. Before I adhered the gifts and mail to the mailbox, I trimmed off the white edge on the left side to give it a more seamless look with the mailbox.
Once everything was adhered, I added Glossy Accents to the berries. I used a black pen to add details to two of the gifts and a clear glitter pen for some sparkle. AND, it was at this point I remembered I forgot to plan for a sentiment! Haha! Well, the small sentiments from the Tag, You're It: Holidays came to the rescue! I stamped one of the sentiments with Intense Black Ink and used the coordinating Honey Cut to cut it out. Having coordinating dies for the sentiments makes it so easy to put your sentiment on your finished card!!!

I hope I've brought some inspiration to you today for your Christmas cards. I always appreciate you so much for stopping by! Have a wonderful, crafty day!