
I'm thrilled to have been invited to Guest Design for Graciellie Design for the months of November and December! Today I'm sharing two cards using her latest digital release called Cup of Cheer. Also, if you are interested, Gracie has allowed me to give away a $15 gift certificate to her shop for my first post! The giveaway is being held over on my Instagram--all you need to do is leave me a 💗and a comment!

For the first card, I printed out the cup with cookies from the Cup of Cheer digital stamp set onto 80# Neenah Solar White card stock. I also layered the pine branch, from the Winter Blessings digital stamp set, under the cup. It's been a little while since I had worked with digital stamps. The best "how to" source, at least for me, is found HERE. Click "resizing digital stamps" and then the version you want to use. I changed the color of the pine branch to green before I printed it out.

I recently had to buy a new printer as our very old one did not survive our move last month! I bought an Epson XP-7100 that has a rear paper feed slot. My 80# Neenah went through it perfectly!
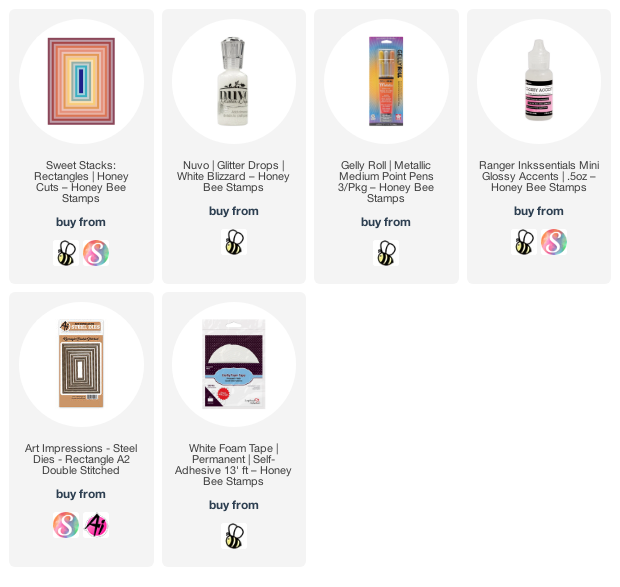
Next I used Copic markers to color the images and then used a Honey Bee Stamps Sweet Stacks: Rectangle die to cut it out. Then I used a metallic gold Gelly Roll pen to add stitching around the edges. I also added gold lines to the cup and saucer.
I die cut some red card stock with a rectangle stitched die and adhered it to a top-folding card base. I added foam tape to the back of my colored panel and adhered it to the card.

For a bit more bling I added White Blizzard Nuvo Glitter Drops to the candy bits on the cookie and Glossy Accents to the coffee. To coordinate with the other gold touches, I also added some dots of Golden Rod Stickles.

On my next card, I printed out the cup and sentiment along with some beautiful digital paper for my background. This gorgeous paper is part of Gracie's digital paper pack called Rustic Winter Wishes.

I did learn something about printing the digital paper. This is sized as a 12" x 12" paper. Well, I don't have a wide format printer, (and I wanted it a size suitable for card making) so I poked around and figured out that all I needed to do was resize the digital paper. I use a Mac, and after I downloaded the paper, I double clicked the image to open it up in Preview. Next I clicked Tools, then Adjust Size. I changed the measurement from pixels to inches, and sized it to 6" x 6". That's all! By keeping it square, it retains the perspectives and none of the images are distorted.
Now that it's resized, it's time to print it. When I first printed it, I used 80# Neenah, just like I did for my first card. (I also added the cup image and the sentiment to the page to print at the same time.) What I noticed is that the colors of the digital paper were a bit muted and the images weren't quite as crisp as I'd expected. Then it dawned on me that since this is a .jpg image, maybe I should use photo paper. I happened to have 8-½" x 11" matte photo paper for ink jet printers and used that. What a difference!

I die cut the digital paper, some gingham paper and coordinating brown card stock with the Sweet Stacks: Rectangles dies and adhered the layers to an A2 card base. Then I colored the cup with my Copics, fussy cut it, and adhered it with some foam tape.
I cut the sentiment out with a die from the Tag Builder die set. Then I tied a bit of twine onto it and popped it up on the card with foam tape.

Carol these are both so lovely. I need to figure out the digital thingy. I have never done any and there are so many great ones out there. I love this...
ReplyDeleteThis is really great!! I love it.
ReplyDeleteThank you for your inspiration. Have a blessed day
DIANA L.
DL.ART
http://dianamlarson.blogspot.com
Wow. Those are super gorgeous 😍
ReplyDeleteStunning cards! You rather ROCKED out the use of digis! ps Thanks for the digi link too
ReplyDeletefabulous cards!
ReplyDeleteHello from Coffee Lovers Blog Hop!☕
These are beautiful! I really love the one with the white background. so pretty!
ReplyDeleteThese are just gorgeous! Beautiful coloring and designs! And congrats on your guest design!
ReplyDelete