Tuesday, September 14, 2021

Welcome Autumn | Rubbernecker Stamps

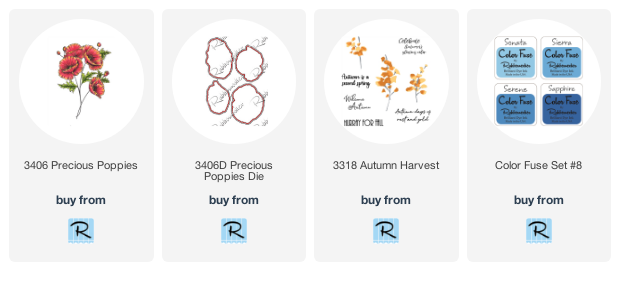
 Hi crafty friends!  My card today features Rubberneckers Stamps gorgeous Precious Poppies stamp set and coordinating dies.  I envisioned these poppies with a crystal clear blue sky on a crisp autumn day!  I rarely create any background without some kind of die cutting, ink splattering or embellishing but I wanted the poppies to just pop with the beautiful blue sky.  This was so fun to create!

For my background, I used a blending brush to create an ombré pattern with the beautiful blues in the Color Fuse set #8 on an A2 sized piece of 80# Neenah Solar White card stock.  I went over the colors 2-3 times and then adhered the panel to my top-folding card base.

Next I stamped the flowers and leaves onto watercolor card stock with Versamark ink.  Then I sprinkled on some gold embossing powder and heat set them.  I used various pretty coral/red watercolors from my stash to color the flowers and leaves.  When everything was dry, I used the coordinating dies to cut out the flowers and fussy cut the leaves and stems.  I adhered the stems and leaves to the flowers with liquid glue.

Next I planned where to stamp my sentiment that's from the Autumn Harvest stamp set by arranging my flowers (without adhering) on the card front.  Then I used my anti-static pouch on the card front before stamping the sentiment with Versamark.  I sprinkled on gold embossing powder and heat set it.

Now all that's left is to add a few foam squares to the back of the flowers, and dots of glue to the stem bottoms.  I love the dimension this adds to the card!

I really enjoyed watercoloring these and I hope to have inspired you today!  Thank you so much for stopping by!  Have a wonderful, crafty week!

Check out these awesome Rubbernecker products:

 
Links for other products I used:

Wednesday, September 8, 2021

Beautiful Autumn Birthday | Honey Bee Stamps

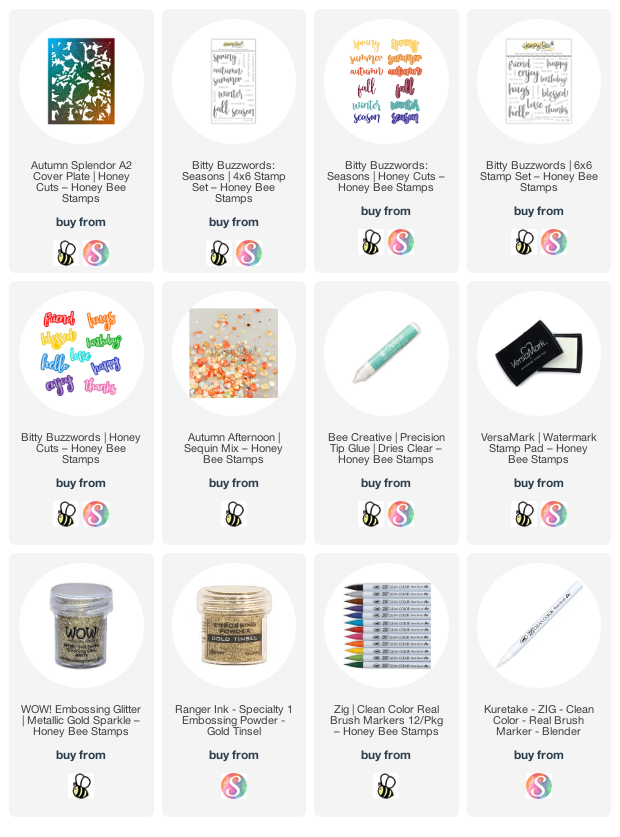
Happy Wednesday crafty friends!  Is it feeling like autumn where you're at?  Here in Texas, we are still in full-on, totally-hot summer mode!  I'm kinda over it--LOL!  My card today featuring Honey Bee Stamps gorgeous Autumn Splendor A2 Cover Plate die is helping me get the autumn feels!  I used my Zigs to watercolor this beauty and then made it into a shaker card--read on for the details!

After I die cut some Bristol Smooth card stock with the Autumn Splendor A2 Cover Plate, I used various Zigs to color the elements.  I've listed the Zig colors I used at the end of this post.  It was really fun and so relaxing (just what I need right now!) to color this and play around with various colors on the leaves.  I used the Zig Blender brush instead of a brush and water to blend the colors.  I like the Blender Brush on Bristol because you can work the blends a lot more without pilling, like I get sometimes with water.

I didn't want the shaker part to be so prominent and take away from the colored panel, so I used vellum for the shaker covering.  I adhered the vellum to the back of the panel, added foam tape around the edges, and then behind two of the leaves near the center.  To keep the sequins from sticking to the sides of the foam tape, I patted my anti-static pouch around the inside edges of the foam tape, then wiped away the excess with a clean microfiber cloth.

It doesn't show too much in the photos but I added some olive green card stock to my card base.  Next I sprinkled some autumn colored sequins on the card base and then adhered the panel to close up the shaker.  The sequins I used are no longer available, but I've linked some I think would be perfect in the product list below.

I added Nuvo Ruby Slipper Glitter Drops to each of the berries and set it aside to dry.

Next I die cut some gold glitter card stock and white card stock with the Autumn shadow and script dies from the Bitty Buzzwords: Seasons Honey Cuts set.  I die cut the script three more times with white card stock and adhered the layers together with Bee Creative glue.  Then I used a dark brown Copic to color the top layer and adhered it to the gold glitter shadow.  I used the same brown Copic to color a scrip of Neenah 80# card stock and then stamped the sentiments with Versamark clear ink.  The top sentiment is in the Bitty Buzzwords: Seasons stamp set and I found the "birthday" in the Bitty Buzzwords stamp set.  I sprinkled on some gold sparkle embossing powder and heat set it.  After I trimmed the sentiments I added thin foam strips to the back.  I added these thin foam squares to the back of the "autumn" sentiment and adhered them all to the card.

I totally love how this turned out!  I hope I've inspired you to try your own version of watercoloring using this gorgeous Autumn Splendor A2 cover plate!  Thank you so much for stopping by!

Zig markers:

Dark Brown, Mid Brown, Brown, Beige, Olive Green, Light Green, Deep Green, Geranium, Orange, Bright Yellow, Yellow Green, Blender

Wednesday, September 1, 2021

Lots of Lovely Layers Birthday Card | Honey Bee Stamps

Happy September crafty friends!  Today I have a card where I've used four of the Honey Bee Stamps  gorgeous Lovely Layers Honey Cuts including the newest Lovely Layers: Sunflower from the Autumn Splendor release.  I had so much fun coloring these with ink blending brushes and arranging them on my 5" x 7" card.  The colors I used are a kind of transition towards autumn, but y'all, it's still HOT here in Texas, so my brain is not quite to full on autumn colors.  Hopefully soon our weather will feel like it!

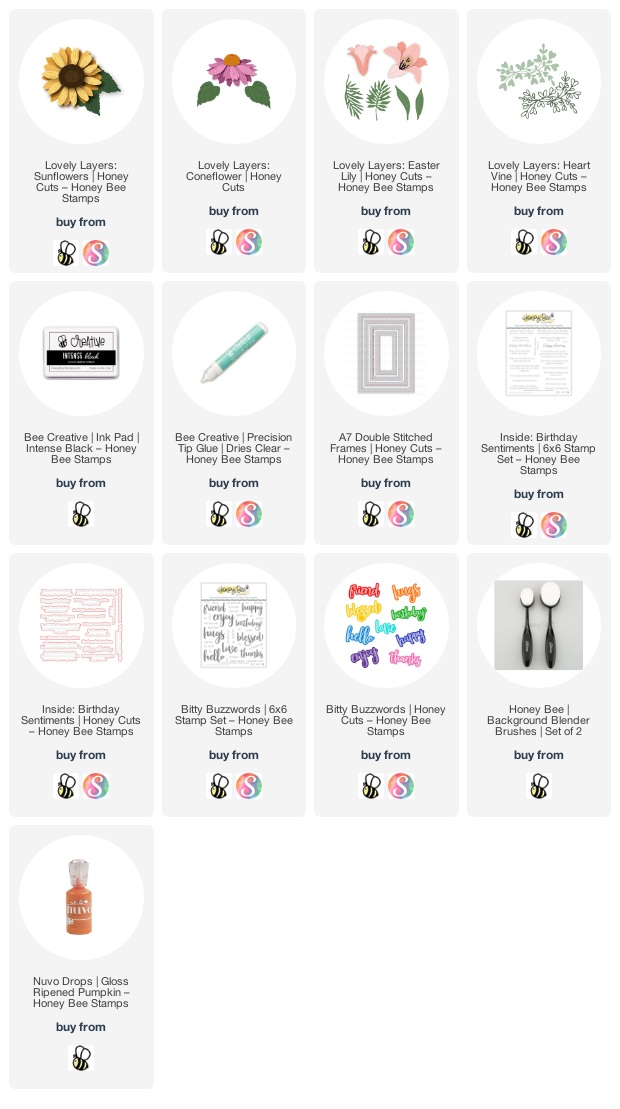
For this card I used these die sets:  Lovely Layers: Sunflowers; Lovely Layers: Coneflower; Lovely Layers Easter Lily; and Lovely Layers: Heart Vine.  I die cut them all from 80# Neenah Solar White card stock.  Then I used a few Background Blender Brushes and various inks from my stash to color the pieces.  (I have all of the brands/colors I used listed at the end.)

Next I used Bee Creative glue to adhere all of the flower layers together.  While the flowers were drying, I made my card base by scoring a 7" x 10" piece of card stock at 5".  Before I added my flowers to the card front, finally!, I remembered to stamp a sentiment inside!  Haha!  I used sentiments from the Bitty Buzzwords and Inside: Birthday Sentiments and stamped them with Intense Black Ink.  There are coordinating die sets for both of these, which I've linked below.  Then I die cut some textured white card stock from my stash with the largest A7 Double Stitched Frames die.  I adhered it to my card front.

I stamped the sentiment for the card front, again, from the Inside: Birthday Sentiments with Intense Black Ink.  I love how these work for the outside of your card too!  Then I die cut it with the coordinating die.

Next I arranged my flowers and leaves on my card front, fussing around with them a bit till I was happy.  I did snip the Lovely Layers: Heart Vine into pieces to tuck them in around the arrangement.  I adhered everything with Bee Creative glue or a few foam squares.

I used just a small piece of a thin foam strip to attach the sentiment.  Then I felt like I needed a few extra details on my flowers.  I used a fine point marker on the sunflower center to highlight the etched lines from the die.  I did the same with a matching pencil for the coneflower.  I used Copic YR12 to add little dots on the lily.  Then I added some Ripened Pumpkin Nuvo Drops to the stamen of the lily.  I added some sparkle to the other flower centers with a clear glitter pen.

I hope you've enjoyed my card with the amazing Honey Bee Stamps Lovely Layers sets!  Thank you so much for stopping by!

Inks/brands I used to color the images:
Coneflower: Simon Says Stamp Blue Violet, Wisteria; Distress Ink: Peeled Paint, Mowed Lawn
Sunflower:  Simon Says Stamp Lemon Chiffon, Sunshine, Key Lime, Jellybean
Lily: Simson Says Stamp Sunshine, Distress Ink: Spiced Marmalade
Heart Vine: SSS Key Lime, Jellybean

For more info on any of the products, just click the image.

Friday, August 27, 2021

We Are Better Together | Honey Bee Stamps

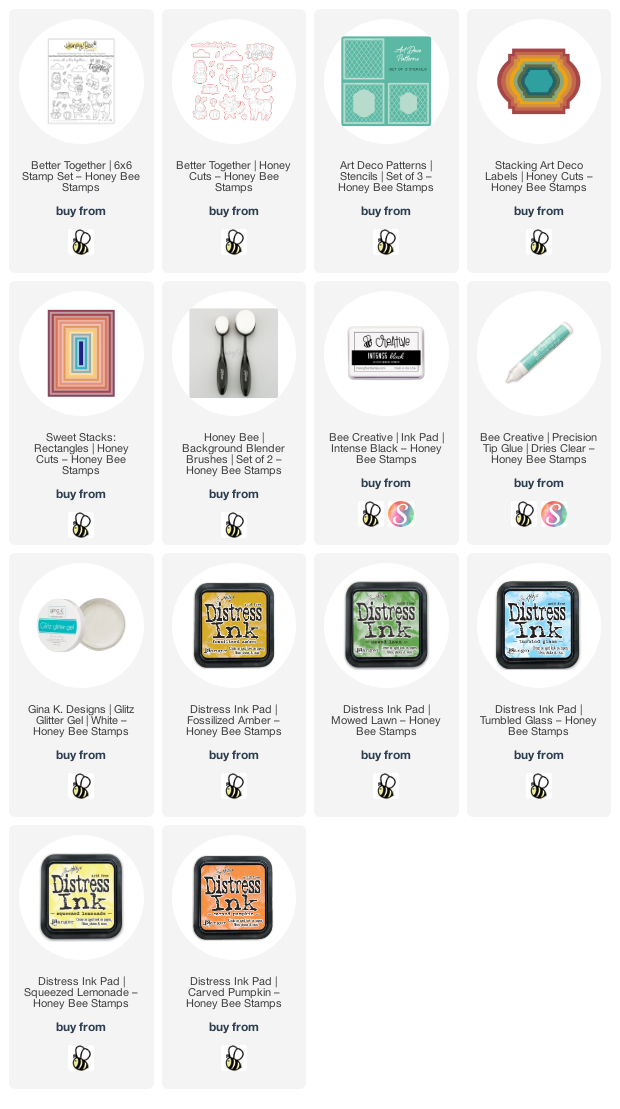
 Hi friends!  My card today is part of an Instagram hop to celebrate Honey Bee Stamps Autumn Splendor release.  There are several new stencils in this release and today I've used the Art Deco Patterns Stencil set (3 included).  What I really love about this stencil set is that it coordinates with the new Stacking Art Deco Labels Honey Cuts!

I love inking up stencils and then using texture paste to enhance the inking!  I sprayed the back of the stencil with Pixie Spray and placed it onto some 80# Neenah card stock.  Then  I added Squeezed Lemonade, Fossilized Amber, and Carved Pumpkin Distress inks with a blender brush.  I left the stencil in place and wiped the ink off with a dry towel.  Then I spread some white Glitz Glitter Gel through the stencil for some fun sparkle!  (Be sure to clean up right away!)

When the stenciled piece was dry, I die cut it with the 2nd largest Sweet Stacks: Rectangles die.  I used Bee Creative glue to adhere it to an A2 card base.

Next I used the 3rd largest Stacking Art Deco Labels Honey Cuts and cut out some 80# Neenah.  Then I added Mowed Lawn and Tumbled Glass Distress ink for the background.   I added foam tape to the back and adhered it to the card front.

Next I stamped the cute images and sentiment from the Better Together stamp set with Intense Black ink.  After I colored them with my Copic markers, I used the coordinating Honey Cuts to cut them out.  I added foam tape to the rabbit, mouse, and sentiment and adhered them to the card.  I adhered the other images with Bee Creative glue.

For some finishing touches, I used a white gel pen to add details to several images.

From the stenciling to coloring the adorable images, this was so fun to create!  I hope you'll pop over to my Instagram and join the hop.  There will be two $25 gift cards to the Honey Bee shop given away to two of the commenters!  Plus you'll get to see lots more amazing inspirational cards from the team!  Thank you so much for stopping by!

Products I used for today's card:

Thursday, August 26, 2021

Altenew Plentiful Patterns Stand-alone Dies/Stencils Collection Release Blog Hop + Giveaway ($300 in total prizes)

 Hello crafty friends!  I'm so honored to be joining the blog hop to celebrate Altenew's Plentiful Patterns Stand-alone Dies/Stencils release!

You should have arrived from the awesome blog of Anna Mahtani.  If you need to start at the beginning, head on over to the Altenew Card Blog!

There are so many gorgeous stand-alone dies and stencils in this release!  Here is just a sample of what you will find over in the Altenew shop:

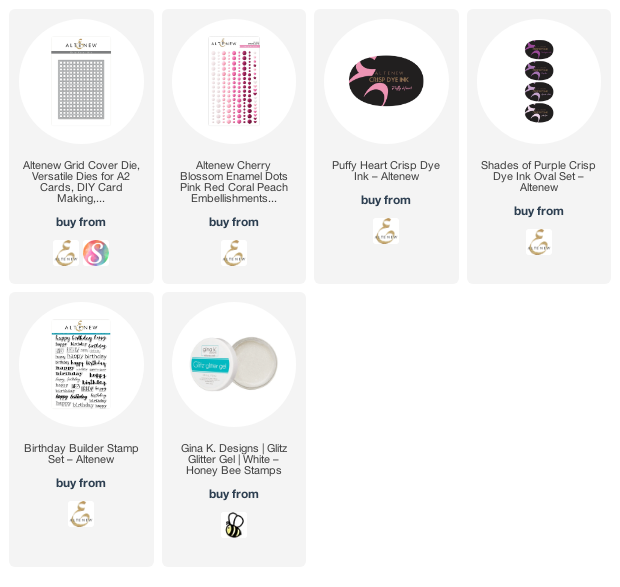
Okay, now on to my card!  I absolutely love the Bountiful Butterflies collection (5% savings with the bundle)!  There are so many possibilities in the colors and where to feature it, as I did here, with the Itty Bitty Flowers die set!

I began by die cutting the Grid Cover die from some 80# Neenah and adhering it to a top-folding A2 card base.  I just love the white-on-white backgrounds!

Then I die cut the Itty Bitty Flowers dies with three shades of purple card stock for the flowers and some green card stock for the stem.  When you see all of the little pieces, you may feel totally lost as to how to assemble them.  However, I followed the included layering guide (see the next photo), and I didn't find it difficult at all!  I adhered the flower pieces with glue and added them to the stem.


Next I pulled out the awesome Bountiful Butterflies stencil set.  Something to note:  I found it much easier to die cut the butterflies first with the coordinating Bountiful Butterflies dies.  Keep them in the negative space, add some tape to the back, and then stencil.  I tried to die cut my first butterfly after I stenciled it and found that I had not placed the stencil correctly!  I used three of the Shades of Purple inks and some Puffy Heart ink to color my butterfly.  Then I used the stencil to add some clear glitter paste to the butterfly.  I love how sparkly it is!

When the butterfly was dry, I added foam tape to the back of it and the Itty Bitty Flowers stem and adhered them to the card.  I also popped up the sentiment that I stamped using the Birthday Builder stamp set.  I added some pink enamel dots from the Cherry Blossom Enamel Dot set.

Thank you so much for stopping by!  Be sure to leave a comment for your chance to win before heading to the next stop.

Your next stop, after commenting, is the blog of awesome Keren Baker!

Giveaway Prizes

$300 in total prizes! To celebrate this release, Altenew is giving away a $50 gift certificate to 2 lucky winners and a $25 gift certificate to 8 winners! Please leave a comment on the Altenew Card Blog and/or each designer’s blog post on the blog hop list below by 08/30/2021 for a chance to win. 

Altenew will draw 10 random winners from the comments left on each stop of this blog hop and announce the winners on the Altenew Winners Page on 09/02/2021.


Blog Hop Order:

Altenew Blog

Vicky Papaioannou

Laurie Willison

Kelly Griglione

Dana Joy

Jaycee Gaspar

LauraJane

Emily Midgett

Michelle Short

Virginia Lu

Joy Baldwin

Nathalie DeSousa

Therese Calvird

Jenny Colacicco

Tenia Nelson

Sandhya Iyer

Maryam Perez

Seeka

Reiko Tsuchida

Verity Biddlecombe

Terri Koszler

Daniel Diaz

Amanda Baldwin

Erin Thompson

Natasha Davies

Tina Smith

Anna Mahtani

Carol Hintermeier <<< that's me!

Keren Baker

Linda Westfall

Nenette S. Madero

Joylita Dsouza

Keeway Tsao


Wednesday, August 25, 2021

Fun With Sweet Stacks Dies & Scattered Leaves Stencils | Honey Bee Stamps

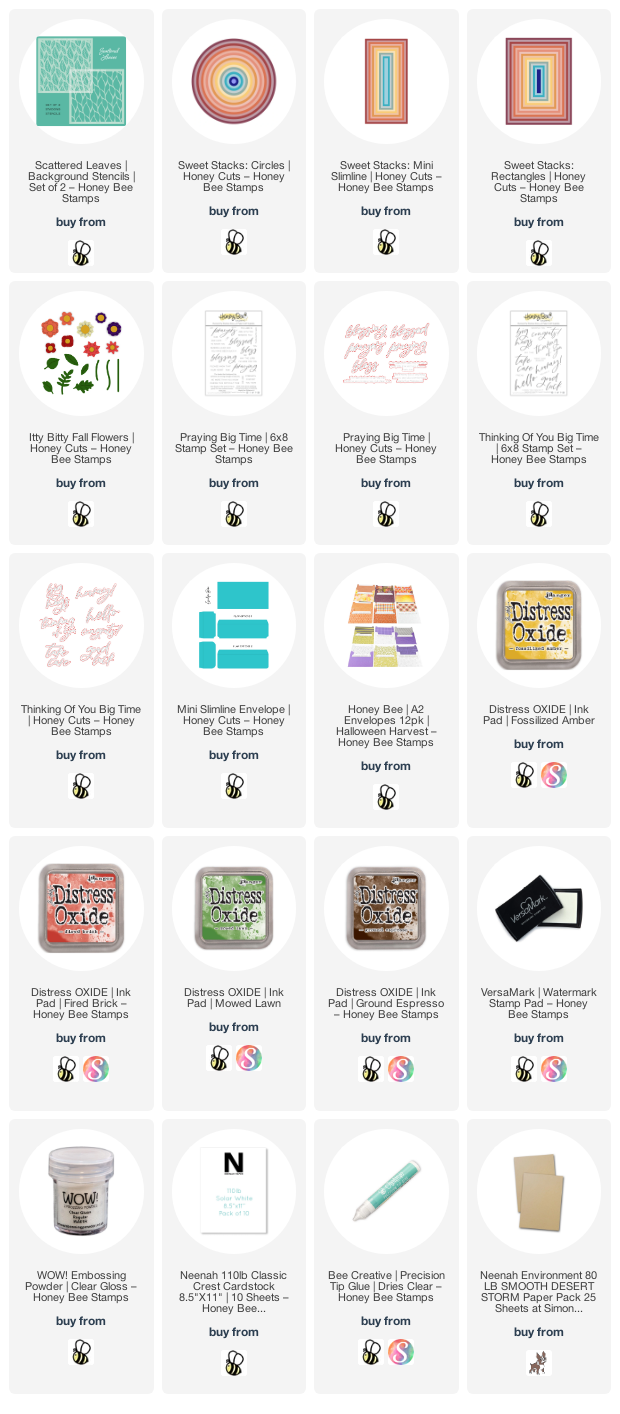
Hello crafty friends!  Today I have two cards that use several of the new items from Honey Bee Stamps Autumn Splendor release! I used the new Scattered Leaves stencil set and was able to create two cards from the one inked and textured piece!  

First I created my stenciled panel.  I inked three different Distress Oxide inks through the bottom background Scattered Leaves stencil.  I used Fossilized Amber, Fired Brick, and Mowed Lawn.  Then I positioned the detailed stencil of the set and spread some clear glossy texture paste through it.  I set it aside to dry and clean up the stencils and my tools.

This is an A2 card that I first die cut the gold layer with the largest of the Sweet Stacks: Rectangles (click the product links below for more details).  I love all of the Sweet Stacks!  Then I used the next largest die to die cut some white card stock.  I dry embossed it with the background Scattered Leaves Stencil by running it through my die cutting machine with a rubber embossing mat.  Then I smooshed a bit of my Distress Oxide inks onto my craft mat, spritzed water into them, and added spatters with a paint brush.  I adhered the card layers to my A2 card base with Bee Creative glue.

Next I used the awesome new Sweet Stacks: Circles.  When the stenciled piece was dry, I die cut three circles, keeping the dies as close together along one side as much as possible.  I wanted to reserve as much of the stenciled panel as I could for my next card.  Then I die cut some scrap card stock that I knew up the the Distress Oxides mentioned above.


Next I stamped the sentiments from the Praying Big Time stamp set with Intense Black Ink.  I die cut the large sentiment with the coordinating Honey Cut and die cut it three more times from white card stock.  I adhered the layers together with Bee Creative glue and added foam tape to the back of both sentiments to adhere them to the card.

For this next card I created a fun-sized mini slimline card with a coordinating envelope!

I created my card base by scoring a 6" x 6" white card stock piece at 3".  Then I used the Sweet Stacks: Mini Slimline Honey Cuts to die cut the bottom two layers.  Next I used the next two smaller Sweet Stacks: Mini Slimline to die cut the stenciled piece and some vellum.  I adhered all the layers, except the vellum, to the card base.

I stamped the sentiment from the Thinking of You Big Time stamp set onto white card stock with Fired Brick Distress Oxide.  I left the stamps and paper in my MIST, and then stamped them again, over the first stamping.  I sprinkled on some clear embossing powder and heat set them.  I used the coordinating Honey Cut to to cut the stamped "big hugs" and also three more times from white card stock.  I adhered all the layers together with Bee Creative glue.  After I trimmed the other sentiment with my paper trimmer, I added a thin foam strip to the back.

Next I inked up some scrap white card stock with Fired Brick, Mowed Lawn and Fossilized Amber Oxides and die cut a few flower pieces with the so cute Itty Bitty Fall Flowers Honey Cuts.  I adhered these the the sentiment to the vellum with Bee Creative glue.  Now I could add small pieces of foam tape to the back of the vellum so it won't show through and added it to my card.

I finished up by creating my coordinating envelope with the fabulous Mini Slimline Envelope Honey Cuts!  This die set makes the perfect envelope for all of your mini slimline cards!  It has two flap options--one with rounded corners and another with notched corners.  I die cut the pieces from Neenah Desert Storm card stock.   Then I used the detailed Scattered Leaves stencil to ink some Ground Espresso Oxide just around the edges.

Thank you, if you're still reading, for hanging through my somewhat long post!  I always so appreciate you stopping by!  Have a great and crafty rest of your week!

Tuesday, August 24, 2021

Three Beautiful Floral Cards | Rubbernecker Stamps

 Hello crafty friends!  Today I'm sharing three floral cards that I made for Rubbernecker Stamps' sneak peeks of their beautiful Floral Frenzy release.  You may have missed seeing these and this gives me a chance to share how I made these cards.

These first two cards are made with two different stamp sets, but the technique I used is the same for both.

This first card features the gorgeous Summer Bouquet Set with the Bold Rose two-part stencil set.

First I sprayed the back of both stencils with Pixie Spray.  This ensures the stencil won't shift around and the tackiness will last through several uses!  I placed the leafy stencil on a 4-¼" x 5-½" piece of white card stock.  Then I used some sponge daubers to ink up the stencil with green inks from the Color Fuse set #11.  Next I removed the leafy stencil and positioned the flower stencil over the card panel.  I used another sponge dauber and added some pretty inks from Color Fuse set #4.  When I was finished, I adhered the panel to a top folding A2 card base.

Next I die cut some 80# Neenah with the largest Nested Oval Scallop die.  I placed it into my MISTI and used some removable tape to make sure it stayed in place! Then I centered the first layer of the Summer Bouquet stamp over it.  This is the fun part!  I used sponge daubers to ink on the green ink from Color Fuse set #11.  I would stamp and repeat until I was happy with the look.  These next photos shows what it looked like after the first time I stamped the green layer, and then the finished piece.

When I finished stamping the flower stamps (Color Fuse sets #4 and #9) I stamped the sentiment from the set in black ink.  I popped the oval up with some foam tape and adhered it to the card front.

The second card uses the very same inking technique with the sponge daubers.  I used the beautiful Country Blooms set for this card.

Before I began adding the ink, I die cut a panel with the second largest Nested Rectangle Scallop die.  I used Color Fuse set #'s 9 and 10.  Here's a few photos showing my progress: (click any photo to see it up close.)

When I finished stamping the flowers, I stamped the sentiment from the set in black ink.  I added foam tape to the back of the panel and adhered it to a top folding card base.

My final card features the sweet Wondrous Wishes set along with some masking and stenciling!

First I used the largest of the Nested Rectangle Small Stitch die set and cut a piece of coordinating purple card stock.  I adhered the purple card stock to a top folding card base and set it aside.  Next I grabbed some black ink, stamped three of the flower's base layer stamp onto some masking paper, and fussy cut the masks.  Then I planned on where to place my flowers from the Wondrous Wishes set on my white card stock.  Next I stamped it with the purple inks in Color Fuse set #6.  I placed my masks over the flowers and stamped the stems with green ink from Color Fuse set #10.

Next I sprayed the back of the Sun Burst stencil with Pixie Spray and placed it on the white die cut card.  I used an ink blending brush and inked on some yellow inks from Color Fuse set #1.  Here are my progress photos:

I die cut the panel with the second largest Nested Rectangle Small Stitch die.  Then I stamped the sentiment in black ink and adhered the piece to my card base with liquid glue.  To add a bit of bling, I added Apple Green Nuvo drops to the flower centers and a sprinkling of Dandelion Yellow Nuvo drops around the flowers and on the sunshine.

If you're still hanging in and reading this, thank you!  I sure hope I've provided some inspiration and that you've enjoyed my card making process!  Have a wonderful, crafty day!

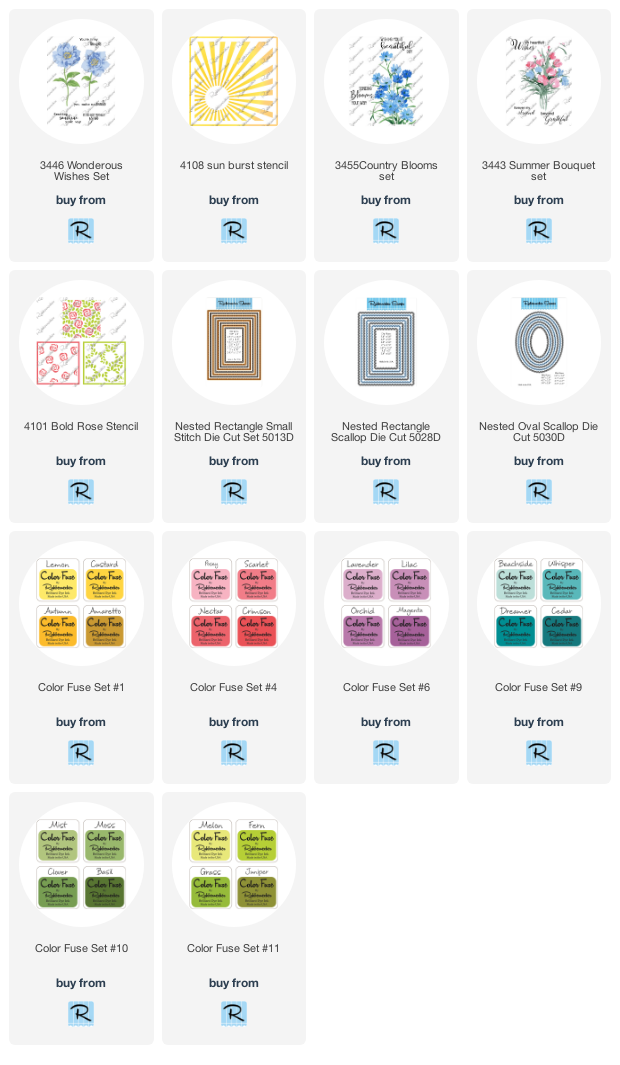
Rubbernecker products used for these cards: