Tuesday, August 6, 2024

Your Kindness Brightens My Day

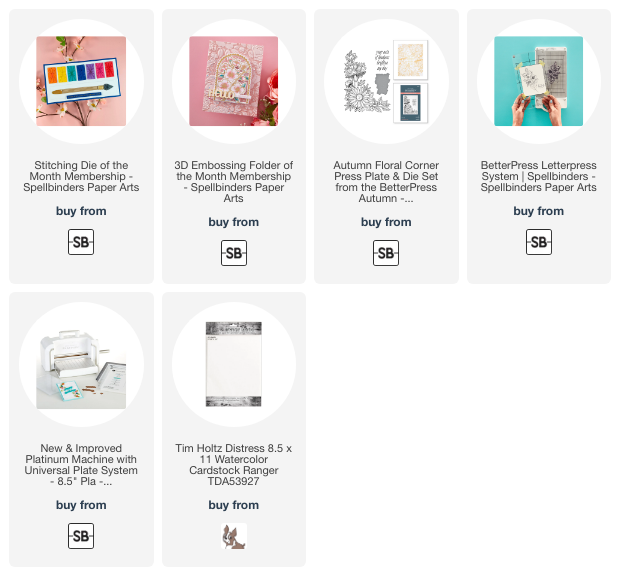
Hello friends!  Today I'm sharing my card that features two of Spellbinders' August Club Kits.  The Stitched Colorful Palette Stitching Die and the Hand Drawn Lines Embossing Folder are use to create this colorful card!

With this fun paint palette, of course I had to go with a rainbow of colors!  First I went through my stash of cardstocks to choose the colors I wanted.  Then I used the die in the Stitched Colorful Palette to cut out one of each color.  Then I went through my stash of embroidery thread and chose coordinating thread for each color.

These were stitched with the very easy straight stitch.  Now, if you want, you can create a paint palette with no stitching!  There is another die you can use that is solid, with no stitching holes.

I die cut the paint holder from mat silver cardstock and glued the stitched paints to it.  Note:  The paint holder die embosses lines to make the placement easy.

Next I used the die that cuts the strip below the "paints".  I die cut it from watercolor cardstock so that I could use various watercolors to paint the spots that makes it look like a real paint palette!  I love how this turned out.

I put another piece of watercolor cardstock, cut to 5" x 7", into the Hand Drawn Lines embossing folder and ran it through my embossing folder.  I used glue to adhere it to my 5" x 7" card base.

I looked through my sentiments and thought this one from the Autumn Floral Corner Press Plate and Die Set fit perfectly!  I had not ever tried any Press Plate with regular watercolor cardstock and wasn't sure if the impression would be as crisp as when pressed on the Cotton Cardstock.  After I set it up in my BetterPress Letterpress System and ran it through my Platinum die cutting machine,  I was very happy to see that the impression is just as beautiful on watercolor cardstock!

All of the Club Kits will be available for new subscribers on August 6, so be sure to check it out!  Thank you for stopping by!  I hope you have a wonderful day!

Thank you for using my affiliate links to shop (never any additional cost to you)!
Monday, August 5, 2024

Big Exciting News + An Autumn Stenciled Card

I'm so thrilled to be sharing my first reel on my Instagram as part of Altenew's new Crafty Creator Team!  Everyone on this team will be sharing card making reels with lots of tips, tricks, and inspiration!

My reel was all about how I salvaged the stenciled piece after a crafty accident and I thought I would share a bit of that here!

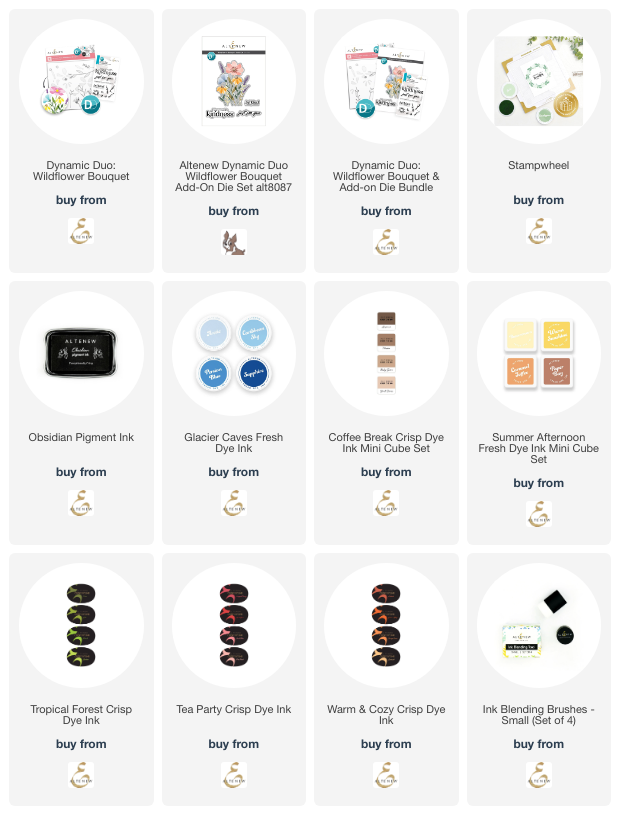
I began by using the Dynamic Duo: Wildflower Bouquet layering stencil set with a beautiful autumn palette of ink colors.

I finished the stenciling and was getting ready to use the coordinating Wildflower Bouquet stamp set to add the stamped details to the flowers.

You may be wondering what is the big deal?  Well, just look at this:

Now you see it, right?!  The lid to the ink pad was not secure and the ink pad landed upside down onto my stenciling!

However, you can't tell it from the other photos because, after staring at it in dismay for a while, I thought to myself, "what can I do to save this?"

First I decided to try a sand eraser.  Well, that helped just a bit.  I didn't want to rough up that spot too much with that eraser.

Next I decided to make the flower a darker shade of yellow.  I got the Wildflower Bouquet stencil out and added a darker more golden yellow.  While that helped, those little spots were light bright glaring headlights to me!

After more thinking, my thoughts were that there are flower petals with dots on them.  So, I embraced those accidental dots by using some Prismacolor pencils to add more dots!  The dots I added are subtle but effective a totally hiding the accidental dots!

The card was saved!

I created the masked blue background with blue splatters.  Then I cut out the flowers with the Wildflower Bouquet die.  The sentiments are also in the Wildflower Bouquet stamp set.

So, my moral here is, don't give up on a card, ever!  I'm quite pleased with how this turned out and hope you've been inspired too!  Thanks so much for stopping by!

Thank you for using my affiliate links to shop (never any additional cost to you)!

Thursday, August 1, 2024

Autumn Is My Favorite Color

It's the first day of August and that means this summer heat is that much closer to being gone!  I'm sharing a few details of my card that I created a reel for over on Instagram.  This features Picket Fence Studios' new die called Autumn Is My Favorite Color.  I've used a few previously released products here too.

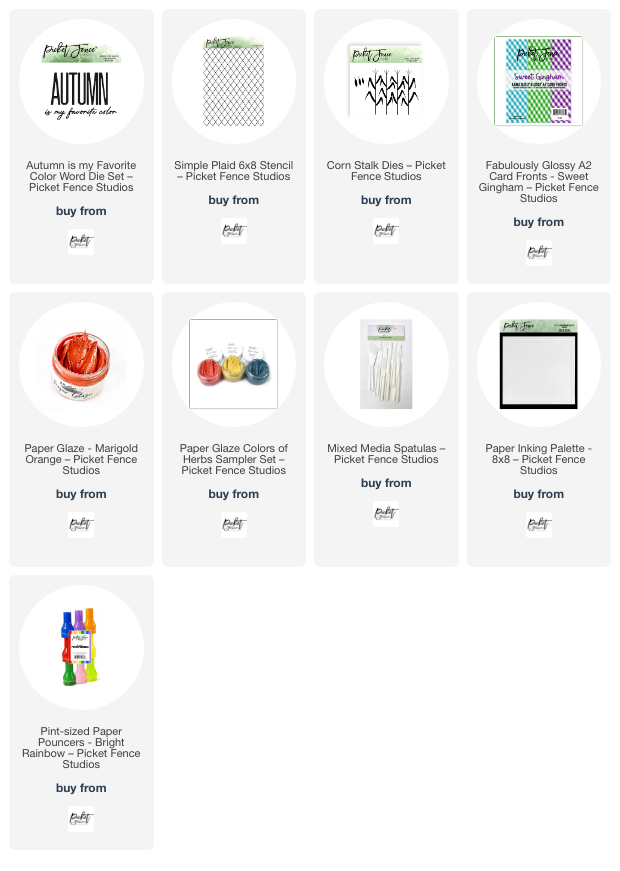
The background is made with the Simple Plaid stencil and Marigold Orange Paper Glaze.  I love the variety of colors Paper Glaze comes in!

I used Pint-Sized Paper Pouncers, along with the Paper Inking Palette, to color the Corn Stalk die cuts.

I used a piece of pretty Sweet Gingham A2 card fronts to die cut the Autumn is My Favorite Color die.  This gingham layer is adhered to a stack of three die cuts from white cardstock.

I layered the background and sentiment with coordinating orange and purple cardstock layers.  I die cut the sub-sentiment from the Autumn is My Favorite Color die from the same orange cardstock for a cohesive look.

Creating autumn cards definitely takes my mind off of these hot temperatures!  Thanks so very much for stopping by!

Thank you for using my affiliate links to shop (never any additional cost to you)!

Wednesday, July 31, 2024

Framed Beach Scene Retirement Card

Hello crafty friends! What would be better than a long trip to the beach to celebrate a retirement? I sure don't know! That thought was my inspiration for this framed beach scene card that features one of my favorites from the latest Honey Bee Stamps release, the Palm Beach Cover Plate and the coordinating Palm Beach stencils.

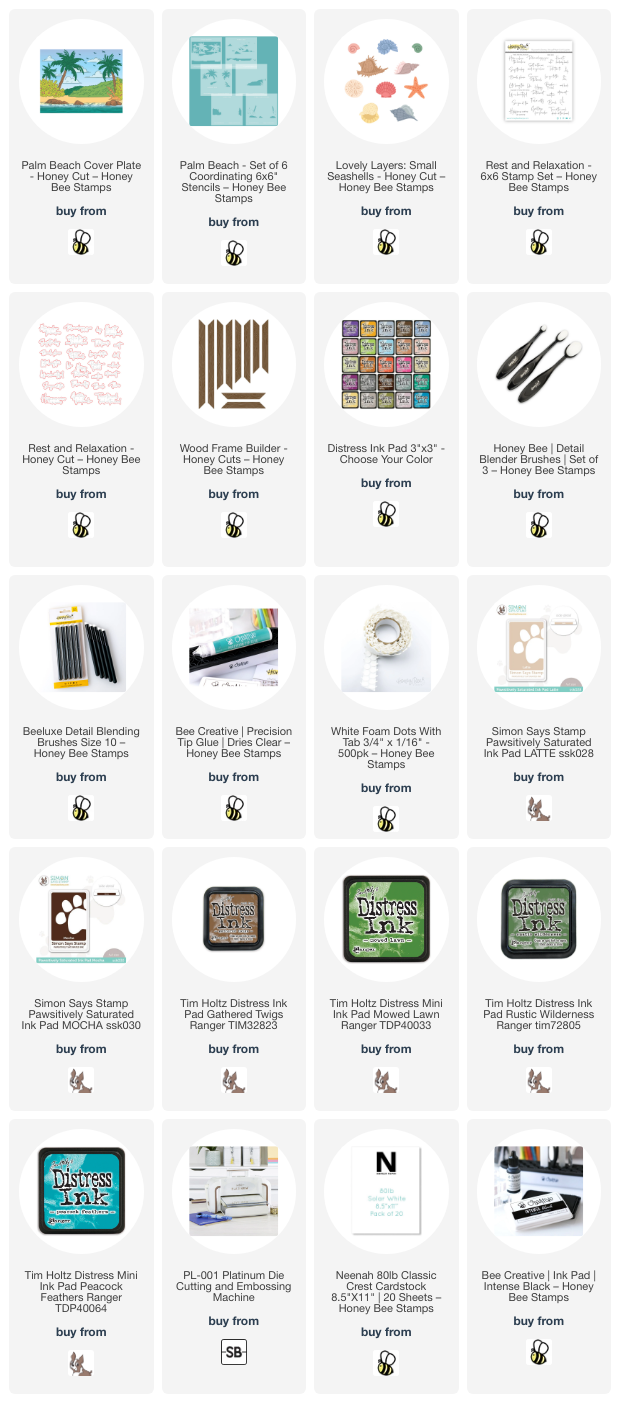
I began by running the Palm Beach Cover Plate die through my die cutting machine with 80# white cardstock. Then I used each of the coordinating stencils to color this beautiful scene with Blender Brushes and various inks. I used a few inks in my stash (linked below) and some Distress Inks. The Distress Inks I used are Peacock Feathers, Mowed Lawn, Rustic Wilderness, Black Soot, and Gathered Twigs.

Next I die cut 110# white card stock with the Wood Frame Builder dies. After I glued the stenciled scene to my A2 card base, I used glue to adhere the frame pieces to the card.

To add a few embellishments to my framed beach scene, I die cut 110# cardstock with the Lovely Layers: Small Seashells dies. I also colored these with Blender brushes and a few inks in my stash. Then I used glue to adhere three of the seashells at the corner of the frame and a foam dot to adhere the sand dollar.

I stamped the sentiment from the Rest & Relaxation stamp set with black ink and cut it out with the coordinating die. To accommodate the extra height added by the seashells, I added a double layer of foam strips to the right side of the sentiment. I added a bit of glue to the back left of the sentiment to adhere it.

I love how quick and easy it was to make this card! I hope you've found some inspiration here too. I appreciate you stopping by and hope you have a wonderful day!

Thank you for using my affiliate links to shop (never any additional cost to you)!

Sunday, July 28, 2024

A Hollies and Berries Filled Holiday Card

Happy Sunday friends!  Today I'm sharing this Christmas card I made with some products from Brass & Bliss's Holly Jolly release.  This is a cheerful and fun card made with the Hollies and Berries stencils.  Check all of the details on Brass & Bliss's blog.


 I used some Color Fuse inks to color the Hollies and Berries leaves.  Next I spread some very pretty Barn Door Stencil Butter through the berries stencil.  I you want this card to be extra fast to make, just use your favorite red ink for that step!

The sentiment is the Merry Christmas w/Shadow Die.  I really like the font of this sentiment!  A vellum layer behind the sentiment mutes the background just a bit and helps the sentiment to stand out.

Please join me over on the Brass & Bliss blog for all of the specific details to make this cheerful Christmas card.  I hope you have a wonderful week ahead with lots of crafty fun too!

Thursday, July 25, 2024

Sending Autumn Blessings

Hello crafty friends!  Today I'm sharing this card that I made with some new sets from the Picket Fence Studios Fall Into Autumn release that's now available!  My card features the beautiful Sweet Autumn Holiday stamps and coordinating dies.

Check out my Instagram to see the reel where I'm sharing the card making process!

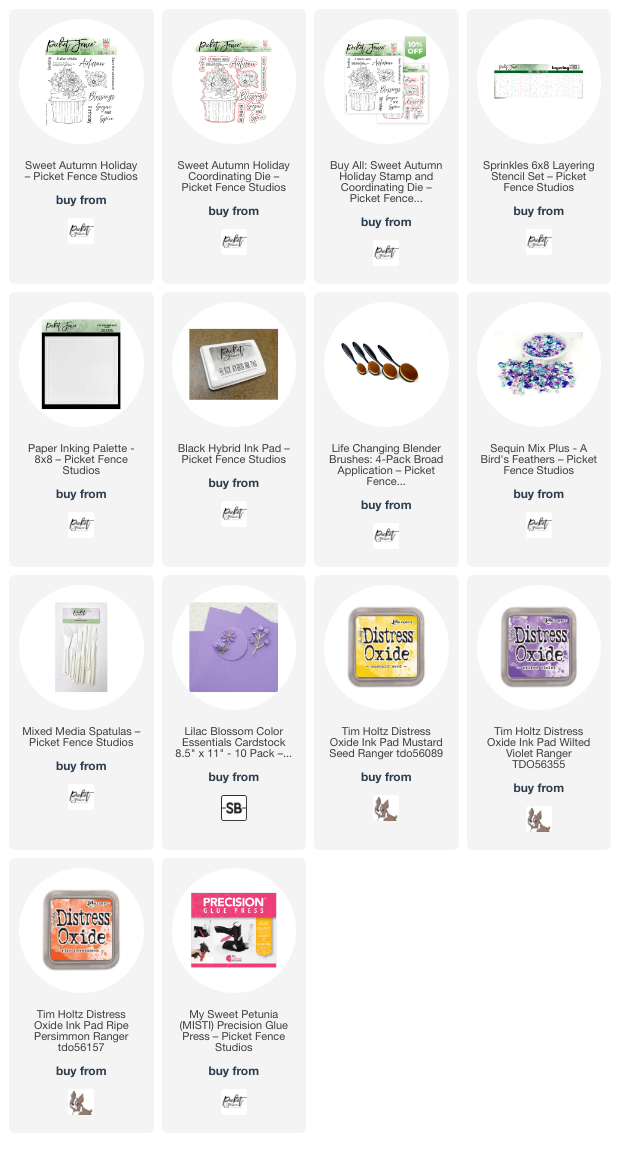
I started first by creating my background with the Sprinkles 6x8 Layering Stencil Set (set of five stencils).  I used Blender Brushes to add Distress Oxide Inks through three of the stencils.  The colors used are Mustard Seed, Wilted Violet, Ripe Persimmon.

Next I added some of the new Paper Glaze colors.  First I spread Agapanthus Purple glaze through another Sprinkles stencil.  I let that dry and then added Marigold Orange and Daffodil Yellow glazes through the remaining stencil.  I cleaned the tools and set the panel aside to dry.

Next I stamped the images and sentiments from the new Sweet Autumn Holiday stamp set with black hybrid ink.  I colored these with my Copic markers.  I used these colors: V09, V17, V06, V12, YR18, YR07, YR04, E57, E58, 0, YG17, YG25, YG03, Y15, Y11, Y00.  Then I cut them out with the coordinating Sweet Autumn Holiday dies.  

After I trimmed the stenciled Sprinkles piece to 4" x 5-¼", I glued it to a coordinating purple layer, and then to an A2 card base.  I adhered the Sweet Autumn Holiday images and sentiments with foam tape.

I added some sparkle by choosing the purple sequins from the A Bird's Feathers sequin mix.

I hope you'll check out the rest of this awesome release over on Picket Fence's website.  Thanks so very much for stopping by!

Thank you for using my affiliate links to shop (never any additional cost to you)!

Wednesday, July 24, 2024

Cheering For You!

Hello friends!  I'm sharing my card I made with one of the new products from Simon Says Stamps' new Cheering For You release.  This release is available now!

 This card features the new Football Season stamp set.  I don't have the coordinating dies but the jersey I Copic colored was easy to hand cut.

I used a gold sparkle pen to color in all of the stars.  (The pen is a Pentel Sparkle pen that I think I remember getting at Michael's.)  The Football Season stamp set has several other images and sentiments to create football themed and, as I did, non-football themed cards.

I adhered the sentiments and images to an embossed background I made with Honey Bee's Star Spangled 3D embossing folder.  It was just too perfect to not use for my card!

I hope you will check out the wide assortment of products available in the Cheering For You release over at Simon's website.  Thanks so much for stopping by!

Thank you for using my affiliate links to shop (never any additional cost to you)!