Thursday, August 10, 2023

One Swirling Foliage Tree Hot Foil Plate = Three Beautiful Christmas Cards

There's a gorgeous new Spellbinders hot foil plate available today called Swirling Foliage Tree and I had so much fun making these three cards!  This is part of the Glimmer for the Holidays Collection release that's filled with many selections of dies, coloring stencils, hot foil plates, sentiments and so much more!

It was lots of fun thinking of three different looks for this beautiful Swirling Foliage Tree hot foil plate!  The sentiments on all of the cards are from the Glitter Wishes hot foil plates set.  It has 31 sentiments!!  Plus a long narrow rectangle die to use to die cut each one!

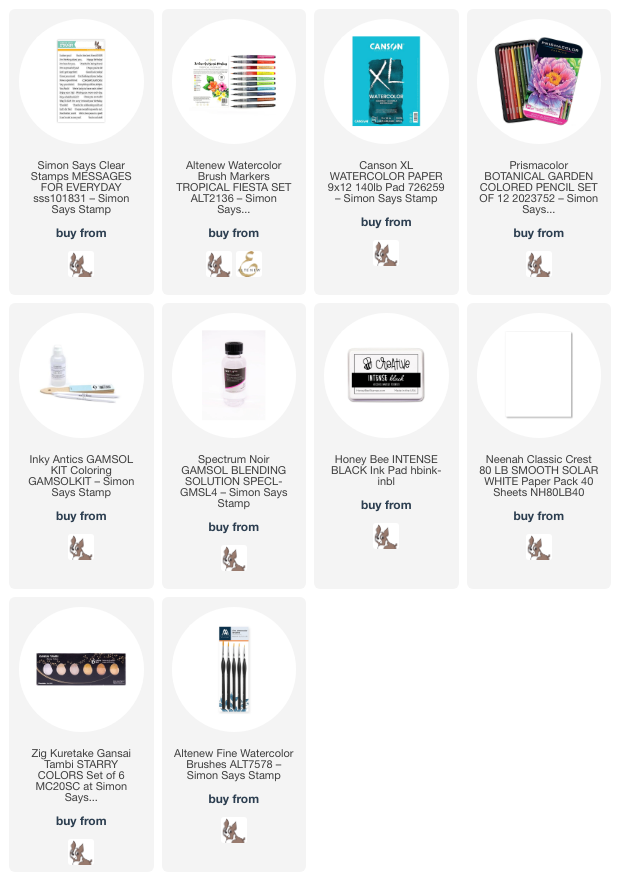
I used my Glimmer Hot Foil System to add Aura Glimmer Foil to red cardstock.  After foiling the Swirling Foliage Tree I trimmed the piece to 3-¾" x 5".  Then I used ink blending brushes to add dark red ink around the edges, followed by black ink.

It was super easy to make a perfectly coordinating layer for the image and sentiment by adding a sheet of double sided adhesive to white cardstock.  Then just remove the adhesive backer and carefully place a sheet of the Aura Glimmer Foil onto the adhesive.  It was easy--just go slow and smooth the foil with you other hand as you place it down.  Be sure to peel off the clear film of the Glimmer Foil after you adhere the foil!

I added some pretty gold gem stickers to the tree to up the bling factor!

The next version of the Swirling Foliage Tree is done in a dark teal cardstock with Opaque White Glimmer Foil.

The white foil is added to Spellbinder's Blue Spruce cardstock.  Now...this is my honest opinion:  After hot foiling on several different brands of colored cardstock, I have to say that I get perfect results when I use Spellbinder's colored cardstock!  I do not know what the difference is, but it's there!

If you look closely at the previous card, and the next card, there are small imperfections in the foiling, which was on a different brand of cardstock.  I didn't like it, but decided to stop being totally picky!  LOL!

I inked the edges of this cardstock with Pine Needles Distress Ink and also Black Soot.  I used Opaque White Glimmer Foil for the sentiment on this card.

I added silver gem stickers from my stash to the tree this time.

And finally, here is my third rendition of this card!

I used Red Glimmer Foil on 80# Neenah for this card.  Then I used my scissors to trim around the tree.  I added thin foam tape to the back of the tree.

I inked a 4" x 5-¼" panel of the red cardstock with dark red and black inks and adhered it to an A2 card base.  Of course, it was after this step that I decided I wanted white splatters, but not on the tree and sentiment!  Haha!  I just covered the tree with scrap paper as I added the splatters.

This sentiment is also done in silver foil and added to a white layer.  I popped it up onto the card and added red gem stickers.

These cards really were easy to make and I enjoyed the process of finding different versions for each card.  Be sure to check out the Swirling Foliage Tree hot foil plate and lots more fun elements in the Glimmer for the Holidays Collection!

Thank you so much for stopping by!  I hope you have a wonderful, and crafty day!

I appreciate you so much for using my affiliate links to shop (never any additional cost to you)!
Wednesday, August 9, 2023

Autumn Grapevine Wreath Card

Happy Wednesday crafty friends!  For my card today, I've used some previously release Honey Bee Stamps products that I still love! I've made an autumn wreath with the awesome and versatile Grapevine Wreath Honey Cut. Keep reading to see which other products I've used for this beautiful wreath.

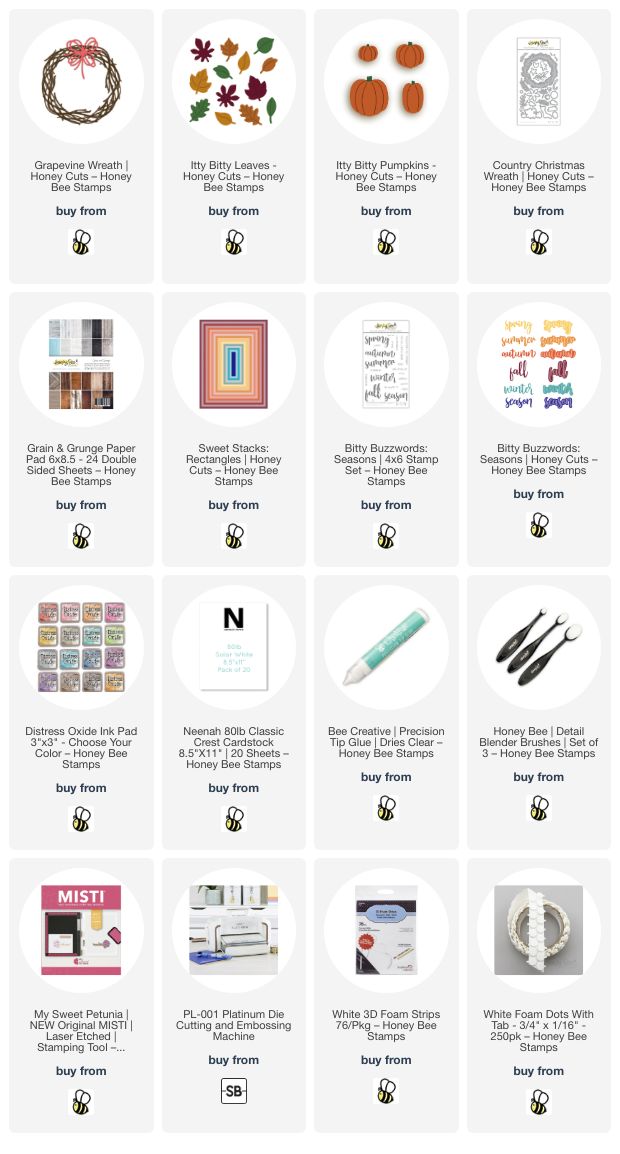
I started by die cutting two of the Grapevine Wreath Honey Cuts from light brown cardstock. Next I die cut the leaves and pumpkins found in the Itty Bitty Leaves and Itty Bitty Pumpkins sets. The berry stems are in the Country Christmas Wreath Honey Cuts (another favorite of mine), but you could use any branch and add berries to it too. The pieces were die cut from golden yellow, orange and white cardstock. 

I used the small ink blending brushes to add Distress Oxide inks to all of the pieces. Use any of the browns and warm autumn Oxides that you may have and it will be beautiful! Here's a list of the Distress Oxides I used:

  • Rusty Hinge
  • Fossilized Amber
  • Crackling Campfire
  • Spiced Marmalade
  • Wild Honey
  • Barn Door
  • Aged Mahogany
  • Fired Brick

Now, here is how I made the little berries! I inked Crackling Campfire Oxide onto some white cardstock. Then I used a 1/8" hole punch and punched until I had enough "berries" for my branches! Easy peasy!

I added layers of paper from the Grain and Grunge paper pad die cut with two of the Sweet Stacks: Rectangles to an A2 card base. I used Bee Creative glue to adhere the layers. This paper pad is filled with several different gorgeous wood plank and woodgrain papers!

Next I adhered the two Grapevine Wreaths together, offset, with dots of glue. Then first added a cute little orange gingham bow I made with ribbon from my stash. Then I began arranging and adhering the elements onto the wreath. I only added a drop or two of glue at the base of the leaves so I was able to tuck more leaves in.

I stamped the sentiment from the Bitty Buzzwords: Seasons stamp set in brown ink. I used the coordinating dies to cut the shadow once and the word "fall" three times from white cardstock. Then I die cut the stamped "fall" and adhered all of the layers together with glue. I added foam tape strips and dots to adhere the sentiment to the card.

To add a bit of shine, I added drops of Crystal Glaze to each berry.

In spite of all of the details, this really is an easy card to make--and it's fun too! I hope you've enjoyed this, and I so appreciate you stopping by today! Have a wonderful, and crafty day!!

Thank you for using my affiliate links to shop (never any additional cost to you)!

Wednesday, August 2, 2023

Hello Beautiful!! -- Floral Birthday Card

Hello crafty friends! I cannot believe it's August!  I'm staying inside, out of the heat, and having lots of crafty fun! Today I'm sharing this card I made using Honey Bee StampsAdventure Awaits paper pad along with several other previously released products.

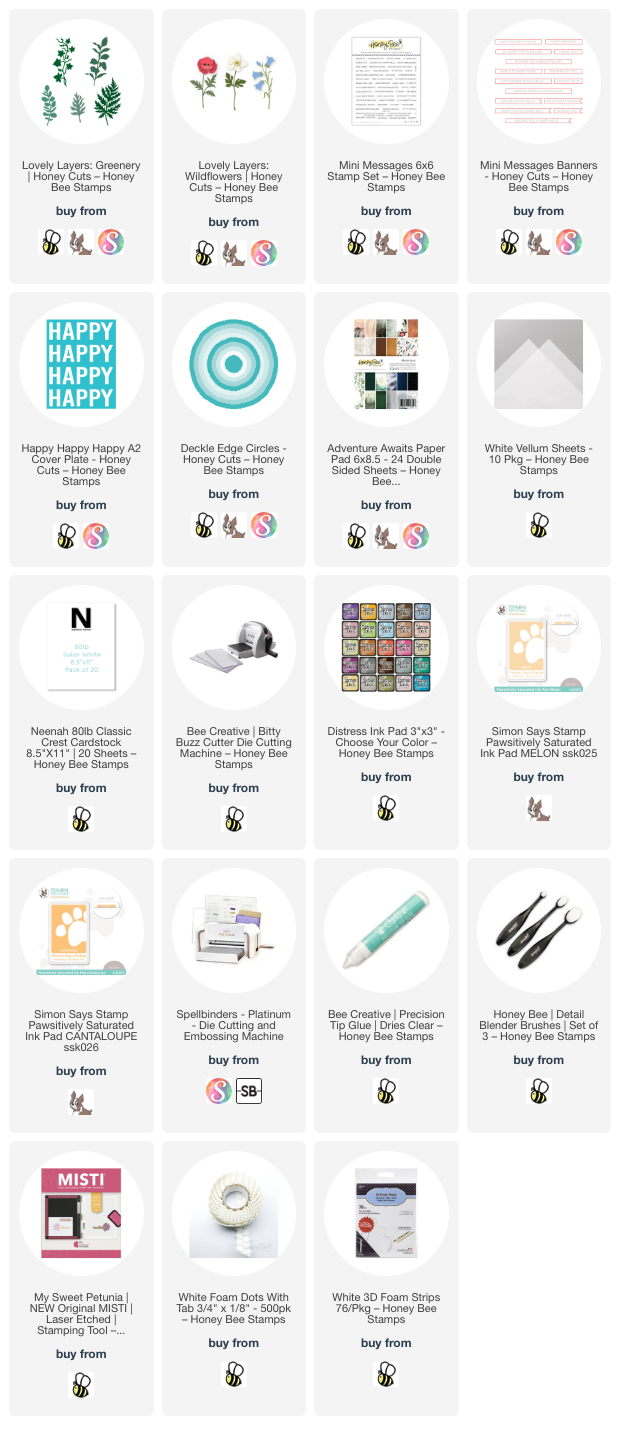
First I created the layers for the card base by die cutting the Happy Happy Happy A2 cover plate die four times. Once was from patterned paper in the Adventure Awaits paper pad and three times from white cardstock.  Be sure to save those middle pieces from the "A's" and "P's"!!

Tip: Do what I totally forgot to do and put sheets of double-sided adhesive to the papers before die cutting! Otherwise, use Bee Creative glue to adhere the the layers and the fallout pieces for the A's and P's, like I did.

Once you have the layers adhered, add a piece of dark green paper (Adventure Awaits paper pad) to an A2 card base. Then adhere the Happy Happy Happy die cut to the card. Next adhere the center pieces of the A's and P's.

Next I chose two of the dies from the Lovely Layers: Greenery set. I die cut one greenery once, and the other two times from 80# Neenah. I used some ink blending brushes and Distress inks to color the greenery. I used Shabby Shutters, Peeled Paint, Bundled Sage, and Rustic Wilderness.

Next I die cut the poppy layers from the Lovely Layers: Wildflower set. I used a few of the same green Distress Inks as before, plus a couple of coral-orange inks in my stash to color the layers.

To defuse the business of the patterned paper, I die cut some vellum with the fourth largest Deckle Circle die. As you can see in the photo, I trimmed off the edge just a bit. Then I used dots of glue to adhere the greenery and poppy to the vellum. When the glue was dry I turned the piece over and added pieces of foam dots to the back of the vellum making sure they wouldn't show through to the front. (I just cut the foam dots in halves or quarters to make them fit where needed!)

One more step before I removed the backing from the foam dot pieces! I stamped the sentiments from the Mini Messages: Everyday in green ink and die cut them with the two coordinating dies. I used tape runner to glue the sentiments to the vellum, as shown. Then I added a narrow foam strip to the back of the sentiments. This will hold up that side of the vellum! Remove the foam tape backing and adhere the piece to the card.

I added a few pretty pearls that coordinated from the Spring Pearls pearl stickers set.

In spite of the details of this card, I had this made in a surprisingly short amount of time!  I'm still building up my low birthday card stash, and this will be perfect for a fall birthday! Thank you so much for stopping by!

I so appreciate it when you use my affiliate links to shop (never any additional cost to you)!

Sunday, July 30, 2023

Autumn Has Arrived -- Picket Fence Studios

I have been so honored to be a guest designer this month for Picket Fence Studios for their July release!  Today I'm sharing one more card I made with some of the beautiful new products.


I wanted to create a night scene for the beautiful Autumn Has Arrived stamp.  First I stamped the image in black ink onto 80# Neenah.  I kept the stamp in my MISTI and stamped it again onto masking paper.  Then I cut the masking paper image out with my scissors.  (I didn't even bother cutting the pine branches on either end.)

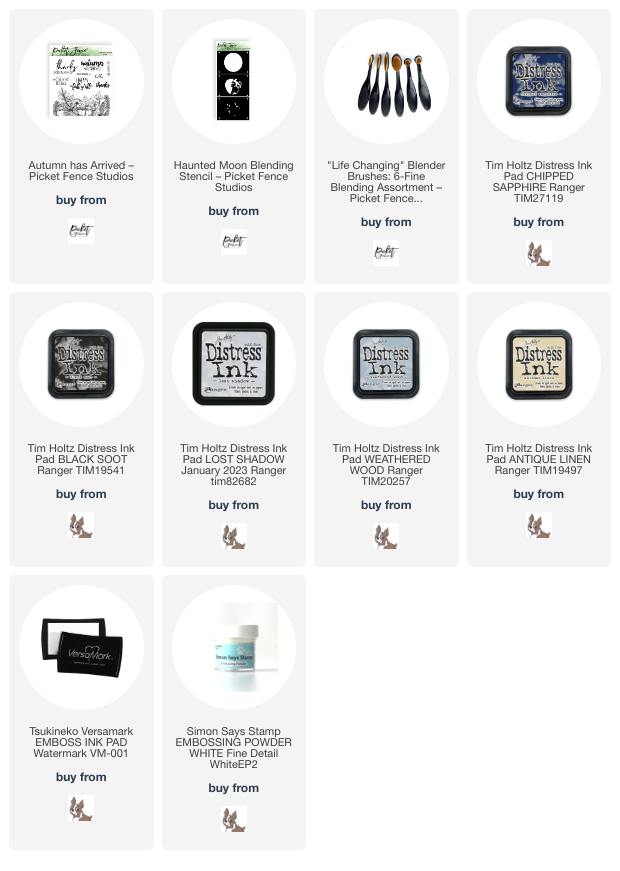
I placed the mask over the image and used ink blending brushes to color through the Mini Haunted Moon Blending Stencil.  This set has three layers for the moon and one circle mask.  I didn't ink the first layer, then added Lost Shadow Distress ink through the second stencil layer.  The third layer is Weathered Wood.  Then I held the circle mask over the moon and blended on just a bit of Antique Linen Distress ink around the circle.

Keeping that circle mask over the moon, I ink blended Chipped Sapphire Distress ink first being careful not to cover that Antique Linen too much.  Then I added some Black Soot just around the edges.

I removed the mask from the image and colored it with my Copic markers.  I kept a somewhat muted color pallet since this is a night scene.  I trimmed the panel to 4" x 5-¼" and glued it to an A2 card base.

I inked some Chipped Sapphire onto a scrap of white cardstock.  I used my heat tool to dry it thoroughly and then stamped the sentiment from the Autumn Has Arrived set in Versamark ink.  I added white embossing powder and heat set it.  After I trimmed it with my scissors, I popped it up on the card with foam tape.

I was thrilled to be Picket Fence's guest designer for this new release, and I hope you will check out all of the new goodies over in their shop.  Thanks so much for stopping by today!

Thank you so much for using my affiliate links to shop (never any additional cost to you)!

Saturday, July 29, 2023

Hey Hay Hey--You're A-Maize-ing Card -- Picket Fence Studios

Happy Saturday crafty friends!  Today I have a quick blog post to share the most adorable scarecrow set called Hey Hay Hey from Picket Fence Studio's July release!  This is my second card using products from this release.  Check out my blog post where I shared my card with the gorgeous Lemon Queen Sunflower, if you haven't seen it.

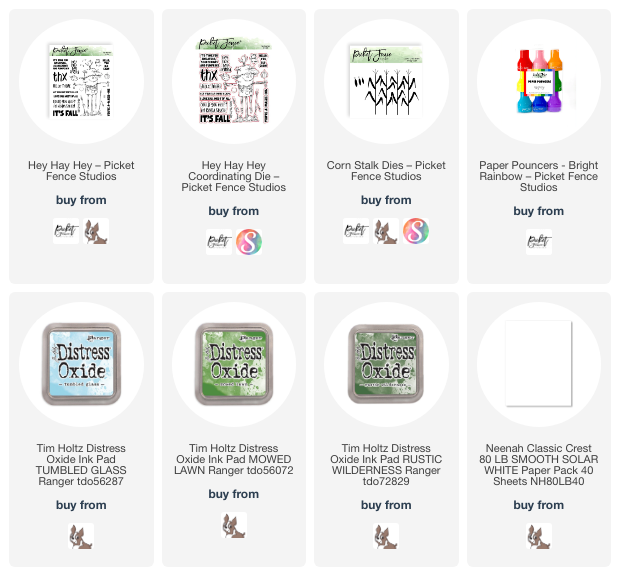
I stamped the scarecrow and pumpkins from the Hey Hay Hey set with Copic safe ink.  After I colored the images I cut them out with coordinating dies.  Then I added foam tape to the back of the scarecrow.

Next I die cut the corn stalks from the Corn Stalk dies set from green and yellow cardstock.  I used a dark yellow colored pencil to add details to the corn.  I set all of the images aside to create the card background.


I used the awesome Paper Pouncers to add Mowed Lawn and Rustic Wilderness Distress Oxide inks to a 5" x 7" card base for the grass.  I used Tumbled Glass Oxide for the sky.

First I adhered the cornstalks, then added the scarecrow and pumpkins.  There are little notes in the Hey Hay Hey set that I stamped above the bird.

The sentiments from the Hey Hay Hey set are stamped in black ink and cut out with the coordinating dies.  I love dimension on my cards, so I popped those up with foam tape.

I think that this scarecrow has such a unique look and is so adorable!  Be sure to check out Picket Fence's release to see the gorgeous fall florals available!  Thanks so much for stopping by.  I hope you have lots of crafty time this weekend!

Thank you for choosing to use my affiliate links (never any additional cost to you)!

Wednesday, July 26, 2023

Simon Says Stamp "Just A Note" Release feat. the Darcy Bouquet Embossing Folder

Hello friends!!  The latest Simon Says Stamp release called Just A Note is now available!  As always, be sure to check out all of the wonderful new crafty goodies over in their shop--there's always such a good variety of styles to choose from!

My card features the new and so gorgeous Darcy Bouquet Embossing Folder and Cutting Die set!

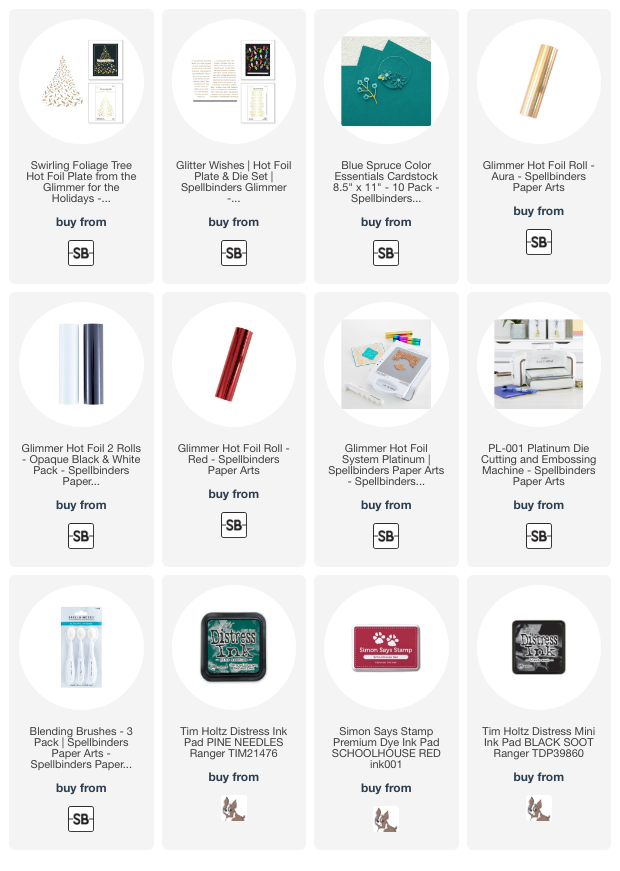
I started out by embossing a piece of watercolor paper with the Darcy Bouquet embossing folder.  Then I used the included coordinating dies and cut out the three flowers.  To emboss these separate flowers, I positioned them over the matching flowers in the embossing folder, securing the die cuts with removable tape.  

For all of my watercoloring, I used a set of watercolor brush markers.  I first did a wash of the light green over all of the embossed greenery.  Then I used several different Prismacolor green pencils to color over the raised leaves.  I blended out the pencil coloring with Gamsol and a blending stump.

For the flowers, I combined 2 to 3 colors of the watercolor brush markers to achieve a shade I liked.  For example, the pinkish flower is Crimson and Purple Wine combined with a couple drops of Lava Rock.  It's fun to combine colors to get different shades!

Here's a look at my colorful mess!  You can see that I painted the flowers' edges before I adhered the die cut flowers.

Next I added some pretty gold splatters over the piece with metallic gold watercolor and a paintbrush.  I added a sentiment from the Messages For Everyone stamp set that I stamped in black ink.  It's popped up with a strip of narrow foam tape.

I really enjoyed my coloring time on this project!  This is such a gorgeous embossing folder and I have lots more ideas of how I want to use it!  Don't forget to check out the entire Just A Note release!!

Thank you for using my affiliate links (never any additional cost to you)!

Birthday Card with Layered Coneflowers

Happy Wednesday friends! The coneflowers still happily growing here in this heat is what inspired my card today!  I've used the beautiful Honey Bee Stamps Lovely Layers: Coneflower Honey Cuts for this card I plan to use as a birthday card.  The coneflowers are the only thing happy about this heat!  Haha!
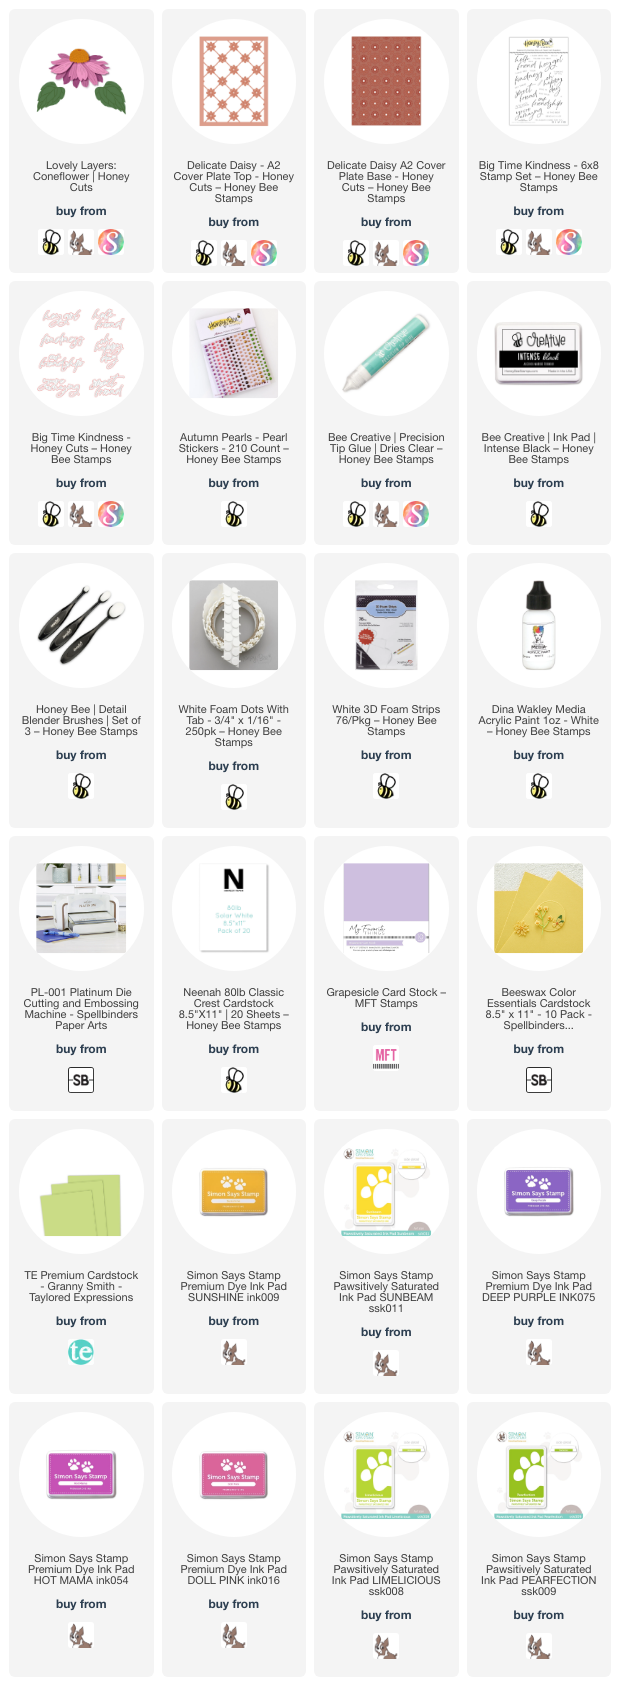
The A2 card base is made from 80# Neenah with a purple cardstock layer.  I topped this with the beautiful Delicate Daisy Cover Plate Base and Top also die cut from 80# Neenah.  FYI, I didn't realize I would be totally covering the little die cut openings that would show the purple cardstock!  If I were to remake this, I'd just skip that purple cardstock layer!

Next I die cut all of the pieces of the Lovely Layers: Coneflower from light purple, green, and yellow cardstock I have in my stash. I chose some inks I haven't used in a while to color the pieces with Detail Blender Brushes. I first used two shades of purple ink to color the flower petals, but I wasn't quite happy with them. So I used a fairly dark, bright pink ink to go over it, and now I love it!  Starting with colored cardstock makes the ink blending lots faster!  (The cardstock and inks I used are linked below.)

To add splatters to the petals and leaves, I smooshed the green ink and the purple ink I used onto my craft mat. I diluted them just a bit with water and used a paintbrush to add the splatters. I repeated the same steps with white acrylic paint to add the white drops.

When the pieces were dry, I used Bee Creative glue to adhere the layers and to glue the pieces to the card. For the top flower, I did use a few foam squares to adhere it instead of glue.

I stamped the sentiment from the Big Time Kindness stamp set in Intense Black ink and cut it out with the coordinating die. It only took a small piece of a narrow foam strip at the bottom of the sentiment and a few dots of glue at the top to adhere it to the card.

I added a bit of bling with purple pearls from the Autumn Pearl Sticker set placed around the flowers.

I hope you're staying cool wherever you are and that you've enjoyed my card making process today! Thank you so much for stopping by.

Thank you for using my affiliate links (never any additional cost to you)!