Showing posts with label Prismacolor Pencils. Show all posts

Wednesday, July 26, 2023

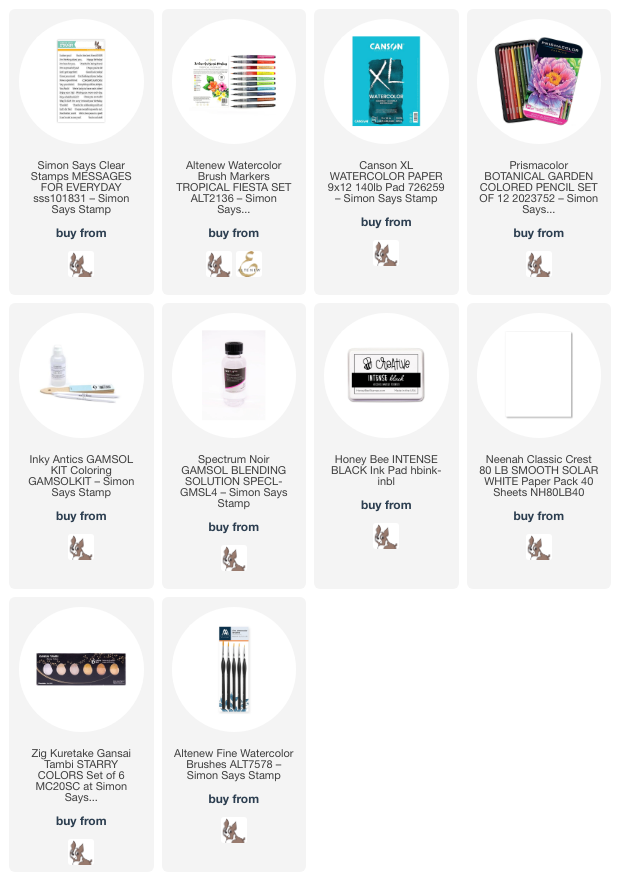
Simon Says Stamp "Just A Note" Release feat. the Darcy Bouquet Embossing Folder

Hello friends!!  The latest Simon Says Stamp release called Just A Note is now available!  As always, be sure to check out all of the wonderful new crafty goodies over in their shop--there's always such a good variety of styles to choose from!

My card features the new and so gorgeous Darcy Bouquet Embossing Folder and Cutting Die set!

I started out by embossing a piece of watercolor paper with the Darcy Bouquet embossing folder.  Then I used the included coordinating dies and cut out the three flowers.  To emboss these separate flowers, I positioned them over the matching flowers in the embossing folder, securing the die cuts with removable tape.  

For all of my watercoloring, I used a set of watercolor brush markers.  I first did a wash of the light green over all of the embossed greenery.  Then I used several different Prismacolor green pencils to color over the raised leaves.  I blended out the pencil coloring with Gamsol and a blending stump.

For the flowers, I combined 2 to 3 colors of the watercolor brush markers to achieve a shade I liked.  For example, the pinkish flower is Crimson and Purple Wine combined with a couple drops of Lava Rock.  It's fun to combine colors to get different shades!

Here's a look at my colorful mess!  You can see that I painted the flowers' edges before I adhered the die cut flowers.

Next I added some pretty gold splatters over the piece with metallic gold watercolor and a paintbrush.  I added a sentiment from the Messages For Everyone stamp set that I stamped in black ink.  It's popped up with a strip of narrow foam tape.

I really enjoyed my coloring time on this project!  This is such a gorgeous embossing folder and I have lots more ideas of how I want to use it!  Don't forget to check out the entire Just A Note release!!

Thank you for using my affiliate links (never any additional cost to you)!
Tuesday, April 13, 2021

Dog Loving Friendship Card | Rubbernecker Stamps

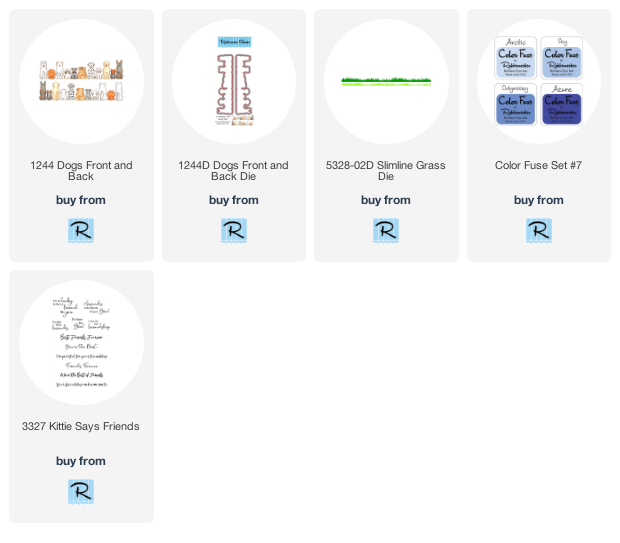
Today I'm sharing an adorable friendship card for those dog-loving friends you may have!  I've used Rubbernecker Stamps Dogs Front and Back stamp set and the coordinating dies.  This is a cool set as it stamps the front of the dogs and has another stamp that's a mirror image and stamps the back!  I pulled out my neglected Prismacolor Pencils and some Gamsol to color up these cuties!

First I began by coloring the row of dogs.

  • I stamped the Dogs Front and Back in black hybrid ink onto Neenah 80# Solar White card stock.
  • I used my Prismacolor pencils to color the dogs.  As I added each layer of pencil color I used a blending stump with Gamsol to blend out the colors.
  • Working with Gamsol and pencils is quite easy.  I played down the shadow color first, dipped the tip of the blending stump into Gamsol, then blended out the color.
  • The principal of coloring and shading is the same as any other coloring medium you might use.  If you are new to using pencils with Gamsol, do a search in YouTube and find one that suits your style to learn.
  • A tip for coloring the fronts and backs of the dogs is to color a dog's front, then find the back of him and color it right away.  I almost messed up one dog but was able to save it!
  • When I finished my coloring, I die cut the images with the coordinating dies.

Next I created the card base.  I wanted the rest of the card to be fairly simple so that the focus would stay on the dogs and the work I did coloring them!

  • First I took a side-folding A2 card base and trimmed part of the card front off.  I first cut along the score line from the top down to about 2-¾".  Then I trimmed along the horizontal line.  See the photo for a visual.  Click on the photo for a larger image.
  • Next I die cut two 1" strips of white card stock with one of the Slimline Grass Border dies.  Line them up together and trim to 5-¼".  Then I colored them with some green Copic markers.  NOTE:  Color one grass piece on the front and the other on the back so you will have mirror images!
  • Then I cut two 1-¼" strips of green striped paper and adhered them to the flap of the card front, one on the front, and the other on the back.
  • Now adhere the grass pieces on the front and back of the flap, lining up the grass blades of the die cut. Add strips of black card stock where the striped paper and bottom edge of the grass pieces meet.
  • Adhere the Dogs Front and Back pieces.  I used liquid glue for all of my attaching.
  • Next open up the card and ink on some clouds with a cloud stencil, a blending brush and Arctic ink (from Color Fuse Set #7).
  • Stamp the sentiments from the Kittie Says Friends set in black ink.

These little pups are just as cute from behind!


I like the element of the extra sentiment when the card is opened up.


Would you like this card displayed on your desk?  I think it turned out really adorable!


I really do appreciate you stopping by today!  Have a fabulous, and crafty, rest of the week!

Rubbernecker supplies:

Monday, February 17, 2020

Gardening Circlet Birthday Card | Art Impressions

Happy Monday friends!  I'm over on Art Impressions' blog today with a sweet birthday card featuring the  beautiful Gardening Circlet MTF set.


This card is very easy to create as the directions for the card size, where to fold and stamp are all included on the back of the packaging.  First I stamped the images and used the dies to cut the openings in the first two panels.

I decided to use my Prismacolor Pencils to color these as the images are a bit on the small side.  Keeping your pencils very sharp at all times makes the coloring very easy!


I love this row of birds!  The illustration reminds me of the sweet Chickadees that visit our backyard bird feeders.  I did a web search of images of them to use as a guide for my coloring.  Note:  you do not need to use as many pencil colors as I did--I just wanted to do a lot of shading.  The list of the colors I used are at the end of this post.


I used a sentiment from the Exclusive Hydrangeas Set and stamped it with black ink.  I definitely used my MISTI to stamp this since I sure didn't want to mess it up after all of my coloring!  Haha!


I hope I've inspired you to give these sweet mini trifold sets a try!  I'm always thankful for you taking a moment to stop by and take a look.  Have a wonderful, crafty week!


Prismacolor pencils:
Chartreuse, Spring Green, Apple Green, Lime Peel, Prussian Green, Kelp Green, Olive Green,
Dark Green, Mahogany Red, Magenta, Process Red, Hot Pink, Diox. Purple Hue, Parma Violet, Lilac, Indigo Blue, Cerulean Blue, Light Cerulean Blue, Blue Slate, Sky Blue Light, Terra Cotta,
Burnt Ochre, Mineral Orange, Goldenrod, Jasmine, Yellow Ochre, Canary Yellow,
Dark Umber, Chocolate, Light Umber, Sandbar Brown, Ginger Root,
Cool Grey: 90%, 70%, 50%, 30%, 20%; Black

Supplies:
Neenah Solar White 80# card stock
Versafine Onyx Black ink

Monday, June 10, 2019

AECP, Color Your Day

Hello friends!  I've completed another class in the Altenew Academy towards my Level 2 certification!  The class is Color Your Day and the lessons discuss how to add color to your projects in various ways.  Ideas such as using photos for inspiration, your color wheel, and different mediums were just a few of the great ideas.


I decided to challenge myself and work on my no-line coloring.  I pulled out a not yet used set called Frilled Petals.  I stamped the lined flower onto masking paper twice and fussy cut them out.  Then, using my MISTI, I stamped the first flower with some very light ink.  I placed the mask onto it and stamped the bottom left flower.  I added a mask to it and stamped the third flower.  To stamp the leaves I left the masks in place and stamped a couple leaves and moved one of the masks for the next one.

So, this is where I have to say that twice I almost abandoned and trashed this after I colored the purple flower.  I had colored maybe five or six petals and thought it looked awful!  So I pushed the project aside and did something else.  I came back to it the next day thinking, "well if I'm just going to toss it, I may as well just practice."  Funny thing is is that the more I worked on it, the more I liked it.  I also remembered I could use my colored pencils to add in shading in the darkest areas.  That just makes all the difference!  I have those listed below too.


When I was finished coloring the flowers and leaves, I knew I wanted to add just a bit of a shadow around them to give the look of dimension.  After all that work, I was a bit nervous.  So what I did was swatch out the Copics I used onto some scratch paper and try out a few different shades until I was brave enough to proceed!  Haha!

For the sentiment I used the Birthday Builder set and stamped it with black ink.  I cut a flag at one end and layered it with the same purple paper I used for my colored panel.  I added a few Nuvo Glitter Drops in Lilac Crystal for a bit of sparkle.


I'm happy with how this turned out.  While I know I have plenty of room to improve my no-line coloring, I did learn and won't be quite so hesitant to try again!  Thank you so much for stopping by!


Copic markers:
V01, V12, V15, V17
Y11, Y13, Y15, Y19
YG03, YG17, YG25, YG67

Prismacolor Pencils:
Goldenrod, Dioxazine Purple Hue, Olive Green, Dark, Green

Supplies:

Thursday, January 10, 2019

Basket of Blessings, Art Impressions

Hello to you all!  Did you see the new Challenge 247, Pretty Pastels, over at Art Impressions?  It's all about pastel colors.  You can create any themed card using pastel colors--it doesn't need to be Easter!   There are two new Art Impressions sets for Valentines and Easter being released today.  My cards today feature the new Basket of Blessings set.  It is so sweet!

  I haven't used my Prismacolor Pencils to color in a long time so I pulled them out and got to work.  It really is so relaxing to color this way.  On some of the images I used Gamsol to blend the pencil shading.  I'll try to point out where I used it as we go along and look at my cards.

This first card uses the two larger rabbits in this set.  I created a flip (is that what it's called?) card with the boy rabbit on the inside.  This rabbit's dress is the only area of this image where I did not use Gamsol.


I found that I liked the results best by laying down some pencil with shading, using the Gamsol, then go back over the area with more shading and NOT using Gamsol for the final layer.


These photos show before and after using Gamsol.  As you can see, some colors become very vibrant using Gamsol.


I really like the texture the pencils have, especially for the furry bunnies.  I cut the images with Art Impressions Oval Double Stitched dies and layered on top of an embossed panel (a retired embossing folder from Spellbinders.)


My second card uses the flower filled egg image and the other sentiment that's included in this set.


I did use Gamsol with the pencils on this entire image.  This is layered with Art Impressions Oval Double Stitched dies on top of an embossed layer using Sunny Studios Dapper Diamonds embossing folder.


We hope you will join in our Pretty Pastel challenge--go to THIS blog post, scroll down to the bottom and add your link.  I hope to see your beautiful creations there!  Thank you so much for stopping by!


Prismacolor pencils:
Goldenrod, Mineral Orange, Sunburst Yellow, Yellow Ochre, Jasmine, Canary Yellow, Olive Green, Apple Green, Light Cerulean Blue, Cerulean Blue, Pink, Deco Pink, Blush Pink, Carmine Red, 50% Cool Grey, 70% Cool Grey, 90% Cool Grey, 50% French Grey, 70% French Grey, Chestnut,  Dahlia Purple, White

Supplies:
Inky Antics Blending Stumps, Gamsol, Sandpaper Pointer Pad
Sunny Studios Dapper Diamonds embossing folder
Kaisercraft Bricks embossing folder
Spellbinders Dotted embossing folder

Friday, September 21, 2018

SSS STAMPtember and Art Impressions

It's STAMPtember!!!!  I'm so thrilled to create this fun card using the new set called Pumpkin Spice!  This set is a collaboration between Simon Says Stamp and Art Impressions.

If you are wondering what STAMPtember is, this is from Simon's blog:

STAMPtember defined:

STAMPtember® (stmp-tmbr) is defined by Simon Says Stamp… an event intended to inspire, educate, and celebrate our community of stampers.
Simon Says Stamp was founded in 2002 with an obsession for rubber stamps. However, it didn’t take long until we became a One Stop Shop. Now Simon Says Stamp and STAMPtember® is so much more than stamps! This year you’ll also see a focus on many other exciting products like dies, notecards, and some very special surprises. Our intention is to be your one stop shop in this awesome community! Rubber stamps still remain at the heart of our business, and we are celebrating by releasing exclusive products with many of the industry’s finest brands. Be sure to visit our Blog as the home base for the festivities!
I stamped these fun gals onto some Neenah Solar White 80 lb. paper and then colored them with Prismacolor Pencils.  I really enjoyed my coloring time and took it slow to build up my pencil layers and to get smooth blending between the layers.  Some fun details were added to the jacket and scarf with pencils and a Micron .005 black pen.


I added the grass with a stencil, after masking the ladies, with Mowed Lawn and Peeled Paint Distress Oxide inks.  The sky was lightly stenciled with Tumbled Glass Distress Oxide.


Grab this fun fall set quick before they are gone over at Simon Says Stamp!  Thank you so much for stopping by!  


Prisma Color Pencils:
Hair:  Sienna Brown, Chocolate, Dark Brown
Skin: White, Eggshell, Light Peach, Peach, Burnt Ochre
Pants:  Light Umber, Dark Brown, Dark Umber, Black, 50% French Gray, 70% French Gray, 90% French Gray
Jacket/Top:  Sand, Yellow Ochre, Goldenrod, Olive Green, Dark Green
Sweater/Scarf: Light Aqua, Aquamarine, Cobalt Turquoise, Sand Yellow Ochre
Pumpkins:  Pumpkin Orange, Cadmium Orange Hue, Yellowed Orange, Spanish Orange

Other supplies:
Honey Bee Stamps Outdoor Scene Builder stencils
My Favorite Things:  Grassy Edges stencil; Stitched Tag Corner Rectangle Die-namics
Paper pad:  Pebbles Woodland Forest 6 x 6 paper pad