Monday, March 11, 2024

Spellbinders Through The Arbor Garden Carnation Birthday Card

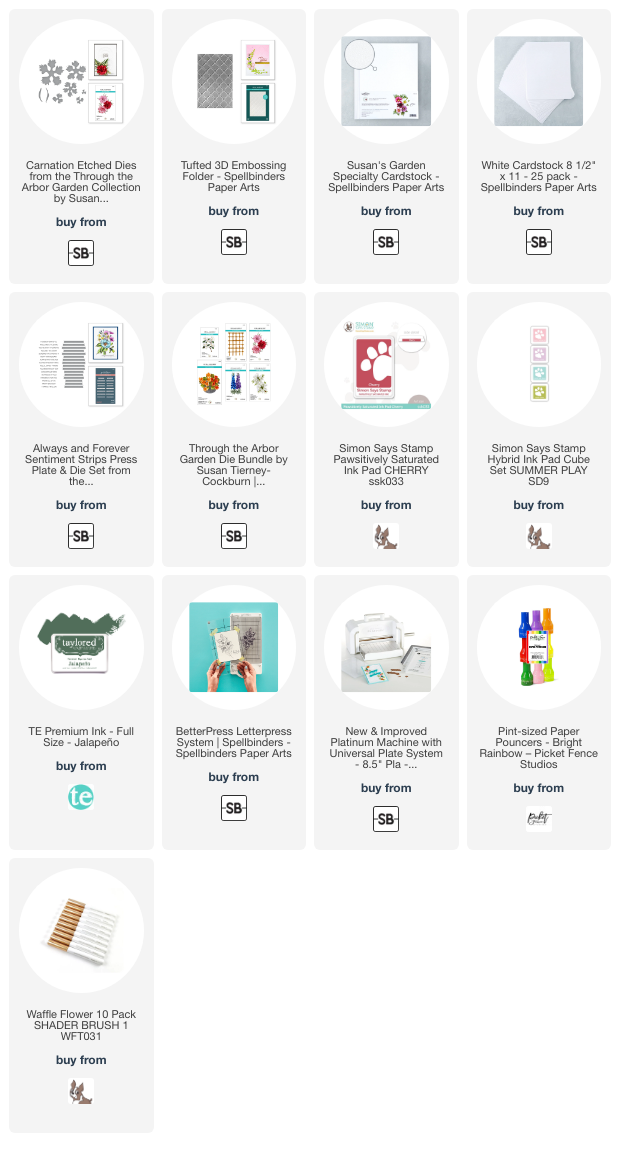
Today I'm sharing my card I made with the absolutely gorgeous Carnation die set from the Through The Arbor Garden collection by Spellbinders.

A little bit about me is that some of my very first dies were flower petal dies to make shaped flowers.  To this day I find it so fun and satisfying to take plain white cardstock and create beautiful flowers!

I used, for the first time, this specialty cardstock called "Susan's Garden Specialty Cardstock".  I don't even remember when I ordered it, but I surely should have used it a lot sooner! Haha!  I die cut all of the Carnation dies from this cardstock.  These dies have a number etched into them to indicate how many times they should be die cut, which is so helpful.

I used paper pouncers and a small ink blending brush to color the flowers with Cherry and Twirling Tutu inks and the leaves with green ink.  The inks are in the list below for your reference.

For the shaping and construction of the Carnations, I followed the directions on Spellbinders' YouTube.  With the shaping tools and these directions, it's easy to get beautifully shaped carnations!

I embossed the background layer with the Tufted 3D embossing folder, leaving the bottom edge hanging out.  The sentiment is one that I had on hand.  The Always and Forever Sentiment Strips letterpress plate creates 16 sentiments at once!  There's also a die included that cuts them out all together.


If you think you could never create beautiful paper flowers, I would disagree!  I really hope I've inspired you to give this a try.

Thank you so much for stopping by.  Have a wonderful week!

Thank you so much for using my affiliate links to shop (never any additional cost to you)!
Sunday, March 10, 2024

Wishing You A Beautiful Day

Hello friends!  Today I'm over on the Brass & Bliss Craft Co. blog (formerly Rubbernecker Stamps) with my card featuring their Gentian Blooms dies with the Tree Branch stencil.  The Brass & Bliss Craft Co. website went live last week and it's a new improved and lovely site--be sure to check out the products, including the latest release!

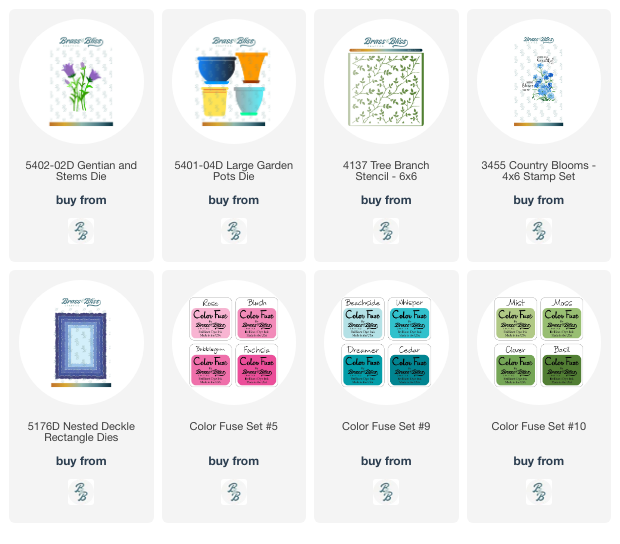
All of my card details are on the Brass & Bliss Craft Co. blog.  Please click HERE to check it out!  After I die cut and colored the Gentian flowers I added them to one of the four flower pots from the Large Garden Pot die set.  I used small ink blending brushes and Color Fuse ink sets #5, 9, and 10.  I die cut it with a Deckle Rectangle die before adhering it to my A2 card base.

The stenciled background is the Tree Branch stencil colored with the Color Fuse ink set #10.

I chose a sentiment from the Country Blooms set and hand trimmed it.  The flower pot is adhered with glue to a deckle cut rectangle piece of vellum.  I added foam tape to the back of the vellum to pop it up.

I have many more details and photos over on the Brass & Bliss blog, and I hope you will join me there!  Thanks so much for stopping by!

Thank you so much for shopping with my affiliate links (never any additional cost to you)!

Saturday, March 9, 2024

Oh Happy Day!!!

 Happy Saturday!  Today I have a reel over on my Instagram to show some of my process to make this card!  I featured Picket Fence Studios beautiful Layering Fauna: Butterfly Die and the Layering Flora: Sweet Cherry Blossoms dies from the latest release.

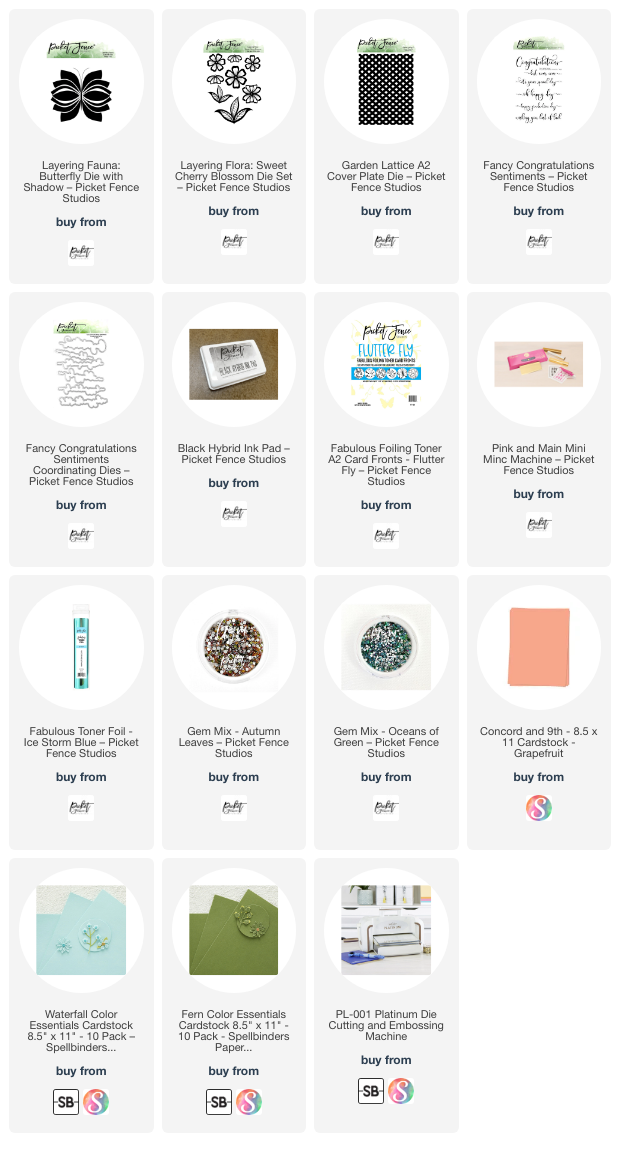
I used my Minc Mini machine to add aqua toner foil to a Flutter Fly toner card front.  Then I die cut the foiled card front with the Layering Fauna: Butterfly Die.  I adhered the pieces to white cardstock I cut with the outer Butterfly die.

I die cut white cardstock with the Garden Lattice A2 cover plate die and adhered it to my A2 card base.  After I die cut the Layering Flora: Sweet Cherry Blossom dies from colored cardstock and adhere them to the card.  The butterfly is popped up with foam tape.

I stamped the sentiment from the Fancy Congratulations Sentiments in black ink.  After I cut it out with the coordinating die, I adhered it with a few small pieces of foam tape.

Thank you so much for stopping by today!  I hope your day is filled with crafting fun!

Thanks so much for shopping with my affiliate links (never any additional cost to you)!

Friday, March 8, 2024

Thinking Of You Embossing Folder Card

Happy Friday crafty friends!  Today I'm sharing my card I made with Spellbinders March Embossing Folder of the Month.  This one is call Checkered Scallops and is SO pretty!  I've also used one of the Copperplate Everyday Sentiments Collection for the BetterPress Letterpress System.

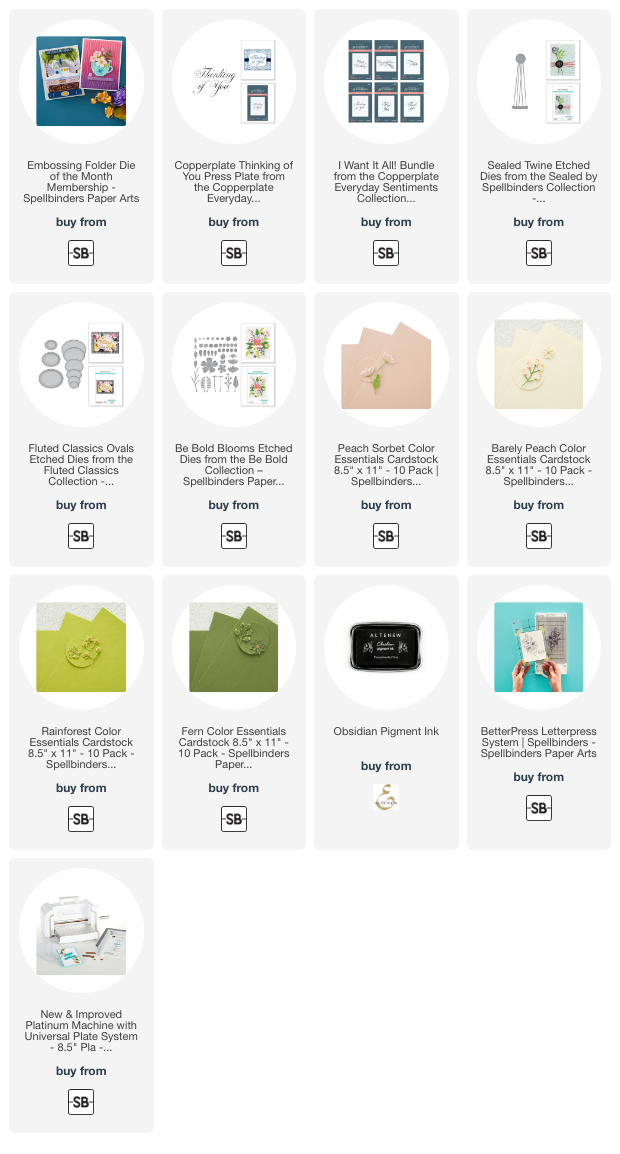
First I used the Checkered Scallops embossing folder to emboss Peach Sorbet cardstock.  I trimmed it to an A2 sized layer.

Next I die cut glossy black cardstock with the Sealed Twine die (currently on sale) twice.  I used glue to adhere the pieces in the center and adhere it to the embossed layer.  I trimmed the excess off of each end.  Then I adhered the panel to an A2 card base.  Here is a photo so you can see how beautiful the Checkered Scallops embossing folder is.

The Copperplate Thinking of You BetterPress letterpress plate was pressed onto Barely Peach cardstock with a black pigment ink.  I followed the directions for the BetterPress Letterpress System for this step.  I used a Fluted Classics Oval die to cut out the sentiment.

Next I die cut a few flowers and leaves with dies from the Be Bold Blooms die set (also on sale!).  After I glued the flowers and leaves to the oval, I added foam tape to the back to adhere it to the card.

By using my fingers to slightly shape the flower petals it adds a bit of pretty dimension to the card.

I love embossing folders and it's fun to see what type of design each month's will have.  You can check out the details of the Embossing Folder Club and all of the other clubs by clicking HERE to read all about them.

Thank you so much for stopping by!  Have a wonderful, and crafty, weekend!

Thank you for using my affiliate links to shop (never any additional cost to you)!

Wednesday, March 6, 2024

What A Blessing You Are To Me!

 Hello friends!  Since the official start of spring is so close, I've created this card with that in mind and have included a tiny touch of St. Patrick's Day!  I used new and older favorites from Honey Bee Stamps including the Lovely Layers: Sweetheart Roses and the Sweet Spring Mice stamps and dies.

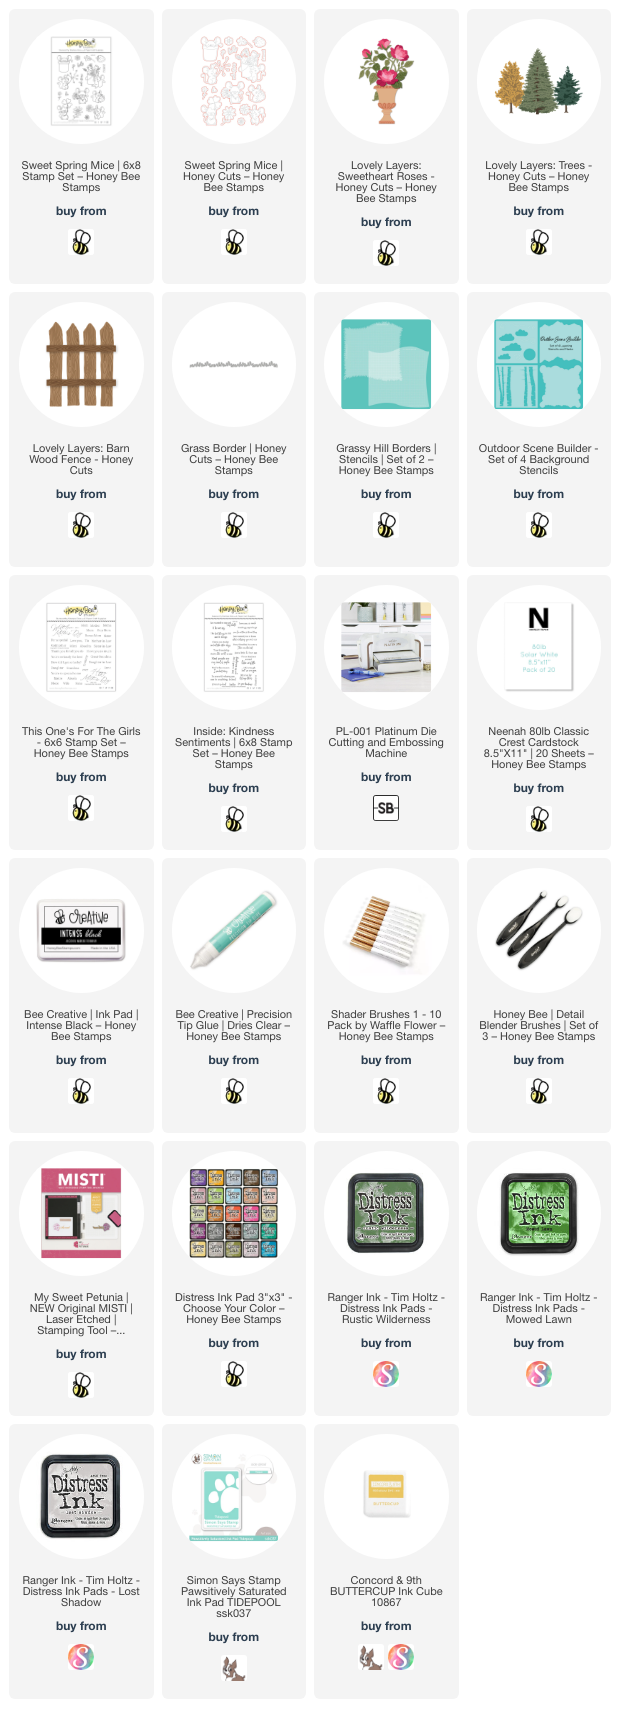
First I stamped the sweet mouse from the Sweet Spring Mice set with Copic safe ink.  After I colored it with my Copic markers, I cut it out with the coordinating die. These are the markers I used: G19, G09, YG09, YG07, R30, R00, R000, C7, C5, C3, and C1. I used a Cream Prismacolor pencil to add the details to the clover.

I die cut the Lovely Layers: Barn Wood Fence dies from white cardstock and used an ink blending brush to add some Lost Shadow Distress ink for shading. I used glue to adhere the fence pieces together. Then I die cut white cardstock with the Grass Border die blended on Mowed Lawn and Rustic Wilderness Distress inks.

Next I created a hill and cloud background by inking up a 4-¼" x 5-½" white card panel using the Grassy Hill Borders stencils and the clouds stencil from the Outdoor Scene Builder Stencils. I used Mowed Lawn, Rustic Wilderness, and Tumbled Glass Distress inks.

I glued the stenciled panel to an A2 card base. Before I added any more elements to the card front, I stamped a sentiment from the Inside: Kindness Sentiments stamp set on the inside of the card. I think this sentiment goes perfectly with the one I will add to the card front!

Next I glued the fence and the grass border to the front of the card.

The final element is the Lovely Layers: Sweetheart Roses die set. I really do think this is one of my very favorites in the Lovely Layers line! I colored the die cuts using ink blending brushes and yellow and green inks. Then I adhered all of the layers together with glue.

Next I die cut the container in the Sweetheart Roses. Before I inked on some teal ink, I trimmed the container to make it into a more standard type of flower pot! It's a gorgeous die as is, but it's just a bit more formal than I wanted for this scene. After I glued the trim pieces onto the flower pot I glued the Sweetheart Roses to the pot. Then I added foam tape dots to the back of the flowers, the pot and the mouse to pop them up on the card.

The sentiment on the front is from the This One's For The Girls stamp set. I stamped it in black ink, trimmed it into a strip, and popped it up with foam strips.

I think you can tell by now how much I love the Sweetheart Roses die set! Haha! But this is just another example of how new Honey Bee products work so well with previously release sets!!! I hope you've found some inspiration for your card making today. Thank you so much for stopping by!

Monday, March 4, 2024

Three Easy Cards with the Every Occasion Floral Alphabet Collection

Happy Monday friends!  Today I'm sharing three cards featuring the so beautiful Every Occasion Floral Alphabet Collection by Spellbinders.  These are designed to be used with their BetterPress Letterpress System.

Next up are the details for these three beautiful cards!

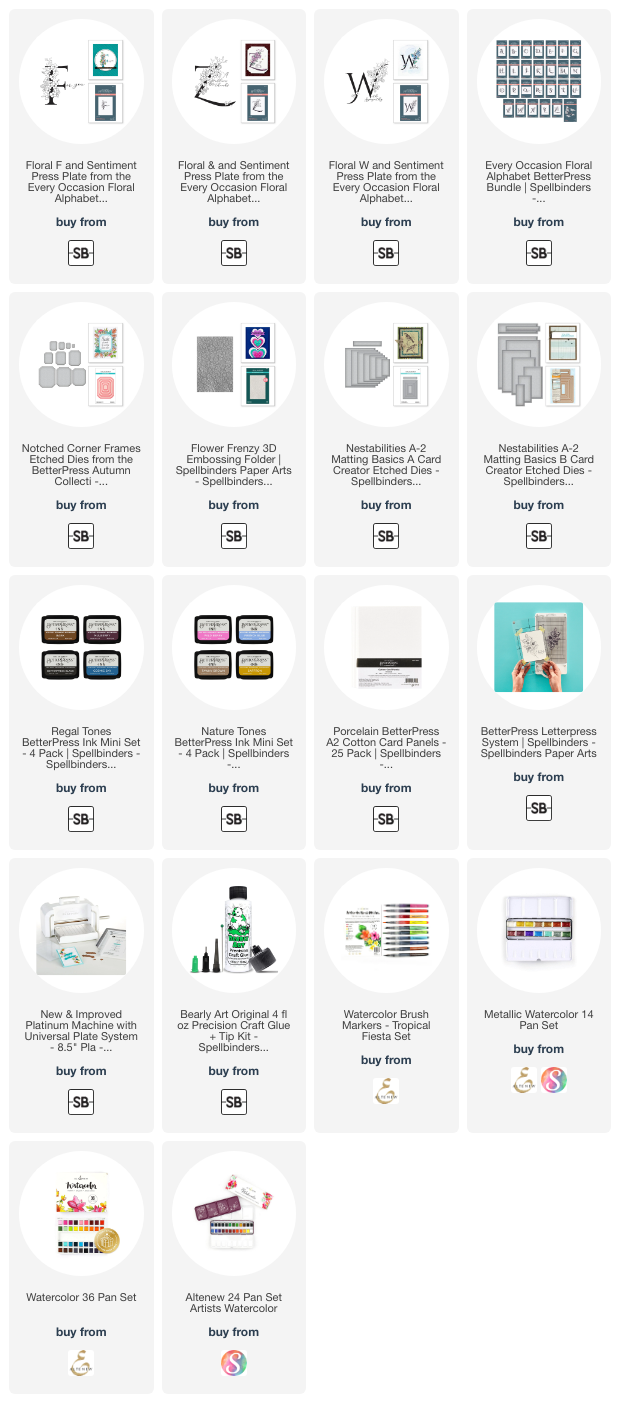
For my first card I used the Floral F and Sentiment Press Plate set.  I arranged the press plates, inked them up with BetterPress black ink and passed it through my Platinum die cutting machine to press the image onto a piece of  Porcelain Cotton Card.

For each card I used a variety of coloring mediums that are linked below.  I painted the flowers with a teal metallic watercolor.  Then I die cut the image with a Notched Corner Frame die.  I die cut teal cardstock with another Notched Corner die then embossed it with the Flower Frenzy 3D embossing folder.

For a little extra, I added a bit of splatters with the teal metallic watercolor.

This next card is perfect to have on hand or to make very quickly when needed.  I pressed the Floral W and Sentiment Press Plate with Cosmic Sky ink.  I did some simple coloring of the flowers with yellow and green Prismacolor pencils.

I used the A2 Matting Basics B die to cut out the image.  The blue layer is die cut with an A2 Matting Basics A die.  I adhered the layers together with glue and then to an A2 card base.

I could send this next card to each of you that stop by to take a look at my blog: A zillion thanks! 💖

This final card is the Z Floral and Sentiment Press Plate inked up with Wild Berry BetterPress ink.  As you can see in the photo, the sentiment is pressed with BetterPress Black ink.

After some simple watercoloring of the flowers, I added Ripe Pumpkin Nuvo Crystal drops.  LOL, yes I still have these and store them upside down to prevent any problems of clogging up.

I should have waited to add the Nuvo drops so that I could use those Matting Basic dies to cut the layers.  Since I did not, I just used my trimmer to cut down the black and pink cardstock for layers.  

I still continue to be amazed at being able to create three cards so quickly with the BetterPress Letterpress system.  I love the crisp impressions too.

Thank you so much for stopping by today!  I hope you have a wonderful week!

Thank you for using my affiliate links to shop (never any additional cost to you)!

Saturday, March 2, 2024

Friends Make The World Beautiful

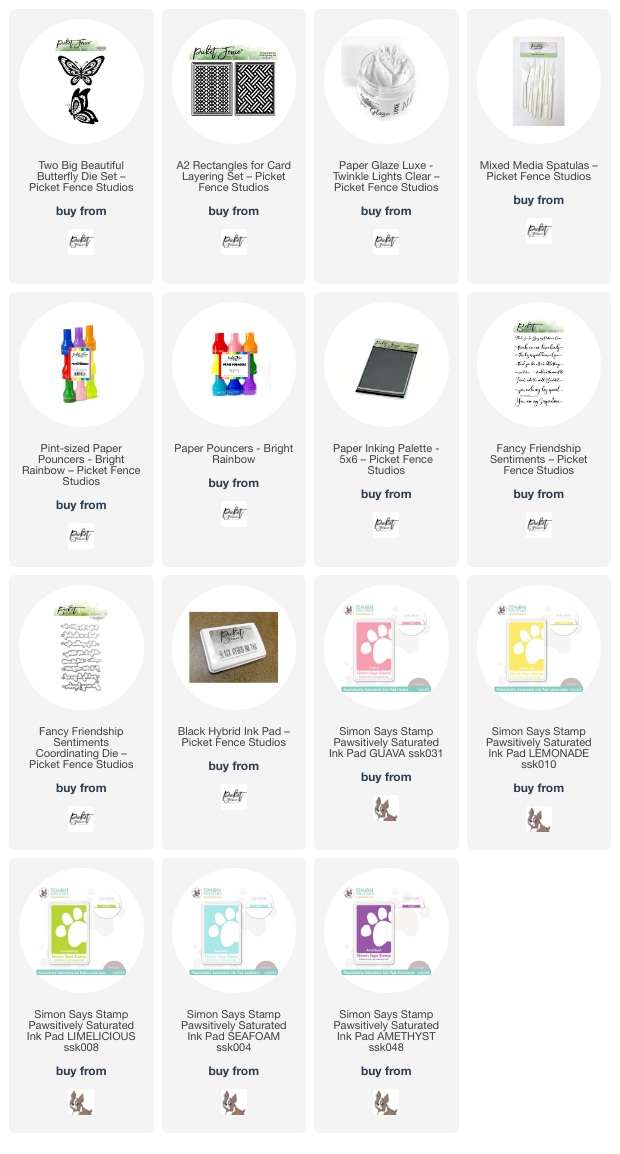
Happy Saturday friends!  Today I have this beautiful rainbow colored card that features Picket Fence Studios Two Big Beautiful Butterfly Die Set.  This was so fun to color the card die cuts using the awesome Paper Pouncers!

I hope you'll join me over on Instagram to watch my fun reel for this card!

I used the A2 Rectangles for Card Layering set to die cut my card layers.  Then I used Paper Pouncers to add rainbow ink colors.  I have to say that the more I use these, the more I see how easy they make coloring my die cuts!  (I have the colors I used in the links below.)

I die cut one of the two butterflies from the Two Big Beautiful Butterfly Die set from white cardstock.  Then I used the so cute Pint-sized Paper Pouncers to color the top layer in the same inks as the background.  The small size of these helped me get the narrow strips of colors onto the butterfly.

For the butterfly I first spread a layer of Paper Glaze Luxe Twinkle Lights Clear onto a piece of cardstock that would fit the base layer of the butterfly.  After it dried, I die cut the base layer of the butterfly, and I wish photos would show the pretty subtle sparkle of the Paper Glaze!

The sentiment from the Fancy Friendship Sentiments set is stamped in black ink and cut out with the coordinating die.

I appreciate you stopping by today, and I hope your weekend is awesome!

Thank you so much for shopping with my affiliate links (never any additional cost to you)!