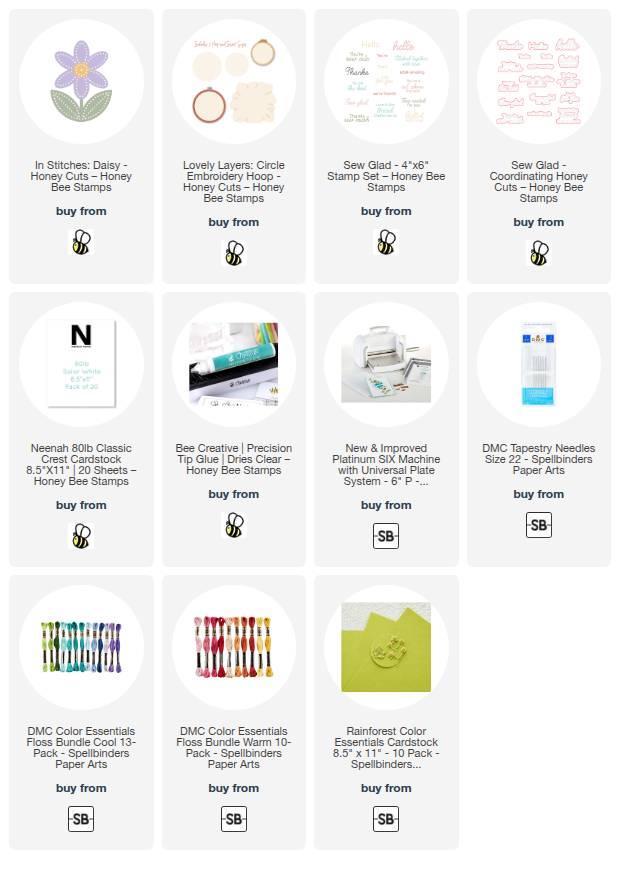
Hello crafty friends! Are you loving Honey Bee Stamps' new Maker's Mix release? What are your favorites? Today I'm sharing my card featuring the In Stitches: Daisy with a simple stitch that even a beginner can do!

I began by die cutting green and white cardstock with the In Stitches: Daisy dies. I used a few Copic markers to color the flower petals and center. Then I used coordinating DMC embroidery floss to stitch each piece with a simple back stitch. There are lots of instructions on the web to see how to do this stitch.
I used glue to adhere the Daisy layers and set it aside to dry.

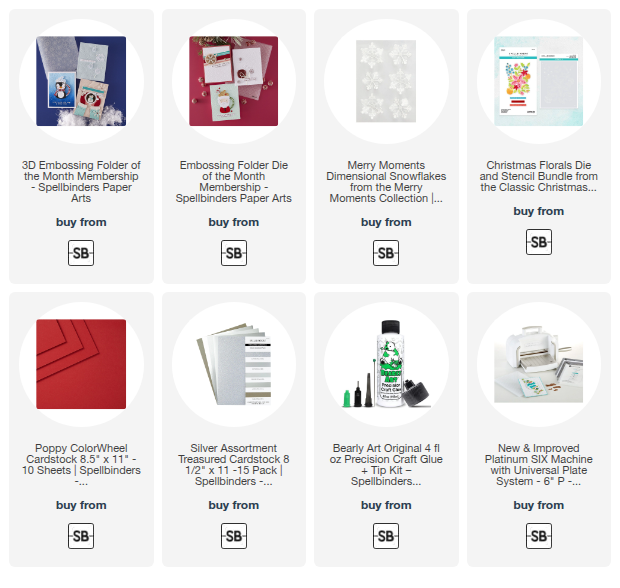
Next I used Lovely Layers: Circle Embroidery Hoops set and die cut the hoop, cloth and larger cross stitch insert from white cardstock. I die cut two more hoops and cut out the center portion of each with a circle. I used glue to adhere the layers together. Then I colored the top layer with a couple brown Copic markers.
I added patterned paper from the "FREEBEE" cardstock pack to an A2 card base. I glued the Circle Embroidery layers to the card. (This cardstock pack is free with a qualifying $100 or more purchase, while supplies last.)
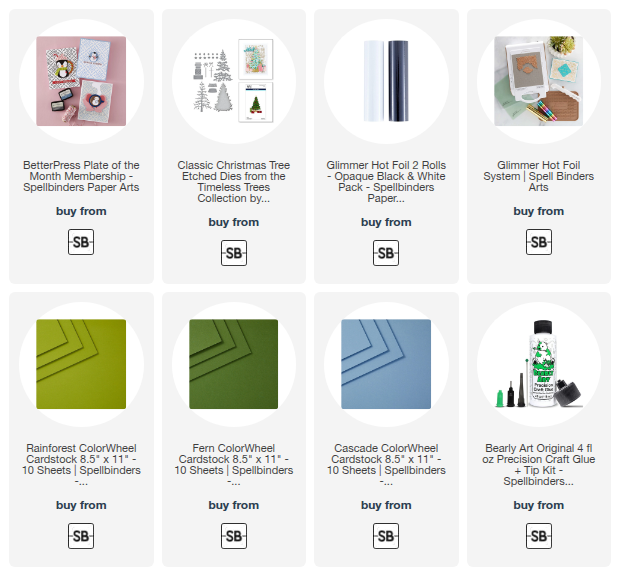
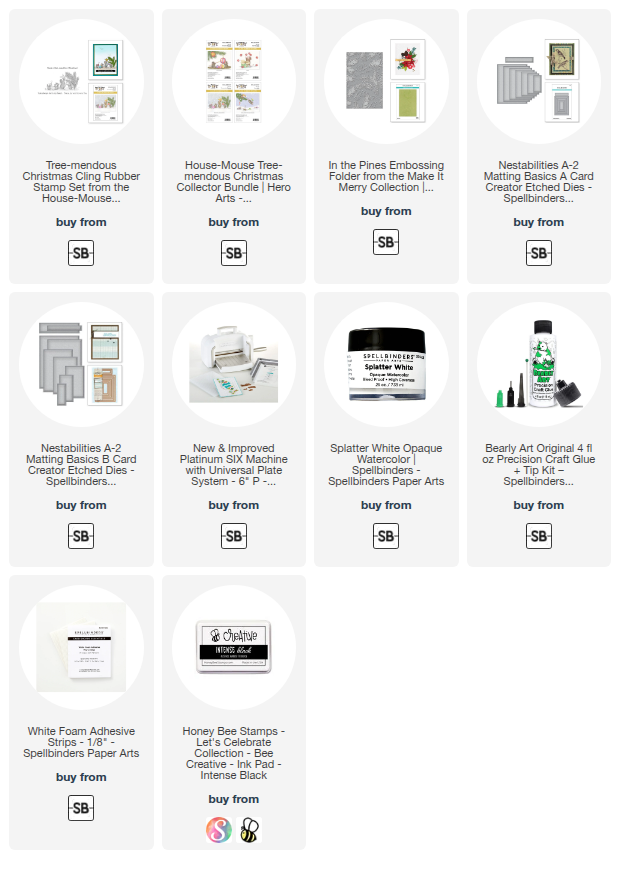
Then I stamped two sentiments from the Sew Glad stamp set in black pigment ink. I cut them out with the coordinating Honey Cuts. These are adhered with foam strips.

I hope I've encouraged you to give some simple stitching a try! This was a super fun card to make. Thank you so much for stopping by!
Thank you for using my affiliate links to shop (never any additional cost to you)!