Wednesday, October 29, 2025

Snowman Winter Scene Holiday Card

Hello crafty friends, and happy release day for Honey Bee Stamps!!  The new release, Merry Moments, will be available after the "release party" this evening on Honey Bee's YouTube channel.

EDIT: This awesome Merry Moments release is available now!!  

I had to schedule this post last week as I am out of town and didn't get a chance to create a sneak peek card for you with the new goodies.  However, I have pulled out a few of my most loved older holiday sets and made a festive card for you!

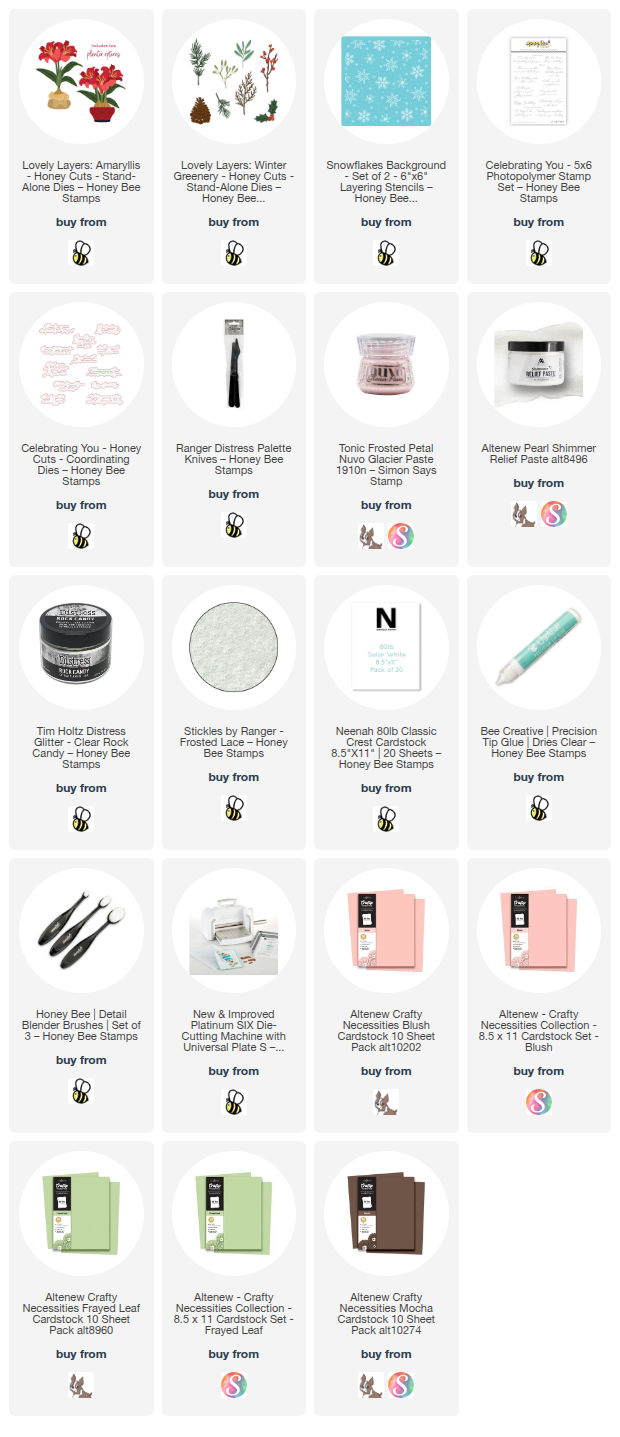
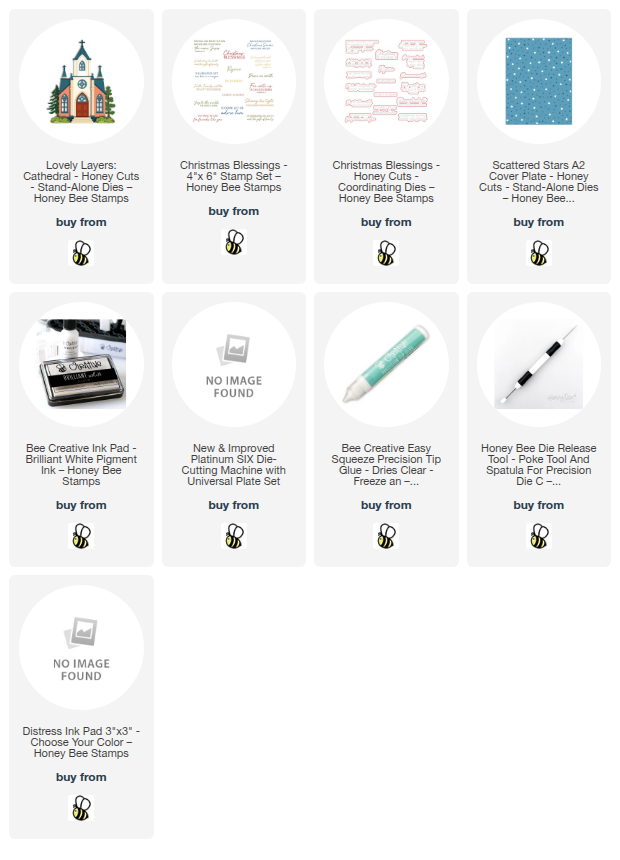
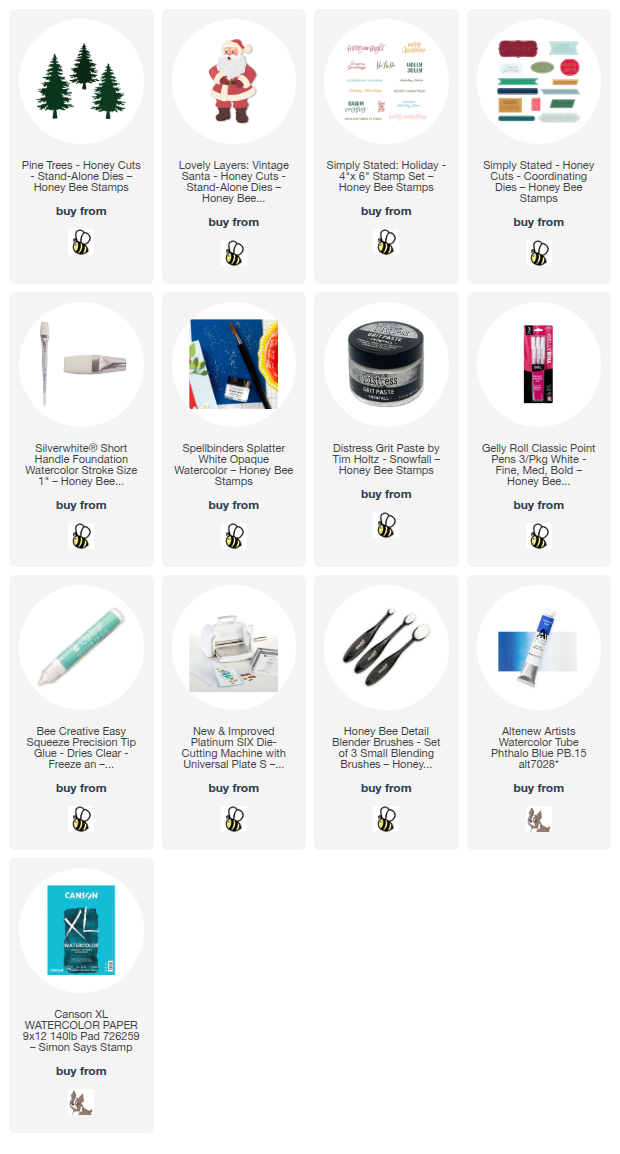
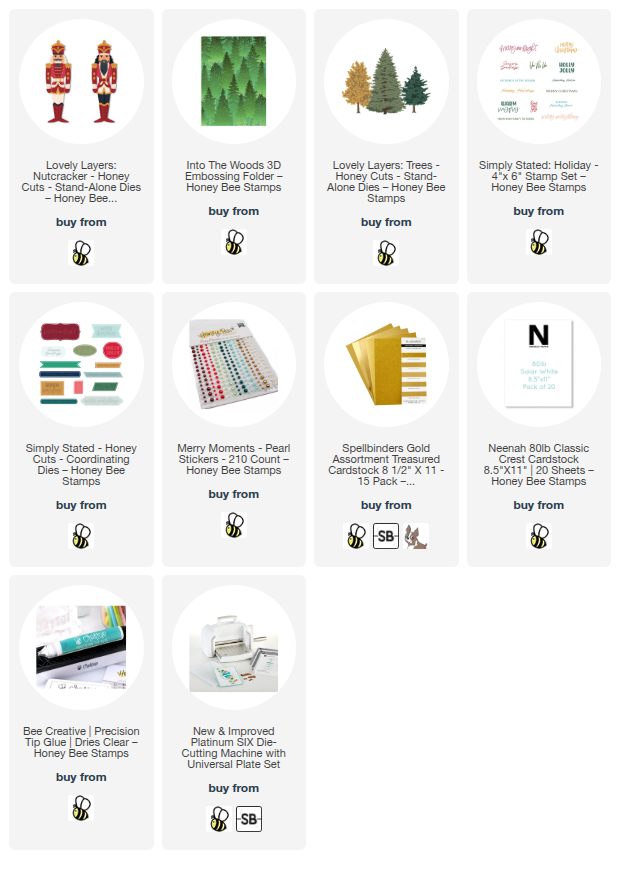
This card features the oh, so adorable Build A Snowman dies and Lovely Layers: Trees!

First I created my A2 card base and added some patterned paper from a retired paper pad (I'm sorry, I had no idea it wasn't available!).

I hand cut a white glitter cardstock hill for the base of the card front.

Then I die cut the top layer of the Lovely Layers: Trees from a pretty white glitter cardstock and layered them onto the base cut from white cardstock.

I glued two of the trees to the card and popped the other up with foam tape.

Then I die cut more white cardstock with the dies from the Build A Snowman set.  This set has so many fun accessories and arms to choose from to create the exact snowman scene you want!

I colored the die cut pieces with a few Copic markers and glued the Snowman layers together.  I used a fine-point black pen to add little eyes on the red birds.  I used a white gel pen for the stripes on the snowman's scarf.  I added foam tape to these pieces to adhered them to the card.

The sentiment is from another older and loved set called Wonder Of Christmas.  I stamped the sentiment with black pigment ink and then cut it out with the coordinating die.  I added foam strips to the back to adhere it to my card.

I love cardinals and just had to add several to my card.  Now, be sure to click this link to check out all of the latest and fabulous items in the Honey Bee Stamps Merry Moments release!

Thanks so much for stopping by!  I'll be back here next week with my first card for this awesome release!

Thank you for using my affiliate links to shop (never any additional cost to you)!

Friday, October 24, 2025

Happy Holidays With Classic Mouse Dies

Hi friends!  Today I am sharing this adorable card featuring Spellbinders 3D Embossing Folder of October.  This embossing folder made a fabulous background for the SO cute Mickey and Minnie!  These sets are part of Spellbinders'  fabulous Say Cheese Classic Mouse Collection

I totally love the Brick By Brick 3D embossing folder of the month!  It is such a versatile folder to use for so many backgrounds!  I embossed white cardstock and glued the panel to my A2 card base.

Then I pulled out a few of the sets in the Classic Mouse Collections.  These all coordinate perfectly together!  The sets I used are:

I pulled out the dies for the pieces I wanted on my card and used them to cut cardstock in black, two greens, red, and red glitter colors.

I used glue to adhere the layers of each piece together.  Then I used my new, and now favorite, white gel pen to add dots and stripes to the scarf and skirt.

This Brick By Brick embossing folder is SO dimensional and adds so much to cards!  The Club Kits are so easy to join, and cancel, if needed!  Be sure to check them out HERE.

Thanks for stopping by today to see my card that is perfect for any Mickey fan!  Have a great day!

Thank you for using my affiliate links to shop (never any additional cost to you)!

Thursday, October 23, 2025

The Most Wonderful Time Of The Year!

Hi friends!  Today I'm sharing my holiday card featuring Spellbinders Simon Hurley's new Ski Lodge die set.  I turned this into a holiday card just by changing the light colors and adding lights to one of the trees.

I embossed a piece of Fern cardstock with the In The Pines embossing folder and glued it to my A2 card base.

Next I used the dies in the Ski Lodge set to die cut some white and colored cardstocks.  I used blending brushes to add shading to the brown lodge pieces and also to the trees.  Then I used a red and green Copic marker to color the string of lights that I die cut from white cardstock.  (I die cut an extra to cut apart for one of the trees.

I used glue to assemble the Ski Lodge.  There is a guide on the product page to see how all of the pieces go together.

Before I added the die cut pieces to my card, I wanted to choose a sentiment so I would know where to place them.  I found one I liked in the Home For Christmas Sentiments press plate set.  Instead of pressing the sentiment, I used it with my Glimmer Machine to hot foil it.  I foiled it to a piece of Spellbinders Glimmer Specialty cardstock--almost fail proof for hot foiling!  You can foil press plates, but cannot BetterPress hot foil plates--it's a good tip to remember!

To give the Ski Lodge scene a "ground" I cut a strip of Fern cardstock and then added a dark green ink with a blending brush to help distinguish it from the embossed piece.

I glued the strip to the card.  To give my scene a more framed look I added the green ink to the edges of the card, but only above the strip.  Then I used glue and foam tape to adhere the Ski Lodge and trees to my card.

I die cut the sentiment with the coordinating die and popped it up with foam tape.

There are other products in this new Ski-son's Greetings Collection that all coordinate together!  Be sure to check it out!

Thanks so much for stopping by!  Have a wonderful day!

Thank you for using my affiliate links to shop (never any additional cost to you)!

Wednesday, October 22, 2025

Autumn Gallery Wall and Wreath

Happy Wednesday, crafty friends!  Today I'm sharing my card that features Honey Bee Stamps beautiful new Lovely Layers: Gallery Wall Art and the Gallery Wall: Fall stamps and dies!  These are more of the new products available in the latest Hello Harvest release.

I started by die cutting six of the frames and the medallion from the Lovely Layers: Gallery Wall Art dies.  I cut each die three times from white cardstock.  Then I used glue to adhere the layers of each frame and medallion together.  Tip:  Be sure to save one of the middle die cut pieces for each frame.

Next I arranged the frames and medallion onto a white card base.  After fiddling with the arrangement a bit (LOL!) I glue the pieces to the card.  Then I used my guillotine paper trimmer to cut off the excess.  There was enough of one frame left to use it to adhere into the upper right corner.

I die cut three of the wreath die and colored each one with a different brown colored Copic marker.  Then I die cut the leaf bases and flowers and also used my Copic markers to easily color them.

I glued the leaves and flowers to the wreath and set it aside.

Next I placed the middle part of the frames into my MISTI.  Then I chose stamps from the Gallery Wall: Fall stamp set that fit each frame middle.  I used Antique Linen Distress Oxide Ink to stamp the images onto the cardstock pieces.  Then I glued the stamped pieces into the coordinating frame and used my scissors to trim off the excess.  Again, I placed the portion of the lower left piece into the frame on the upper right.

I thought that the medallion that was all white stood out too much.  So I placed the negative die cut piece around it and used scrap paper to mask off the area around the medallion.  Then I just lightly swiped the Antique Linen ink pad over the raised portions of the medallion.  Much better, I thought!

I stamped two of the small sentiments from the Gallery Wall: Fall stamp set directly onto the card front.  I stamped the third onto white card with Antique Linen ink.  I cut it out with the coordinating die.

I used glue to adhere the wreath to the card.  I added a foam tape strip to the die cut sentiment and attached it to the card.

That's my idea for using the beautiful Lovely Layers: Gallery Wall Art dies.  What do you think?  I hope you like this and have been inspired to give this awesome set a try!

Thanks so much for stopping by today!  I hope you have a fabulous day!

Thank you for choosing to use my affiliate links to shop (never any additional cost to you)!

Wednesday, October 15, 2025

Autumn Thanksgiving Card

Hello crafty friends!!  Today I'm sharing my card featuring a few of Honey Bee Stamps' new Hello Harvest release products along with another awesome older product!  I've used the Lovely Layers: Turkey to create a Thanksgiving card to give to a family member.  Read on for all of the details.

I started by die cutting white cardstock with the dies from the Lovely Layers: Turkey.  I used an assortment of inks from my stash to color most of the layers with ink blending brushes.  For the four feather pieces I used E40 and E41 Copic markers.  I just didn't have an ink pad in a light enough color!

I followed the Layering Guide to help with layering the pieces and used glue to adhere them all.

For the background I used a favorite older set called the Farmhouse Fields Scene Builder dies.  I die cut white cardstock with the die and then used my paper trimmer to cut the piece to 4-¼" wide.  I trimmed off the tree from the die--I had other plans!

I had the Farmhouse Fields coordinating stencils out, but realized I didn't really need them.  I used more inks and blending brushes to color each layer.

I brushed on blue ink onto the top portion of an A2 card base.  Then I glued the Farmhouse Fields layers to the card.

For the tree, I used the beautiful large branch from the Lovely Layers: Window Fall Add-On die set.  I used two brown Copic markers along with three others in a golden, olive green and burnt orange shades to color the branch.

I used glue to adhere the branch to the card base.  Then I trimmed off the parts that were overhanging with my scissors.

I added foam tape to the back of the Turkey to adhere it to the card.  The sentiments are from the Forever Grateful stamp set.  I stamped them with black pigment ink and then cut them out with the coordinating dies

I popped up the sentiments on the card with foam strips.

I just love how this autumn background turned out for the Lovely Layers: Turkey!  I've already pardoned this turkey from Thanksgiving!  Hahaha!

Thanks so much for stopping by today!  I hope you have a joyous day!

Thank you for using my affiliate links to shop (never any additional cost to you)!

Tuesday, October 14, 2025

Merry And Bright

 Hello friends!  Today I'm sharing this card featuring some products from My Pretty Things' 2025 Holiday Collection!  This features the beautiful Timeless Beauty stamps, stencils, and coordinating dies.  While this stamp set comes with some awesome birthday sentiments, I'm in the mood for holiday cards!  Read on for the details.

I like to stencil my stamp sets before I stamp it in black ink to help prevent smearing.  So first I stamped the Timeless Beauty floral stamp with a no-line coloring ink.

Tip:  To easily stamp the black ink later use a stamp positioning tool.  I placed the white cardstock panel into the bottom corner of my MISTI and then stamped it with no-line coloring ink.  LEAVE the stamp on the door of the MISTI.

Now you can pull out the stamped panel and begin to add your ink colors through the Timeless Beauty stencils with blending brushes.  Check out my list below for the ink colors I used.

I did not stencil ink for the berries. 

Next, place the colored floral panel back into the MISTI.  Make certain that the card is completely into the same corner as before.  I inked up the Timeless Beauty floral with black ink.

To color the berries, I made a custom color of pearl texture paste by mixing a bit with a drop of re-inker.  After I spread it onto the berries stencil, I set it aside to dry.

I created my card base layer by stamping the Art Deco Christmas Tree stamp onto deep pink cardstock with clear embossing ink.  I added clear sparkle embossing powder and then set it with my heat tool.

I trimmed the piece to 4" x 5-¼" then used the Art Deco Christmas Tree stencils and two pink inks to add a bit of subtle color to the stamped image.  Then I glued it to my card base.

Making sure the texture paste was dry, and it was, I cut out the Timeless Beauty floral with the coordinating Timeless Beauty die.  I added foam tape to the back to adhere the flowers to the card.

Next I stamped a sentiment from the Happy Holidays Sentiments with pink ink.  I cut the sentiment out with the coordinating die and adhered it to my card with foam tape.

Thank you so much for stopping by today!  I hope it's a great one for you!

Thank you very much for using my affiliate links to shop (never any additional cost to you)!

Monday, October 13, 2025

Wishing You Peace, Love, and Joy

Today I'm sharing my card that features the Spellbinders October Embossing Folder Club Kit.  The Holiday Flurry embossing folder is a perfect background for so many of our winter and holiday cards!

First I created the card base and layers by embossing white cardstock with the Holiday Flurry embossing folder.  I trimmed it to 3-¾" x 5" and adhered it to mint green cardstock with foam tape.

Next I die cut two bears from the SO adorable Polar Bear Pals die set.  I LOVE these cute bears!!!  Haha!  I used some coordinating green inks to color the green pieces with blending brushes.  I used Copic markers to color the bears' body and cheeks.  The markers I used are W3, W1, W00, and RV21.

When I was finished coloring, I used glue to assemble each bear.  There is a layering guide on Spellbinders' website to help with the assembly.  It is found by scrolling through the product photos.

I found a sentiment I liked in the Country Christmas Banner & Sentiments press plate and die set.  I pressed it with black pigment ink onto white cardstock.  Then I cut it out with the coordinating die.

I added foam tape to the bears and the sentiment to adhere to the card.  To add just a touch of sparkle, I added glitter drops to each bears' hat pompom.  (The specific one I used is Nuvo's Fresh Snowfall Glitter Accents.)

The Holiday Flurry embossing folder is such a great one to have!  You can join the Embossing Folder Club now and get yours!

Thank you so much for stopping by.  I hope you have a wonderful week ahead!

Thank you for using my affiliate links to shop (never any additional cost to you)!


Saturday, October 11, 2025

Sending Frosty Wishes

This month's Club Kits by Spellbinders are all so awesome!  I'm sharing this sweet, simple, and easy card today that features the October BetterPress Club Kit called Made With Snowflakes.  The October Club Kits are available now to sign up for and get yours!

I wanted to keep this card fully focused on the Made With Snowflakes BetterPress of the month.  First I pressed the plate into the Porcelain cardstock panel with Thunder BetterPress ink.  (Don't forget that Press Plates can be used with your hot foil machine such as the Glimmer.)

Then I picked the cute little snowman right in the center of the panel to color.  I used a few Copic markers to simply color it.  Then I pressed the sentiment (one of two included) with Thunder ink.  I trimmed the sentiment into a strip and then layered onto a piece of white cardstock that I colored with the same red Copic I used for the hat.

To keep everything coordinated, I colored the edges of a white cardstock panel with the red Copic markers and glued it to an A2 card base and then glued the pressed Made With Snowflakes panel.

I added foam strips to the back of the sentiment and placed it just below the colored snowman.  I couldn't get it to show in my photos, but I did use a clear glitter pen over the snowman for just a bit of sparkle!

This is a card that I just might mass produce!  It's so easy and cute too!

Be sure to check out each of the Club Kits for October!  Thanks so much for stopping by today!

Thank you for using my affiliate links to shop (never any additional cost to you)!

Thursday, October 9, 2025

May Your Heart Be Filled With Peace

Hello friends!  There's a new release, available now, by Simon Says Stamp called Sugar And Spice!  I'm sharing my card featuring a beautiful stamp set from the release called Graceful Swans.

The Graceful Swans stamp set has so many beautiful stamps in it that it was hard to choose just a few!  I arranged my chosen stamps into a sweet scene.  I used my MISTI to stamp them in a Copic safe ink onto 80# white cardstock.

After I colored the scene, I die cut the panel with a Notched Corner Frames die.  I cut gray cardstock from the next largest die to layer behind the scene.  Then I glued the two pieces together and added foam tape to the back.

I adhered the layered scene to an A2 card base.  The Graceful Swan stamp set has three different sentiments.  One that is to send comforting thoughts, a birthday greeting, and a thank you sentiment.

I stamped the sentiment with black pigment ink and cut it out with my scissors.  I adhered it to the card with foam tape.

The hardest part of making this card was deciding what images to use!  Check out the Graceful Swans stamp set and all of the other new products in the Sugar and Spice release over at Simon Says Stamp.

Thank you for stopping by today!  I hope you have a fantastic one!

Thank you for using my affiliate links to shop (never any additional cost to you)!

Wednesday, October 8, 2025

Thank You For Making My Heart So Full

Happy Wednesday crafty friends!  Today I've used Honey Bee Stamps beautiful Lovely Layers: Window Fall Add-On and the Forever Grateful sentiments for my autumn card.  These are part of the awesome Hello Harvest release!

I love how the new Lovely Layers: Window Fall Add-On also coordinates with the Lovely Layers: Window AND the Lovely Layers: Holiday Add-On!  I've used bits from the older two sets to complete my window scene.

Do you ever struggle creating die cut cards and what colors to use?  What totally works for me is to think about a color palette.  That was a no-brainer for this autumn card. Once you have a color palette in mind just look through your colored cardstocks and choose the colors that you like.

I proceeded to die cut the pieces of colored cardstock with the dies in the window, the Fall Add-On, and the Holiday Add-On.  (I have to say that purchasing the Anna Griffin Empress Elite die cutting machine was a TOTAL game-changer for die cut lots of dies!  The magnetic mat means no more taping down the dies and the machine is electric.  I know it is pricey, but well worth the cost.)

The only piece I cut from white cardstock was the large leafy branch that's in the new Lovely Layers: Window Fall Add-On set.  I used my Copic markers to quickly color the branch.  (This branch is so pretty and is large!  It could easily be cut into 2-3 pieces, if needed.)

I used glue and referred to the Layering Guides to adhere the layers of each piece.  I tied a piece of twine into a bow and glue it to the wreath.

This is a 5" x 7" card and I cut a piece of pretty patterned paper from the Homestead Hues paper pad to fit the card base.  I wanted to use the entire branch (I love it!) so I tucked it and angled it around the left side of the window and used glue to adhere it in place.

Next I added foam tape to the back of the window and cut a few very narrow strips of the foam to go behind some of the branches.

The sentiment is from the new Forever Grateful stamp set.  After I stamped it in black ink I cut it out with the coordinating die.  A couple of foam strips adheres it to the card.

I do love making autumn themed cards!  Do you?  Be sure to check out the Fall Add-On set, if you haven't yet.  It's awesome!

Thank you so much for stopping by!  I hope your day a great one!

Thank you so much for using my affiliate links to shop (never any additional cost to you)!

Wednesday, October 1, 2025

You Are Awesome -- A Die Cut Coffee Card

Hello crafty friends!  I have a card for you today that features some of the awesome new products from the Honey Bee Stamps Hello Harvest release!  This one features the Lovely Layers: Coffee CupLovely Layers: Coffee Cup Swirl Add-OnHomestead Hues paper pad, and the Sip, Smile, Repeat stamps.

My card base is one of the patterned papers from the Homestead Hues paper pad.  This sheet of paper has one repeated design to cut in half.  After it is cut, it measures 4-¼" x 6".  I made a white cardstock base for that size and glued the paper to it.

Next I die cut the dies from the Lovely Layers: Coffee Cup and Lovely Layers: Coffee Cup Swirl Add-On from white cardstock except for the top layer die.  I cut it out from some heat-safe acetate.

Have you ever had a Ube Matcha Latte?  Well, neither have I!  Haha.  But I think the coffees are so pretty and I used some brown, purple, and green inks from my stash to color the white cardstock layers with Detail Blender Brushes.  The lid is shaded with W01 and W0 Copic markers.

Next I placed the acetate Coffee Cup layer in my MISTI.  I generously used an anti-static pouch over the acetate.  Then I stamped the two sentiments from the Sip, Smile, Repeat stamp set with clear embossing ink.  I added black embossing powder and used my heat tool to set it.  TIP:  Let your heat tool warm up for about a minute, then set the powder in quick passes of the heat.

My tip for adhering the acetate layer onto the Coffee Cup is to use glue dots!  I used my die pick tool to pick it up and fold it.  Then I placed several behind the heat embossed sentiment.  I used glue to adhere the Coffee Cup top and whip cream to the acetate.

I wanted a few purple flowers and used the flowers in the Lovely Layers: Dogwood Honey Cuts.  I used my blending brush to color them with the same inks as the Ube and Matcha.  I used glue and foam dots to adhere the flowers and leaves to the card.

For whatever reason the purple glitter I added to the whip cream with with dots of glue looks black!  It really is purple little sparkles!  Promise!!

So what do you think?  I think that there are so many fun coffee cards to make with the Lovely Layers: Coffee Cup and Coffee Cup Swirl Add-On sets!

Thank you so much for stopping by today!  Don't forget, YOU are awesome!

Thank you for using my affiliate links to shop (never any additional cost to you)!

Tuesday, September 30, 2025

So Thankful For You -- Hello Harvest Release Inspiration

Hello, friends!  I'm sharing a quick post for my card featuring some of Honey Bee Stamps' new Hello Harvest release products.  I'm part of an Instagram hop where you will get to see lots of awesome ideas for many of the new products!  There's always a prize too!  So be sure to check it out!

I've made a beautiful Thanksgiving card using the new Lovely Layers: Boho Leaves.  First I made some lovely watery autumn colored panels.  I used watercolor cardstock and painted on various green, golden yellow, and warm red watercolors from my stash.  I have all of the available products in the list below.

I tore a strip of brown cardstock and then inked it up with Walnut Stain Distress ink.  Do you still have one of those crimping tools?  I do, and pulled it out and crimped the strip of cardstock.  Then I used my finder to add Gilded Foundry Wax to the edge of the strip and used my heat tool to set it.  Love how it turns to a beautiful shiny gold!

I added some patterned paper to the card base that is part of a "Free Bee" that is automatically added to any Honey Bee order over $100.  The brown crimped stripped is popped up with foam tape.

Before I adhered the Boho Leaves with glue and foam tape, I inked the edges with Peel Paint Distress ink.  Then I tied a bow with some twine I have in my stash and adhered it with a Glue Dot.

I used sentiments that are in the Forever Grateful stamp set.  After I stamped them with clear embossing ink, I added gold embossing powder and set it with my heat tool.  I cut them out with the coordinating dies and adhered them to the card with foam strips.

I love the grungy chic style of this card!  I hope you will join me over on Instagram for the hop!  I know you will love all of the inspiration for the Hello Harvest release!  Thanks so much for stopping by!

Thank you for using my affiliate links to shop (never any additional cost to you)!

Wednesday, September 24, 2025

Hope Your Birthday Is Tea-rrific! A New Release By Honey Bee Stamps

Hello crafty friends!  Are you ready for Honey Bee Stamps newest release?  It's available now and is called Hello Harvest and is filled with so many awesome products including the Life's Sweet Moments stamp set and coordinating dies that I've used on this card.

Do you enjoy creating backgrounds with masked images?  If so, this one's for you!

First I created the background.  You will need a stamp positioning tool like the MISTI to do this technique.

Place a 4-¼" x 5-½" piece of white cardstock into a corner of your stamping tool.  Ink up the cup from the Life's Sweet Moments stamp set with Intense black ink and then stamp the ink off onto scrap paper once.  Next I stamped it onto my 80# white cardstock piece.  (I didn't want the lines to be too dark as I plan to come back and gold heat emboss the image.)

Very important:  DO NOT remove the stamp from the lid of the stamping tool.

Next I stamped the cup onto masking paper and cut it out with my scissors.  Set aside the cup portion of the masking paper.  Adhere the negative portion of the mask onto the cardstock panel around the stamped cup.  I placed one of the flower stamps from the Life's Sweet Moments set onto a stamp block.  I inked it up with Intense black ink and stamped it near the edge of the coffee cup.  I repeated these steps with one more flower.

I stamped a mask for the upper right flower, cut it out, and placed it over the stamped image.  Then I stamped a leaf and removed the mask.  Next I colored the cup with Copic markers.  I used the warm grays of W3, W1, and W00 to color the cup.

Place the panel back into the stamp positioning tool.  Add some anti-static powder and stamp the cup again with clear embossing ink.  Add gold embossing powder and set with a heat tool.

Next I placed the mask for the cup over the cup.  After I sprayed the back of the NEW Swirl & Flourish Stencil with Pixie Spray I put on onto the masked panel.  Then I added a strip of masking tape about 2" above the bottom edge of the panel.  Then I carefully spread some pearl texture paste through the stencil with a palette tool.

Carefully remove the stencil, masking tape, and cup mask and set the piece aside to dry.

While panel is drying, I stamped more flowers, the saucer, and cupcake from the Life's Sweet Moments stamp set with Intense Black Ink.  I colored the images with my Copic markers and cut them out with the coordinating dies.  (NOTE:  I also added gold embossing powder to the saucer using the same technique as described above.)

When the texture paste was dry, I added a piece of masking tape to mask off the bottom of the stenciled area and inked on brown ink with a blender brush.  I used a brown pencil and t-square ruler to draw lines to emulate wood planks.

I adhered the images with foam tape.  The sentiments are from the Hello Sweet Tea stamp set, stamped in black ink, and cut out with the coordinating dies.  I popped them up with foam strips.

I really enjoyed making this scene!  It is really fun to mask off images and creates a unique card!  Be sure to check out all of the NEW Hello Harvest products to see what you like.

Thank you so much for stopping by!

Thank you for using my affiliate links to shop (never any additional cost to you)!