Showing posts with label Celebrating You stamp set. Show all posts

Wednesday, December 31, 2025

Pink Amaryllis Winter Birthday Card

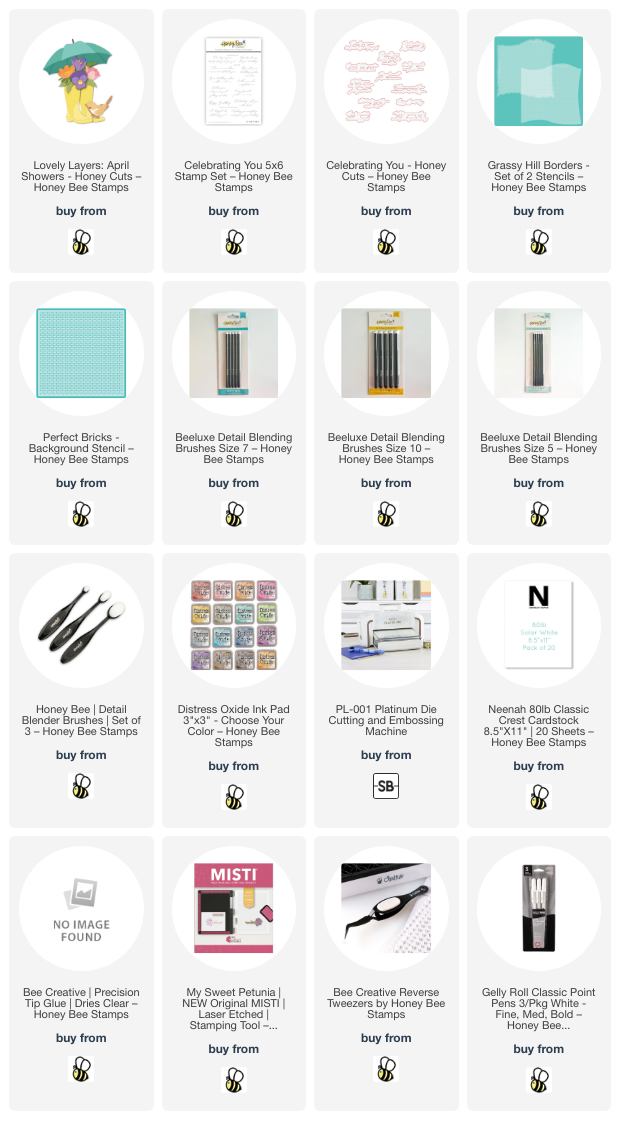
Hello, and happy New Year's Eve crafty friends!  I realized that I need more birthday cards for friends that have birthdays in January!  I love using products in a different way as I did here with the Lovely Layers: Amaryllis Honey die set!

Don't miss out on the  birthday sale, today only, in celebration of Honey Bee's owner, Melissa!  30% off your entire order, no coupon needed, at the Honey Bee shop!

I went with a pink theme and a snowflake background for this card.  To create the background, I used the Snowflakes Background stencil set.  First I placed the stencil with the large snowflakes over an A2 sized piece of white cardstock.  I used a pallet tool to spread pink paste through the stencil, then removed the stencil and set it aside to dry.

Don't forget to clean the stencil and your tools immediately.

When the pink layer was dry I added white pearl paste through the other stencil in the Snowflake Background set.

While that dried, I die cut pink, green, brown, and white cardstock with the die in the Lovely Layers: Amaryllis and the Lovely Layers: Winter Greenery sets.  Note:  I die cut the layers for the Amaryllis twice.

Next I used green, pink, and brown inks with blending brushes to add shading to the layers.  Beginning with colored cardstock makes this very quick and is so easy too!

Following the Layering Guides for the Amaryllis and Winter Greenery, I used Bee Creative Glue to adhere the layers together.

Now that the stenciled panel is dry, I can adhere it to an A2 card base with glue.  I arranged and then glued the Winter Greenery pieces to the card.  To adhere the Amaryllis I put foam tape on the back of the burlap bag and the Amaryllis and placed each one on the card.

The sentiment is from the Celebrating You stamp set (I LOVE the font of this set).  After I stamped it with black pigment ink, I cut it out with the coordinating die.  Some foam strips were used to attach it to the card.

With the shimmery snowflake background, I felt like the greenery and flowers needed a touch of sparkle too!  I added some Frosted Stickles here and there to the pieces.  Before that dried, I sprinkled on some Rock Candy clear glitter for even more sparkle!

I am very pleased with how my card came out and hope you like it too!

On this New Year's Eve, I would like to express my gratitude for the kind words and support I received from you all this year.  I wish all the best for you in 2026!

See you back here next year!

Thank you so very much for using my affiliate links to shop (never any additional cost to you)!

1
Wednesday, April 3, 2024

Hip, Hip, Hooray! It's Your Birthday!

Hello friends! Today I'm sharing my card featuring some products from Honey Bee Stamps' new Celebrate release and it's all about spring! I've used the Lovely Layers: April Showers Honey Cuts to create this cute birthday card with spring colors. Keep reading to see how I created my matching umbrella and boots with a floral pattern!

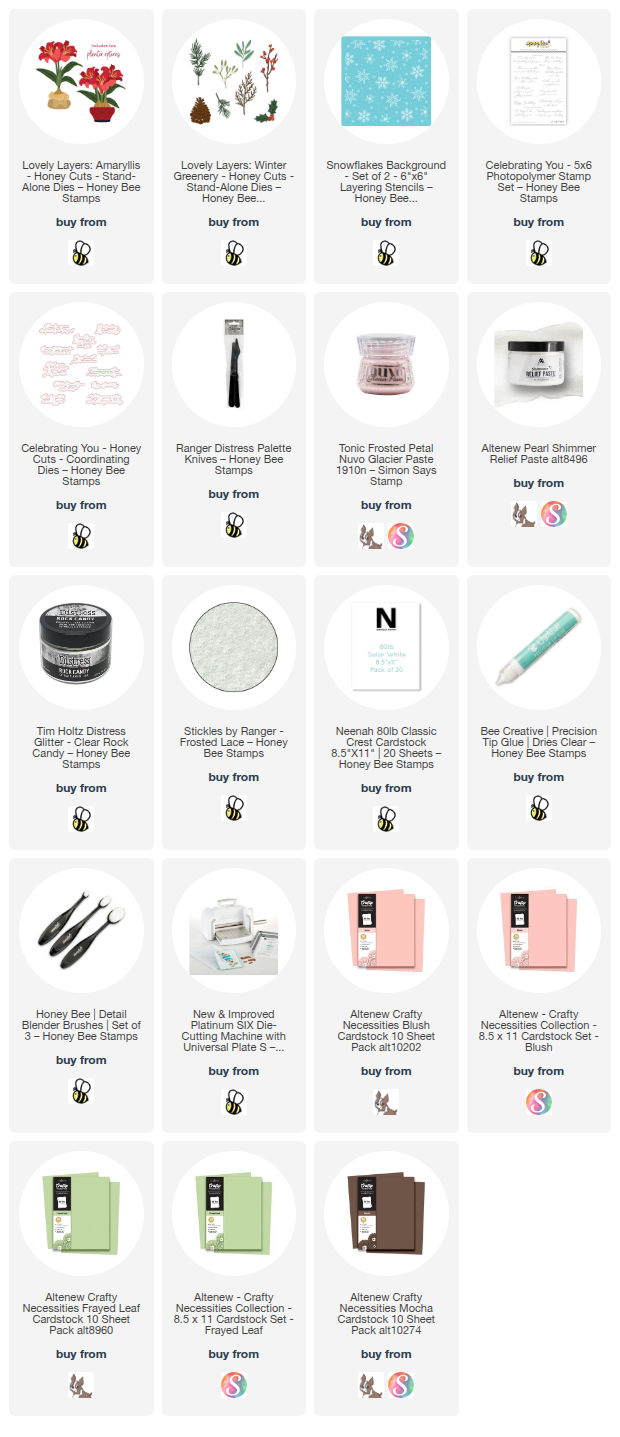
I made the background for the Lovely Layers: April Showers with the Perfect Bricks and Grassy Hill Borders stencils. I added Mowed Lawn and Lost Shadow Distress Oxide inks through the stencils with Detail Blender Brushes. I used glue to adhere the panel to an A2 card base.

For the fun floral pattern on the umbrella and boots I used the Wonderful Wishes Honey Cuts and Coordinating Stencils. For ease of stenciling, I die cut the cake portion from white cardstock. Then I lined up each of five stencils over the die cut piece and colored it with Distress Oxide inks. I used the new Beeluxe Detail Blending Brushes to add Squeezed Lemonade, Mustard Seed, Mowed Lawn, Rustic Wilderness, Wilted Violet, and Ripe Persimmon Distress Oxide inks. The Beeluxe Brushes are so helpful with the small details of the stencils!

Then I cut the umbrella top layer (Lovely Layers: April Showers) from the stenciled piece. Line the die up diagonally on the stenciled piece and run it through your die cutting machine.

Next I used the Lovely Layers: April Showers dies to cut the elements from purple, green, coral and white cardstock. I used more Distress Oxide inks along with the new Beeluxe Detail Blending Brushes to add depth and shading to the various elements. I used most of the Distress Oxide inks I mentioned above.

I colored the three layers of the bird with Copic markers in the colors of E25, E23, E13, and E11.

Next I used glue to adhere the layers of the April Showers elements. The Layering Guide found in the product description is very helpful for getting your layers just right.

The dots and line details you can see were added with orange and white Gelly Roll gel pens. The sentiment is from the Celebrating You stamp set, stamped in black ink, and die cut with the coordinating die.

To adhere the elements to the card, I used foam dotsfoam strips, and Bee Creative glue.

I hope you've enjoyed my process to make this colorful birthday card! Thank you so much for stopping by. Have a wonderful and crafty day!

Thank you so much for shopping with my affiliate links (never any additional cost to you)!