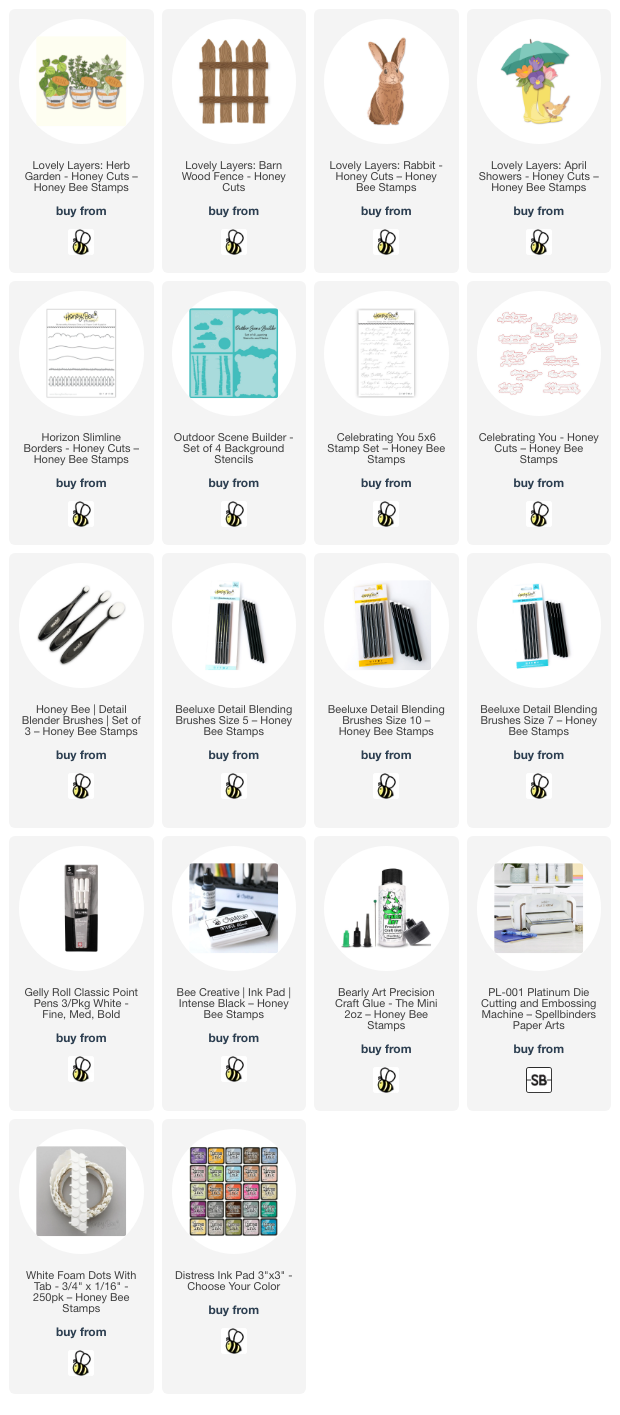
Hello crafty friends! Today I'm sharing this sweet garden scene card with a sneaky bunny taking a stem of herbs! I've hung pots of Lovely Layers: Herb Garden onto the Lovely Layers: Barn Wood Fence with the rabbit from the Lovely Layers: Rabbit as the adorable little thief!

First I created my 5" x 7" card base from 80# Neenah and used the cloud stencil from the Outdoor Scene Builder Stencils to ink on Tumbled Glass Distress ink with a blender brush. I used another brush to add Mowed Lawn ink at the bottom of the card front.
Then I die cut the Lovely Layers: Barn Wood Fence twice from white cardstock. I expanded the fence by cutting one section from the second fence and gluing it at the end of the other. Then I used a blender brush to add Lost Shadow Distress ink for some shading. After trimming the fence to 4-½" high, I added foam strips to the back of the fence, but did not adhere it just yet.
I die cut the elements from the Lovely Layers: Herb Garden from gray, light brown, and green cardstocks. Die cutting the layers from colored cardstocks made it easy to add shading to the pieces with more Distress Inks. I used Lost Shadow, Mowed Lawn, Rustic Wilderness and brown and gray green inks from my stash. I used the Layering Guide to assist in assembling the pieces with the herbs and pails with glue. I used my scissor to snip the ends of the basil stems and saved the pieces that I clipped off.
The one step that I did differently from the Layering Guide was to adhere the handle of each pail in an upright position so I could hang two of them from the fence.

I added a large foam dot to the back of each pail. Then I slipped the handle of the two on the sides over the Barn Wood Fence to adhere. I just adhered the center pail slightly lower than the other two. I removed the backing of the foam strips on the fence and adhered it to the card base.
I die cut the layers of the Lovely Layers: Rabbit from white card stock. I used blender brushes to add two shades of brown ink and one light pink ink to color the layers. The Beeluxe Detail Blending brushes were handy for the small pink cheeks. I used my black Copic marker to color the rabbit's eyes. Then I glued each layer together and used a white gel pen on the eyes and cheeks and a brown pen on his mouth for extra details.
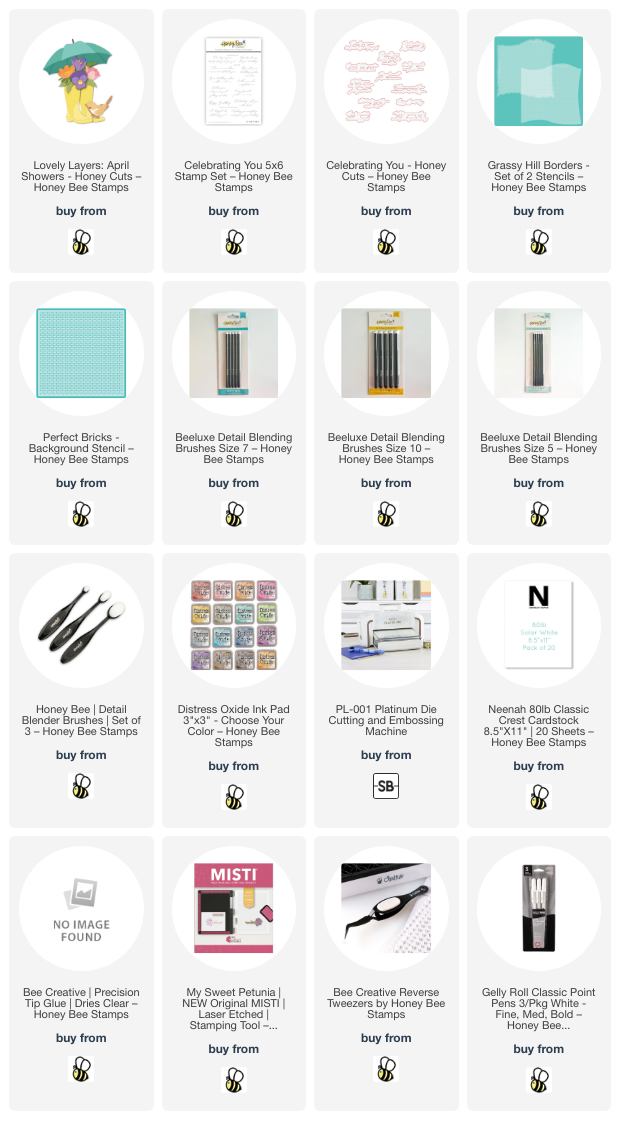
The sweet bird is from the Lovely Layers: April Showers Honey Cuts. After I die cut the layers from white cardstock, I used some of the same inks used previously plus Prize Ribbon Distress ink to color the bird with blending brushes.
For a finishing touch, I used a couple pieces of the leftover basil stems and glued the extra leaf onto another piece. Then I tucked it under the rabbit's paw--sneaky rabbit eating the herbs! Haha!

The sentiment is from the Celebrating You stamp set. After I stamped it with black ink, I cut it out with the coordinating die. I added a few narrow foam strips to the back to adhere it to my card.
I love how this sweet scene turned out, and hope I've given you more inspiration with these awesome sets! Thank you so much for stopping by today! I really appreciate you!
Thank you so much for shopping with my affiliate links (never any additional cost to you)!