Wednesday, September 29, 2021

Grapevine Wreath Halloween Card | Honey Bee Stamps

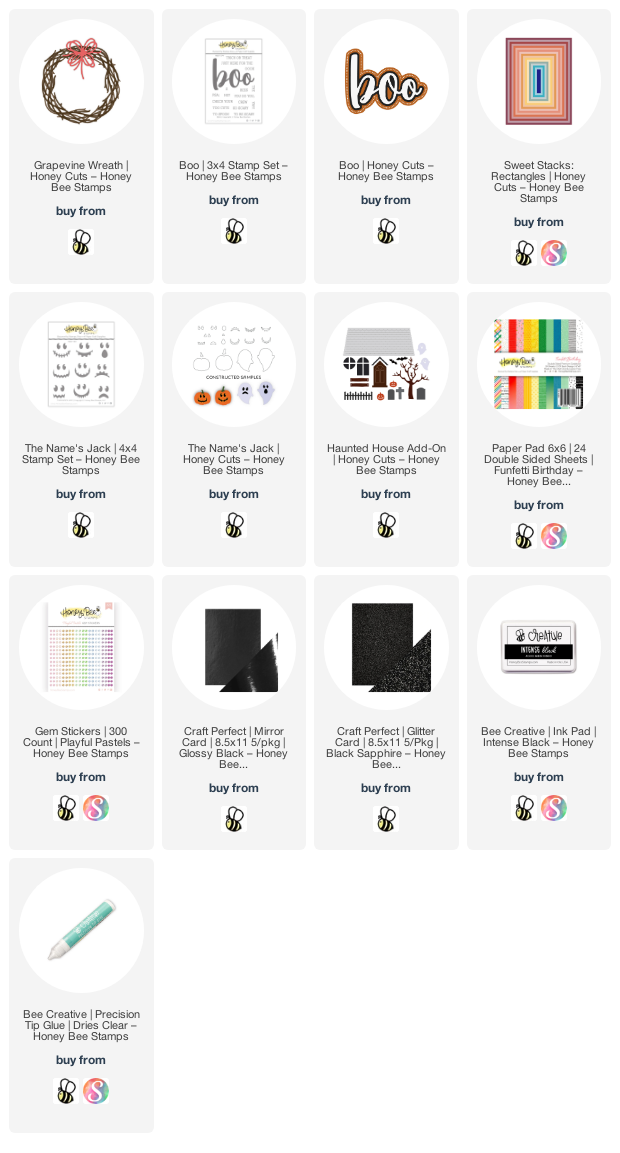
Hello friends!  Today I'm sharing my first Halloween card of the season featuring a few of Honey Bee Stamps latest products with some older favorites!  I don't make a lot of Halloween cards, but the ones I do make need to be cute--not scary!  The Grapevine Wreath Honey Cuts makes a fun Halloween wreath, but I'm sure I'll be using this awesome set year round!

First I created my card base by using the three largest Sweet Stacks: Rectangles dies to cut a purple layer, a black mirror card stock layer, and the top patterned paper layer from the Funfetti Birthday paper pad.  I adhered all the layers together with Bee Creative glue and then adhered them to a top folding A2 card base.

Next I die cut the Grapevine Wreath twice, once from some black glitter card stock, and another from black mirror card stock.  I glued these together and then adhered them to my card.  I die cut the bow from the Grapevine Wreath set from black mirror card stock and purple glitter paper.  Then I adhered them together and glued them to my wreath.

I die cut the sentiment from the Boo Honey Cuts.  I die cut the layers from vellum, black mirror card stock, and purple glitter paper.  I adhered them with Bee Creative glue and set a thick stamp block on it to weight it down while it dried.

Then I die cut the large ghost found in The Name's Jack die set.  I stamped the face from The Name's Jack stamp set with Intense Black ink and added Glossy Accents to it and let it dry.

I die cut the small ghosts and the bats found in the Haunted House Add On Honey Cuts.  The bats are black glitter card stock.  I glued a small scrap of black mirror card stock behind the ghosts' eyes and mouths.  To finish up, I adhered the sentiment, ghosts and bats to the card with glue and a few foam squares too.

As if I didn't have enough sparkle (haha!) I added bling to the wreath with some coordinating gems from the Playful Pastel gem stickers set!  

This card was so much fun to make and I am 100% sure I'll be using this Grapevine Wreath on some Christmas cards!!!  Thank you so much for stopping by!  I hope you have a wonderful day!

Here are links to the products I've used, if you'd like to check them out:

Tuesday, September 28, 2021

Celebrate Autumn! Shaker Card | Rubbernecker Stamps

 Hello crafty friends!  Today I have a fun shaker card featuring Rubbernecker Stamps gorgeous Autumn Fire stamp set and coordinating dies.

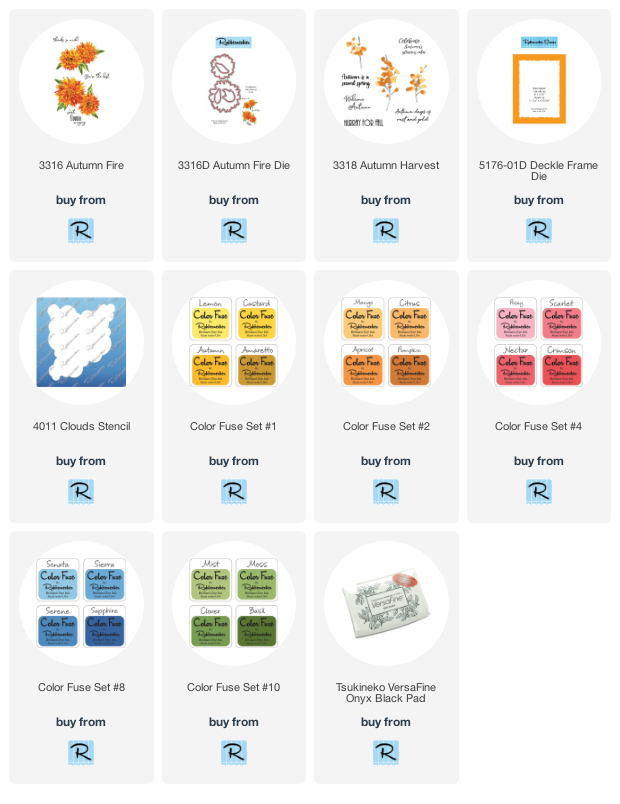
I used Color Fuse inks to stamp the flower and leaf layers.  Here are the set numbers and colors I used:

  • Flower (from base layer to top layer): Lemon (CF #1); Citrus (CF #2); Apricot (CF #2); and Crimson (CF #4).
  • Leaves: Clover and Basil (CF #10
When I was finished stamping, I used the coordinating flower dies to cut those out and fussy cut the leaves.

Next I used the Cloud Stencil and ink blended some Sonata ink (CF #8) to add clouds to a 4-1/8" x 5-1/8" piece of white card stock.  I adhered this to a top-folding card base.

Next I stamped the sentiment and then adhered one of the flowers and some leaves to the cloud panel.

I prepared a window for the shaker by die cutting the Deckle Frame die twice from woodgrain card stock. I adhered the two frames together and added a clear acetate window.  Then I put foam tape around all of the edges.  I sprinkled in my shaker bits, removed the foam backing, and adhered the cloud piece to it.

I adhered the other flowers and leaves to the outside of the acetate with liquid glue.  Be sure to give it a few extra minutes to dry.


Wednesday, September 22, 2021

Happy Fall Y'all! | Honey Bee Stamps

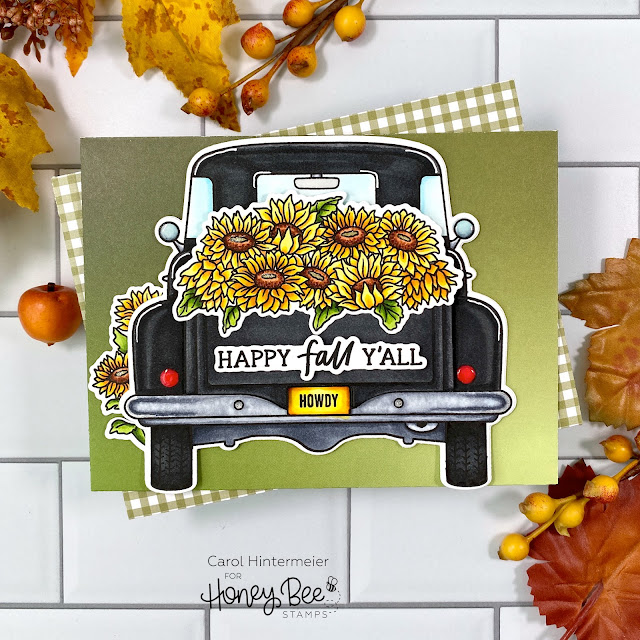
 Happy first day of fall, y'all!!  To celebrate this day, I have a fun card featuring Honey Bee Stamps new Loads of Fall stamp and die set that coordinates with the Big Pickup Tailgate set!  As I was born in Texas and have lived here my entire life, the "howdy" and "happy fall y'all" sentiments in these sets just had to happen together on a card!  LOL!

This time, I just used the Big Pickup Tailgate stamp and die set.  To create my shaped card base, I took a top-folded 5-½" x 4-¼" card base, placed the Tailgate die on it with the top edge of the die just extending past the fold.  When you run the folded card and die through your machine, you will have a shaped card base!

Next I stamped the Big Pickup Tailgate and the sunflowers (from the Loads of Fall set) with Intense black ink onto my 80# Neenah card stock.  Then I used my Copics to color the images.  There is a coordinating Big Pickup Details stencil set that makes it really easy to color the truck!  I die cut the pickup with the coordinating die.  Then I used the die for the tailgate to cut it out.  Before I adhered the truck to my card base with Bee Creative glue, I stamped "howdy" on the license plate.  Then I adhered the sunflowers to the tailgate, added foam tape to the back and adhered it to the card.

I stamped the sentiments from the Sweater Weather set on the inside of the card with Intense Black ink.  I adhered the sunflower plant at the edge, letting it peek out to the front.  I used the coordinating die to cut out Happy Fall Y'all and popped it up on the truck with foam strips.

To finish up, I used a black gel pen to add treads to the tires.  Then I used a white gel pen to add little nightlight lines on the truck.  It doesn't show in the photo, but I used a clear glitter pen on the flower centers.  Lastly, I added a touch of Glossy Accents to the mirrors and taillights.

I love how this sweet card stands up and  can be displayed with your fall decor!

I hope you've enjoyed my autumn version of the Big Pickup!  Thank you so much for stopping by!


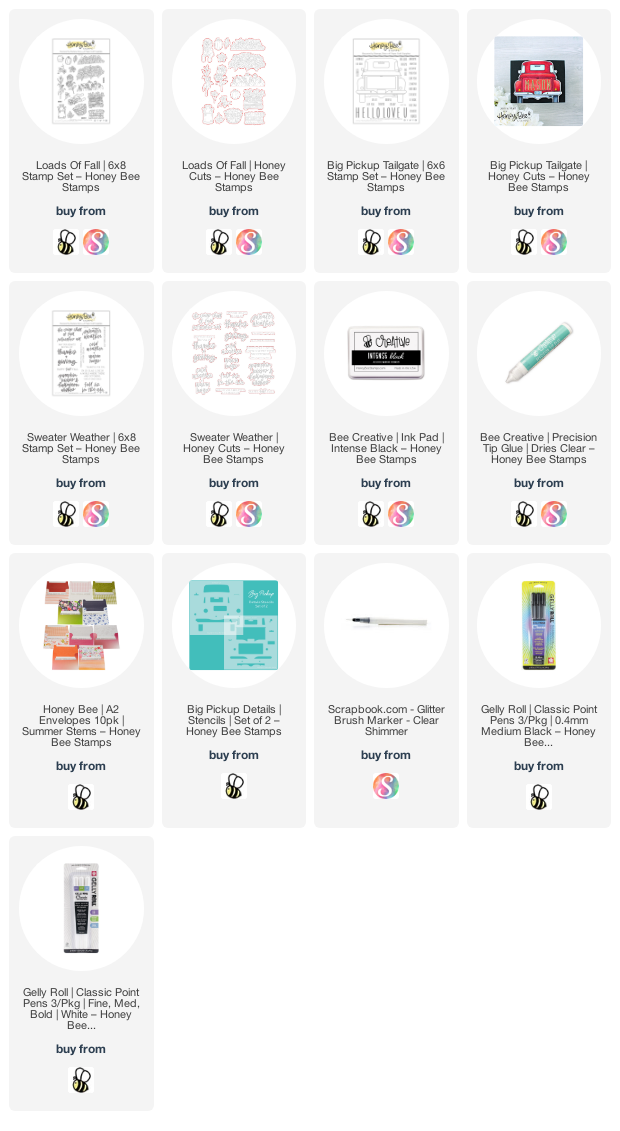
Links to products I've used today:

Sunday, September 19, 2021

Guest Designing with Spellbinders Susan's Holiday Floral Collection

Hello my crafty friends!  Let me tell you, one of those shocking moments happened when I opened an email from Spellbinders inviting me to be a guest blogger for their blog!  I'm so very thrilled and honored.  I was so excited to get to use several of the beautiful die sets from the new Spellbinders Susan's Holiday Floral Collection by Susan Tierney-Cockburn!  

I created three cards for my guest designer blog post over at Spellbinders and wanted to share them here with you.  I have lots of photos and will try to keep the "how to" descriptions brief!  If you have any questions at all, please fill out the "contact me" form at the bottom of the left hand column here.

Susan Tierney-Cockburn is the designer of all of these gorgeous dies for Spellbinders!  I learned how to assemble each die set by watching her instructional YouTube videos, and I'll be sure to give you a link to the video for each die set.  My first card features a slimline card with the beautiful Amaryllis die set.

First I watched Susan's video, which was just what I needed to know how to assemble the amaryllis.  The supplies I've used are these (all links to the products are at the end):

  • Spellbinders: Amaryllis die set; Elliptical Ovals; Holiday Quotes stamp set
  • Ranger Distress Woodgrain card stock
  • Neenah 80# card stock
  • Honey Bee Stamps Holiday Cheer 6x6 paper pad
  • Honey Bee Stamps Intense Black ink
  • Art Glitter Crystal Ultrafine Transparent glitter
  • Heartfelt Creations Flower Shaping Kit

My slimline card measures 3-½" x 8".  I wanted plenty of room to add the amaryllis with some patterned paper at the bottom.  It's hard to see in the photos but I added some woodgrain card stock to the card base for a pretty textured background.

I used Copic markers to color the flower parts, leaves and stem.  After I shaped the flowers I adhered the parts together with liquid glue.  When the glue was dry, I added thin lines of glue along the flower edges and sprinkled on some pretty transparent glitter.  I also added lines of glue and then glitter on the patterned paper for more fun sparkle!


My next card features the amazing Pine Cone and Evergreen Bough with Ladybugs die set!  Susan's instructions in her VIDEO make this pine cone very easy to create!

The supplies for this card are:

  • Brown and green card stock
  • Ranger Distress Woodgrain card stock
  • Hemstitch Rectangles die set
  • Holiday Quotes stamp set
  • Silver mirror card stock
  • Honey Bee Stamps Holiday Cheer paper pad

This A2 card also has a layer of woodgrain card stock under the patterned paper.  After I shaped the pine cone pieces (I did re-watch and pause Susan's video as I assembled this as it's my first time making it) and the glue had dried, I adhered the pieces to my card, added lines of glue and then, some transparent glitter to mimic snow.  Some silver mirror card stock behind the sentiment and a little silver bow add to the holiday feel of the card!

My final card features the gorgeous Poinsettia die set!  I wanted to make a white poinsettia as I think those are so beautiful in real life!  

Supplies for this card:

  • Poinsettia die set
  • Hemstitch Rectangles die set
  • Hemstitch Ovals die set
  • Gold mirror card stock
  • Holiday Quotes stamp set
  • Fine dry glitter--gold
  • Gold embossing powder
  • Honey Bee Stamps Summer Stems paper pad

This time I went back to die cutting the poinsettia parts from 80# Neenah.  Then I used a few green Copic markers that coordinated with the gingham patterned paper (I love gingham!!) and colored the petals and stamens.  Not only are Susan's videos instructional, but it's just amazing to watch her create her gorgeous florals!!  I adhered the pieces with glue and worked on the card base and sentiment while it dried.

I added a layer of coordinating green card stock behind the Hemstitch Rectangle die cut gingham paper.  Next I adhered this to a top-folding A2 card base.  Then I die cut 80# Neenah with a Hemstitch Oval die.  I used just the solid die to cut gold mirror card stock to layer behind the Hemstitch Oval.  The sentiment is heat embossed in gold, then layered with gold mirror card stock and popped up with foam squares.

I wanted a bit more bling (is there ever too much?!!) so I added dots of glue to the stamen tips, sprinkled on fine gold glitter, let it dry and tapped off the excess.

I truly had so much fun creating these gorgeous flowers!  Have you tried creating dimensional flowers?  If not, I hope I've inspired you to give it a try!  I so appreciate you for stopping by today!  Thank you Spellbinders for inviting me to create with these gorgeous dies!

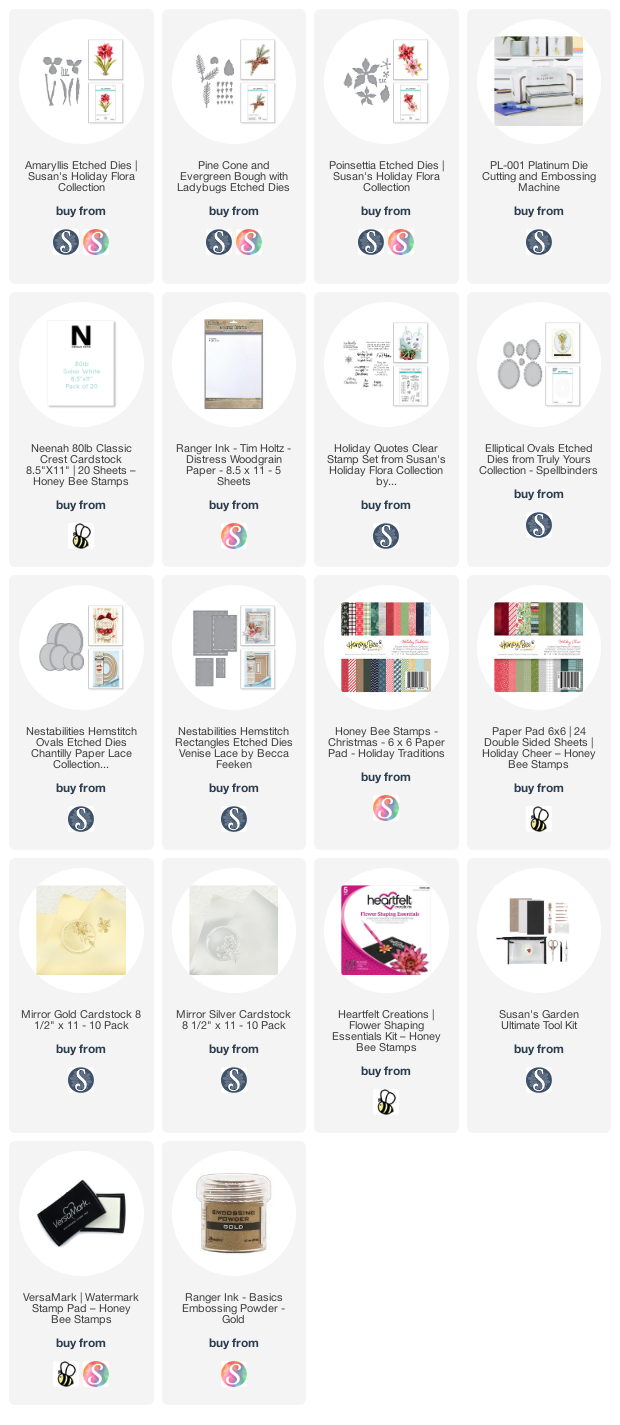
Check out the products I used for my cards:


Wednesday, September 15, 2021

Honey Bee Stamps & Waffle Flower Collaboration: Stenciling Fun!

 Hi crafty friends!  I shared this card over on Instagram for a fun hop with some of the Honey Bee team along with Waffle Flower Crafts!  We are showing off the NEW Waffle Flower Crafts stencil mats: 9" x 12" or the 6" x 9" Mini Stencil Mat.  Both of these are now available in the Honey Bee shop!  Also, be sure to check out Waffle Flower's comparison chart of all their mats below.

Now, you may be wondering, "why do I need this?"  Well, I admit, I thought the same.  However, after using it, I can say "yes!" you do need it.  Here's why: the silicone mat holds your card stock without it slipping around; the raised edges keep the card and your stencil aligned; the mat is non-stick, waterproof, and heat resistant too!  I found it very easy to clean up with water and a clean towel.  Just so you know, this is sincerely my honest opinion--I have not been paid to give it a positive review.

Now, on to my card!  I combined several products from Honey Bee and Waffle Flower to create my fun thank you card.  I have the list with links at the end.

To begin, I die cut 80# Neenah with the Honey Bee Quilted A2 Cover Plate die, then trimmed it to 4" x 5-¼".  I aligned the heart stencil from the Quilted Hearts & Dots stencil set over the card and added some purple tape to hold it in place.  Now I put it on the Mini Stencil Mat and began my ink blending my Distress Oxides.  I used Crackling Campfire, Ripe Pumpkin, Carved Pumpkin and Mustard Seed.

You may notice the the raised edges of the Mini Mat are at the bottom and right side--well, I found that, as a left-hander, that's what worked best for me!  Haha!  So another good thing about the mat is that it works just fine whichever way you place it!  I left the tape on my stencil and wiped off the ink.  Then I spread some Nuvo Moonstone Glimmer Paste through the stencil.  I set the card aside to dry and cleaned the stencil and my tools.

Next I stenciled the beautiful butterflies using Waffle Flower's Spread Your Wings Stencil and Mask set.  I used the same Distress Oxides as before.  I removed the stencil and placed the card in my MISTI.  I centered the coordinating Spread Your Wings stamps over the stenciled butterflies and picked them up with the MISTI door.  Then I stamped them with Intense Black Ink.  I used the Spread Your Wings dies to cut them out.

Then I inked some card stock in the ombré patterned and die cut it with the bottom layer of the Thanks die set.  The middle layer is 80# Neenah, and the top is glossy black card stock.  I stamped the rest of the sentiment, from Thanks stamp set, in Intense Black ink.  Then I arranged my elements, including pieces of the Lovely Layers: Heart Vine I had left over from making this card.

Next I decided to create a coordinating envelope.  I used a mask from the Rectangle Spotlight Stencils & Masks set to block off the addressee portion of the envelope and placed the Quilted Hearts stencil over it.  Again, I used the same Distress Oxides as before.  Then I used a couple pens to trace around the rectangle mask.  Here's a photo showing you the products, plus check out the new Waffle Flower Clear Acrylic 10-hold Brush Stand.  This is a really good stand for your brushes!

After I adhered my sentiments and butterflies, I added a few gem stickers from Honey Bee's Halloween Harvest set to the butterflies.  Gotta have just a bit more bling!  Haha!

Thank you so much for stopping by!  I sure hope you'll join us over on Instagram to see lots more inspiration--be sure to comment for a chance to win too!

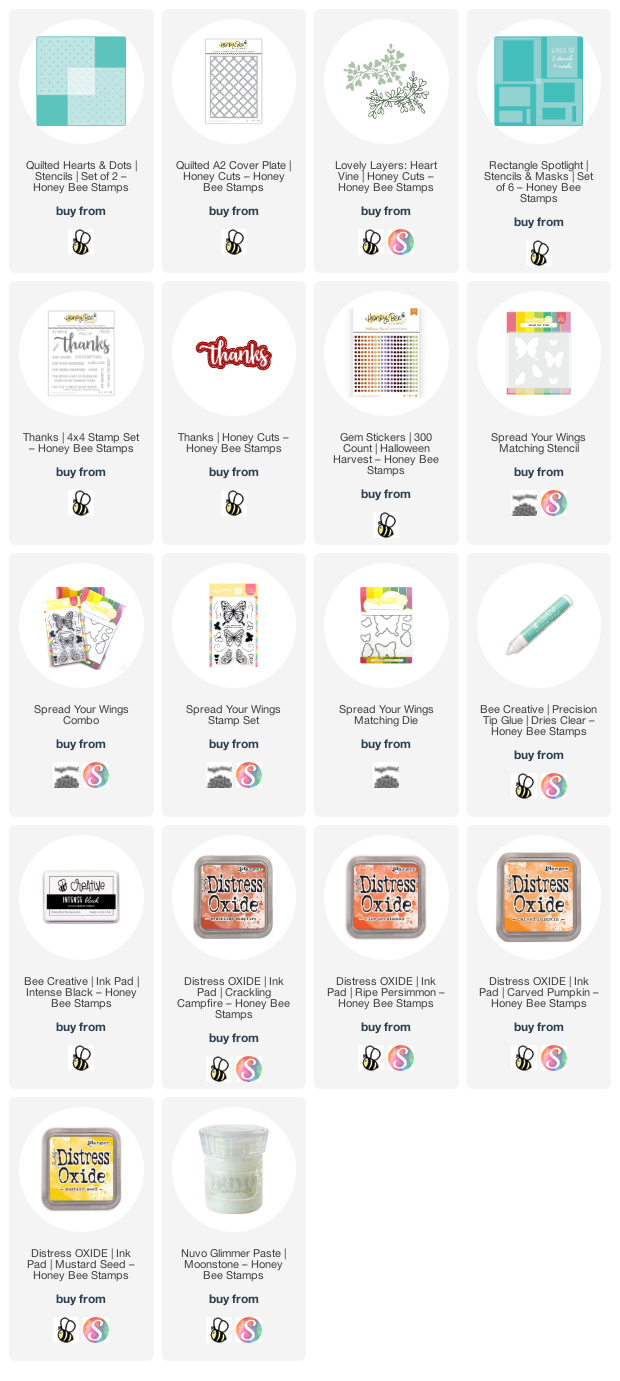
Check out these awesome products I used:

Waffle Flower's mat comparison chart:


Tuesday, September 14, 2021

Welcome Autumn | Rubbernecker Stamps

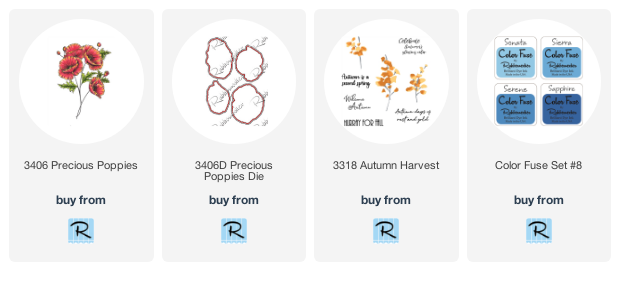
 Hi crafty friends!  My card today features Rubberneckers Stamps gorgeous Precious Poppies stamp set and coordinating dies.  I envisioned these poppies with a crystal clear blue sky on a crisp autumn day!  I rarely create any background without some kind of die cutting, ink splattering or embellishing but I wanted the poppies to just pop with the beautiful blue sky.  This was so fun to create!

For my background, I used a blending brush to create an ombré pattern with the beautiful blues in the Color Fuse set #8 on an A2 sized piece of 80# Neenah Solar White card stock.  I went over the colors 2-3 times and then adhered the panel to my top-folding card base.

Next I stamped the flowers and leaves onto watercolor card stock with Versamark ink.  Then I sprinkled on some gold embossing powder and heat set them.  I used various pretty coral/red watercolors from my stash to color the flowers and leaves.  When everything was dry, I used the coordinating dies to cut out the flowers and fussy cut the leaves and stems.  I adhered the stems and leaves to the flowers with liquid glue.

Next I planned where to stamp my sentiment that's from the Autumn Harvest stamp set by arranging my flowers (without adhering) on the card front.  Then I used my anti-static pouch on the card front before stamping the sentiment with Versamark.  I sprinkled on gold embossing powder and heat set it.

Now all that's left is to add a few foam squares to the back of the flowers, and dots of glue to the stem bottoms.  I love the dimension this adds to the card!

I really enjoyed watercoloring these and I hope to have inspired you today!  Thank you so much for stopping by!  Have a wonderful, crafty week!

Check out these awesome Rubbernecker products:

 
Links for other products I used:

Wednesday, September 8, 2021

Beautiful Autumn Birthday | Honey Bee Stamps

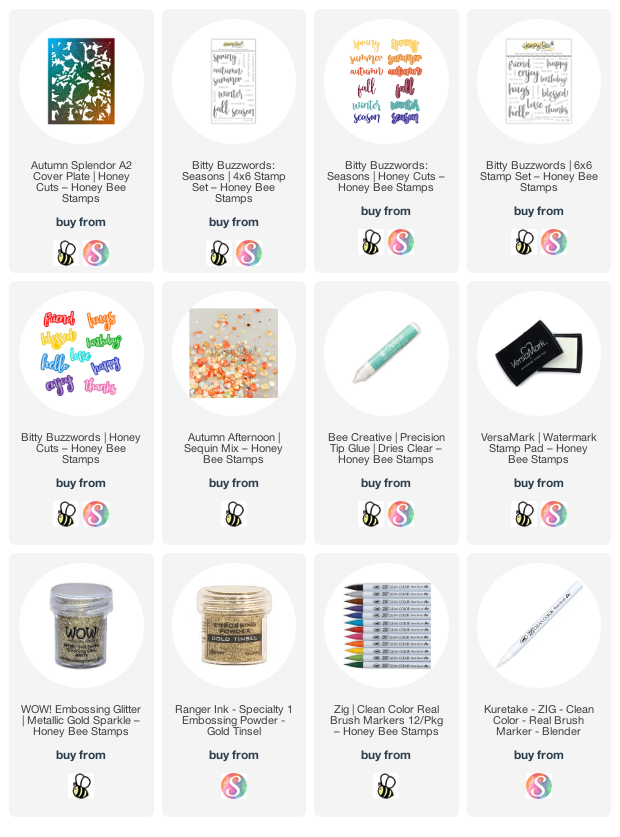
Happy Wednesday crafty friends!  Is it feeling like autumn where you're at?  Here in Texas, we are still in full-on, totally-hot summer mode!  I'm kinda over it--LOL!  My card today featuring Honey Bee Stamps gorgeous Autumn Splendor A2 Cover Plate die is helping me get the autumn feels!  I used my Zigs to watercolor this beauty and then made it into a shaker card--read on for the details!

After I die cut some Bristol Smooth card stock with the Autumn Splendor A2 Cover Plate, I used various Zigs to color the elements.  I've listed the Zig colors I used at the end of this post.  It was really fun and so relaxing (just what I need right now!) to color this and play around with various colors on the leaves.  I used the Zig Blender brush instead of a brush and water to blend the colors.  I like the Blender Brush on Bristol because you can work the blends a lot more without pilling, like I get sometimes with water.

I didn't want the shaker part to be so prominent and take away from the colored panel, so I used vellum for the shaker covering.  I adhered the vellum to the back of the panel, added foam tape around the edges, and then behind two of the leaves near the center.  To keep the sequins from sticking to the sides of the foam tape, I patted my anti-static pouch around the inside edges of the foam tape, then wiped away the excess with a clean microfiber cloth.

It doesn't show too much in the photos but I added some olive green card stock to my card base.  Next I sprinkled some autumn colored sequins on the card base and then adhered the panel to close up the shaker.  The sequins I used are no longer available, but I've linked some I think would be perfect in the product list below.

I added Nuvo Ruby Slipper Glitter Drops to each of the berries and set it aside to dry.

Next I die cut some gold glitter card stock and white card stock with the Autumn shadow and script dies from the Bitty Buzzwords: Seasons Honey Cuts set.  I die cut the script three more times with white card stock and adhered the layers together with Bee Creative glue.  Then I used a dark brown Copic to color the top layer and adhered it to the gold glitter shadow.  I used the same brown Copic to color a scrip of Neenah 80# card stock and then stamped the sentiments with Versamark clear ink.  The top sentiment is in the Bitty Buzzwords: Seasons stamp set and I found the "birthday" in the Bitty Buzzwords stamp set.  I sprinkled on some gold sparkle embossing powder and heat set it.  After I trimmed the sentiments I added thin foam strips to the back.  I added these thin foam squares to the back of the "autumn" sentiment and adhered them all to the card.
I totally love how this turned out!  I hope I've inspired you to try your own version of watercoloring using this gorgeous Autumn Splendor A2 cover plate!  Thank you so much for stopping by!

Zig markers:

Dark Brown, Mid Brown, Brown, Beige, Olive Green, Light Green, Deep Green, Geranium, Orange, Bright Yellow, Yellow Green, Blender

Wednesday, September 1, 2021

Lots of Lovely Layers Birthday Card | Honey Bee Stamps

Happy September crafty friends!  Today I have a card where I've used four of the Honey Bee Stamps  gorgeous Lovely Layers Honey Cuts including the newest Lovely Layers: Sunflower from the Autumn Splendor release.  I had so much fun coloring these with ink blending brushes and arranging them on my 5" x 7" card.  The colors I used are a kind of transition towards autumn, but y'all, it's still HOT here in Texas, so my brain is not quite to full on autumn colors.  Hopefully soon our weather will feel like it!

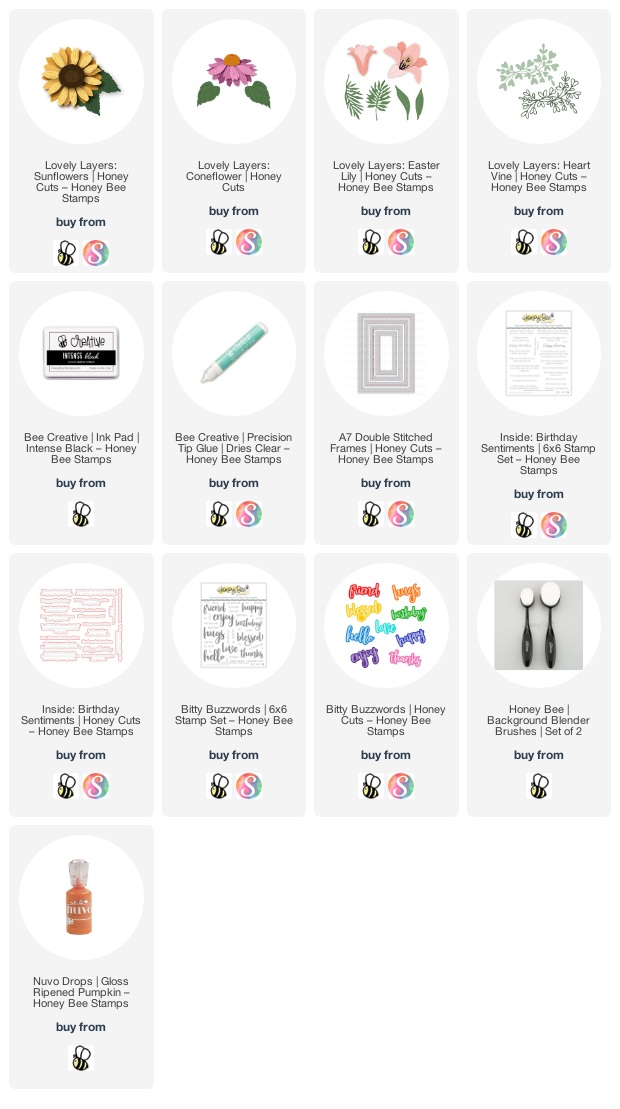
For this card I used these die sets:  Lovely Layers: Sunflowers; Lovely Layers: Coneflower; Lovely Layers Easter Lily; and Lovely Layers: Heart Vine.  I die cut them all from 80# Neenah Solar White card stock.  Then I used a few Background Blender Brushes and various inks from my stash to color the pieces.  (I have all of the brands/colors I used listed at the end.)

Next I used Bee Creative glue to adhere all of the flower layers together.  While the flowers were drying, I made my card base by scoring a 7" x 10" piece of card stock at 5".  Before I added my flowers to the card front, finally!, I remembered to stamp a sentiment inside!  Haha!  I used sentiments from the Bitty Buzzwords and Inside: Birthday Sentiments and stamped them with Intense Black Ink.  There are coordinating die sets for both of these, which I've linked below.  Then I die cut some textured white card stock from my stash with the largest A7 Double Stitched Frames die.  I adhered it to my card front.

I stamped the sentiment for the card front, again, from the Inside: Birthday Sentiments with Intense Black Ink.  I love how these work for the outside of your card too!  Then I die cut it with the coordinating die.

Next I arranged my flowers and leaves on my card front, fussing around with them a bit till I was happy.  I did snip the Lovely Layers: Heart Vine into pieces to tuck them in around the arrangement.  I adhered everything with Bee Creative glue or a few foam squares.

I used just a small piece of a thin foam strip to attach the sentiment.  Then I felt like I needed a few extra details on my flowers.  I used a fine point marker on the sunflower center to highlight the etched lines from the die.  I did the same with a matching pencil for the coneflower.  I used Copic YR12 to add little dots on the lily.  Then I added some Ripened Pumpkin Nuvo Drops to the stamen of the lily.  I added some sparkle to the other flower centers with a clear glitter pen.

I hope you've enjoyed my card with the amazing Honey Bee Stamps Lovely Layers sets!  Thank you so much for stopping by!

Inks/brands I used to color the images:
Coneflower: Simon Says Stamp Blue Violet, Wisteria; Distress Ink: Peeled Paint, Mowed Lawn
Sunflower:  Simon Says Stamp Lemon Chiffon, Sunshine, Key Lime, Jellybean
Lily: Simson Says Stamp Sunshine, Distress Ink: Spiced Marmalade
Heart Vine: SSS Key Lime, Jellybean

For more info on any of the products, just click the image.