Showing posts with label Playful Pastels Gem Stickers. Show all posts

Wednesday, September 29, 2021

Grapevine Wreath Halloween Card | Honey Bee Stamps

Hello friends!  Today I'm sharing my first Halloween card of the season featuring a few of Honey Bee Stamps latest products with some older favorites!  I don't make a lot of Halloween cards, but the ones I do make need to be cute--not scary!  The Grapevine Wreath Honey Cuts makes a fun Halloween wreath, but I'm sure I'll be using this awesome set year round!

First I created my card base by using the three largest Sweet Stacks: Rectangles dies to cut a purple layer, a black mirror card stock layer, and the top patterned paper layer from the Funfetti Birthday paper pad.  I adhered all the layers together with Bee Creative glue and then adhered them to a top folding A2 card base.

Next I die cut the Grapevine Wreath twice, once from some black glitter card stock, and another from black mirror card stock.  I glued these together and then adhered them to my card.  I die cut the bow from the Grapevine Wreath set from black mirror card stock and purple glitter paper.  Then I adhered them together and glued them to my wreath.

I die cut the sentiment from the Boo Honey Cuts.  I die cut the layers from vellum, black mirror card stock, and purple glitter paper.  I adhered them with Bee Creative glue and set a thick stamp block on it to weight it down while it dried.

Then I die cut the large ghost found in The Name's Jack die set.  I stamped the face from The Name's Jack stamp set with Intense Black ink and added Glossy Accents to it and let it dry.

I die cut the small ghosts and the bats found in the Haunted House Add On Honey Cuts.  The bats are black glitter card stock.  I glued a small scrap of black mirror card stock behind the ghosts' eyes and mouths.  To finish up, I adhered the sentiment, ghosts and bats to the card with glue and a few foam squares too.

As if I didn't have enough sparkle (haha!) I added bling to the wreath with some coordinating gems from the Playful Pastel gem stickers set!  

This card was so much fun to make and I am 100% sure I'll be using this Grapevine Wreath on some Christmas cards!!!  Thank you so much for stopping by!  I hope you have a wonderful day!

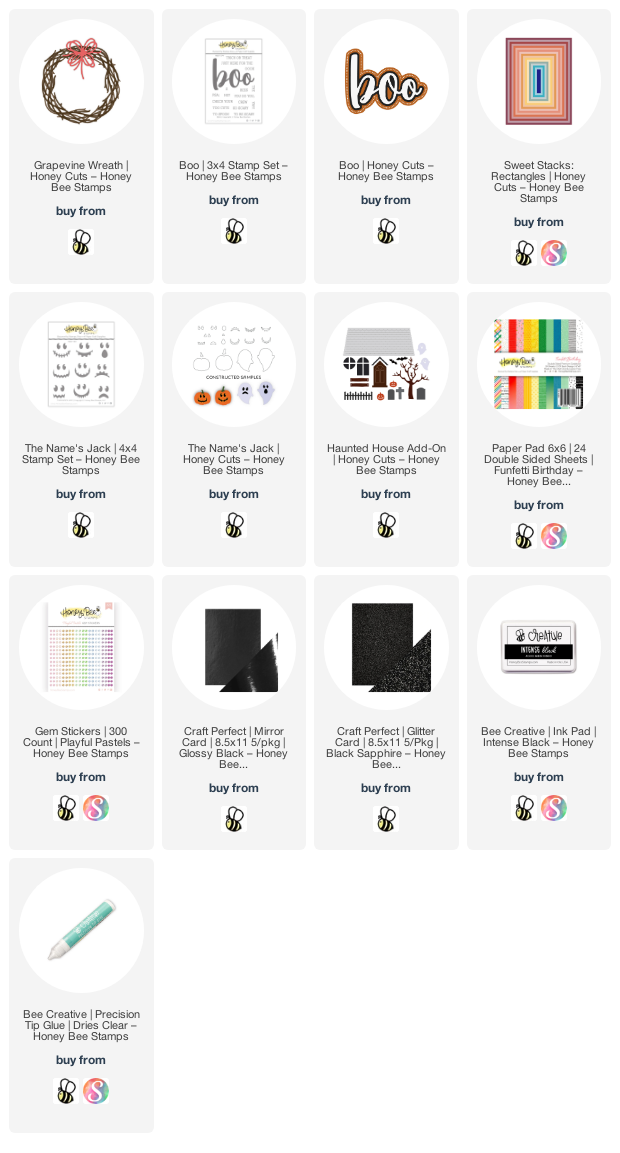
Here are links to the products I've used, if you'd like to check them out:
Wednesday, February 24, 2021

Missing You Friend! | Honey Bee Stamps

 Happy Wednesday my friends!  How many friends do you need to send a "missing you" card to?  If you're like me, that would be a lot!  My card today is just what we need!  I've used Honey Bee Stamps beautiful Pretty Postage stamp set and coordinating Honey Cuts for this quick and easy card.  Except for the time it took to color the image, this card came together in a snap!  Read on for the details!


I began by creating my card base.  I used the new Quatrefoil A2 Cover Plate Base die to cut the purple paper from the Playful Pastels 6x6 paper pad.  There are so many gorgeous papers in this paper pad!  Then I used the Quatrefoil Cover Plate Top to die cut some 80# white card stock.  I adhered the layers together with Bee Creative glue and adhered the panel to a top-folding A2 card base.

Next I stamped the Pretty Postage image with Copic safe ink and colored it with my Copic markers.  I colored the flowers with these Copic markers:  RV25, RV14, RV13, RV21, and RV10.  For the leaves I used YG67, YG25, YG03, G28, G07, and G09.  The envelope liner is colored with Y15, Y13, Y11, Y00 and the shadows on the white envelope are C03, C01, and C00.  When I finished I thought the yellow was a bit too bright.  So I was brave (Haha!) and added shadows around all of the leaves and flowers that are over the liner with C2, C0, and C00.  I know it still looks bright, but the yellow is definitely toned down from what it was!  I used the coordinating Honey Cut to die cut it out.

I decided that I wanted all of the white edges around the image to blend in more with the background paper.  So I found a few Copic markers that coordinated nicely with the paper.  Those markers are V25, V22, and V20.  When I finished the shading, I used a #10 and #05 white gel pen to add white dots to the background and to the flower centers.

I stamped the sentiments, that are also in the Pretty Postage set, with black ink.  I die cut the sentiments with the coordinating Honey Cuts.  I added foam tape to the back of them and adhered the pieces to the card front.  I added just a few bits of bling from the Playful Pastels Gem Stickers.


This card was so fun to make!  I will be using the A2 Quatrefoil Cover Plate dies a lot--I think they are so beautiful!!!  Thank you so much for stopping by today!  Stay crafty!

Supplies: