Hi crafty friends! I shared this card over on Instagram for a fun hop with some of the Honey Bee team along with Waffle Flower Crafts! We are showing off the NEW Waffle Flower Crafts stencil mats: 9" x 12" or the 6" x 9" Mini Stencil Mat. Both of these are now available in the Honey Bee shop! Also, be sure to check out Waffle Flower's comparison chart of all their mats below.

Now, you may be wondering, "why do I need this?" Well, I admit, I thought the same. However, after using it, I can say "yes!" you do need it. Here's why: the silicone mat holds your card stock without it slipping around; the raised edges keep the card and your stencil aligned; the mat is non-stick, waterproof, and heat resistant too! I found it very easy to clean up with water and a clean towel. Just so you know, this is sincerely my honest opinion--I have not been paid to give it a positive review.
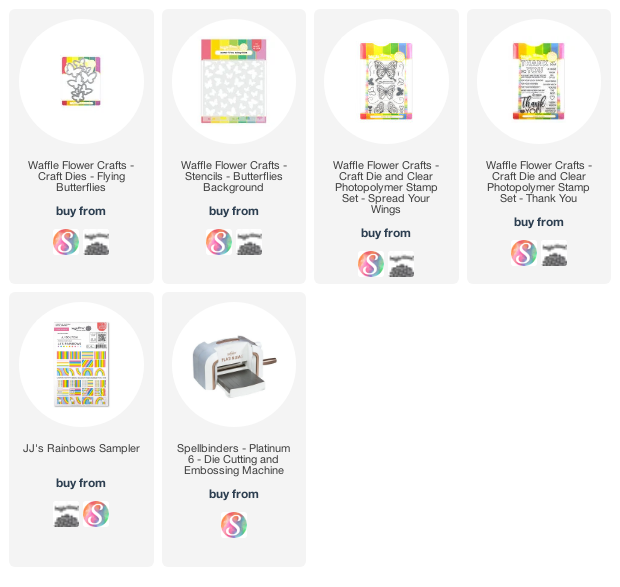
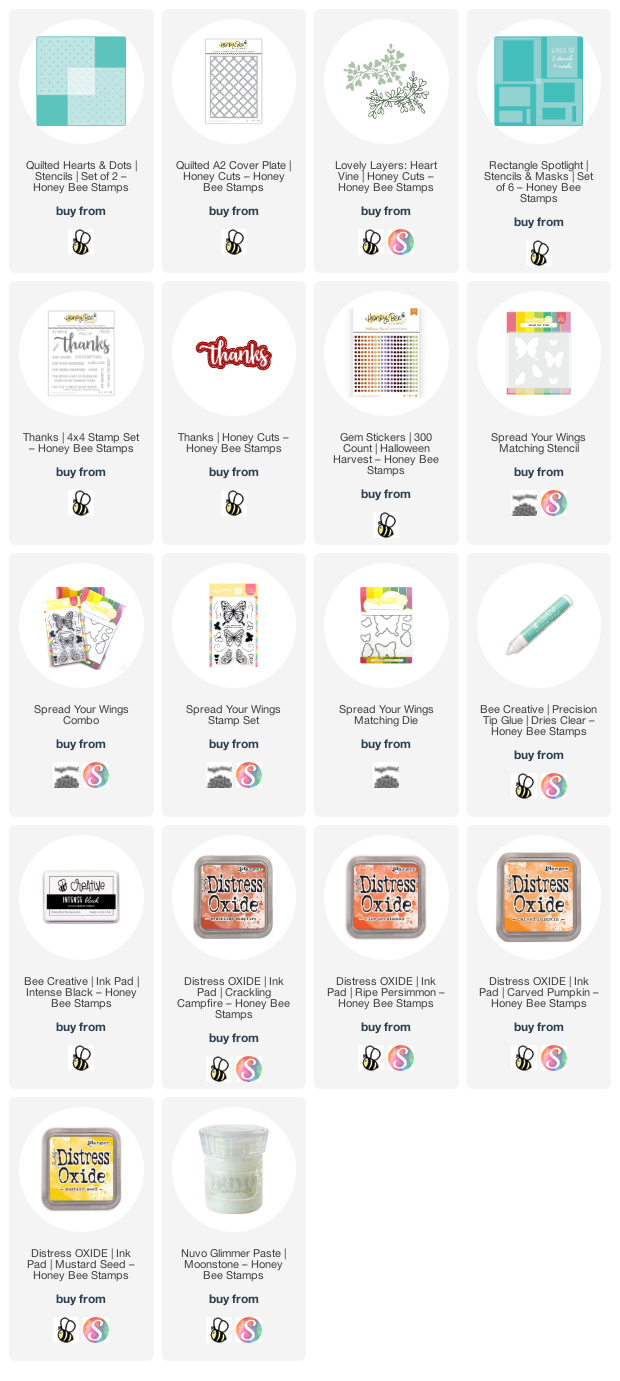
Now, on to my card! I combined several products from Honey Bee and Waffle Flower to create my fun thank you card. I have the list with links at the end.
To begin, I die cut 80# Neenah with the Honey Bee Quilted A2 Cover Plate die, then trimmed it to 4" x 5-¼". I aligned the heart stencil from the Quilted Hearts & Dots stencil set over the card and added some purple tape to hold it in place. Now I put it on the Mini Stencil Mat and began my ink blending my Distress Oxides. I used Crackling Campfire, Ripe Pumpkin, Carved Pumpkin and Mustard Seed.


You may notice the the raised edges of the Mini Mat are at the bottom and right side--well, I found that, as a left-hander, that's what worked best for me! Haha! So another good thing about the mat is that it works just fine whichever way you place it! I left the tape on my stencil and wiped off the ink. Then I spread some Nuvo Moonstone Glimmer Paste through the stencil. I set the card aside to dry and cleaned the stencil and my tools.

Next I stenciled the beautiful butterflies using Waffle Flower's Spread Your Wings Stencil and Mask set. I used the same Distress Oxides as before. I removed the stencil and placed the card in my MISTI. I centered the coordinating Spread Your Wings stamps over the stenciled butterflies and picked them up with the MISTI door. Then I stamped them with Intense Black Ink. I used the Spread Your Wings dies to cut them out.
Then I inked some card stock in the ombré patterned and die cut it with the bottom layer of the Thanks die set. The middle layer is 80# Neenah, and the top is glossy black card stock. I stamped the rest of the sentiment, from Thanks stamp set, in Intense Black ink. Then I arranged my elements, including pieces of the Lovely Layers: Heart Vine I had left over from making this card.
Next I decided to create a coordinating envelope. I used a mask from the Rectangle Spotlight Stencils & Masks set to block off the addressee portion of the envelope and placed the Quilted Hearts stencil over it. Again, I used the same Distress Oxides as before. Then I used a couple pens to trace around the rectangle mask. Here's a photo showing you the products, plus check out the new Waffle Flower Clear Acrylic 10-hold Brush Stand. This is a really good stand for your brushes!

After I adhered my sentiments and butterflies, I added a few gem stickers from Honey Bee's Halloween Harvest set to the butterflies. Gotta have just a bit more bling! Haha!

Thank you so much for stopping by! I sure hope you'll join us over on Instagram to see lots more inspiration--be sure to comment for a chance to win too!
Check out these awesome products I used:
Waffle Flower's mat comparison chart: