Showing posts with label card challenge. Show all posts

Friday, May 28, 2021

Waffle Flower Challenge - Use Vellum

Hello friends, and happy Friday!  I'm so very thrilled and honored to have been invited to join Galina Filippenko, from the Waffle Flower Design Team, for this week's Waffle Flower Challenge - Use Vellum.  I had so much fun creating my cards with vellum and some products from Waffle Flower's latest Social Butterfly release!


I was able to make three cards in just one day for this challenge!  Trust me, that never happens! LOL!  Since I have a lot of photos, I'll keep the description brief, and link all of the products I used at the end of my post.

For my first card I used these Waffle Flower products:  Spread Your Wings stamp set and matching dies; JJ's Rainbow paper; Thank You stamp and matching dies; and JJ's Rainbows Sample Pack paper.

First I heat embossed the butterflies on vellum.  I used a white sparkle embossing powder on 40# vellum for some fun sparkle!  (Be sure to use heavy vellum to minimize the warping.)

Then I used a couple of sentiments from the Thank You stamp set.  I love how the two large "thank you's" have coordinating dies!  I added all of the elements to a piece of patterned paper from JJ's Rainbows Sample Pack.

My second card features stenciling with Distress Oxide inks.  I had never tried using a stencil with vellum before, but I love the results!!

Waffle Flower products: Spread Your Wings stencil; and Thank you stamps and matching dies.  First  I used a blending brush to ink Distress Oxides with the Butterflies Background Stencil.  I used Kitsch Flamingo, Squeezed Lemonade, Cracked Pistachio, Salvaged Patina, and Wilted Violet Distress Oxides.  I love how EASY it is to blend inks on vellum and the soft look you get!  I added the stenciled vellum over a white card base.

Then I stamped the thank you sentiment with Kitsch Flamingo Distress Oxide.  I added foam tape to the back of both sentiment pieces for dimension.


For my final card, I used the vellum behind the window of the Flying Butterflies die cut to mute the patterned paper behind the vellum.  I also die cut some vellum butterflies and added them as an embellishment!

Waffle Flower products: Flying Butterflies die; Thank you stamps and matching dies; and JJ's Rainbows Sample Pack.  First I die cut the Flying Butterflies Die on a piece of Woodgrain card stock.  I added a piece of vellum behind the opening, then a rainbow patterned paper from JJ's Rainbows Sample Pack.  I adhered the outline from the Flying Butterflies die on top of the vellum.


Thank you so much for stopping by!!  I hope you'll pull out your Waffle Flower products and some vellum and  join us in the Use Vellum challenge!  There's a $25 gift card for a prize and you can play along three different ways!  Either link your project, via Link Party, to the Waffle Flower Blog, at the Waffle Flower Garden Facebook Group, or on Instagram using #WFC2105W4.  

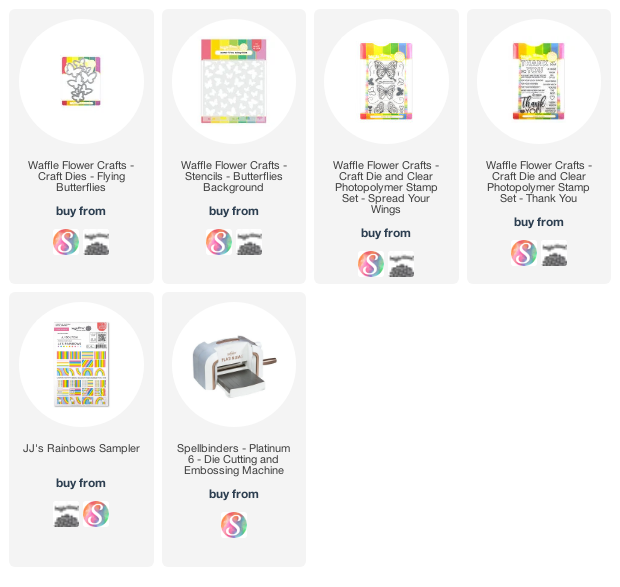
Here are links to the supplies I used:
Thursday, February 6, 2020

Cutest Coffee Gift Card Holder! | Art Impressions

Hello friends!  We are in week two of a new challenge over at Art Impressions.  It's called Give It Away! Hop over to the challenge blog for the challenge details.  Just in time for this challenge, Art Impressions has two new gift card holder sets.  One is called Mailbox Gift Card Holder, and the one I'm using is Coffee Gift Card Holder.


All the dies you need are included, including the insert that holds a gift card.


These are really easy and quick to make.  Plus it's a great time to pull out that pretty patterned paper you're hoarding and make some pretty coffee cups.  I've had this paper from Queen & Co. for a while, but it's still in stock on their website.  For each gift card holder, cut two of the coffee cup and one each of the lid, insert and band.


Fold the scored tabs on the coffee cup and add adhesive.  I used liquid glue on one and Scor-tape on another.  Both adhesives work equally well.  Add a thin line of glue along the top of the gift card insert and adhere the coffee cup lid.  I used three Copic markers (C1, C00, blender) to add some dimension to the lid.


For this cup, I stamped the sentiment and die cut it with the scalloped circle die.  I attached it to the band and adhered it to the cup.  I love how the die for the band embosses the lines in it!


I LOVE this stamp that has all the options and you can check them all, or just the ones that you want for the occasion!  The one that the tag is hiding says You're the Best!  Next die cut the smaller heart from patterned paper and the tag from white card stock.  I popped up the heart with a foam square on the tag.  Then I used some green twine from my stash to wrap around the cup and tie on the tag.

For perspective, here is a photo of the Coffee Gift Card Holder on an A2 envelope.  It's a fun and cute size with plenty of room to go into the envelope.


Thank you so much for stopping by today!  I hope to see your entry into the Give It Away Challenge over at Art Impressions.  Happy crafting!

Supplies:
Art Impressions Coffee Gift Card Holder set
Queen & Co. Flirty Florals 6x6 paper pad
3D foam squares

Thursday, January 9, 2020

Hugs & Kisses Challenge, Week 2 | Art Impressions

Hello friends!  It's week two of Art Impressions' Hugs & Kisses challenge.  I've used the adorable couple from the Perfect Duet Set for my card today.  I just imagine they have lots of hugs and kisses between themselves, and lots of fun too!


I started by stamping them with Copic safe ink and coloring the image with the markers listed below.  I used a sentiment from the set and stamped it with black ink.


I die cut some red card stock from the largest Double Stitched Rectangle Die and adhered it to a top-folding A2 card base.  Next I added some red and white twine around the top of the stamped image panel.  A way that I found to make this easier, for me at least, is to run a couple strips of tape runner along the back where you want the twine to be.  That way as you wind it around the card, it stays in place and doesn't wiggle around so much.  I added foam tape to the back to pop it up on the card.  For a bit of bling, I added some clear hearts with Distress Collage Medium Matte.


Thanks so much for stopping by today!  I hope you will enter your card into our Hugs & Kisses challenge!  Click HERE for the details.  Happy crafting!

Copic markers:
shirt:  BG09, BG49, BG07
hair/socks: C3, C1, C0, T5, T2, T0
skin: BV20, E53, E51, E50, E00, R21, R20
shorts: E89, E44, E43
dress: R59, RV29, R35

Supplies:
Art Impressions Perfect Duet Set
Art Impressions Rectangle Double Stitched dies
Ink on 3 Blackout Detail Ink
Honey Bee Stamps Crystal Clear Heart Mix
Distress Collage Medium Matte