Friday, November 5, 2021

Graciellie Design Cup Of Cheer and Guest Design!

I'm thrilled to have been invited to Guest Design for Graciellie Design for the months of November and December!  Today I'm sharing two cards using her latest digital release called Cup of Cheer.  Also, if you are interested, Gracie has allowed me to give away a $15 gift certificate to her shop for my first post!  The giveaway is being held over on my Instagram--all you need to do is leave me a 💗and a comment!

For the first card, I printed out the cup with cookies from the Cup of Cheer digital stamp set onto 80# Neenah Solar White card stock.  I also layered the pine branch, from the Winter Blessings digital stamp set, under the cup.  It's been a little while since I had worked with digital stamps.  The best "how to" source, at least for me, is found HERE.  Click "resizing digital stamps" and then the version you want to use.  I changed the color of the pine branch to green before I printed it out.

I recently had to buy a new printer as our very old one did not survive our move last month!  I bought an Epson XP-7100 that has a rear paper feed slot.  My 80# Neenah went through it perfectly!

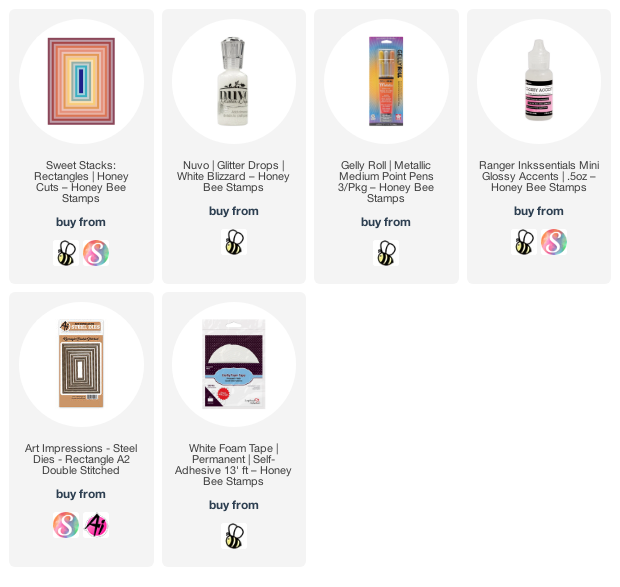
Next I used Copic markers to color the images and then used a Honey Bee Stamps Sweet Stacks: Rectangle die to cut it out.  Then I used a metallic gold Gelly Roll pen to add stitching around the edges.  I also added gold lines to the cup and saucer.

I die cut some red card stock with a rectangle stitched die and adhered it to a top-folding card base.  I added foam tape to the back of my colored panel and adhered it to the card.

For a bit more bling I added White Blizzard Nuvo Glitter Drops to the candy bits on the cookie and Glossy Accents to the coffee.  To coordinate with the other gold touches, I also added some dots of Golden Rod Stickles.

On my next card, I printed out the cup and sentiment along with some beautiful digital paper for my background.  This gorgeous paper is part of Gracie's digital paper pack called Rustic Winter Wishes.

I did learn something about printing the digital paper.  This is sized as a 12" x 12" paper.  Well, I don't have a wide format printer, (and I wanted it a size suitable for card making) so I poked around and figured out that all I needed to do was resize the digital paper.  I use a Mac, and after I downloaded the paper, I double clicked the image to open it up in Preview.  Next I clicked Tools, then Adjust Size.  I changed the measurement from pixels to inches, and sized it to 6" x 6".  That's all!  By keeping it square, it retains the perspectives and none of the images are distorted.

Now that it's resized, it's time to print it.  When I first printed it, I used 80# Neenah, just like I did for my first card.  (I also added the cup image and the sentiment to the page to print at the same time.)  What I noticed is that the colors of the digital paper were a bit muted and the images weren't quite as crisp as I'd expected.  Then it dawned on me that since this is a .jpg image, maybe I should use photo paper.  I happened to have 8-½" x 11" matte photo paper for ink jet printers and used that.  What a difference! 


I die cut the digital paper, some gingham paper and coordinating brown card stock with the Sweet Stacks: Rectangles dies and adhered the layers to an A2 card base.  Then I colored the cup with my Copics, fussy cut it, and adhered it with some foam tape.

I cut the sentiment out with a die from the Tag Builder die set.  Then I tied a bit of twine onto it and popped it up on the card with foam tape.


I was amazed at how quick these beautiful cards were to make!  Now that I've fine tuned the details of working with digitals, the next ones should be even faster to make.  Thank you so much for stopping by!  Don't forget, if you would like a chance to win a $15 gift certificate to Graciellie Design, click HERE to go to my Instagram and leave me a comment.  Have a wonderful, and crafty, weekend!

Wednesday, November 3, 2021

Happy Howl-idays! | Honey Bee Stamps

 Happy Wednesday crafty friends!  Today I'm sharing a card that features Honey Bee Stamps' new, and so adorable, Riding By...Holiday Style stamp set and coordinating dies!  This is a fun holiday add-on set for the Bicycle Builder die set that has lots of options for your holiday cards.

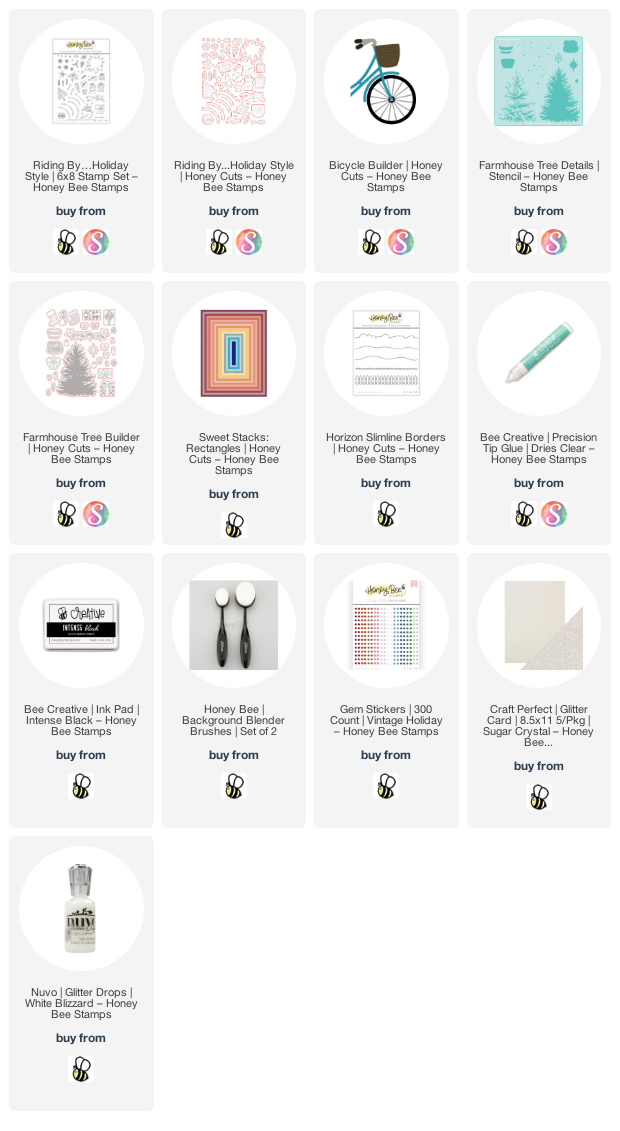
First I worked on my background layer. I used a piece of patterned paper from the current "free BEE", a beautiful vintage holiday paper pack that's free with your qualifying purchase. I die cut it with the second largest Sweet Stacks: Rectangles. Then I die cut some white glitter paper with the hill die from the Horizon Slimline Borders Honey Cuts. I trimmed it into two 4" hills and adhered them to the patterned paper with Bee Creative glue. 

I made the evergreen tree by stenciling the tree using the Farmhouse Tree Details stencil. I first stenciled the base layer lightly with Rustic Wilderness Distress Oxide ink and my Background Blender brush. I positioned the second layer of the tree over the first and applied a heavier layer of Rustic Wilderness ink. Then I used the tree die from the Farmhouse Tree Builder Honey Cuts to die cut it. I added white dots to the tree with my white gel pen and adhered the tree to the card. I trimmed off the overhanging part of the tree and then I adhered the piece to a top-folding A2 card base.

I die cut the Bicycle Builder pieces from some red glitter paper, silver matte, and black card stock. I adhered the pieces together with Bee Creative glue.

Next I stamped the images and sentiment from the Riding By... Holiday Style stamp set with Intense Black ink. I colored all the images with my Copic markers and used the coordinating Honey Cuts to cut them out. After I adhered the images to the bicycle I added very narrow strips of thin foam tape to the back. Then I decided to stamp the tiny snowflakes that are also in the Riding By...Holiday Style set. I put the card in my MISTI, positioned the bicycle (without adhering) and then placed the snowflake stamps where I wanted them. I removed the bicycle, patted on my anti-static pouch, inked up the stamps with Versamark and stamped them. I added some white embossing powder and heat set it. and then added it to my card. Here's a super close-up photo for you to see the details:

I added some fun details to the dog's scarf, the little tree, and the bow with a white gel pen. Then I added some sparkle to the lights by dotting on Nuvo White Blizzard glitter drops. The sparkle on the large tree are some red gem from the Vintage Holiday Gem Stickers set.

Before I finish my blog post I wanted to share with you this awesome new Bee Creative Tool Caddy from Honey Bee! I am really enjoying using it to keep my most-used tools right in from of me. Honey Bee has a lot of new products from this tool caddy to foam tape. If you type "bee creative" in the search bar, you will find lots of awesome new products for your everyday card making.

Well, I think our pup is enjoying his bicycle ride!  Be sure to check out the set to see all of the other holiday options for your bicycle!  Thank you so much for stopping by today!

Click the image for more details:

Wednesday, October 27, 2021

Christmas Card with Lovely Layers: Anemones | Honey Bee Stamps

Happy Wednesday crafty friends!  Today I'm sharing a sparkly holiday card using Honey Bee Stamps newest Lovely Layers: Anemone die set!

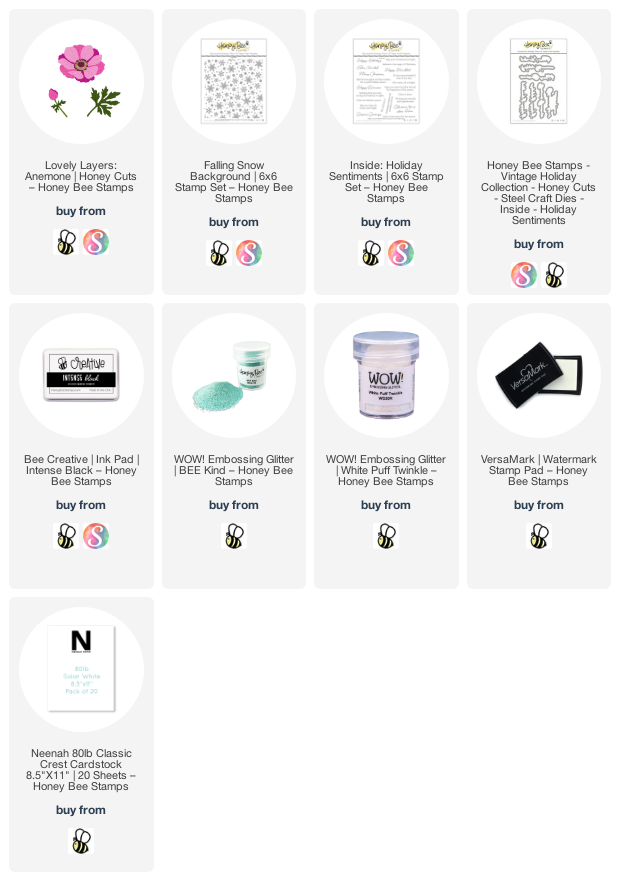
I started by creating my background with lots of sparkly heat embossing.  After I masked the center of my card panel I stamped the Falling Snow background stamp with Versamark and heat set BEE Kind embossing powder on it.  I rotated the panel 180º and stamped it again and added White Puff Twinkle embossing powder.  After I heat set it I added the NEW Bee Creative Double Sided Sticky red tape to the edges of the stamping and sprinkled on BEE Kind embossing powder and heat set it.

Next I added thin strips of silver card stock and trimmed the panel to 4" x 5-¼".  Then I adhered it to a top-folding A2 card base.

Next I die cut all of the pieces of the Lovely Layers: Anemone from 80# Neenah.  Then I used a few Copic markers to color them.  For the flowers I used BG34, BG11, AND BG10.  The leaves are colored with G29, G17, and G09.  I used Bee Creative glue to adhere the layers and to add them to the card. I did use a few foam squares on the flower to pop it up.

I stamped the sentiment from Inside: Holiday Sentiments (I love how these also work on the card front!) in Intense Black ink and die cut it with the coordinating die.  I popped it up with a thin foam strip.


I had fun making this sparkly Christmas card--it was really easy too!  Thank you so much for stopping by today!

Tuesday, October 26, 2021

Mixed Media Thank You Card with Fall Pumpkins | Rubbernecker Stamps

 Hi crafty friends!  Today I have a fun mixed-media thank you card using Rubbernecker Stamps new Fall Pumpkins set!  I had so much fun making this card with inking, coloring, and embossing!  I've shared all of my steps to make this below!

Card base and layer:

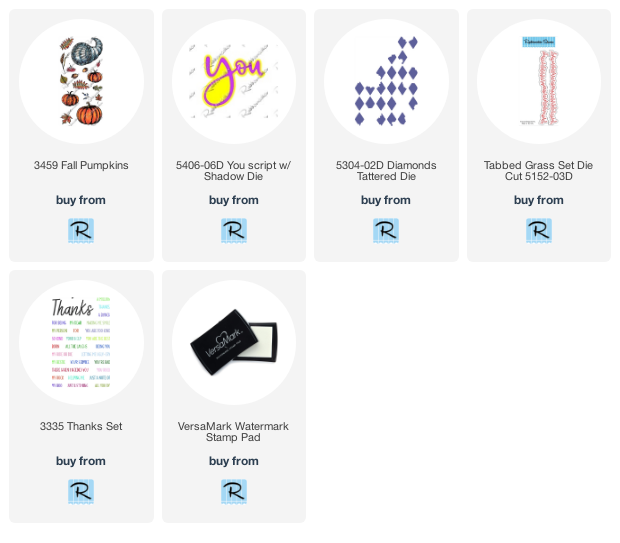
  • Die cut a piece of 4" x 5-¼" Neenah Desert Storm card stock with the Diamonds die.
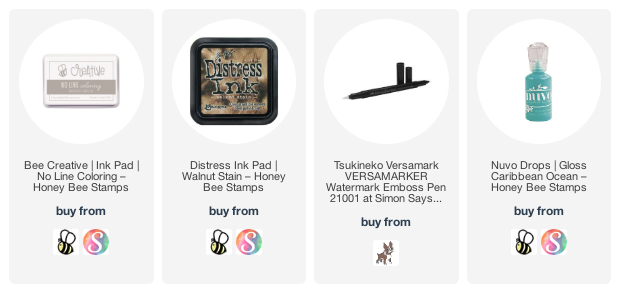
  • Next I used a Versamarker Watermark Pen to trace around the diamond openings and the edge of the card.
  • I actually intended to do this very neatly, however, that was a fail! LOL!  So I went with the kind of "messy" look and intentionally went a little sloppy with the Versamarker pen.  Then I sprinkled on some gold sparkle embossing powder and heat set it.
  • Repeat with the pen and heat embossing until you're happy with the look.
  • Ink the edges and openings with Walnut Stain Distress ink.
  • I thought I'd add more sparkle and splashed on some gold metallic paint drops with a paintbrush!
  • Add foam tape to the back and adhere to an A2 card base.

Images and sentiment:

  • I wanted to color the images with my Copic markers before adding the embossing powder.  I've heard that embossing powder and Copics are not friends!
  • So first I used my MISTI to stamp the pumpkins, leaf stems, and berries with no-line coloring ink onto 80# Neenah card stock.  Leave the stamps on the MISTI door!
  • TIP:  Using a stamp positioning tool such as the MISTI is essential for this technique.  After I finished the images, I placed the card stock back into the MISTI, patted on anti-static powder, and stamped them again.  This time I used Versamark clear embossing ink.
  • Sprinkle on gold glitter embossing powder and heat set.
  • Fussy cut the images.
  • Die cut the script portion of the You die three times from 80# Neenah card stock.  Press your Versamark ink pad onto one of the die cuts to cover completely.  Add the gold glitter embossing powder and heat set.
  • Adhere the three "You" die cuts together, with the embossed layer on top.
  • Die cut the shadow for the "you" twice, once from white card stock, and another time from Neenah Desert Storm.  Adhere the script "you" to the white shadow.
  • Ink up the edges of the Desert Storm shadow with Walnut Stain Distress ink. Adhere, offset, beneath the white shadow.
  • Stamp the "thank" in black ink.  This is from the Thanks Set and I actually masked of the "s" and the comma with masking tape--ink up the stamp--remove the tape--and stamp onto white card stock.  Trim and adhere to the "you" layers with a foam square.
  • Die cut white card stock with a Grass die, color with Copics, and trim to 4".  Adhere to the base of the card.
  • Adhere the pumpkins and leaves with glue.  I did use foam tape to adhere the pumpkin on the right.
  • Finish up by adding drops of Caribbean Ocean Nuvo Crystal Drops here and there around the images.

Well, if you stuck around through all of my crafty fun, thank you!  I always so appreciate you!!!


Links for Rubbernecker:

Other products:

Wednesday, October 20, 2021

Joy To The World & Vintage Holiday Instagram Hop | Honey Bee Stamps

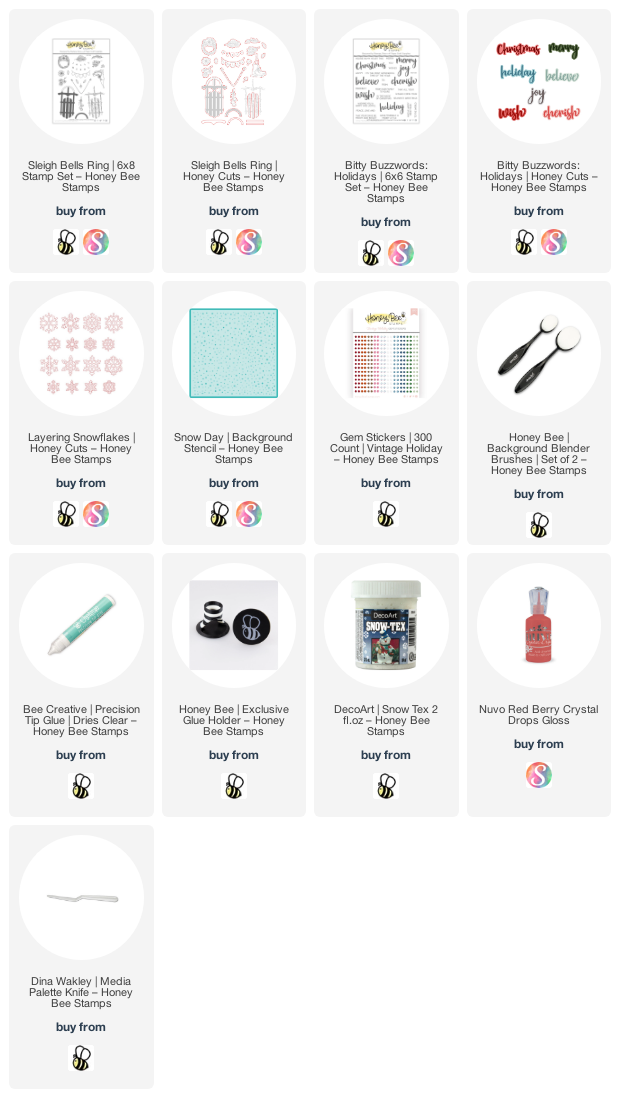
Hello crafty friends!!  Today I'm sharing a card that's part of a fun Instagram hop to celebrate Honey Bee Stamps gorgeous Vintage Holiday release!  I've used the new Sleigh Bells Ring stamp set and coordinating dies and the new Bitty Buzzwords: Holidays to create my beautiful snowy scene.

I started by creating my background.  On an A2 sized 80# Neenah Solar White card I inked some light blue ink around the edges with a Background Blender Brush.  Then I placed the Snow Day background stencil over it and spread some Deco-Art Snow-Tex through the stencil.  I love how bright white the Snow-Tex is!  I set it aside to dry and cleaned up the stencil and my tools.  After it was dry, I adhered it to a top-folding A2 card base.

Next I stamped the sled and rope from the Sleigh Bells Ring stamp set with some brown-grey inks.  I used a bit darker ink to stamp the woodgrain of the sled.  I die cut it with the coordinating dies.   Then I stamped the other images from the set with Intense Black Ink and colored them with my Copic markers.  Then I used the coordinating dies to cut them out.

Then I arranged the pieces on the sled, adhering with Bee Creative Glue and some foam squares.  I added thin foam tape to the back of the sled.  Next I die cut the Joy from Bitty Buzzwords: Holiday die set three times from white card stock and the shadow layer once.  I colored the top layer with a matching blue Copic and adhered the layers together.  I stamped the "to the world" from the Bitty Buzzwords: Holidays stamp set in light blue ink, trimmed it into a strip and adhered it to the "Joy".

I added some layered snowflakes that I die cut with the small flakes from the Layering Snowflakes die set. I added a sparkly gem sticker from the Vintage Holiday Gem Stickers set.

After I adhered the sled and snowflakes to the card I added some fun bling by using a clear glitter pen on the "joy" and the white poinsettia.  Then I added drops of Red Berry Nuvo Crystal Drops to each berry.

I hope you enjoyed my card making process and will join us over on Instagram to see the beautiful projects from the team.  Also, there are prizes so be sure to check out my post for the details.  Thank you so much for stopping by!

Click the links for product info!

Tuesday, October 12, 2021

Daisy Daydream Thank You Card | Rubbernecker Stamps

Hello friends!  Today I'm sharing a fun-to-make, quick-and-easy thank you card using Rubbernecker Stamps beautiful Daisy Daydream stamp set.

The Daisy Daydream stamp set is the style of stamp that was used when I very first saw the demo in a Rubbernecker booth at a craft show several years ago!  I was hooked on this company since then!!  I have always been fascinated by the technique used with this style of set.   Check out this video over on Rubbernecker's YouTube channel.  This shows the technique for all of the sets with the solid and outline stamps.

Stamp the image:

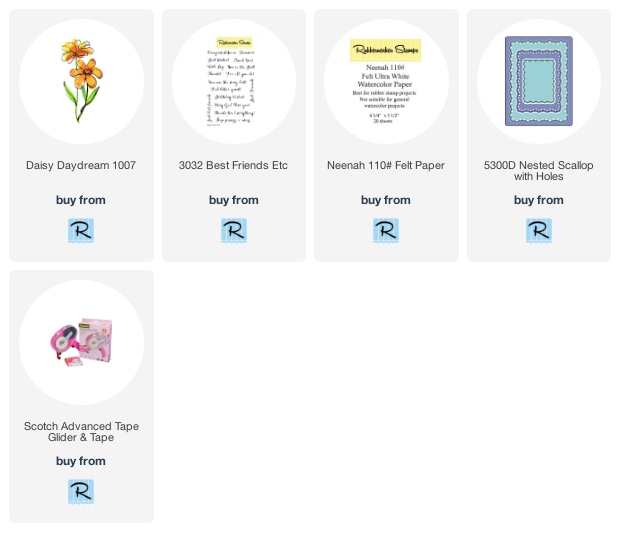
  • Place a piece of Neenah 110# Felt Ultra White Watercolor Paper in your MISTI.  Position the solid stamp and pick it up with the MISTI door.
  • Using watercolors of your choice, paint the lightly diluted color onto the solid stamp in the Daisy Daydream set.  I used Tangerine and Coral Crush Color Bursts.  A tip I learned is to use just slightly diluted color.  Too much water, and the color will bead up on the stamp.
  • Mist lightly with water, and then stamp.  You can repeat this step as much as you want!  It's really fun to just play and have fun with the colors.  Just be sure to use colors, that when blended, are harmonious.
The first photo shows the image after one stamping.  I added more color at the petal tips and more dark green on the leaves.  Sap Green Color Burst was used for the entire leaf, and I used a darker green from my watercolor stash.

Finishing the card:

  • Position the outline stamp of the Daisy and stamp with Versafine Onyx Black ink.  What I really love about these sets is that they are in a very sketchy style.  If your outline doesn't line up with the color image, you've done it right!
  • Die cut the piece with the largest die of the Nested Scallop with Holes die set.  Be sure to save the outer piece!
  • Add some striped patterned paper to an A2 card base and glue the die cut outer piece to the card.
  • I wanted to add some pretty gold spatters to my background, but didn't want the spatters on the flower.  I recently had an idea to use the actual stamp itself as a mask to avoid unwanted splatters!  Place the stamp over your image, splatter away, and then clean off the back of your stamp!  I used Yellow Gold from the Gansai Tambi Starry Colors set.
  • After the spatters were dry, I stamped the sentiment from the Best Friends Etc. set in Versafine Onyx Black ink.

  • Next, wrap some twine around the die cut piece, securing with some tape.
  • Add foam tape to the back and adhere to the card.

Thank you so much for stopping by today!  Have a wonderful, craft week!

Wednesday, October 6, 2021

Grateful For Your Friendship | Honey Bee Stamps

 Happy Wednesday friends!  Today I'm sharing a card featuring Honey Bee Stamps beautiful Garden Harvest Florals stamps and Honey Cuts!  My inspiration for my card comes from the fact that where I am we still have warm temperatures with flowers still putting out blooms, and yet, the acorns are falling from the trees.  I'm enjoying the last of the beautiful flowers and warm temps!!

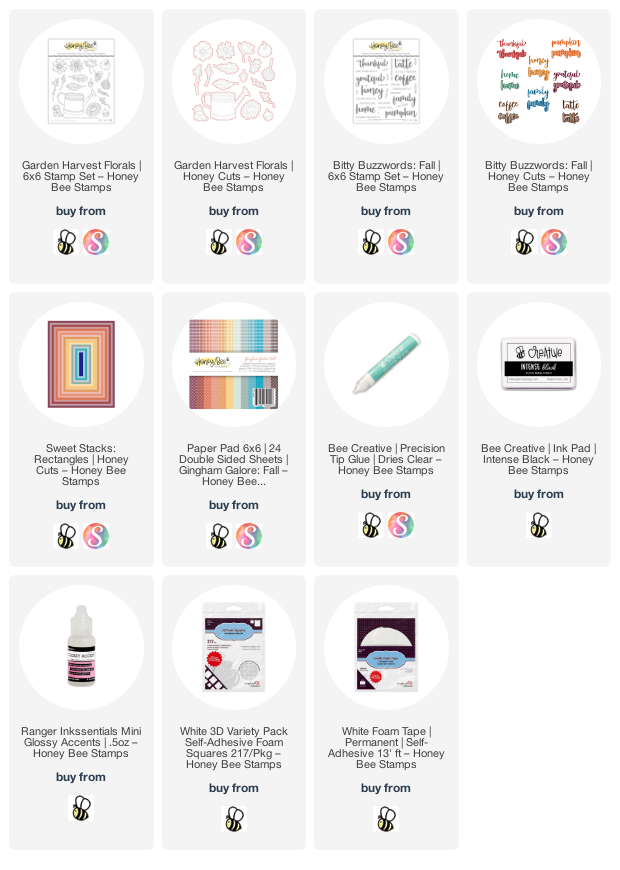
I stamped all of my images from the Garden Harvest Florals stamp set with Intense Black ink.  Then I used my Copic markers to color them.  I'll list most of those I used at the end.  Then I used the coordinating dies to cut them out.  I arranged the flowers with the watering can and glued them on with Bee Creative glue.  I added foam tape to the back and set it aside.

Next I die cut some black card stock with the "grateful" die three times.  This is in the Bitty Buzzwords: Fall Honey Cuts set.  I adhered the layers all together with glue.  I die cut the shadow from some vellum and glued the script portion to it.  I added small dots of glue on the back, behind the black card stock, and adhered it to the watering can.

I created the card base by die cutting gingham paper from Gingham Galore: Fall paper pad with the largest Sweet Stacks: Rectangles die.  I adhered it to a top-folding A2 card base.  Then I taped the next two smaller dies together and die cut white card stock twice to create a frame.  I glued the two frames together and then to the card base.

I stamped the rest of the sentiment with a stamp in the Bitty Buzzwords: Fall stamp set.  I trimmed it to a narrow strip and added foam strips to the back.  Next I adhered the watering can to the card.  I added two more acorns near the bottom of the card and then added the sentiment strip.

For a bit of shine I added Glossy Accents to the Grateful and the berries in the arrangement.

I hope you are enjoying these early fall days too!  Thank you so much for stopping by--I'm very grateful for you!!

Copic marker colors:

  • purple flower: V09, V17, V15
  • coral flower and berries: R35, R14, R22, R21
  • yellow flower: Y19, Y08, Y06, Y00
  • watering can: G03, G02, G00
  • acorns: E29, E27, E23, E13
  • greenery: G17, G07, G03; YG67, YG17, YG25, YG03

  • Product links: