Friday, May 12, 2023

Spellbinders New Glimmer Card Front Sentiments

 Happy Friday!  Today I'm sharing two cards I made with the new Spellbinders Glimmer Cardfront Sentiments Collection!  There are six awesome Glimmer sentiments and a stencil with a coordinating die in this collection!

For this card, I only used the Hello Blooms Stencil & Die Bundle.  I just noticed that the bundle is already sold out! So sorry, but just click the "notify me when available" button and you will be among the first to know when it is back in stock.  The good news is that the Hello Blooms Stencil is  still available!

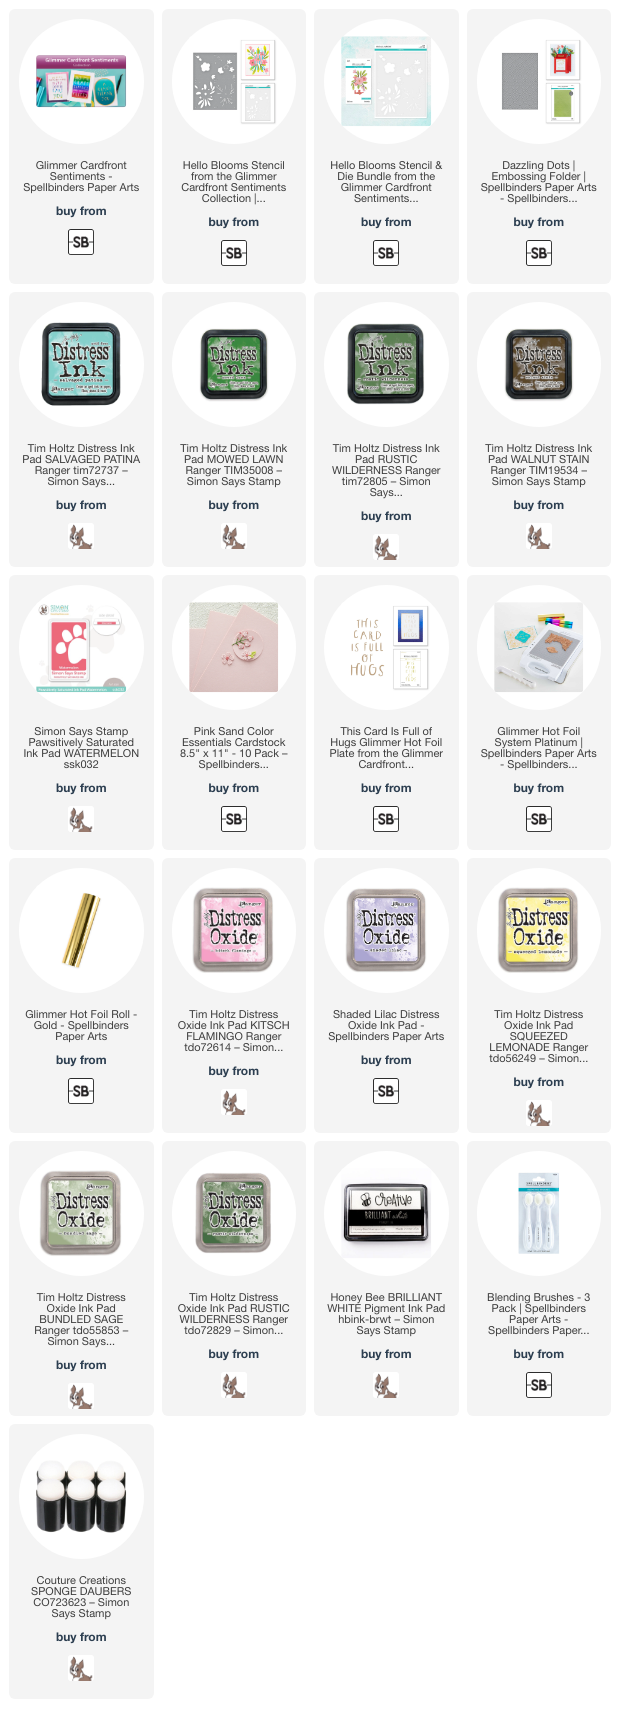
I used a variety of Distress Inks, and one other, that I've listed below to color the flowers through the stencil.  I used the coordinating die to cut it out.  I added foam tape to the back and set it aside to make my card base and background layer.

After I embossed some 80# Neenah with the Dazzling Dots embossing folder, I trimmed it to 4" x 5-¼".  Then I inked up the edges of an A2 card base with the same coral ink I used on the flowers.  It's a great way to coordinate perfectly with your image!  Just be sure to add a strip of removable tape along the scored fold before inking.

The sentiment die and shadow die are included in the Hello Blooms Stencil & Die Bundle.  I die cut the sentiment three times, once from inked up coral paper and twice from white.  I adhered the layers together and then added it to the shadow layer.

My second card includes the This Card is Full Of Hugs Glimmer Hot Foil Plate.

First I cut a piece of Pink Sand paper to 4" x 5-¼".  Then I placed Layer 2 of the Hello Blooms stencil on one corner of the piece and colored just the three flowers.  That made is easy to position Layer 1 and color the large flower.  I used Distress Oxide inks and sponge daubers.

The Distress Oxides take more time to dry, so make sure each layer is dry before stenciling the next layer.

I added the leaves and stems, and the flowers centers.  Then I repeated all of the steps in the opposite corner of the layer.

When the ink was totally dry, I added the This Card Is Full of Hugs hot foil plate with Gold Glimmer Hot Foil.  I followed the directions for the Glimmer Hot Foil System to foil the sweet sentiment.

I added a few gold sparkle enamel dots to the flower centers for a bit more sparkle!

Be sure to check out all of the other awesome sentiments in this collection!  They are all linked below.  Thanks so very much for stopping by today.  I hope you have a wonderful and crafty weekend!

Thank you so much for using my affiliate links to shop (never any additional cost to you)!
Thursday, May 11, 2023

New Country Road Collection by Annie Williams for Spellbinders

Hello crafty friends!  Today I'm thrilled to share my card that features two of the new set from the absolutely beautiful Country Road Collection by Annie Williams for Spellbinders!


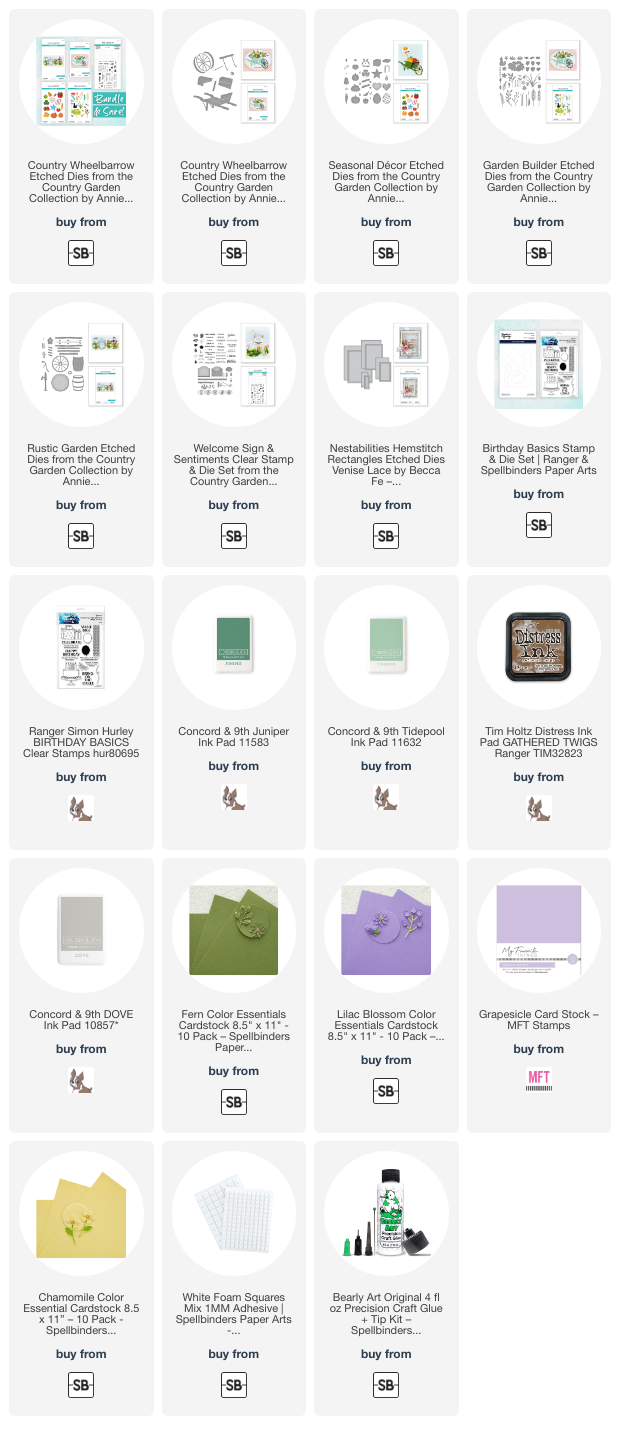
 I absolutely adore this Country Wheelbarrow!  I've used the Country Wheelbarrow and the Garden Builder sets for this card.  What I really love is that there are three more sets in this collection.  The Rustic Garden, Seasonal Decor, and the Welcome Sign & Sentiments stamps w/dies.  I have added all three of these to my wish list because it will let me use the Country Wheelbarrow for other seasons!

There's also a Country Road Bundle that includes all of the Country Road sets plus a savings!

First I create the Country Wheelbarrow.  I die cut all of the pieces from 80# Neenah except the spoked wheel which is black cardstock.  Then I used my ink blending tools to blend on a few different inks to get the fun rustic look!

I have all of the ink colors linked below in the product list!

I used glue to adhere the pieces of the Country Wheelbarrow.  Note:  I did not adhere the back panel of the wheelbarrow (it's barely visible).  I set it aside to adhere after I had the flowers arranged and glued.

Next I die cut most of the elements in the Garden Builder die set.  I used various colored cardstock, which I've linked below, if it is still available.  (Yes, I have lots of cardstock that's a bit older--LOL!)  Once I had the flower layers and centers assembled, I began gluing the florals and branches to the back of the wheelbarrow. I only added a dab of glue to the stem to adhere them, leaving the rest free to "float" and add dimension.  Finally, I added the back panel of the wheelbarrow.

The sentiment is from the Birthday Basics set.  I trimmed it into a strip and added foam squares to the back.

Next I die cut white cardstock with the largest Hemstitch Rectangles and adhered it to and A2 sized piece of purple cardstock.  Then I  glued that to my A2 card base.

I popped the wheelbarrow up with foam tape and added the sentiment to the card.  Then I trimmed the tall grass die cut a bit and tucked it under the sentiment.  I added one of the flowers to the grass stem for more interest!

I can't wait to play more with the awesome Country Road Collection after I place my order for the other sets!  I hope I've inspired you to try out this beautiful Collection.  Thank you so much for stopping by today!

Thank you so much for using my affiliate links to shop (never any additional cost to you)!

Wednesday, May 10, 2023

Welcome To The Neighborhood!

Hello crafty friends!  Today I'm sharing my card featuring Honey Bee Stamps Spring Wreath stamps and dies, along with a textured brick background.  Our neighborhood is a newer one and the home next door is about finished so I'm going to need a card to give to our new neighbors! I love giving a handmade card to new neighbors along with a plate of fresh baked cookies! I think it adds a personal touch and is a great way to share your creativity!

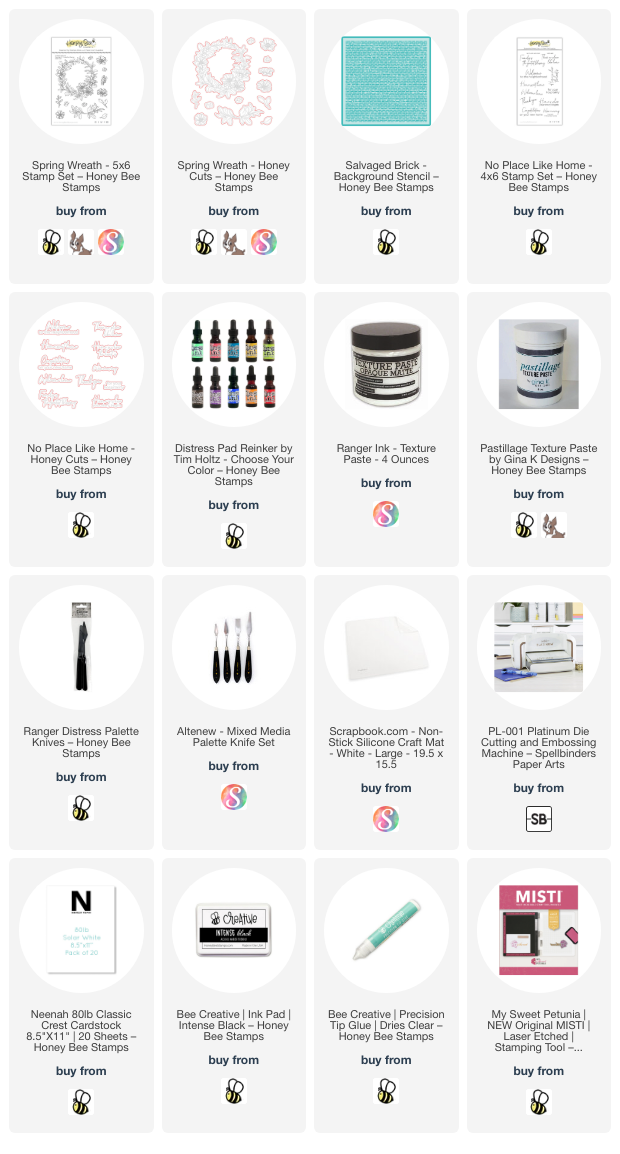
I made the background panel first so it would have time to dry. First I added color to my texture paste by mixing in a couple drops of Lost Shadow Distress Ink refill.  (If you don't have the refill, you can smoosh the ink pad onto your mat.)  Just put the drops on your craft mat, scoop out your texture paste and mix it up. I used a palette knife to spread the paste through the Salvaged Bricks stencil on a piece of 80# Neenah.

Next I stamped all of the images from the Spring Wreath stamp set onto 80# Neenah with Intense Black ink. I always stamp all of the images of a set so that I will have all of the options available for my card. I used my Copic markers to color the images. These are the colors I used:

  • pink flowers: RV09, RV06, RV04, RV02
  • blue flowers: BV08, BV04, BV02
  • flower centers: Y19, Y08
  • leaves: G24, G43, YG61

I cut the images out with the coordinating Spring Wreath Honey Cuts. I added foam tape to the back of the wreath and four of the small flowers. I'll save the other pieces for another project.

The sentiment is from the No Place Like Home set and stamped in Intense Black ink. I die cut it with the coordinating Honey Cut. I added foam tape strips just to the middle part of the sentiment since part of it will overlap the wreath.

Next I trimmed the Salvaged Brick panel to 4" x 5-¼". I used Bee Creative glue to adhere it to a coordinating gray cardstock A2 card base.

Then I removed the backing of the foam tape and adhered the wreath, flowers, and sentiment to the card.

Tinting texture paste for stencils is one of my most favorite techniques to do!  Have you tried this technique?  It's so fun!  Thank you so much for stopping by today!

Thank you so much for using my affiliate links to shop (never any additional cost to you)!

Wednesday, May 3, 2023

You're Simply The Best -- A "Girly" Farmers Market Cart Card

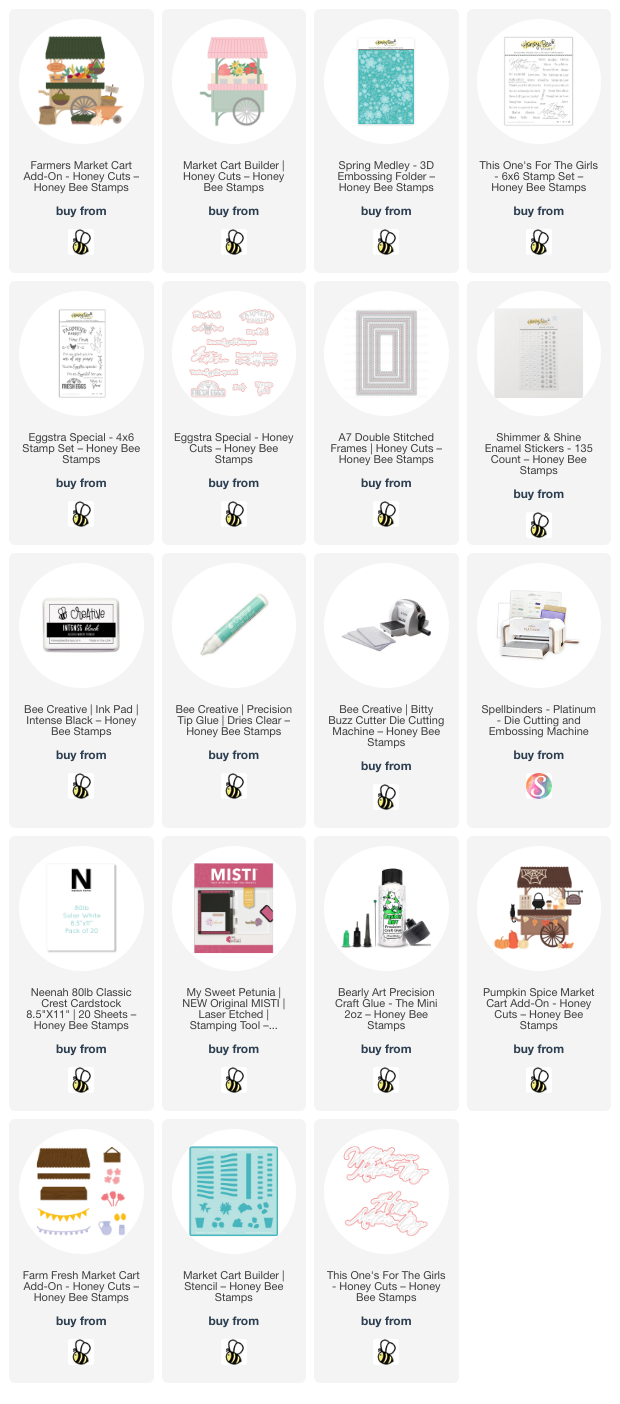
Today I'm sharing my card that features Honey Bee Stamps new Farmers Market Cart Add-on. This is the latest add-on for the previously released Market Cart Builder. There's also a Farm Fresh Market Cart Add-on and a Pumpkin Spice Market Cart Add-on to make the Market Cart Builder so you can use it year round!

You can even use other small elements from other sets as I did in this blog post where I made the Market Cart into a seashell cart for a summertime card!

I made the A7 card base and background layer first. I die cut 80# Neenah with the largest A7 Double Stitched frames Honey Cut. Then I placed it in the Spring Medley 3D embossing folder leaving about ¾" of the end out of the embossing folder. This leaves a nice smooth area to stamp the sentiment from the This One's For The Girls stamp set.

Here's a great tip for how I get the sentiment straight. I used a t-square ruler to draw a light pencil line where I wanted the sentiment to be stamped. Then I placed the piece in my MISTI, aligned the sentiments along the pencil line and then picked them up with the MISTI door. NOW, erase the pencil line! If you wait until after the sentiment is stamped, you run the risk of smearing the ink. I inked up the stamp with Intense Black ink and stamped it on the panel. I adhered a thin strip of dark gray cardstock where the embossing ends.

Next I created my cute market cart. I used the Market Cart Builder, the Farmers Market Cart Add-on, paper from the Simply Spring paper pad, and the Eggstra Special stamp set for the large sign.

The Market Card Builder is die cut from one sheet of patterned paper from the Simply Spring paper pad. Just flip it over for the orange cart. I die cut the images of the Farmers Market Cart Add-on from 80# Neenah white cardstock, except for the wheel and seed sack. I used dark gray cardstock and a patterned paper scrap in the Simply Spring paper pad.

I used Copic markers to color the images. These are small images and you can keep your coloring simple and it will still be beautiful! There's a layering guide in the Farmers Market Cart Add-on description that show how the pieces go together. I used Bee Creative glue to adhere the layers together.

Another tip is to use a Micron 005 black pen to trace the embossing left from die cutting the signs. This pen's tip fits perfectly into the lettering of the signs!

I used foam tape and glue to adhere the elements to the card base. I felt like the top of the cart needed something so I used the sentiment from the Eggstra Special stamp set, stamped it in black ink, then cut it out with the coordinating die.

I added a sparkly enamel sticker, from the Shimmer and Shine Enamel Stickers, to the wheel center. I added accents to the elements with a white gel pen.

I had lots of fun making this "girly" style of Market Cart card! And I'm sure my sister will love it! There are so many ideas in my head for this set, and I hope I've given you some inspiration for using all of the Market Cart sets! Thank you very much for stopping by today. It's always so appreciated!

Thank you for using my affiliate links (never any additional cost to you)!

Wednesday, April 26, 2023

Hey There Sweet Friend -- A Gatefold Card!

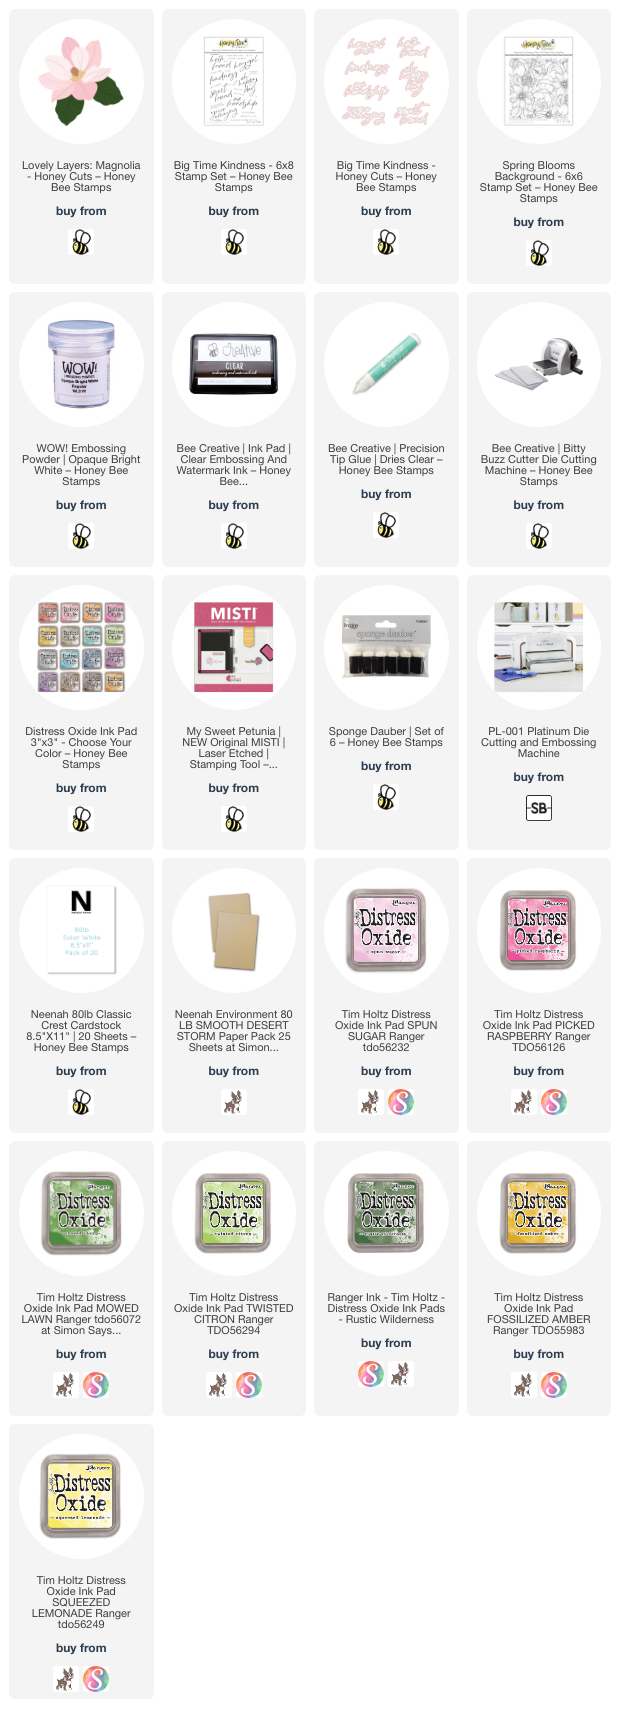
Happy Wednesday friends!  In my area, the magnolia trees are just beginning to bloom and are the inspiration for my springtime gatefold card! I used Honey Bee Stamps beautiful Lovely Layers: Magnolia and Spring Blooms Background stamp with the new Big Time Kindness set!

For the gatefold card base I cut 80# Neenah to 11" x 4-¼" and then scored from the ends at 2-¾". Next I stamped the Spring Blooms Background stamp with Clear Embossing Ink onto some Neenah Desert Storm cardstock. (Note: I used an anti-static tool before stamping.) I sprinkled on white embossing powder and heat set it. Then I trimmed it into two pieces measuring 2-½" x 4" and adhered the layers to the card front with Bee Creative glue.

Next I die cut all of the pieces of the Lovely Layers: Magnolia from 80# Neenah. I used sponge daubers to color the flower and leaves with Distress Oxide inks. I used Picked Raspberry, Spun Sugar, Rustic Wilderness, Mowed Lawn, Twisted Citron, Fossilized Amber, and Scattered Straw.

After I adhered the flower layers together with Bee Creative glue, I added glue ONLY to the left back of the flower. I adhered it to the left side of the gatefold. I trimmed off the little stem of the leaves and tucked them under the flower with glue.

I stamped the sentiment from Big Time Kindness with clear embossing ink and heat set white embossing powder. I used the coordinating Honey Cut to die cut the large sentiment and trimmed the small one into a strip.

I decided that the sentiment on the inside looked really lonely. LOL! So I stamped the Spring Blooms Background again onto 80# Neenah with Spun Sugar Distress Ink. I cut it into two 2-¾" x 4-¼" pieces. After I adhered them inside the card, I added two thin strips of the Neenah Desert Storm cardstock.

I don't always decorate the inside of a card, but I do love the look! I think it adds another surprise element for the recipient. There's still plenty of room to write your sentiment too!

All of the details makes this look like a complicated card to make, but it really isn't! I hope I've inspired you to make your own gatefold card! Thank you so much for stopping by!

Thank you for shopping with my affiliate links (never any additional cost to you)!

Tuesday, April 25, 2023

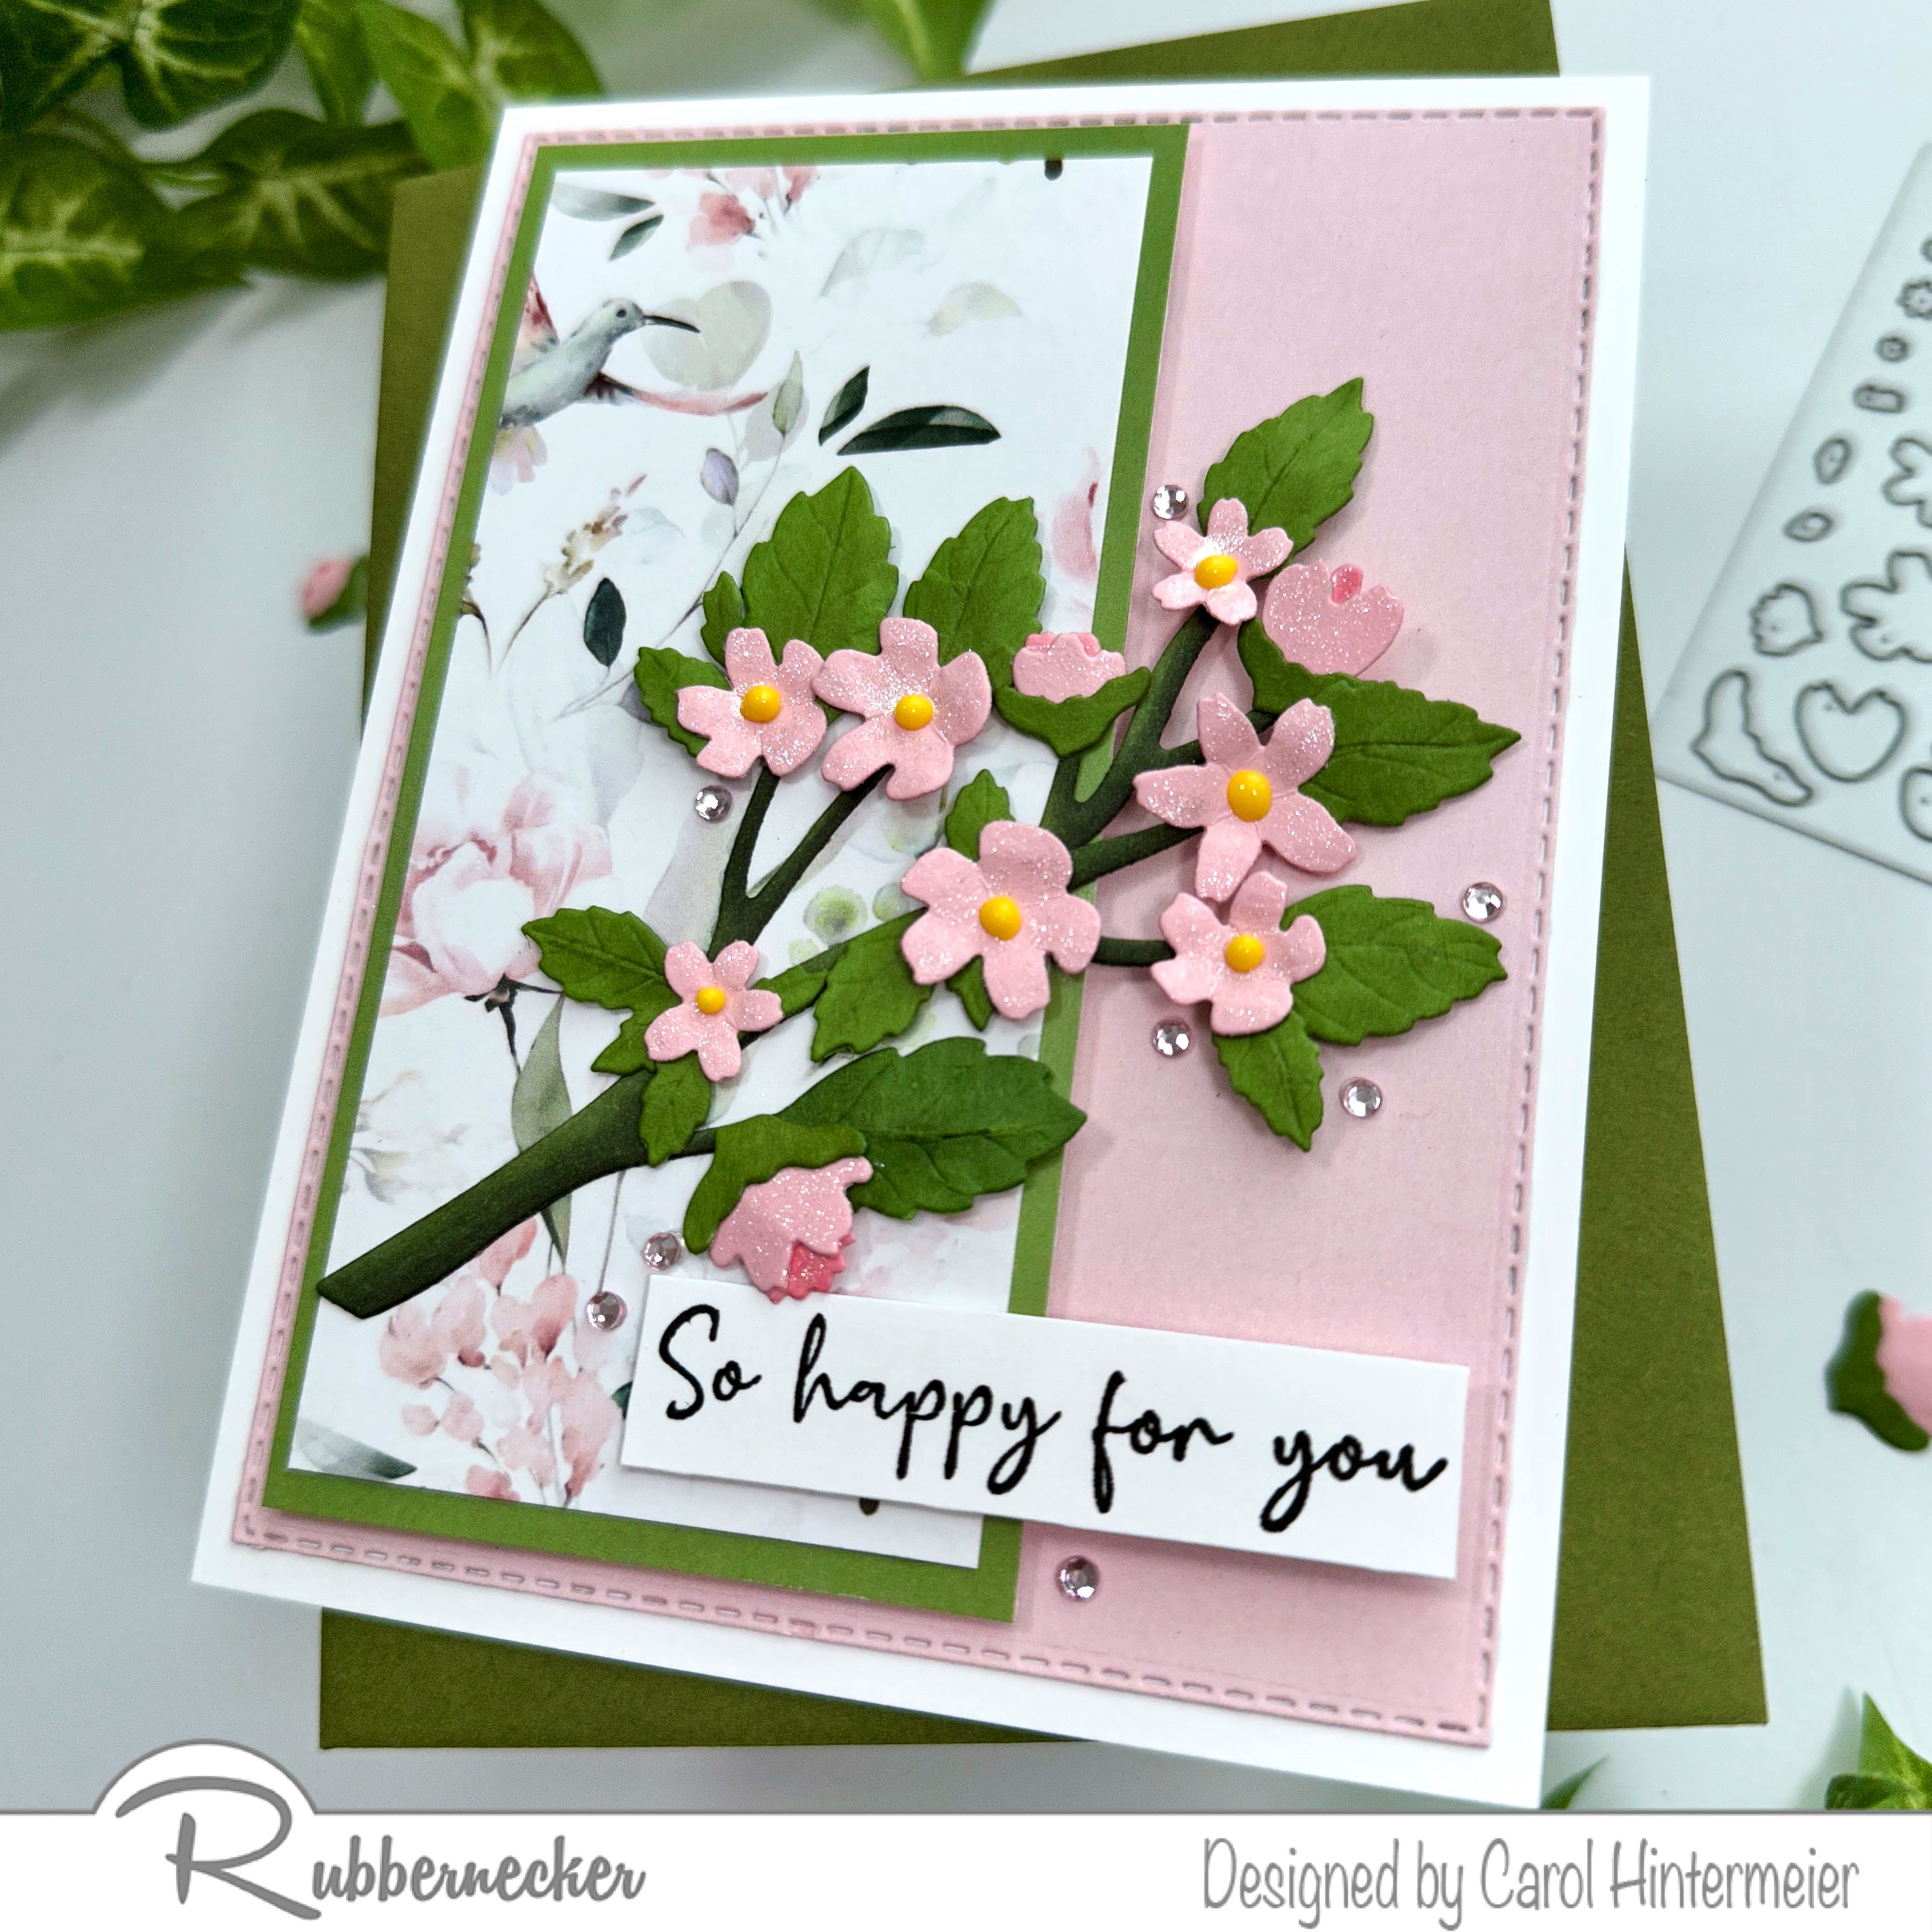
So Happy For You - A Spring Card with Dimensional Flowers

 Today I'm using Rubbernecker Stamps newest Welcome Spring paper pad along with a Cheery Blossoms Die to make a....cheery card!!!  Haha!

I chose a patterned paper and two solid color papers from the new Welcome Spring paper pad.  (The floral papers in this paper pad are gorgeous!!)  I die cut the pink paper with the largest Nested Rectangle Small Stitch die and adhered it to my A2 card base.  The floral paper was trimmed to 2-¼" x 4-¾" and adhered to the 2-½" x 5" green paper.  I added foam tape to the back and adhered it to the card.

I die cut the Cheery Blossoms die from pink and green cardstock.  I shaped the flowers with a stylus and used the packaging image as a guide to assemble the flowers.  Next I die cut the Branch Dies from white cardstock.  Then I colored them with copic markers: BG99, BG96, and G85.

I stamped the sentiment from the Silhouette Wildflower #1 set with black ink.  After I trimmed it into a strip, I added foam tape to the back to pop it up.

I got the sparkles I love by adding coordinating pink gem stickers around the flowery branch.  I also added some sparkle to the flowers with a clear glitter pen.

I think my card turned out quite cheery! Haha!  The Cheery Blossoms die can be used for so many occasions too!  Thanks so much for stopping by today!

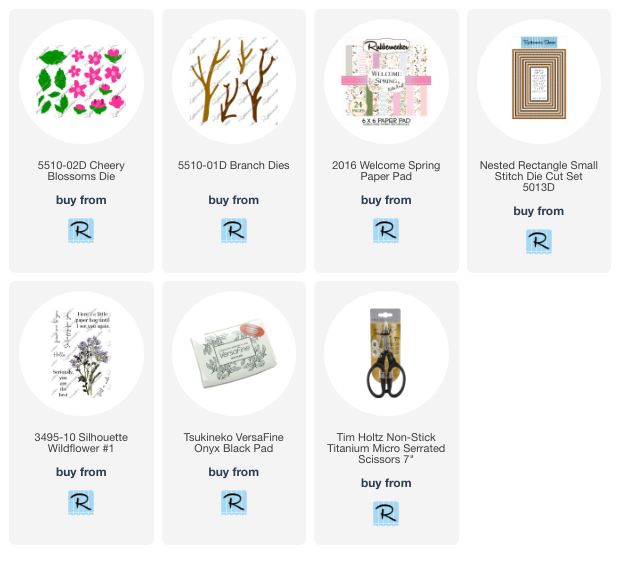
Thank you so much for using my affiliate links to shop (never any additional cost to you)!

Friday, April 21, 2023

Surprise Pop-Up Hummingbird Card

Hello!  I'm thrilled to share with you today this card featuring two of the beautiful sets in the collection called Bibi's Hummingbirds by Spellbinders!  I absolutely love hummingbirds, and could not wait to create with these gorgeous sets!  Keep reading to see the big surprise inside the card!

The card front features the stunning Delicate Floral Hummingbirds Etched Dies!


 I used my Spellbinders Platinum die cutting machine to cut out all of the pieces of the Delicate Floral Hummingbirds Etched Dies from 80# Neenah.  (FYI, I have found that Spellbinders dies cut perfectly in the Platinum machine in one pass with no extra shims.)  It's the only large die cutter I use, and have!

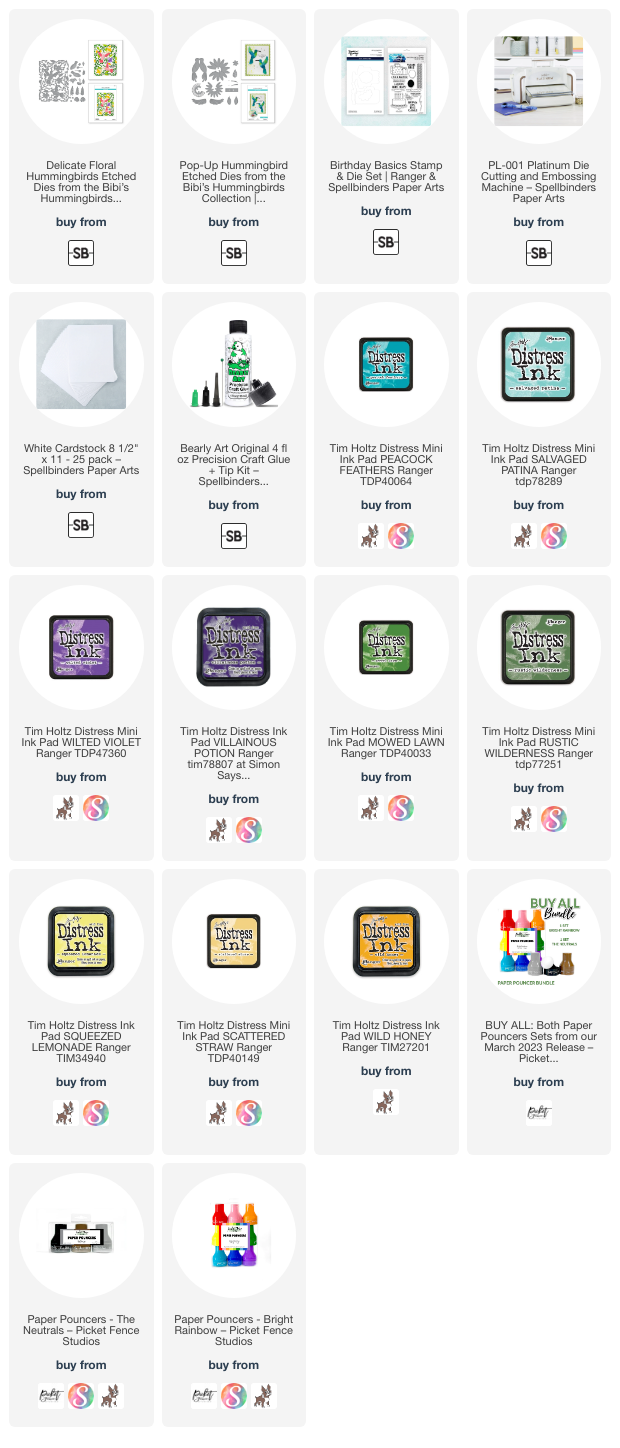
I have all of the colors of Distress Inks I used in the supply list below.  I used Paper Pouncers (linked below) to color 90% of all of these pieces!  The more I use these, the more I love them!  I did a blog post review  not too long ago, if you'd like to read more about these.

The image on the packaging is all you need to guide you through the assembly of this gorgeous die!  I used glue to adhere the pieces.  I inked up coordinating teal cardstock around the edges leaving the center without ink. I adhered the die cut piece to the teal layer and added gem stickers to the flowers for a bit of sparkle.

Oh, the overall size of my card measures 5-½" x 7-½"!  But that's okay!  I'll either mail it in a padded envelope, or tuck it inside a gift bag.

All right, are you ready to see the inside of the card???  I purposely left a sentiment off of the front to show off that image better and to make the surprise inside even better!

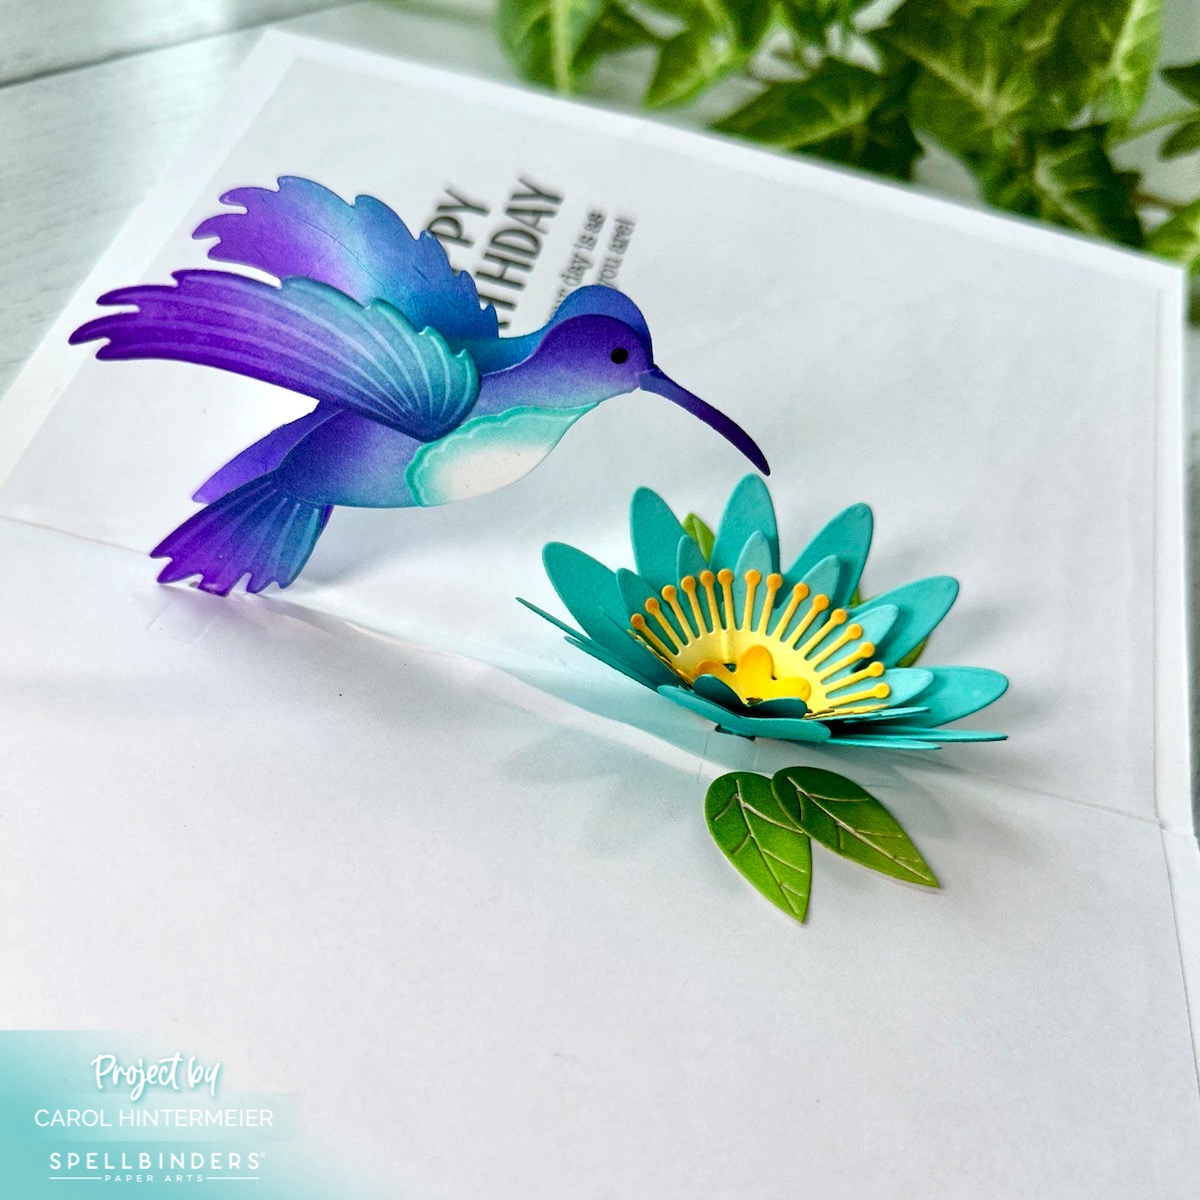
There she is!!  The gorgeous Pop-Up Hummingbird Etched Dies (now retired) gives a fun 3D surprise when the card is opened!

I used the same Distress Ink colors for the Pop-Up Hummingbird and included flower/leaves.  I die cut the flower from the same teal cardstock I used for the outside card layer.

As you can see, you need to be sure to color the back sides of the hummingbird and flower!  I followed the very helpful PDF Instructions that you can download and find in the product description.

I stamped a sentiment from the Birthday Basics set before I attached the hummingbird and flower to the card inside layer.  Note:  I used a piece of 60# white cardstock for the inside panel that has the die cut slits (die included).  These slits are where you insert the tabs of the bird and flower for the pop-up effect.  I could tell the flower would add a good bit of bulk to the folded card so that's why I used the lighter weight cardstock.

After I stamped the sentiment, I followed the instructions to assemble the pop-up elements.  Then I glued the piece to the inside of the card.

I absolutely love how this turned out!!  I've never made a pop-up card before, but this won't be the last.  I hope you've enjoyed this post and card and that you've found inspiration to give these a try!  Have a wonderful day!

Thank you for using my affiliate links to check out the products I used (never any additional cost to you)!