Thursday, February 6, 2025

Spellbinders February Embossing Folder with Winnie The Pooh

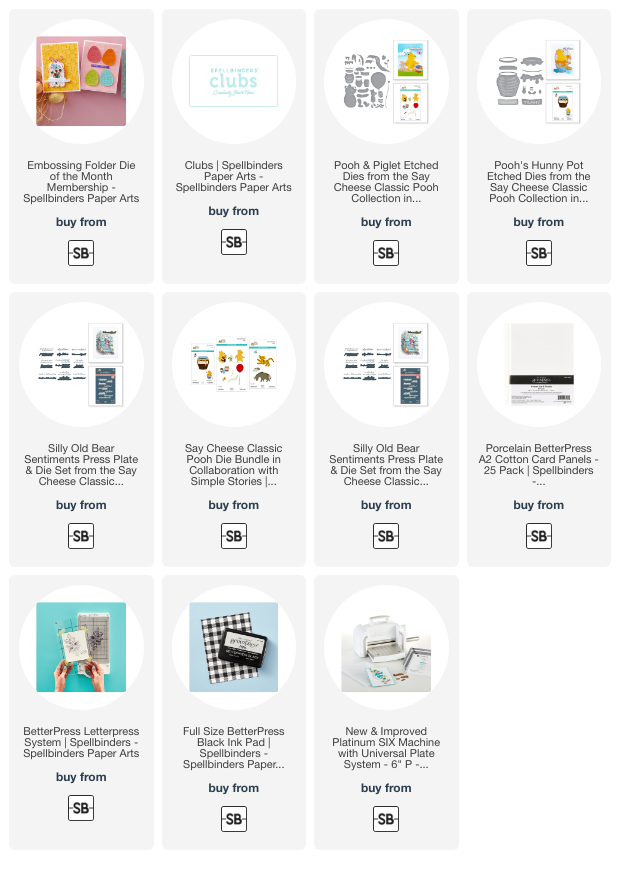
I knew I wasn't done playing with the awesome sets of Spellbinders' Classic Pooh Collection!  Today I've paired it with the awesome February Embossing Folder of the Month.

This month's Embossing Folder of the Month, Wicker Basket, is a fabulous more generic design that you can use to create your textured background for all of your stamps and dies!

I've paired the Wicker Basket embossed panel with two sets from the most adorable Classic Pooh Collection.

I die cut Pooh that is from the Pooh & Piglet die set.  I colored him with YR12, YR21, and Y21 Copic markers.

Next I die cut the pieces from Pooh's Hunny Pot from white cardstock.  This time I used a blender brush and green and brown inks to color it.  To get the green band, I created a mask by die cutting printer paper with the dies.  I used temporary adhesive to hold each piece in place as I blended on the ink.  The bee is colored with Copic markers.

I colored the honey layer with E33, E31, Y38, Y35, and Y32 Copic markers.  Then I added a few white gel pen highlights.  Since the honey and Pooh are similar colors, I wanted to help distinguish the honey from Pooh.  I did that by added Crystal Glaze to the honey.  I love the shine this gives!

The background features the Wicker Basket Embossing Folder of The Month.  I used my Platinum die cutting machine to emboss white cardstock.  Then I cut it to 4" x 5-¼" and matted it with black cardstock before I glued it to my A2 card base.

When the Crystal Glaze was dry, I adhered the layers of Pooh together and added him to the honey pot.

The sentiments are from the Silly Old Bear Sentiments BetterPress Press Plates & Die set.  I totally love that the press plate is one piece with all of the sentiments!!  After inking it with black BetterPress ink, I ran the BetterPress System plates through my Platinum machine.  I used the die to cut out the sentiments.

I like how the Wicker Basket embossing folder compliments this adorable Pooh set!  Be sure to check out all of the Spellbinders Club Kits and see which clubs you might like to join!

Thank you for using my affiliates links to shop (never any additional cost to you)!
Wednesday, February 5, 2025

Lilacs and Roses Card With Stencils and Copic Markers

Hello crafty friends! Today I'm sharing my card featuring the so beautiful Nancy's Lilac Bouquet stamps and Honey Cuts. These were so fun to color! I used stencils to create a subtle heart background--read on for the details!

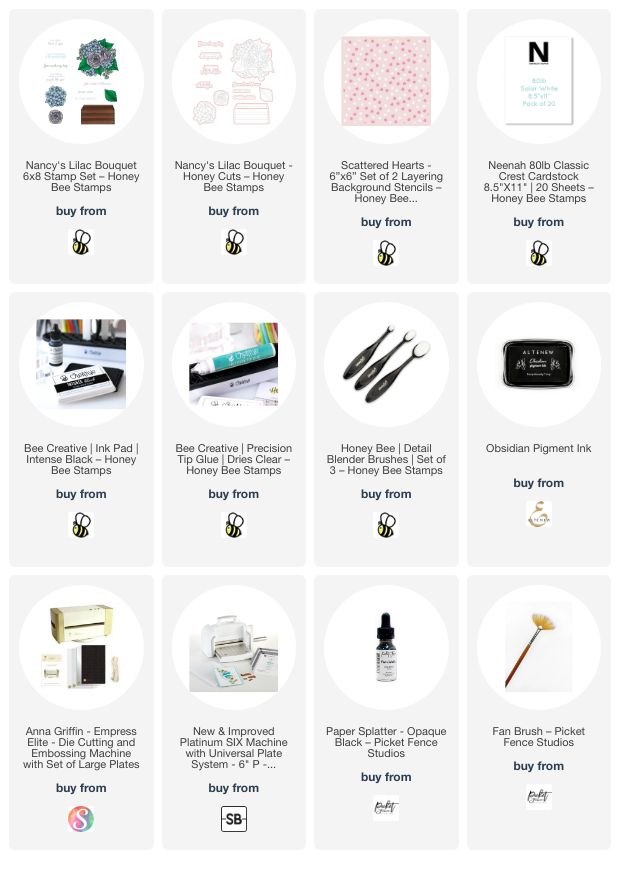
First I stamped all of the images from Nancy's Lilac Bouquet stamp set with Intense Black ink onto 80# Neenah. I colored them with various shades of pink, purple, and green Copic markers. Here's a list of the markers I used:

  • Lilacs: RV66, V06, V05, RV63 (Altenew marker R705)
  • Roses: RV17, RV13, RV23, RV02, RV10
  • Leaves: G28, YG67, YG17, YG25, YG03
  • Crate: E59, E27, E25

I cut them all out with the coordinating Nancy's Lilac Bouquet dies.


Next I made the background layer. I trimmed 80# Neenah to 4" x 5-¼". Then I used ink blending brushes to add two shades of pink ink through the Scattered Hearts stencils in the upper left and bottom right corners of the panel. I used a very light hand to keep the pink inks a light shade so it wouldn't distract from the main image.

Then I added black splatters to the piece. You can use a drop or two of a black ink pad re-inker or diluted black acrylic paint to do this.

When the paint splatters were dry, I used glue to adhere it to an A2 card base. Then I used foam dots to adhere the colored images of Nancy's Lilac Bouquet to the card. I adhered the extra leaf and lilac bunch with glue behind the main image.

The sentiments are two of seven that are included with the stamp set. After I stamped them with black ink, I cut them out with the coordinating dies.

Can you believe that this card was with created with one stamp set, one die set, and one stencil set? And with the Nancy's Lilac Bouquet set there are so many possibilities for different looks you can make using the extra florals and leaf that's included!

Thank so very much for stopping by today. I hope your week has been a good one!

Thank you for using my affiliate links to shop (never any additional cost to you)!

Thursday, January 30, 2025

A Very Happy Easter To You! featuring Hoppy Poppy

Hello friends!  Yes, today I have an Easter card!  Picket Fence Studios' January release is filled with flowers, bunnies, and gardens perfect for your springtime card making!

Please note:  I have all available supplies, with links, in the list below.

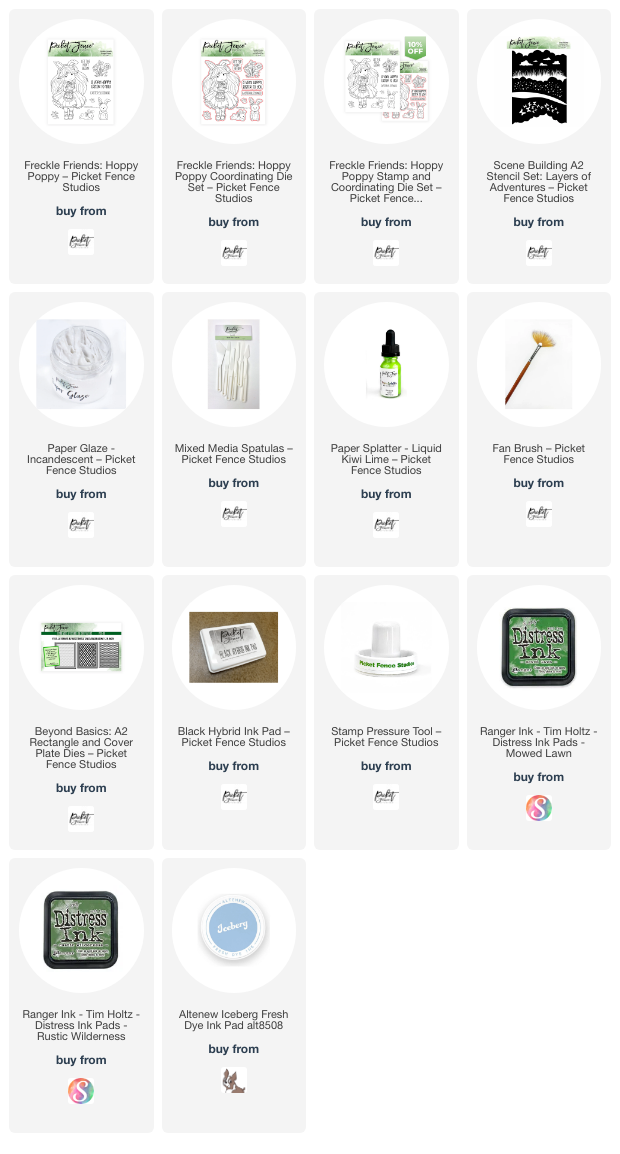
First I created a fun stenciled scene for my card featuring Freckle Friends: Hoppy Poppy.  I used the stencils in the  Scene Building A2 Stencil Set: Layers of Adventure.

I began by blending on two shades of green inks with blending brushes and the Layers Of Adventure stencils.  Then I blended the blue clouds in the sky.

Next I masked off the sky portion of the background to add some shimmery splatters to the grass.  I diluted a few drops of Kiwi Lime Paper Splatter with water and used a fan brush to splatter the mixture onto the card.

Another stencil in this set has clouds and I added the Incandescent Paper Glaze through the stencil and set it aside to dry.

Next I stamped the images from the Hoppy Poppy stamp set with Black Hybrid Ink and colored them with my Copic markers.  I cut them out with the coordinating dies.

I trimmed the dry stenciled panel with a die from the Beyond Basics: A2 Rectangle & Cover Dies set.  I used glue to adhere it to my A2 card base.

The other images and sentiment are popped up with foam tape.  I added a few highlights to the girls dress and shoes with a white gel pen.

The shimmer and shine that the Kiwi Lime Paper Splatter and the Incandescent Paper Glaze gives is SO pretty!  These are wonderful products and I hope you will check them out by clicking the links in the list below.

Thank you for stopping by today!  I hope it's a good one for you!

Thanks so very much for using my affiliate links to shop (never any additional cost to you!)

Wednesday, January 29, 2025

I 🩷 U -- A Sweet Card For Someone You Love!

Hello Honey Bee friends!! I had lots of fun getting inky to create my card that features the beautiful Bold Background: Vines Of Love Honey Cuts!!  Read on for how to create these inky backgrounds for your die cuts!

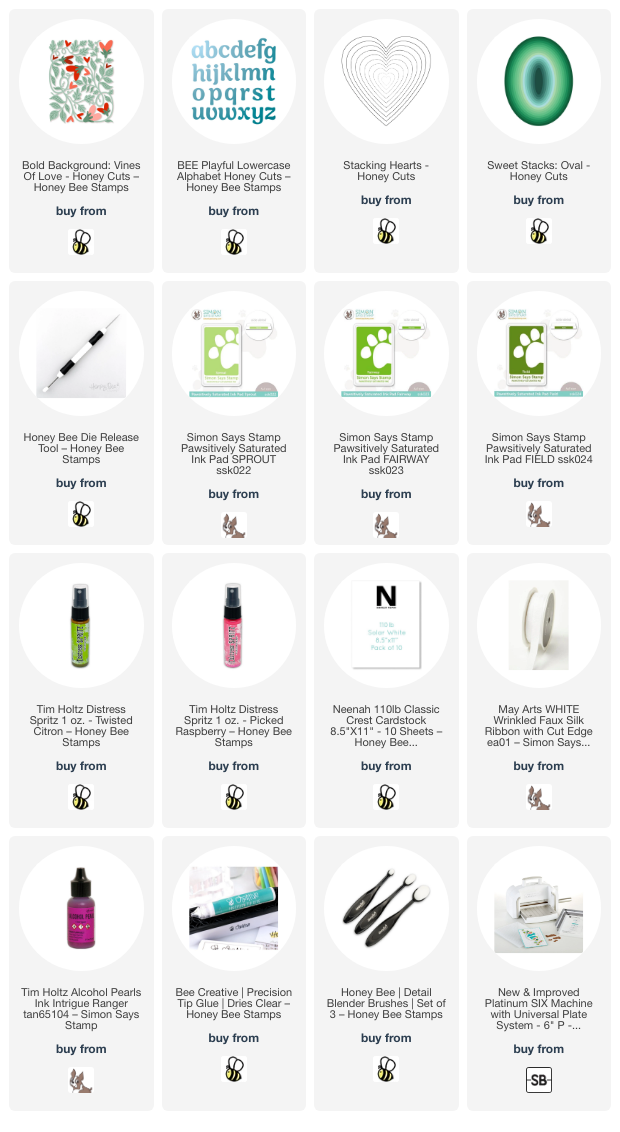
I used two pieces of 80# Neenah for the backgrounds. I chose three shades of green ink pads (light, medium, and dark) and three of pink ink pads. Then I used Detail Blending Brushes and blended the green inks in spots all over one piece of the white cardstock, blending until the piece was covered in the shades of green. I repeated this for the pink inks.

Next I added some water splatters to each piece. I used my heat tool to dry them. Then I spritzed Fossilized Amber Distress Spritz onto the green piece. For the pink panel I spritzed on Picked Raspberry Distress Spritz. These Distress Spritzes add such a beautiful shimmer!

I die cut the panels with the dies in the Bold Background: Vines Of Love. Using the Layering Guide found in the product description, I used glue to adhere the layers. Then I glued the piece to a white A2 card base.

I die cut the sentiment with dies from the BEE Playful Lowercase Alphabet and the Stacking Hearts dies from the pink inked panel. Then I die cut two more each from white cardstock and used glue to adhere the layers together. Next I added glue to the bottom part of each die cut and sprinkled on some chunky glitter. When the glue dries, I die cut an oval from the Sweet Stacks: Ovals and glued the sentiment to it.

I had a bit more inky fun dying my white ribbon to coordinate with the Vines Of Love. It's easy to do! Just use a small container/dish and place your ribbon in it. Then add drops of alcohol ink to the ribbon. Add several drops of rubbing alcohol to dilute. I used my die pick tool to move the ribbon around to fully saturate it. Use your tweezers to pick up the ribbon and place it onto a clean paper towel to dry. (I don't have many alcohol inks, but do have Alcohol Pearl in the color called Intrigue, and this worked quite nicely.  All supplies are linked in the list below.)

After I tied the ribbon around the card front, I added foam tape strips to the back of the sentiment to adhere it to the card.

This photo really shows the beautiful shimmer of the Distress Spritzes! This was so fun to make and I hope you are inspired by my card. Thanks so very much for stopping by!

Thank you for using my affiliate links to shop (never any additional cost to you)!

Sunday, January 26, 2025

Little Things Make Big Moments

 Hello crafty friends!  I adore all things Winnie the Pooh!  I'm so happy to get to make this card that features the Spellbinders & Simple Stories - Say Cheese Classic Pooh Collection sets!

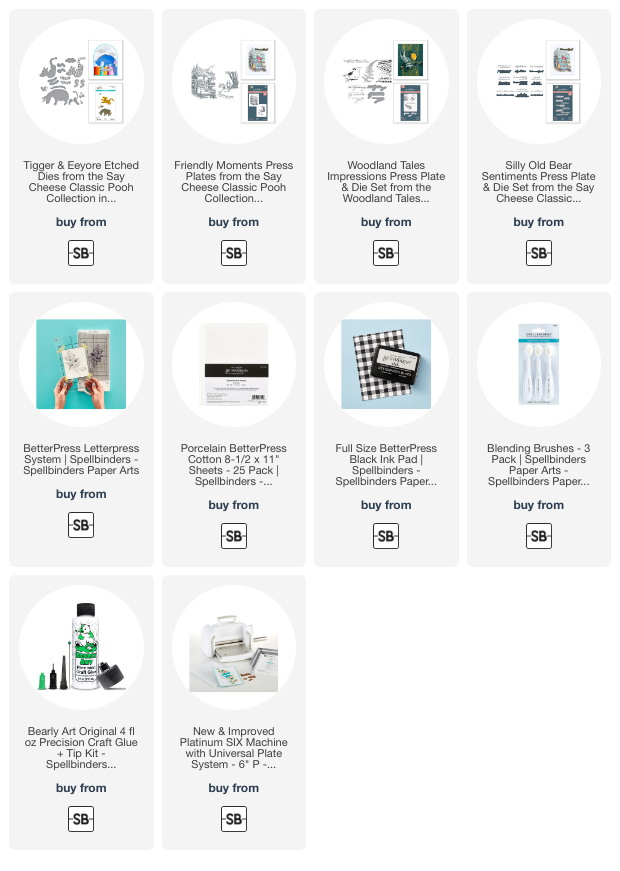
For this card I've used the Friendly Moments BetterPress Press Plates set that features two press plates to use on your cards.  I've used one of them to create a background for this adorable Tigger from the Tigger & Eeyore die set.

First I used my BetterPress Letterpress System to press the image from the Friendly Moments set with BetterPress black ink onto porcelain cotton card.  (All supplies are linked in the list below.)  After using my heat tool to dry the ink, I used a few Copic markers to color Pooh and Piglet.  While this image is in the background, I wanted them to stand out and coloring them helps that.

I die cut the dies from Tigger & Eeyore die set for Tigger and the butterfly.  Tigger is die cut with black and a dull orange cardstock.  I used a few Copic markers to add shading to Tigger and to color the white cardstock of the butterfly. 

I used two shades of green ink and a blending brush to add a ground for Tigger.  I trimmed the background panel to 3-¾" x 5" and adhered it with foam tape to a layer of black cardstock.  I adhered this piece to an A2 card base with glue.  I used foam tape to adhere Tigger to the card.

There is a sentiment set called Silly Old Bear Press Plates & Die Set that coordinates with this collection.    However, I do not have it, (This set is sitting in my cart right now!) but I did find a sentiment that works just great in the Woodland Tales Impressions Press Plates.  After cutting the pressed sentiment out with the coordinating die, I used foam tape to adhere it.

I just love this card!  I hope you do too, and are inspired by it!  Have a wonderful, and crafty, week ahead!

Thank you for using my affiliate links to shop (never any additional cost to you)!

Wednesday, January 22, 2025

You're My Queen Of Hearts Valentine Card

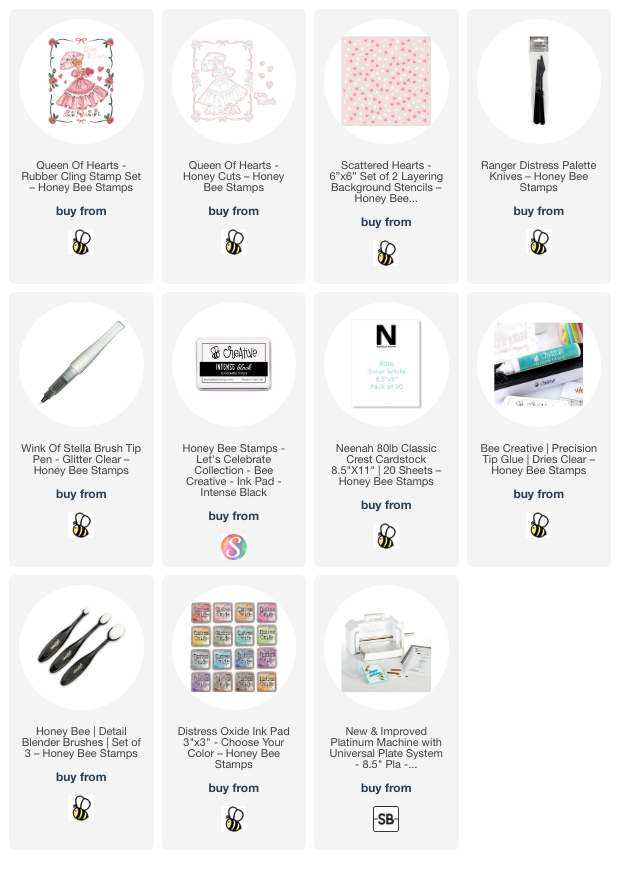
Hello crafty friends! Today I'm sharing my vintage Valentine card that features Honey Bee Stamps' beautiful Queen of Hearts stamp set. This set is made from red rubber and I totally love the crisp stamped image you get! You can also stamp the entire piece all at one time!

First I worked on my stenciled background. I inked up a 4" x 5-¼" piece of white cardstock with three pink Distress Oxide Ink colors. For my ombre pattern I used Picked Raspberry, Kitsch Flamingo, and Spun Sugar.

After using my heat tool to dry the ink a bit, I placed one of the two Scattered Hearts stencil over the inked panel. I added Picked Raspberry Oxide ink through the stencil with an ink blending brush.

Before I added the texture paste with the second stencil, I stamped the four hearts in the Queen of Hearts set with the pink Distress Oxides randomly over the panel.

Next I placed the second Scattered Hearts stencil over the panel. Then I added some pretty Frosted Petal Glacier Paste through the stencil with a palette knife. I carefully removed the stencil and set piece aside to dry.

Next I stamped the Queen of Hearts girl with Intense Black ink onto white cardstock. (Did you know that the Queen of Hearts set is made so you can use all of the images separately?) Next I colored her with my Copic markers. I used these colors:

  • dress: C5, C3, C1, C00
  • parasol & other pink elements: R39, RV25, RV06, RV04, RV02, RV10, RV00
  • hair: E59, E57, E55
  • leaves/grass: G17, G25
  • skin: E11, E51, E50

I used glue to adhere the dry stenciled panel to an A2 folded card base.

Next I cut out the Queen of Hearts with the coordinating Honey Cut. I added foam dots to the back to pop it up on the A2 card.

I stamped extra hearts from the Queen of Hearts with Picked Raspberry Oxide ink and cut them out with the coordinating dies. I used foam squares to adhere them to the card.

The sentiment is also another separate stamp in the Queen of Hearts stamp set. It is stamped with black ink and cut out with the coordinating die.

Since I was thinking her pretty white dress would have a sparkly overlay in real life, I used a clear glitter pen to add lots of sparkles on her dress!

I hope you've found some inspiration today for your card making!  Be sure to check out the entire Perfect Match release for other fun themed products.  Thank you for stopping by!!

Thank you for using my affiliate links to shop (never any additional cost to you)!

Sunday, January 19, 2025

Hugs With Cookies and Flowers

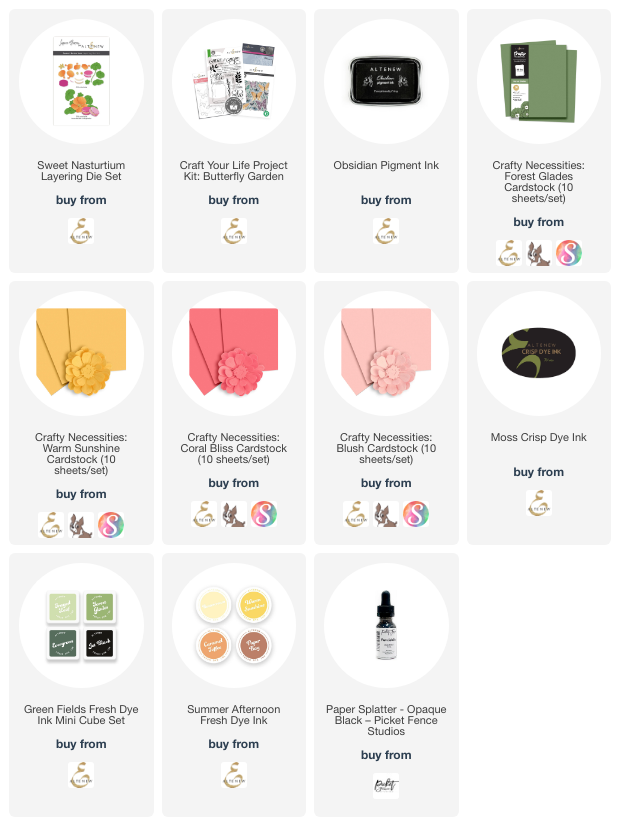
Hello crafty friends!  Today I'm sharing my card I made that features Altenew's beautiful Sweet Nasturtium Layering Die Set.  Nothing like hugs surrounded with cookies and flowers, right?!!

Please note:  This beautiful set is a limited edition.  When it's gone, it's gone!

I die cut the Sweet Nasturtium dies from colored cardstocks.  I used these cardstock colors by Altenew:  Warm Sunshine, Forest Glades, Coral Bliss, and Blush.

Next I added shading with Mini Blending Brushes and a few coordinating inks.  The ink colors are in the list below.

I used glue to adhere the layers of the cookies and flower together.  I made my cookies a bit more fancy by using a gold gel pen to add gold lines and dots to them all.  (There is edible gold after all! Haha!)

Next I stamped a sentiment from the Craft Your Life: Butterfly Garden stamp set with Obsidian black ink.  I used my detail scissors to trim around the sentiment.

After I added some black splatters to my A2 card base, I adhered all of the elements with either foam tape or glue.  I used the same gold gel pen to add gold dots amongst the black dots.

I hope you've found some inspiration here today.  Thanks so much for stopping by!

Thank you for shopping with my affiliate links (never any additional cost to you)!