Hello Honey Bee friends!! I had lots of fun getting inky to create my card that features the beautiful Bold Background: Vines Of Love Honey Cuts!! Read on for how to create these inky backgrounds for your die cuts!
I used two pieces of 80# Neenah for the backgrounds. I chose three shades of green ink pads (light, medium, and dark) and three of pink ink pads. Then I used Detail Blending Brushes and blended the green inks in spots all over one piece of the white cardstock, blending until the piece was covered in the shades of green. I repeated this for the pink inks.
Next I added some water splatters to each piece. I used my heat tool to dry them. Then I spritzed Fossilized Amber Distress Spritz onto the green piece. For the pink panel I spritzed on Picked Raspberry Distress Spritz. These Distress Spritzes add such a beautiful shimmer!
I die cut the panels with the dies in the Bold Background: Vines Of Love. Using the Layering Guide found in the product description, I used glue to adhere the layers. Then I glued the piece to a white A2 card base.
I die cut the sentiment with dies from the BEE Playful Lowercase Alphabet and the Stacking Hearts dies from the pink inked panel. Then I die cut two more each from white cardstock and used glue to adhere the layers together. Next I added glue to the bottom part of each die cut and sprinkled on some chunky glitter. When the glue dries, I die cut an oval from the Sweet Stacks: Ovals and glued the sentiment to it.
I had a bit more inky fun dying my white ribbon to coordinate with the Vines Of Love. It's easy to do! Just use a small container/dish and place your ribbon in it. Then add drops of alcohol ink to the ribbon. Add several drops of rubbing alcohol to dilute. I used my die pick tool to move the ribbon around to fully saturate it. Use your tweezers to pick up the ribbon and place it onto a clean paper towel to dry. (I don't have many alcohol inks, but do have Alcohol Pearl in the color called Intrigue, and this worked quite nicely. All supplies are linked in the list below.)
After I tied the ribbon around the card front, I added foam tape strips to the back of the sentiment to adhere it to the card.
This photo really shows the beautiful shimmer of the Distress Spritzes! This was so fun to make and I hope you are inspired by my card. Thanks so very much for stopping by!
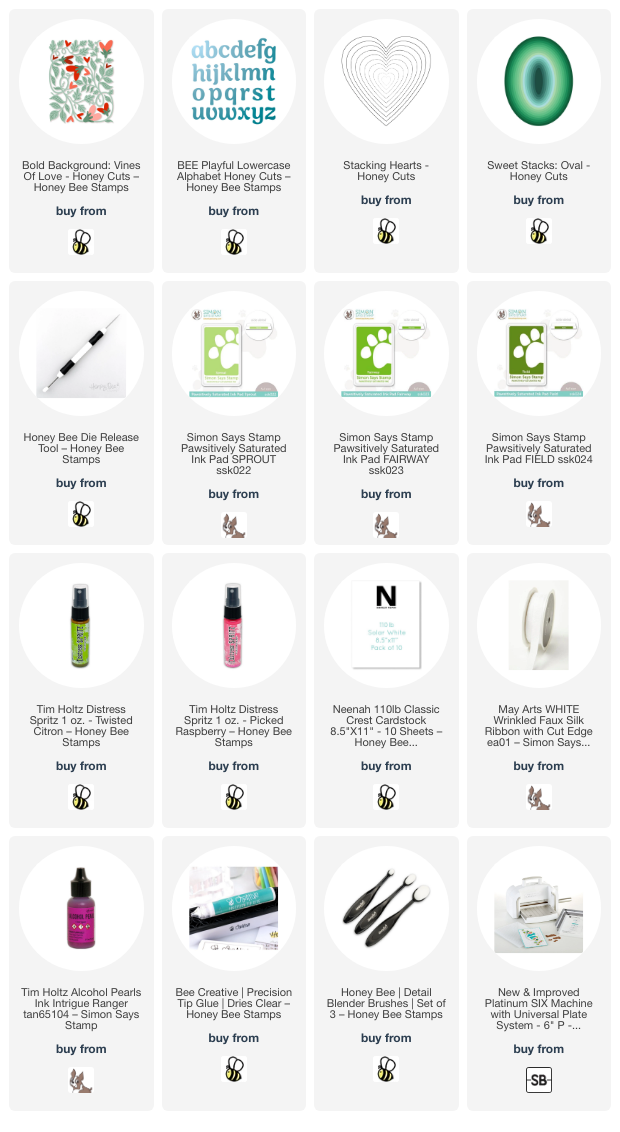
Thank you for using my affiliate links to shop (never any additional cost to you)!


No comments:
Post a Comment
Thank you so much for using my product links to shop. Some of the product links I've provided may have what is called an "affiliate" link. By using my links to purchase products, I may earn a bit of a commission, at absolutely no additional cost for you. Thank you for supporting my blog.