Monday, October 28, 2024

Grateful For You!

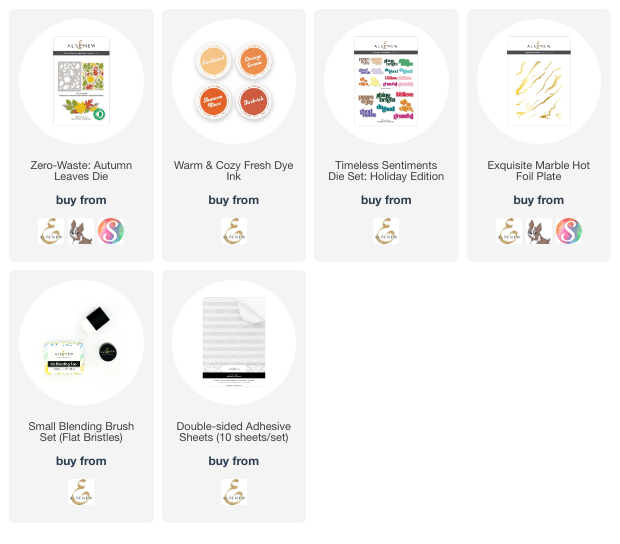
Hello friends!!  Today I'm sharing my card that features Altenew's wonderful Zero-Waste: Autumn Leaves Die!  I also have a reel over on Instagram showing some of the process to make this card.

I have seen many beautiful projects that feature the Zero-Waste: Autumn Leaves die and wanted to think of a different way to use it.  So I had the idea to use the Exquisite Marble Hot Foil Plate with an ink blended background!

First I blended the four inks in the Warm & Cozy set of inks.  Then I die cut it with the Zero-Waste: Autumn Leaves die.  I adhered the outside die cut to a white A2 card base.  I shaped the leaves a bit with my fingers then glued them into the openings.  Some of the circles fell out and I didn't try to place those back into the die cut.

The sentiment is from the Timeless Sentiments 3.  I added more copper foil by adhering double-sided adhesive to cardstock and sticking the foil to it.

Check out my reel over on Instagram to see more!  Thanks so much for stopping by!

Thank you for using my affiliate links to shop (never any additional cost to you)!
Sunday, October 27, 2024

Watercolor Autumn Leaves Card

Happy Sunday, crafty friends!  Today I'm over on the blog at Brass & Bliss today to share my fun watercolor card!  This card features the Fall Leaves stamps and Nested Woodgrain die set.

I used Distress re-inkers as my watercolor medium.  If you would like to see all of the exact details, they are over on Brass & Bliss' blog, along with helpful process photos.

I love how the watercolors bled into the die cut lines of the Nested Woodgrain Sign die!

I coordinated the sentiment from the Fall Leaves stamp by stamping and heat embossing in gold.  I was thrilled when I discovered that a leaf shaped die from the Fall Leaves die set would work with the sentiment.

Thanks for stopping by today!  I hope you have a wonderful week with lots of crafty time!

Wednesday, October 23, 2024

Boo To You! and Happy Halloween Shaped Card

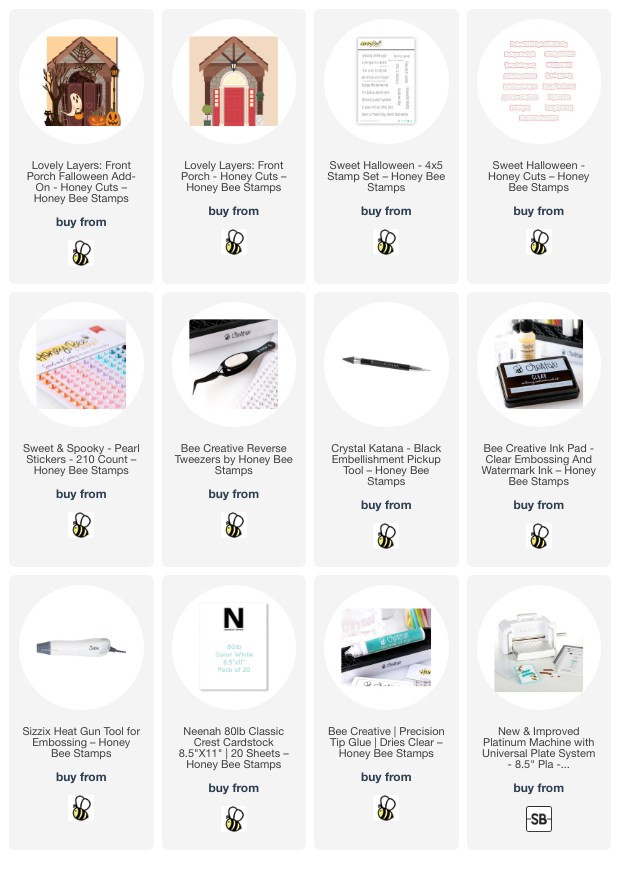
Hello crafty friends! Today I'm sharing my cute Halloween card that features Honey Bee Stamps Lovely Layers: Front Porch Falloween Add-on Honey Cuts! This pairs with the previously released Lovely Layers: Front Porch dies.

Before I begin how I made this, I wonder if you, like me, feel overwhelmed with a lot of dies like the Lovely Layers: Front Porch Falloween Add-on? I found a way to break it down to make it so much easier! I printed off the Layering Guide that is available to download and found in the product description.

Then I looked at the first section of the Layering Guide and just focused on the layers for the door, as shown. I just continued through the guide and the pieces were assembled in no time! I used two shades of gray cardstock, and black, white, orange, brown, and yellow cardstocks to die cut the elements in the Front Porch and the Front Porch Falloween Add-on sets.

The cat's eyes and the pumpkin stems are white cardstock that I colored with a YG25 Copic marker.

Using my reverse tweezer and pick-up tool made it easy to glue the layers together.

For the card base, I took a folded A2 card and placed the large die from the Front Porch dies with the folded edge of the card just below the top of the die. I ran that through my die cutting machine to create the shaped card base.

Then it was just a matter of arranging and gluing the elements to the base.

I stamped three sentiments from the Sweet Halloween stamp set with clear embossing ink onto more of the dark gray cardstock. I added white embossing powder and then set it with my heat tool. I cut the sentiments out with the coordinating dies.

I glued one sentiment inside the card.

I adhered the other two sentiments to the front of the card with foam strips.

Then I added Sweet and Spooky pearl stickers to the tree, pumpkins, and door. Did you notice how one of the pumpkins is on the planter? Haha!

Thanks so very much for stopping by!  I hope you have a wonderful day!

Thank you for using my affiliate links to shop (never any additional cost to you)! 

Friday, October 18, 2024

Lilac Layering Dies for a Friendship Card

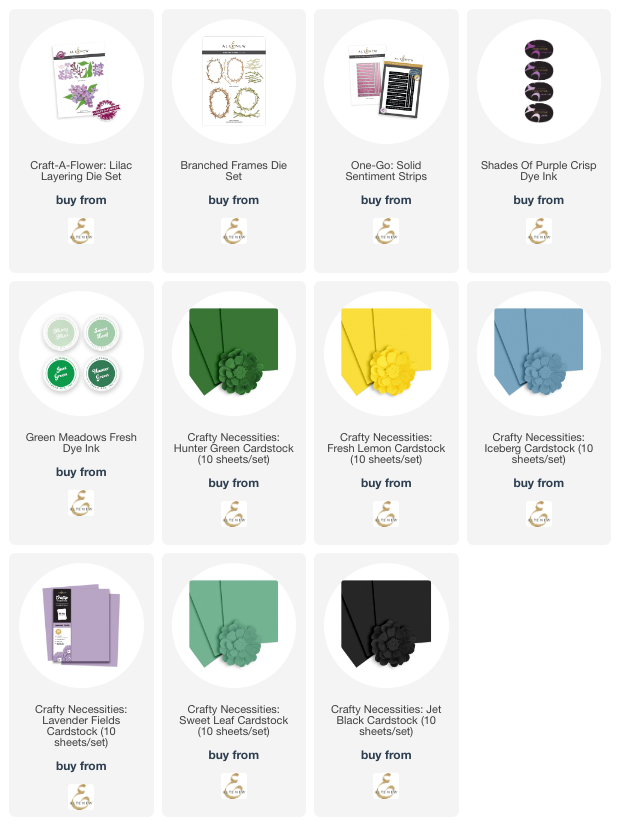
 Happy Friday crafty friends!  I'm sharing my card featuring Altenew's Lilac Layering Die Set and the Branched Frames Die Set.

I die cut the Lilac Layering dies and the Framed Branch dies with colored cardstocks.  The colors are in the list below.

Then I add shading to the flower petals and leaves with Lavender Fields and Deep Iris inks.  Yes, I added purple inks to the blue cardstock!  I shaded the leaves with Hunter Green ink.

I used the layering guides that are included on the packaging to assemble the pieces.  I think that the way Altenew has numbers that imprint on the stem and petals of the Lilac Layering dies is genius!!  The flower centers cover those numbers for a finished look!

I added the Lilacs and Branched Frame to a watercolored panel I made by dropping the purple ink onto dampened watercolor cardstock.  I added purple splatters to the panel before I added the wreath.

The sentiment is from the One-Go: Solid Sentiment Strips Press Plate and coordinating die.

Check out my reel over on Instagram to see some of the process.  Thanks so much for stopping by.  I hope you have a great weekend with lots of crafting time!

Thank you for using my affiliate links to shop (never any additional cost to you)!

Thursday, October 17, 2024

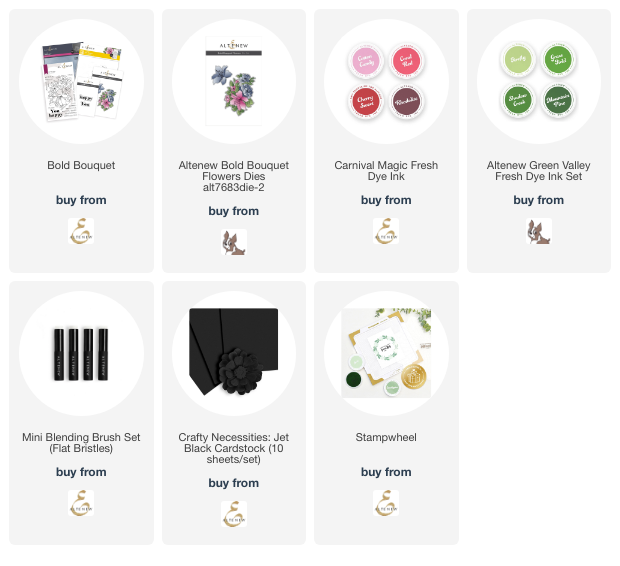
Bold Bouquet Birthday Card

Y'all, I am super thrilled to be a guest designer over on Altenew's blog!  I'll show you a photo, but you will need to join me on their blog for more photos and all of the fabulous details.

Also, if you'd like to go ahead and check out the products I used, I linked them below.

Be sure to leave a comment over on Altenew's blog so I'll know you stopped by!  I sure appreciate you!

Here's a list of the products for my card (thank you for shopping with my affiliate links-never any additional cost to you)!

Friend, Thinking of You

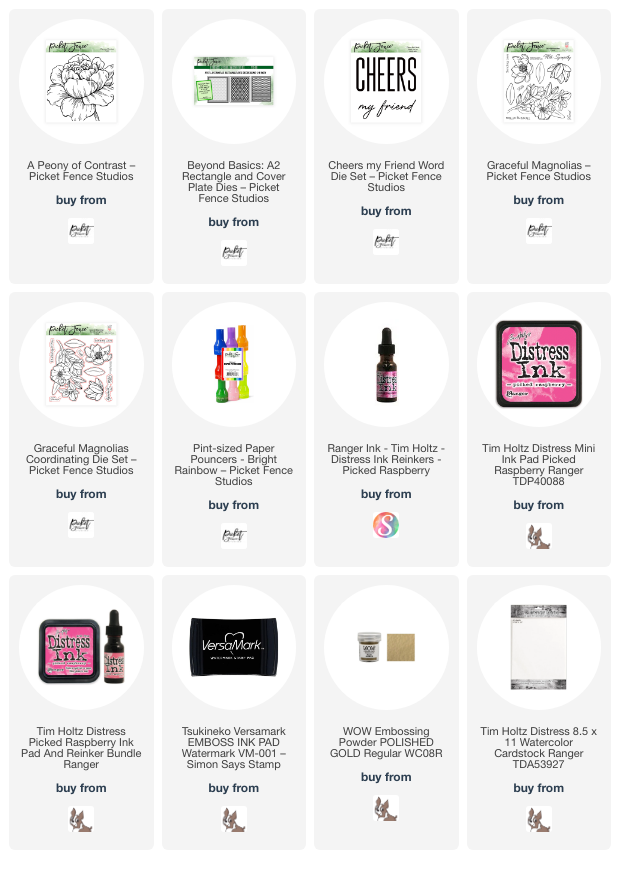
Hi friends!  Today I'm sharing a bit about my card I made featuring Picket Fence Studios gorgeous stamp called A Peony of Contrast.  This is one of the new products in the release that just became available!!

After I stamped the Peony of Contrast with Versamark onto Distress watercolor cardstock, I added gold embossing powder and heat set it.

Then I used a few drops of Picked Raspberry Distress re-inker to watercolor this beautiful flower.  If you'd like to see this in action, I have a reel posted over on my Instagram.  Just click the image in the left sidebar of my blog.

Next I used my scissors to cut around the embossed lines of the flower.

I used the new Beyond Basics: A2 Rectangle and Cover Plate Dies set to create the background layers.  This set has five rectangle shaped dies and three different cover plate dies, including the heart one I used here.

I used my paper trimmer to cut down the peony to fit the card front and adhered it with some foam tape.

The "friend" sentiment is from the Cheers My Friend word die set and is die cut three times.  I used a Paper Pouncer to color the die cuts and then glued them together.  I stamped the other sentiment from the Graceful Magnolias stamp set with Picked Raspberry Distress ink and trimmed it into a strip.  There is a coordinating die set, that I totally spaced on using, with a die to cut out the sentiment (eye-roll to me, haha).

Simple watercoloring is so relaxing and also easy!  I sure appreciate you stopping by for a bit today.  I hope you have a great one!

Thank you so much for shopping with my affiliate links (never any additional cost to you)!

Wednesday, October 16, 2024

There Is Always Something To Be Thankful For

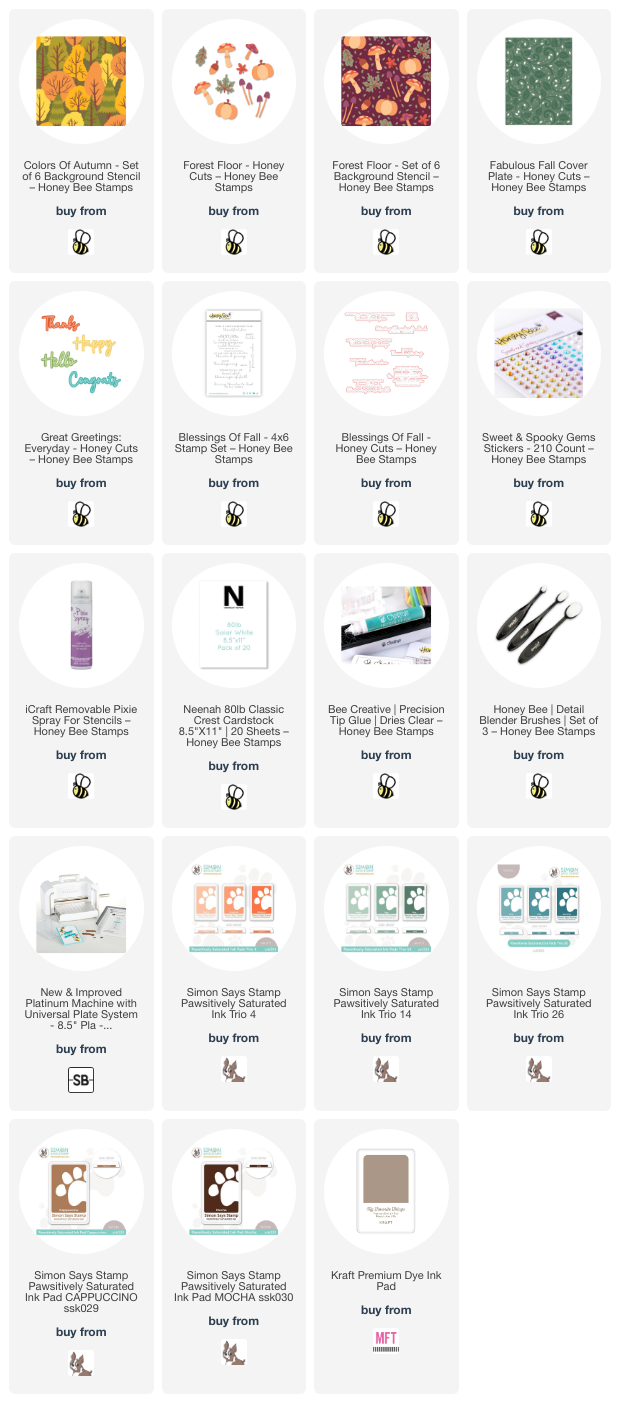
Happy Wednesday crafty friends! My card today features Honey Bee Stamps gorgeous Colors of Autumn stencil set but not in traditional autumn colors! I used green inks with the stencils for a nontraditional autumn card. I love how this turned out and hope you do too!

I started out by spraying the Colors of Autumn stencils with Pixie Spray. I only sprayed the few stencils that have very delicate parts that would move when I swiped the blending brush over it.

I used green ink in a light, medium, and darker shade with each of the Colors of Autumn stencils and Detail Blending Brushes. I used two shades of brown ink for the tree trunks. By using the lightest green ink at the top of the trees it adds lots of definition to each tree.  (All of the inks I used are linked in the list below.)

Next I cut the panel in half crosswise. Then I trimmed each piece to be 2" x 4-¼". I adhered these with glue to a piece of white cardstock I die cut with the Fabulous Fall Cover Plate die. I inked up a scrap of white cardstock with the darkest green ink and cut two thin strips. I used glue to adhere these strips to the stenciled pieces.

Next I die cut white cardstock with some of the dies in the Forest Floor Honey Cuts. Then I used the coordinating Forest Floor stencils to color and shade the pieces with teal blue, light orange, beige, brown, and green inks with blending brushes.

I used glue and a few foam dots to adhere the Forest Floor pieces to the card.

Next I inked up more white cardstock with the darkest green ink and die cut the top layer of "hello" that's from the Great Greetings: Everyday dies. Then I die cut white cardstock with the shadow three times. I used glue to stack up the shadow die cuts and to adhere the top layer.

I stamped the greeting from the Blessings of Fall with green ink. I cut it out with the coordinating die and cut two more white cardstock layers. I glued the layers together and then glued the stack to the card.

I added some matching pearls from the Sweet and Spooky Gem Stickers around the sentiment and the pumpkin arrangement for a bit of bling.

So, what do you think about the shades of green? I think this set could be used in the springtime too with a brighter set of green inks! Thanks so much for stopping by. Have a fabulous day!

Thank you so very much for using my affiliate links to shop (never any additional cost to you)!