Wednesday, December 20, 2023

Two Fun and Easy Holiday Gift Card/Treat Boxes

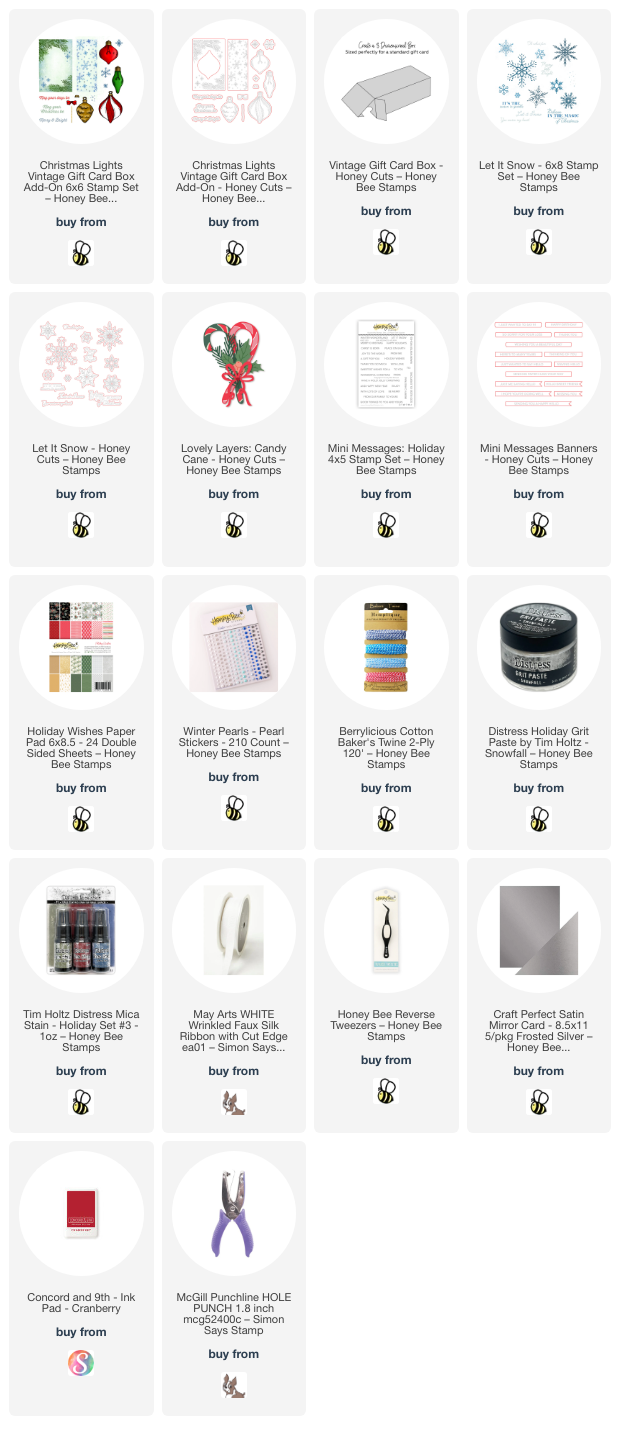
Hello crafty friends! Today I'm sharing two versions of gift card boxes I made with the Vintage Gift Card Box dies and the Christmas Lights Vintage Gift Card Box Add-on stamps and dies. These cute boxes are perfect for your gift cards with lots of room to include some sweet treats! I also custom died ribbons to coordinate with my colors! Read on for the details.

First I die cut two each of the Vintage Gift Card Box dies from satin silver cardstock. I used glue to adhere each of the boxes' pieces.

This box with the blue trim took a bit longer than the other box simply because I heat embossed the stamps from the Christmas Lights Vintage Gift Card Box Add-on stamp set. I used the pine branch stamp, one ornament, and some of the snowflakes in the set along with two from the Let It Snow stamp set. All were stamped with clear embossing ink. I heat embossed the images after sprinkling on silver embossing powder and some green sparkle embossing powder from my stash. Then I cut out the heat embossed images with the coordinating Christmas Lights dies and Let It Snow dies.

Next I used B02, B01, and B000 Copic markers to color the ornament and the bow. To custom die the ribbon I placed the ribbon into a small glass dish. Then I added drops of B02 and B01 Copic re-inkers. With a disposable glove on my hand I smooshed the ribbon until the ink was distributed and used my heat tool to dry it.

I tied the ribbon around the box and adhered the heat embossed elements with glue and foam tape. After I used a hole punch to punch a hole at the top of the ornament, I tied it and the snowflake around the bow with baker's twine. Finally, I added a few coordinating pearls from the Winter Pearl Stickers set.

This next box has some patterned paper from the Holiday Wishes paper pad that I die cut with the rectangle die in the Christmas Lights Add-on set. I also die cut the leaves and berries with dies in the Lovely Layers: Candy Cane Honey Cutsfrom colored cardstock.

I added Snowfall Grit Paste to the edges of the leaves and set them aside to dry. I died more crinkle ribbon by spraying it with Tart Cranberry Distress Mica Stain. I used a disposable glove again and held it with my reverse tweezers while I dried it with my heat tool.

I will have a reel posted on my Instagram sometime tomorrow morning, if you would like to see some of my creative process for these boxes!

I stamped the sentiments from the Mini Messages: Holiday in matching red ink and cut them out with the coordinating Mini Messages Banners. I adhered the sentiments with some foam tape strips.

This cute Vintage Gift Card box is large enough to hold at least a dozen candy kisses and your gift card too!


These are so great to have on hand for those last-minute gifts!  Thank you so much for stopping by today!  I hope your holiday season is filled with joy and happiness! Merry Christmas!

Thank you for shopping with my affiliate links (never any additional cost to you)!
Wednesday, December 13, 2023

Altenew December 2023 Inks & Marvelous Monthly Series and More Release Blog Hop + Giveaway ($300 in total prizes!)

 Hello, and welcome to Altenew's December Inks and Marvelous Monthly Series release blog hop!

You should have arrived here from LauraJane's blog.  If you would like to start at the beginning, head over to Altenew's blog.  Your next stop on the hop is Caly's blog.

I'm thrilled to share my card that features these gorgeous new blue inks that are in the Glacier Caves set.  The inks and re-inkers are also available as individual colors.  Click each photo to check them out.


I thought what better way to show them off than to create an ombré background for the flowers that are also colored with the inks.

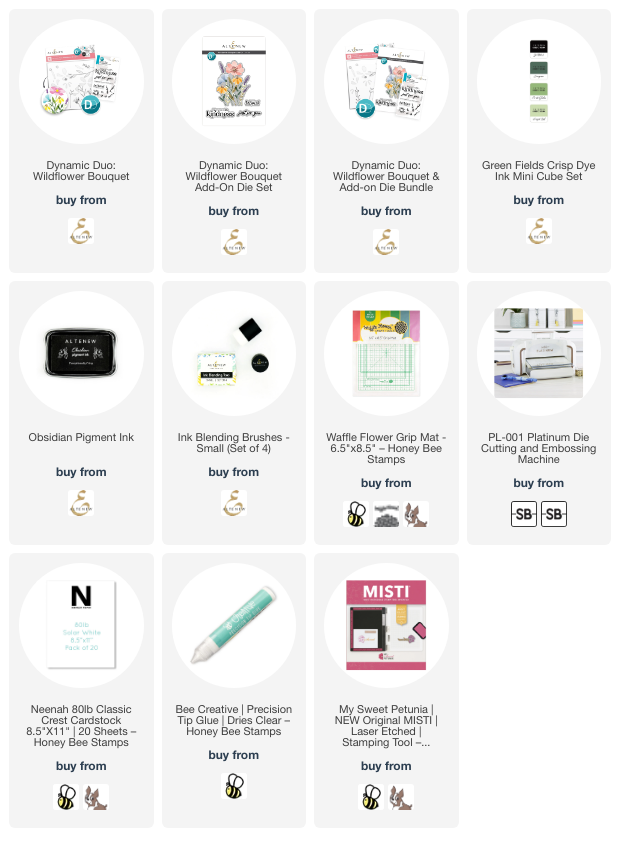
I used the beautiful Dynamic Duo: Wildflower Bouquet stencils, coordinating die and stamps for my card.  The Wildflower Bouquet is available as a stamp set/stencil bundle or as an Add On Die bundle.  I used ink blending brushes to add the Glacier Caves inks through the stencils.  The leaves were colored with inks from the Green Fields Crisp Dye Ink set.

When I finished coloring the flowers, I cut the image out with the coordinating die.

I added the die cut image to my ink blended background I created with each of the Glacier Caves inks.  As you can see in the photos, I added some white splatters to the background before I adhered the image with foam tape.

I stamped the sentiment with Obsidian Pigment Ink and cut it out with the coordinating die.

I'm in love with these beautiful Glacier Caves inks!!  Thank you for stopping by!  Be sure to leave a comment below for your chance to win one of the gift certificates Altenew is awarding!


Giveaway Prizes

$300 in total prizes! To celebrate this release, Altenew is giving away a $100 gift certificate to 1 lucky winner and a $50 gift certificate to 4 winners! Please leave a comment on the Altenew Card Blog and/or each designer’s blog post on the blog hop list below by 12/19/2023 for a chance to win. Altenew will draw 5 random winners from the comments left on each stop of this blog hop and announce the winners on the Altenew Winners Page on 12/21/2023.

*The winner of the $100 gift certificate will be chosen from comments left on the Altenew blog. 

After you leave a comment, click on the next hopper to see more beautiful inspiration!

You are invited to the Inlinkz link party!

Click here to enter
Thank you for shopping with my affiliate links (never any additional cost to you)!

A Snowy Christmas Market Cart Scene Card

Hello crafty friends! Today I'm sharing my snowy scene card featuring Honey Bee Stamps beautiful Christmas Market Cart Add On.  Except for the sentiment, this 5" x 7" card is totally die cut with no coloring!  Read on for the details!

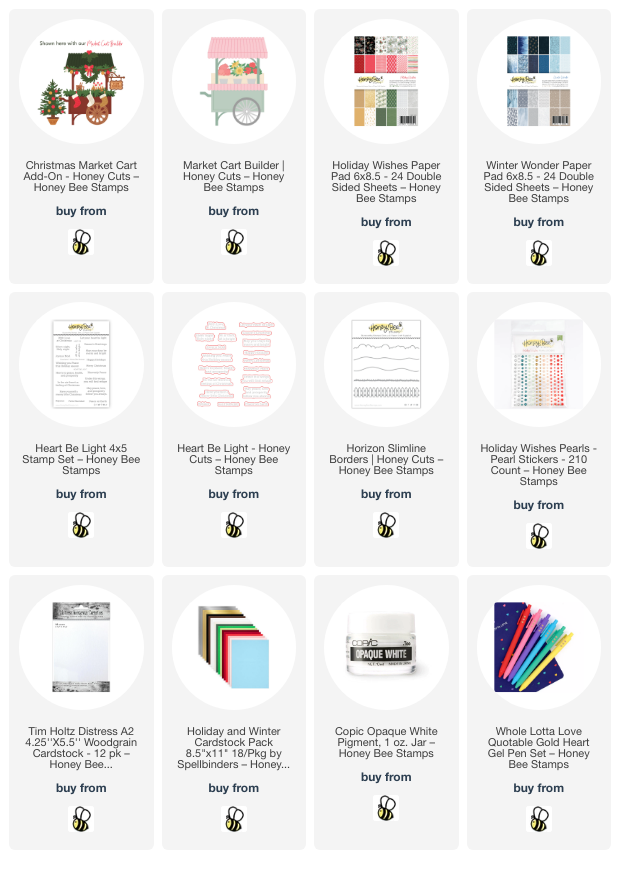
The card base is an A7 card with a layer of the pretty patterned paper from the Winter Wonder paper pad. I die cut two hills with the dies in the Horizon Slimline Borders set. After I trimmed them to fit the width of the card, I used glue to adhere them to the bottom of the scene. I made sure to not add glue to the top edge of the hills so I could tuck in some of my other die cuts.

Next I die cut the Market Cart from white woodgrain cardstock. I used a piece of paper from the Holiday Wishes paper pad to cut the awning die. I die cut some red cardstock with the awning edge die and the wheel die.

Then I chose the elements from the Christmas Market Cart Add On I wanted for my scene. I used white, red, green, brown, and silver metallic cardstock for these pieces. (This Holiday and Winter Cardstock Collection has all the colors I needed.) I die cut two light strings from green cardstock and one from brown, along with additional greenery pieces. Since this was my first time to use this set, I referred to the layering guide that you will find in the product description.

The bulbs for the strings of lights are white cardstock. To easily get a solid covering of glue to adhere the iridescent chunky glitter, I squirted a dollop of glue onto my craft mat. Then I added just a bit of water to thin it out and painted the glue onto each light before adding the glitter. This is super easy!! Just don't forget to rinse out your paintbrush! Haha!

Before I assembled anything more, I added white splatters to all of the green pieces and the market cart too. This created a more cohesive look with the snowy patterned paper.  I used a white gel pen to add details to the red mug. The snowflake and stripes on the white mug were added with a red pen and a pencil.

Next I adhered all of the elements to the card. Most pieces are adhered with glue, with one tree, the wreath and holly leaf/berry piece popped up with foam dots.

To finish, I cut the strings of lights to fit onto the pine trees and glue them to two of the trees. Then I added one large red pearl from the Holiday Wishes Pearl Stickers to the center of the wheel. Next I added lots of drops of red crystal drops. I stamped a sentiment from the Heart Be Light set in black ink, then cut it out with the coordinating die. It's popped up on the card with foam strips.

I really enjoyed making this festive and snowy Christmas card! I hope you have enjoyed it too! Have a wonderful and crafty day!

Thank you so much for shopping with my affiliate links (never any additional cost to you)!

Tuesday, December 12, 2023

Three Quick and Easy Last-Minute Holiday Cards

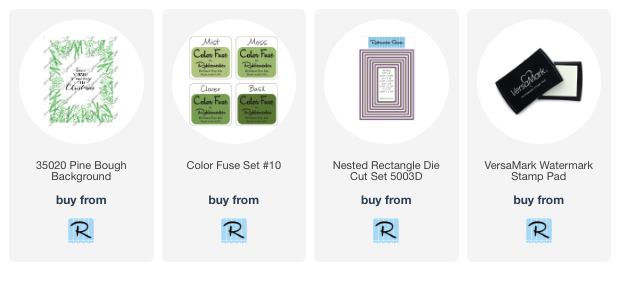
Hello crafty friends!  Today I am sharing three cards I made using the Rubbernecker Stamps' Pine Bough Background stamp!

If you would like to see the detailed instructions for making these cards, please head over to my post on the Rubbernecker blog!  I also have the Copic marker colors over there too.

I stamped two of the Pine Bough backgrounds with Color Fuse Basil ink and the other is gold heat embossed!  This first card was the quickest to make.  It's simple to make, but still quite beautiful! 


This next card took just a bit more time, but only because of the heat embossing.


My third card includes some simple coloring with a few Copic markers.  By keeping the shading to a minimum, it doesn't take too long at all!


I hope you've been inspired by my quick cards, and that you'll hop over to the Rubbernecker blog and say "Hi"!  Have a wonderful day!

Thank you so much for using my affiliate links to shop (never any additional cost to you)!


Monday, December 11, 2023

Totally Adorable House-Mouse Candy Hearts by Spellbinders

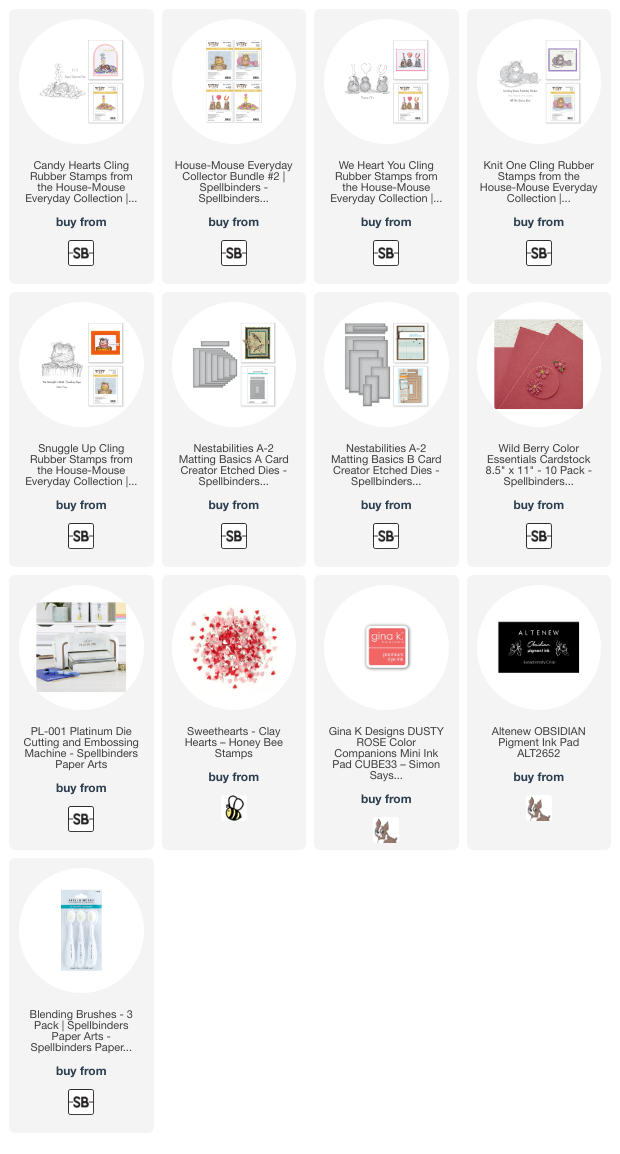
Hello crafty friends!  I'm here today with a new House-Mouse stamp set by Spellbinders!  This adorable little mouse is in the Candy Hearts set and their name is Mudpie.  I thinks it's so cute how each mouse has a name!

I stamped the Candy Hearts image with Copic safe black ink onto 80# Neenah.  I used rainbow colors of Copic markers to color the hearts.  Check out the next two photos for the markers I used.


When I finished coloring the image, I stamped a mask and trimmed out the bottom.  Then I used the mask to ink on a pink base.

Next I die cut the completed panel with the second largest A2 Matting Basics A die.  I die cut Wild Berry cardstock with the largest A2 Matting Basics B die.  There are two sentiments in the Candy Hearts set and I stamped this one with black pigment ink.

I adhered the layers onto an A2 card base with glue.  Then I added a clay heart embellishment to the sentiment.  Just a cute little extra!

There are several other sweet new House-Mouse sets, so be sure to check them out here!  Thanks so very much for stopping by today!

Thank you for shopping with my affiliate links (never any additional cost to you)!

Wednesday, December 6, 2023

Beautiful Amaryllis with 3D Embossing Folder Holiday Card

Hello, and happy December!  Today I'm sharing my card featuring Honey Bee Stamps gorgeous Holiday Blooms stamp set and coordinating dies

First I stamped the Holiday Blooms images with Copic safe black ink onto 80# Neenah.  I used these Copic markers to do my simple coloring:  B63, R29, R27, R35, Y13, C3, C2, C1, C00, green in flowers: YG13, YG11, G20; leaves: G07, YG17, YG25, YG23.

I have a little tip for the blending of the red colors of the pot.  I use B63 along the edges first.  Then go over that layer with my darkest red marker, R29.  Then I finish up, darker to lighter shades, with R27 and R35.  Using a B marker under the red is an easy way to add a deeper shadow without having to choose one of the super dark red Copic colors.

Next I cut the images out with the coordinating Holiday Blooms dies and added foam dots to the back.

For the background layers, first I found some pretty red cardstock from my stash and cut it to 4-¼" x 5-½".  Then I used ink blending brushes to add Aged Mahogany Distress Ink around the edges.  Then I used a lighter red ink from my stash to add more shading.  I finished up by adding just a bit of Black Soot Distress Ink just around the edges to deepen the shading even more!

Next I embossed the panel with the Kaleidoscope 3D embossing folder.  This is such a beautiful embossing folder!  Then I added white splatters with diluted white paint.  When the splatters were dry, I adhered it to an A2 card base.  

The sentiment is one of several included in the Holiday Blooms stamp set.  After I stamped it with black ink, I cut it out with the coordinating die.

I hope you've enjoyed my card making for today and have been inspired as well.  Thanks so much for stopping by!

Thank you for using my affiliate links to shop (never any additional cost to you)!

Saturday, December 2, 2023

Altenew Sweet Spray Stamps, Dies, 3D Embossing Folder, and Stencils--Available only at Scrapbook.com

Hello crafty friends!  Today I am sharing my card featuring Altenew's Sweet Spray stamps, dies,  coordinating Sweet Spray 3D embossing folder, and Sweet Spray Simple Coloring Stencil set.  These products are only available over at Scrapbook.com!
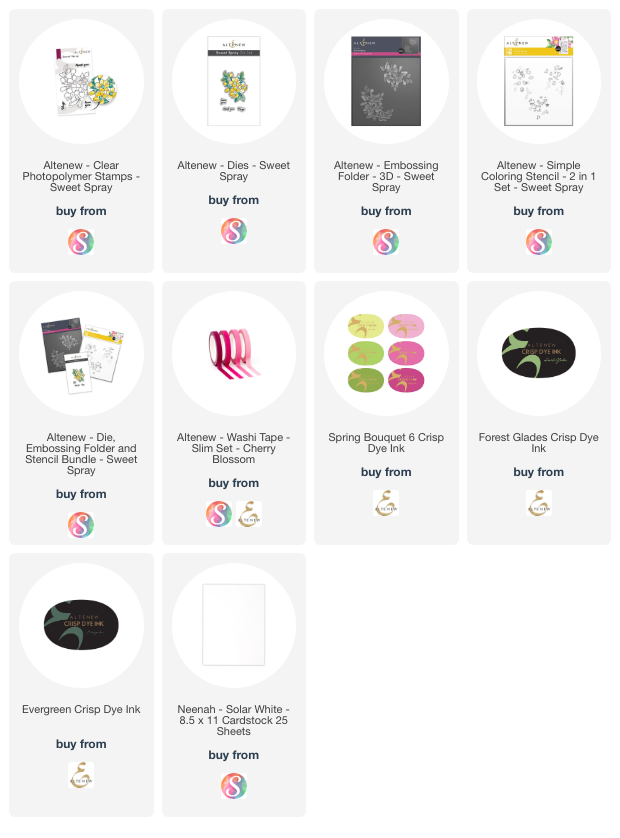
As of the date of this post, the Sweet Spray stamp set is FREE, for a limited time!  All you have to do is add the product to your Scrapbook.com cart and it will be shown as free in your check out.  There is a bundle of the Sweet Spray dies, embossing folder, and stencils to complete the collection too!

First I put white cardstock into the Sweet Spray 3D embossing folder and ran it through my die cutting machine.  Next I added strips of Cherry Blossom Slim Washi tape diagonally across the embossing panel.

I stamped the Sweet Spray image then added Crisp Dye inks in the colors of Baby Pink, Fuchsia, Magenta, Forest Glades, and Evergreen through the Sweet Spray stencil layers.  I used ink blending brushes to make this a quick process!

The sentiment is one of three in the Sweet Spray stamp set and was die cut with the coordinating die.  Both the sentiment and floral image are popped up with foam tape.

This makes such a sweet card to send to someone that needs a hug!  Also, it was quick and easy to make.  Thank you for stopping by today!  I hope it's filled with lots of fun crafty time!

Thank for you using my affiliate links (never any additional cost to you)!