Friday, May 31, 2024

You Make It Shine!

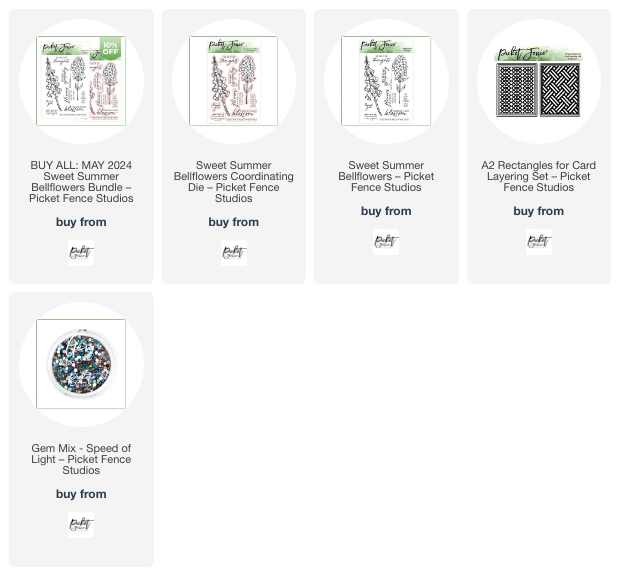
 Hi crafty friends!  Today I'm sharing my card featuring Picket Fence Studios beautiful Sweet Summer Bellflowers stamps and Sweet Summer Bellflowers dies.  I absolutely love this sentiment that is part of the stamp set!

This is the shortest blog post I think I've ever done.  But for good reason!  I am into the 2nd day of being at the Nashville Craft retreat!  So fun!

I have a reel on my Instagram that shows a lot of the details of creating this card with these beautiful stamps and dies!  I hope you will watch and leave me a comment there!

I used a handful of Copic markers to color the flowers.  The colors are shown in my Instagram reel! 😊

I really do appreciate you stopping by for a look!!  Have a wonderful, and very crafty, weekend!

Thank you for using my affiliate links to shop (never any additional cost to you)!

Wednesday, May 29, 2024

You Are The Sunbeam -- 3D Embossing & Stencils

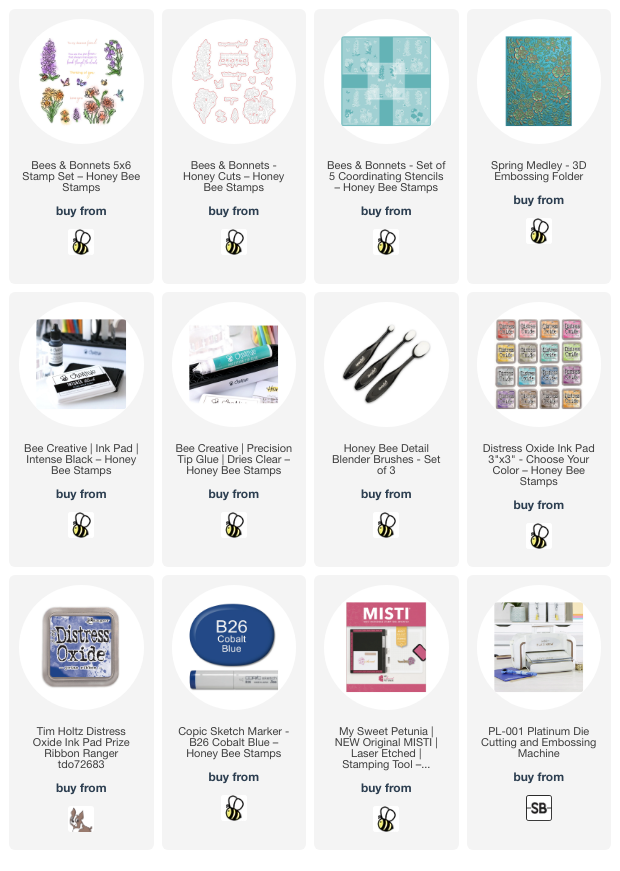
Hello crafty friends! Today I'm sharing this sweet card I made that features the beautiful Bees & Bonnets stamp setdies, and coordinating stencils by Honey Bee Stamps!  Can you find all of the bees?  I love how some of the bees' bums are sticking out of the flowers!

First I used a large blending brush to ink up a panel of 80# Neenah with Prize Ribbon Distress Oxide ink. Then I put it into the Spring Medley 3D embossing folder and ran it through my die cutting machine. While it wasn't bad, there was some cracking of the cardstock allowing the white to show through. No worries though! I just went over it again with more Prize Ribbon!

Next I stamped all of the images in the Bees & Bonnets stamp set with Intense black ink. After I knew the ink was totally dry, I used the coordinating Bees & Bonnets stencils to color all of the flowers and insects with various inks from my stash. Then I cut them all out with the coordinating dies.

While I absolutely love the blue embossed background layer and also the flowers, as I was arranging them, I just was never satisfied with the look. Sometimes when I'm stuck I just take a break and do something else--go outside for a walk, pull a few weeds, or anything away from my craft desk. It's amazing what a break and a fresh eye will do. I realized that with the dark blue background, the white edges around the die cut pieces was making it all look way too busy for my eye! So I found a coordinating Copic marker, B26, and colored around all of the edges. Much better!!!

I adhered the flowers with some glue and a few with foam dots. I stamped the sentiment from the Bees & Bonnets stamp set with black ink and cut it out with the coordinating die. I added foam tape to the back for a bit more dimension on the card.

What do you think? Do you like the white edges of the die cuts colored in? Let me know your thoughts in the comments below. As always, you are so appreciated for stopping by the blog today! Have a fabulous and crafty day!

Thank you so much for shopping with my affiliate links (never any additional cost to you)!
Sunday, May 26, 2024

Easy Stenciled Father's Day Card With a Nautical Theme

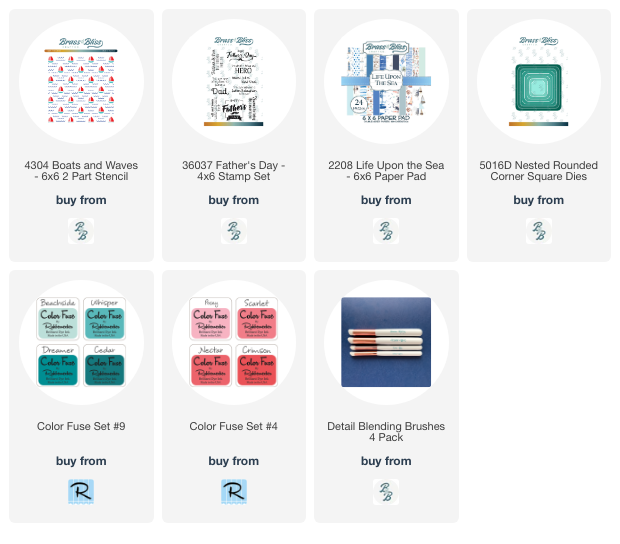
Happy Sunday friends!  Today I'm over on the Brass & Bliss blog to share all of the details of this Father's Day card where I used scrap paper masks to create a more unique stenciled look!

The new Boats and Waves stencil is part of their new Tropical Dreams release.  I colored through the stencil with the small Detail Blending Brushes and Color Fuse inks.

I stenciled a few extra sailboats and cut them out with my scissors to use as embellishments.

The sentiment is from the Father's Day stamp set.  This set has several sentiments to choose from to personalize your Father's Day cards!

The only die cutting is done with some Nested RC Square dies for the sentiment and the layer.

I hope you'll join me over on the Brass & Bliss blog for all of the details and photos of my stenciling process.  Thank you so much for stopping by!  Have a wonderful day!

Thank you for using my affiliate links to shop (never any additional cost to you)!

Wednesday, May 22, 2024

Lovely Layers Hummingbird and Hydrangea Birthday Card

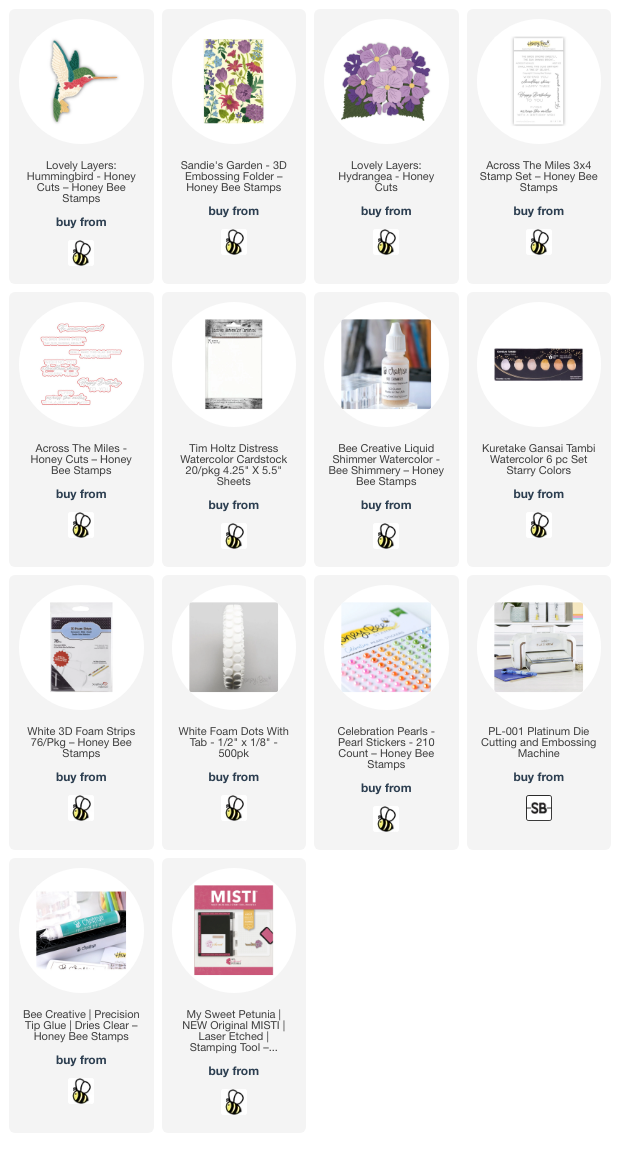
Hello crafty friends! I love using new products with some of my most favorite older products! That's what I've done today with this birthday card featuring Honey Bee Stamps beautiful new Lovely Layers: Hummingbird and Sandie's Garden 3D embossing folder along with the previously released Lovely Layers: Hydrangea!

The A2 card base has Distress watercolor paper embossed with the gorgeous Sandie's Garden 3D embossing folder. I used this watercolor paper since that's what I used on all of the other elements of the card and is a nice bright white.

Next I die cut all of the layers of the Lovely Layers: Hummingbird from more Distress watercolor cardstock. I watercolored all of the layers with a combination of four Distress Ink re-inkers, some water, and a few drops of Bee Shimmery Liquid Shimmer Watercolor. I used Peacock Feathers, Abandoned Coral, Mowed Lawn, and Twisted Citron. TIP: Have fun combining the Peacock Feathers with a bit of the green inks to create your own unique color! That's how I got the blue green shade of the wings and tail. The die cut eye and beak are watercolored with Black Soot Distress Re-inker. I used White Gold and Light Gold Starry Colors metallic watercolors for the whites of the bird.

There's a handy layering guide in the Hummingbird product description if you need a bit of help with the assembly. After the layers were completely dry, I used Bee Creative glue to adhere all of them together.

I die cut the layers of the Lovely Layers: Hydrangea from Distress Watercolor cardstock. After I mixed drops of Abandoned Coral re-inker for the flower with Bee Shimmery drops, I diluted it some with water and colored the layers with my paint brush. The leaves are the same, but with Mowed Lawn and Twisted Citron re-inkers. I added more layers of color to the pieces, drying between each layer, until I was happy with the look.

This next tip is a "do as I say, not as I did" tip. Haha! I glued all of the Hydrangea layers together and then glued the flower to the card. Let me just say, the thickness of this gorgeous flower was a bit of a struggle when I went to trim the extra off at the side of the card! So my tip to you (and me!) is to not glue the layers, but use a ruler and pencil to mark on each layer where to cut them separately--then glue together!

I tucked the Hydrangea leaves under the flower with glue. I added two foam dots to the Hummingbird to pop it up on the card.

The sentiment, from the Across The Miles stamp set, is stamped in black ink on Distress Watercolor cardstockTIP: I turned the cardstock over and stamped on the smoother side! (I'm full of tips today--Haha!) I cut it out with the coordinating die and popped it up on the card with foam strips.

Since I seem to have misplaced (lost?) the die for the Hydrangea centers, I used some pretty matching pearls from the Celebration Pearl Stickers. (I sure hope I find it!!!)

I really enjoyed playing with watercolors to create my card! I always so appreciate you stopping by and hope you have been inspired today. Have a wonderful and crafty week!

Thank you very much for shopping with my affiliate links (never any additional cost to you)!
Friday, May 17, 2024

When The Roots Are Deep...

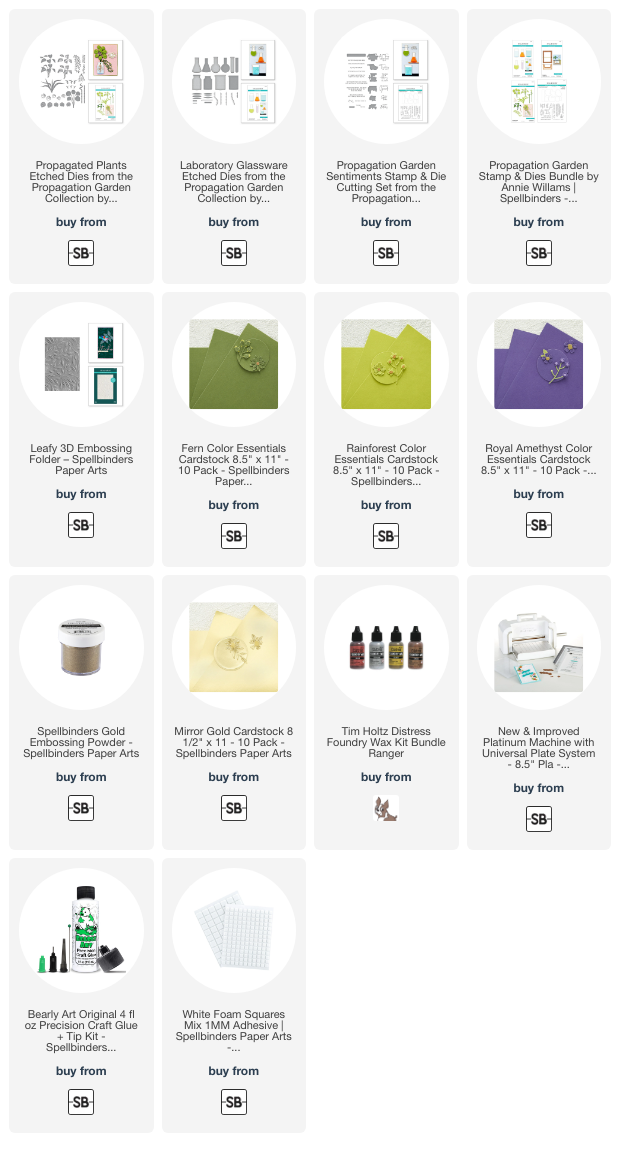
There is no reason to fear the wind!  Happy Friday crafty friends!  Today I'm sharing my second card featuring products from Spellbinders' Propagation Garden Collection.  This time I've added touches of gold and a dark cardstock for a more dramatic look!

The card base is A2 with a layer of Royal Amethyst cardstock first.  Then I embossed more cardstock with the Leafy 3D embossing folder and trimmed it to 4" x 5-¼".  Now, I've had these Distress Foundry Waxes for a while and haven't used them on a project until now!  I put several drops of the Gilded Foundry Wax on my glass surface.  Then I used my finger to dab it around the edges of the embossed cardstock.

The key to this product is after it's applied to the surface, you use your heat tool to set it.  The heat brings out the beautiful shine and sets it so it will not rub off.

I die cut pieces from the Laboratory Glassware and Propagated Plants sets with gold, white, Fern and Rainforest cardstocks.  After I assembled the pieces with glue, I added foam squares to the back to pop them up on the card.

I embossed the sentiment from the Propagation Garden Sentiments set with gold embossing powder and trimmed it into a rectangle.  I also popped it up on the card with foam squares.

Thank you for stopping by today!  I hope your weekend is a good one and filled with lots of crafty time!

Thank you for shopping with my affiliate links (never any additional cost to you)!

Thursday, May 16, 2024

Thank You, You're The Best

Today I'm sharing my card featuring Picket Fence Studios new and so gorgeous Blooming Trumpet Flowers stamps and coordinating dies.

For the background I white heat embossed the individual flowers and leaves from the Blooming Trumpet Flowers stamp set.  Then I ink blended on Distress Oxide inks (colors in list below) in an ombre pattern.  I used a clean paper towel to lightly wipe the ink off of the embossing.  Then I glued it to an A2 card base.

Then I white heat embossed the large floral image in the Blooming Trumpet Flowers stamp set onto vellum.  I cut it out with the coordinating die.

Before I added anything else to the card front, I stamped the large flower on the inside of the card with Spun Sugar and Kitsch Flamingo Distress Oxide inks.

After I stamped in black ink and die cut the two sentiments from the Blooming Trumpet Flowers, I glued one on the inside of the card.

I glued together four layers of white cardstock die cut with the window die from the Basic Die Cutting Set 1 and then glued it to the card front.

Next I used tape runner to adhere the sentiment to the die cut vellum.  Then I glued Gradient Flat Back Pearls in Lime Green and Pale Pink here and there on the vellum floral.  Now I can add dots of glue behind the sentiment and pearls to adhere the vellum to the card.  No adhesives will show!

Check out my Instagram for the reel I posted today if you'd like to see more!  Thanks so much for stopping by!

Thank you for shopping with my affiliate links (never any additional cost to you)!

Wednesday, May 15, 2024

Floral Birthday Card With A Custom Die Cut Edge

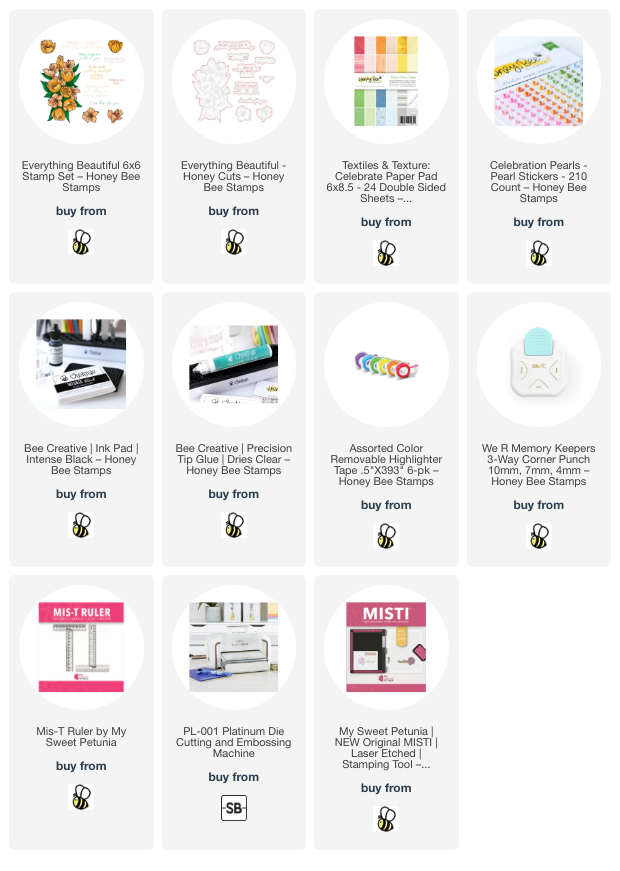
Hello crafty friends! I'm back today with my birthday card that features Honey Bee Stamps gorgeous Everything Beautiful stamp set and  coordinating dies. I had a bit of die cutting fun to make the unique edge for this card--keep reading for the details!

First I stamped the large floral image from the Everything Beautiful stamp set with Copic safe black ink. I used Copic markers to color the flowers. These are the colors I used: R39, RV19, RV17, RV55, RV52, YG03, YG00, G28, YG67, YG63, YG25, and YG03.

I cut it out with the coordinating die. Next I got started on the card base and layers. I used a top-folding A2 white card base. I trimmed a piece of patterned paper from the Textiles & Textures: Celebrate paper pad to 5-½" x 4-¼" and used glue to adhere it to the card.

To create the die cut edge, I placed the colored florals on the card front to help me decide on the placement. I set aside the floral image and used a t-ruler to draw a line on the card base to use as a guide of where to place the top plate of my die cutting machine. My line is about 1-3/8" from the bottom edge of the card front.

Next I used removable tape to hold the die for the Everything Beautiful floral image in place on the card base.  Be sure to open up the card so you will only cut the top layer! Place the open card onto the cutting plate. Then put the top plate so that it only covers the bottom edge of the card, up to the pencil line you drew. Run it through your die cutting machine. Use your scissors to cut along the pencil lines just up to where the die cut part starts. This will remove the bottom edge of the card base front. Now you have a beautiful matching die cut edge for the floral image!

To finish up, I cut a narrow strip of black cardstock and used glue to adhere it in place. Then I used thin foam strips to adhere the Everything Beautiful floral image to the card. The sentiment is from the Everything Beautiful stamp set, stamped in black ink, and die cut with the coordinating die. I adhered it to the card with narrow foam strips.

I used a corner rounder to create the rounded corners on the card base. I think this adds just a bit of something different!

I added several pearls from the Celebration Pearl Stickers to the card. These match the patterned paper perfectly!

I hope you've enjoyed my card making process today and have found some inspiration here. Thank you so much for stopping by today!

Thank you so much for shopping with my affiliate links (never any additional cost to you)!