Wednesday, November 1, 2023

Holiday Card with Layered Amaryllis

Hello crafty friends, and happy November 1st! Today I'm sharing my holiday card that features the beautiful Lovely Layers: Amaryllis from the recent Holiday Wishes release. Did you know amaryllis come in all shades of reds, pinks and also white? I love the white flowers and decided to use that as inspiration for my card.

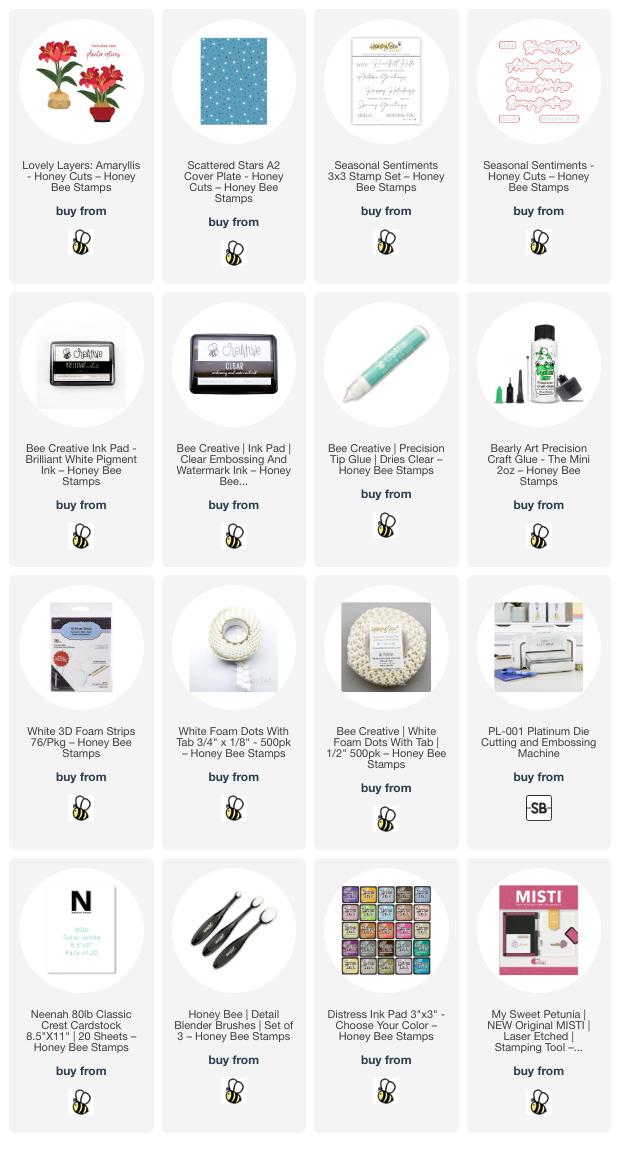
I made the card base by using an ink blender brush to add Chipped Sapphire Distress Ink around the edges of an A2 panel of dark blue cardstock. Then I die cut the piece with the new Scattered Stars Cover Plate die. I glued it to an A2 top-folding card base.

Next I die cut all of the pieces in the Lovely Layers: Amaryllis from 80# Neenah. ( I will save the other flower pot for another project.) I die cut the amaryllis layers twice more.

I used Copic markers to color all of the pieces. Here's a list of the colors I used.

  • flower pot: R89, R39, R29, R27
  • amaryllis leaves: G28, G43, G24
  • amaryllis petals: G43, G24, YG61C3, C1, C00
  • amaryllis stamens: G20, Y02
  • amaryllis bulbs: E18, E17, E15

When I finished coloring, I used glue to adhere the layers. Since this was my first time to use the Lovely Layers: Amaryllis, I used the very helpful layering guide found via a link in the product description. Then I arranged the flowers in the pot and adhered them with glue.

Before I adhered the amaryllis and pot to the card, I used a blender brush and Bee Creative Brilliant White pigment ink to add a "glow" on the blue cardstock that would be behind the flowers.

I stamped the sentiment from the Seasonal Sentiments with Clear Embossing ink onto blue cardstock. I added white embossing powder and set it with my heat tool. I cut it out with the coordinating die.

I added some thin and regular foam dots to the back of the pot of amaryllis to adhere it to the card. The sentiment is adhere with a narrow strip of foam tape on the right half and glue on the left.

At this point I really wanted to add some bling to the card! However, I decided to leave it be. I think my previous card had enough sparkles to last a bit! Haha!

Thanks so very much for stopping by today! I hope your day is filled with crafty fun!

I so appreciate you shopping with my affiliate links (never any additional cost to you)!
Wednesday, October 25, 2023

Sparkly Candy Cane Christmas Card

Hello crafty friends! Have you checked out Honey Bee Stamps gorgeous Holiday Wishes release? There are so many awesome products that I can't wait to create with! Today I'm sharing my card featuring the new Lovely Layers: Candy Canes!

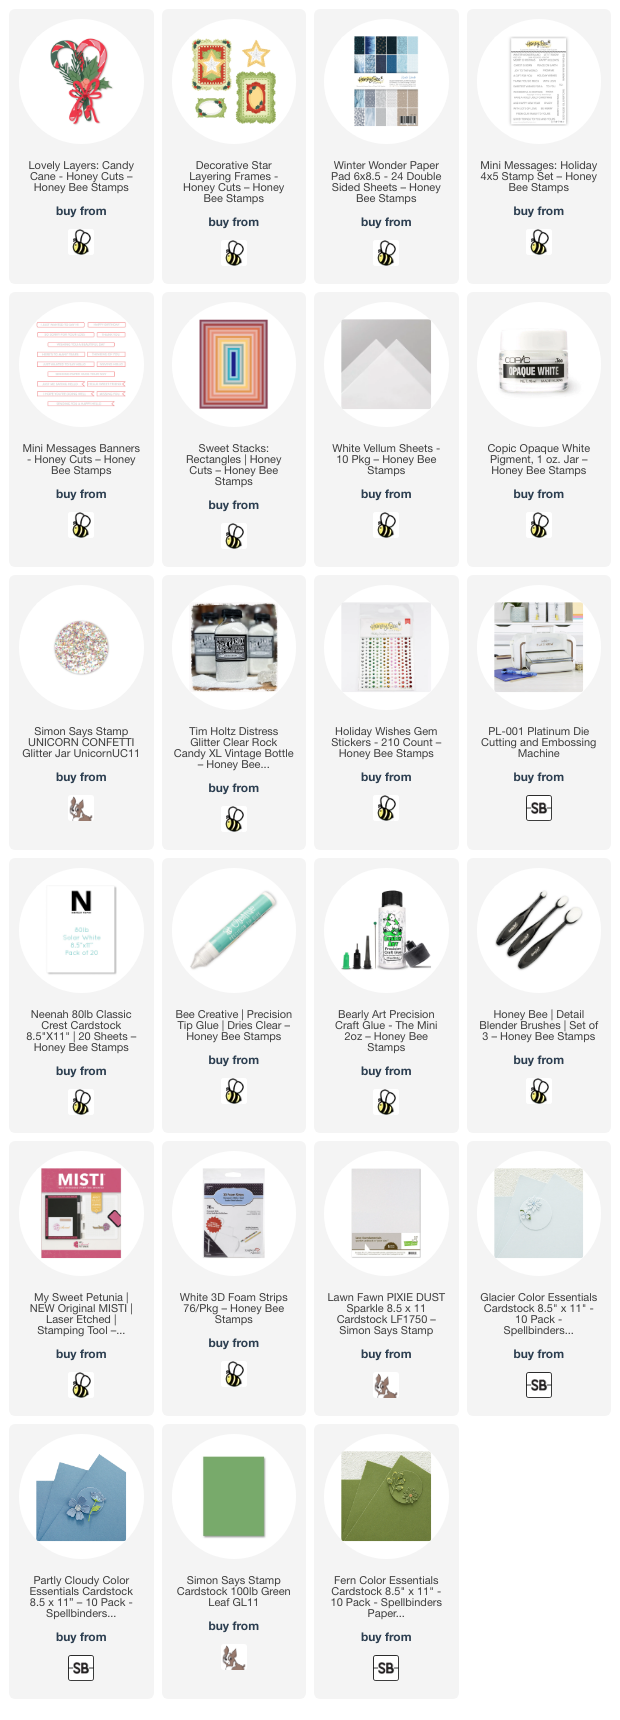
I let this gorgeous patterned paper from the new Winter Wonder paper pad be my inspiration for my card's color palette. I love this shade of blue for winter/Christmas cards! I die cut two each of the Lovely Layers: Candy Canes layers from a light blue, dark blue, and white sparkle cardstock. Next I die cut the greenery in this set from two shades of green cardstock. I added shading to the greenery with blender brushes and Mowed Lawn and Rustic Wilderness Distress inks.  (Links for the cardstock are below.)

The berries and bow are also die cut from the same white glitter cardstock. I adhered the layers of the candy canes with Bee Creative glue.

I used the largest Sweet Stacks: Rectangles to die cut the patterned paper from the Winter Wonder paper pad and glued it to my A2 card base. Next I die cut vellum with the Decorative Star Layering Frames largest die. But don't adhere it to the card base yet!

I arranged the Lovely Layers: Candy Canes elements and then used Bee Creative glue to adhere each piece to the vellum. I only added a few dots of glue to each piece so the vellum wouldn't buckle much. I did use a few foam squares at the top of the upper candy cane to support it over the other pieces.

Of course, my wintery Christmas card had to have lots of extras! Before I adhered the vellum to the card, I splattered white paint all over. Then I added some beautiful iridescent chunky glitter to the greenery. If you don't have that glitter, Clear Rock Candy glitter would be beautiful too! 

After the glitter was dry, I added drops of glue to the back of the vellum, hiding the drops behind the elements of the card. Then I attached it to the card and let it dry.

I stamped the sentiment from the Mini Messages: Holiday stamp set with Stormy Sky Distress Oxide ink. Using my MISTI allowed me to stamp it a few times for a good impression. After I cut it out with a die from the Mini Messages Banners Honey Cuts, I added foam tape to the back to adhere it to my card.

A few gem stickers from the Holiday Wishes stickers finished it off with a bit more sparkle!

I love all the sparkle; and if you'd like to see it even better, check out the reel I'll have posted very soon over on my Instagram! 

I hope you've found more inspiration here for the Holiday Wishes release! Thank you so much for stopping! Have a wonderful and crafty day!

Thank you for using my affiliate links to shop (never any additional cost to you)!

Tuesday, October 24, 2023

Leaf Trio Die Autumn Thank You Card

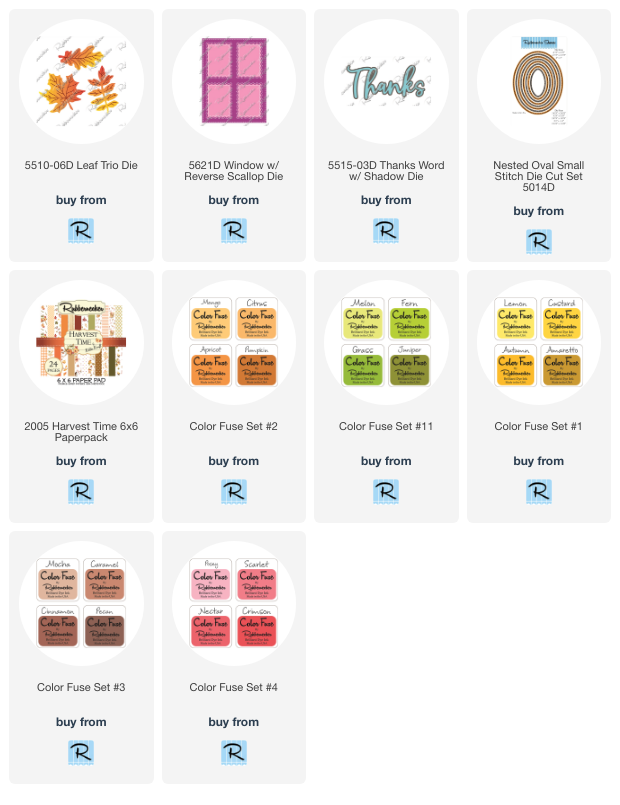
Hello crafty friends!  Today I'm sharing a gorgeous autumn Thank You card!  My collaged background features Rubbernecker Stamps beautiful Leaf Trio Die along with some other elements from their shop.

I used a large piece of Strathmore Bristol Smooth cardstock and ink blended several autumn colored dye inks in a random pattern until the piece was covered.  Then I die cut the Leaf Trio Dies from the inked cardstock several times until I had die cut the entire panel.

Then I die cut three pieces of white cardstock with the Window w/Reverse Scallop die.  I glued the layers together and set it aside to dry.

Next I trimmed a piece of striped cardstock from the Harvest Time paper pad to 3-¾" x 5".  I arranged all of the die cut leaves onto the paper and adhered them with glue.  I let some overhang the edge and trimmed off the excess to use to fill in empty spots along the edge.

I die cut and adhered three of the top layer of the Thanks Word w/Shadow die.  The shadow is orange cardstock from the Harvest Time paper pad.  I used the same orange cardstock as a base layer for the collage piece.

I arranged five of the remaining leaves around the sentiment adding a double bow made with twine.

I always like a bit of sparkle so I added some pretty coordinating gem stickers near the sentiment.

Thank you so much for stopping by!  I hope you have a wonderful day!


 Thank you so much for using my affiliate links to shop (never any additional cost to you)!

Monday, October 23, 2023

Crafty Meraki New Release Blog Hop

 I am thrilled to be joining Crafty Meraki for the celebration of their awesome October release.  There is an awesome prize to be chosen from the comments left on each stop of the hop, so keep reading for the details!

You should have arrived here from Ceal's blog.  If you would like to start at the beginning, head over to the Crafty Meraki blog.

🎄🎁 Introducing Crafty Meraki's #merakicraftober Christmas Extravaganza! 🎁🎄
Rediscover the joy of holiday crafting & slide effortlessly into the season with our phenomenal #merakicraftober release! Every single product in this curated collection has been passionately designed to help you create jaw-dropping Christmas cards in a flash—while making it look like you've spent days perfecting each one! From our game-changing new line of Effortless Artistry Papers (EAPs) to perfectly coordinated stamps, dies, meaningful sentiments, and hot foil plates, there's something here you won't want to miss.

For my card today I am featuring the beautiful new Blooming Noel stamp set!

This beautiful card was so easy to make!  I stamped the Blooming Noel stamp with Copic safe black ink.  It only took a handful of Copic markers to color the poinsettia.  I cut it out with the coordinating die.

Before I adhere the layers of the flower, I added white and gold splatters.  When that was dry I used thin foam tape to give dimension between each layer.

Next I used my hot foil system to foil the Gilded Holiday Greetings hot foil with gold mat foil.  It is totally awesome to have a coordinating die to cut out all of the sentiments from this hot foil plate all at once!

Before I adhered the flower and sentiment to the card base, I added more pretty gold splatters!

Check out the giveaway information!

🎉 Celebration Times Eight! 🎉
To make this season truly unforgettable, we're hosting not just one, but EIGHT fantastic hops! And guess what? We’re rolling out show-stopping prizes like MISTIs™, a MASSIVE set of Karin Markers, and even products from the new release. So come along and hop for a chance to make this crafting season the most magical yet! 

We are celebrating this gorgeous release with a FUN Blog Hop and we are giving away a regular size MISTI(TM) !! 

👉 How To Enter:
Simply Hop along to each stop on the Blog hop and leave a comment. we will pick a random winner from all the comments left on all stops.

Your next stop is: Michelle's blog

Winners will be randomly selected from the comments left across all participating designers' channels. Winners will be announced on Nov 6th. 📅 on the Crafty Meraki Blog here: https://craftymeraki.com/blogs/news/merakicraftober-hop-winners-announced 
Don't miss this chance to kickstart your festive crafting spree! 🎅

Thank you so much for stopping by!

Honey Bee Stamps Lovely Layers: Dove Christmas Card

 I'm in love with this gorgeous Lovely Layers: Dove by Honey Bee Stamps!  This is part of the new Holiday Wishes release!

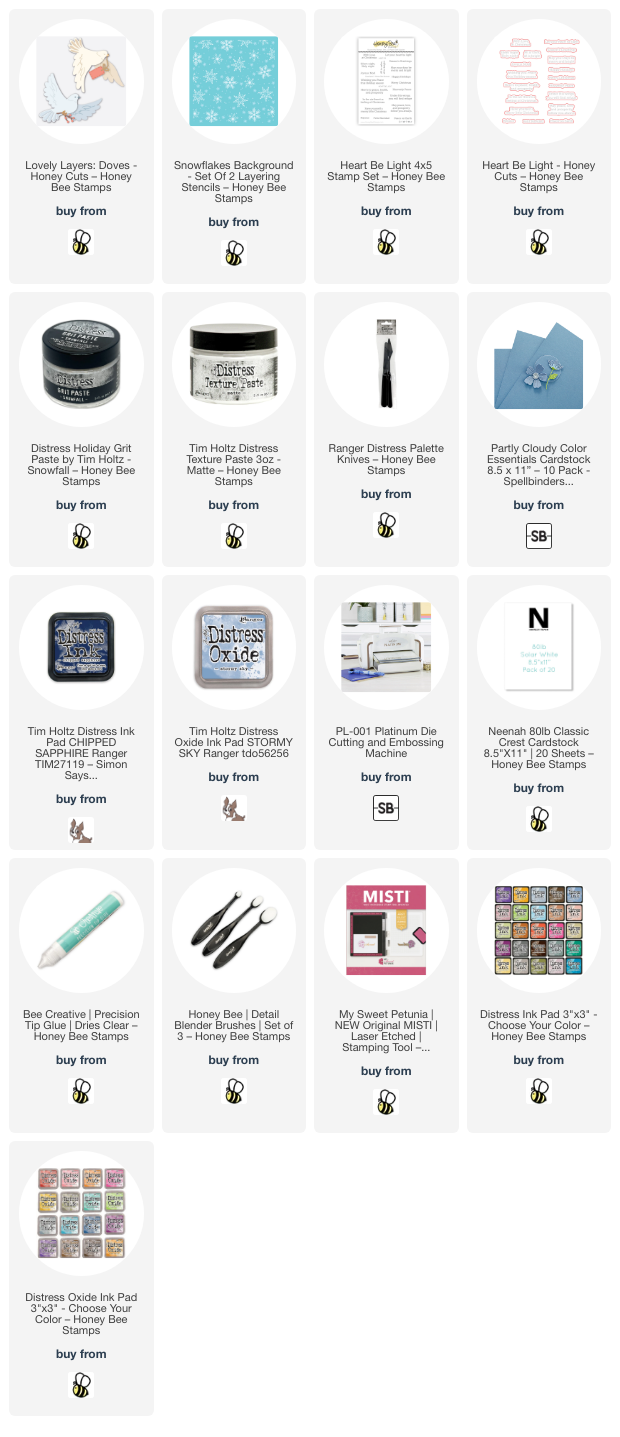
I die cut the layers of the Lovely Layers: Dove from 80# Neenah.  Before I adhered the layers together, I added shading with a few gray Copic markers.  The little berry brand and tag are also included in this set!

For the background first I inked up the edges of blue cardstock with Stormy Sky Distress ink.  Then I used the Snowflakes Background stencils and added Distress Texture Paste matte through the stencil layer with the larger snowflakes.  When that was dry, I added Snowfall Grit Paste through the other stencil. 

There are many beautiful sentiments to choose from in the Heart Be Light stamp set.  I stamped it with Chipped Sapphire Distress Oxide and cut it out with the Heart Be Light coordinating dies.


I know this was a super short post, but it truly was that easy!  Thank you always, for stopping by!

Thank you very much for shopping with my affiliate links (never any additional cost to you)!

Sunday, October 22, 2023

Holiday Wishes Release Inspiration Week with Holly Border Stencils

 Happy Sunday crafty friends!  Today begins the first day of the Honey Bee Stamps' team's inspirations featuring the amazing new release called Holiday Wishes.

These posts will typically be brief here and a few of the days I may just be sharing over on my Instagram.  So be sure to check it out and be subscribed to both!

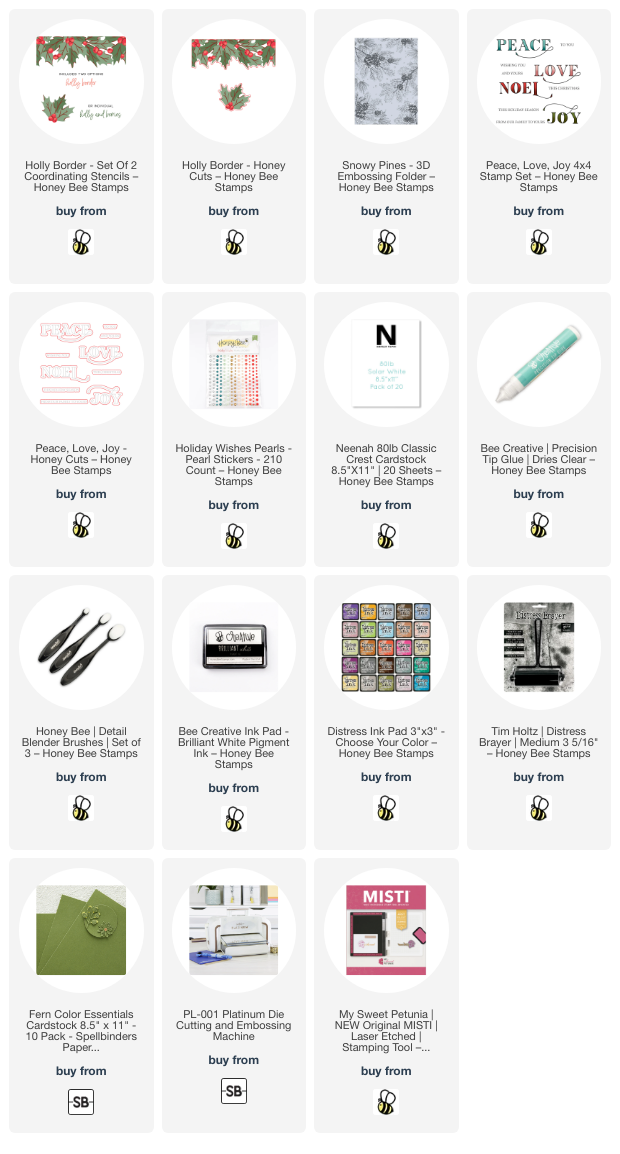
This card features the beautiful Holly Border stencil set used with the coordinating dies!  I used ink blending brushes to color through the stencils with Distress Inks.  I used just four ink colors to achieve this beautiful coloring: Mowed Lawn, Rustic Wilderness, and Festive Berries along with Honey Bee's white pigment ink.

Here you can really see the gorgeous new Snowy Pines 3D embossing folder on the green cardstock background!  I did use a brayer with Rustic Wilderness to roll the ink on the smoother side of the embossing folder.  This really helps the image to pop!

The sentiment is one included in the Peace, Love, Joy stamp set.  I stamped it in a coordinating red ink and cut them out with the coordinating dies.

The pearls are from the new Holiday Wishes Pearl Stickers.

Be sure to check out all of the gorgeous new products in Honey Bee's Holiday Wishes release!  Thanks so much for stopping by and I hope you have a beautiful Sunday!

Thank you for using my affiliate links to shop (never any additional cost to you)!

Friday, October 20, 2023

Sweet Holiday Christmas Wishes

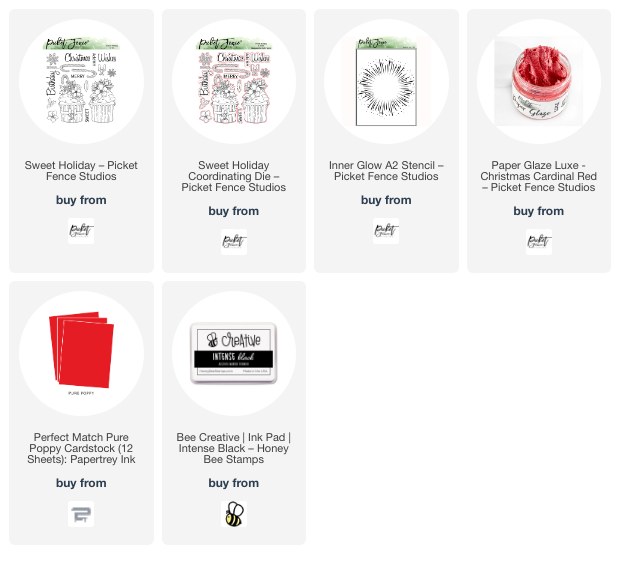
 Hi friends!  I'm sharing my card featuring Picket Fence Studios beautiful new Sweet Holiday stamps and coordinating dies.  This will be a short post as I have tons to do before leaving town next Wednesday!

This set was illustrated by the so very talented Kelly Taylor!  I've had the pleasure of meeting her in real life and also being the same design team too!  She's so sweet!  There are two cupcake images in the Sweet Holiday stamp set, and I chose the one with the candy cane to color with my Copic markers.

I love having coordinating dies to cut out images to be able to pop them up on the card fronts with a stenciled background.

I spread some of Picket Fence's Christmas Cardinal Red Paper Glaze Luxe through the Inner Glow A2 stencil.  Once that was dry, I popped up the Sweet Holiday cupcake over it with foam tape.

The sentiment is one of several in the set.  I popped it up with foam tape after matting it with red cardstock.  I added lots of sparkles to the cupcake image, but the one I think shows in the photo is the iridescent chunky glitter I added to the cupcake icing!  

I hope you'll check out the entire new release over at Picket Fence!  It's filled with lots of awesome crafty goodies!  Thank you so much for stopping by!

Thank you for shopping with my affiliate links (never any additional cost to you)!