Showing posts with label Seasonal Sentiments stamps. Show all posts

Wednesday, November 29, 2023

Happy Holidays -- Let's Decorate A Die Cut Window Frame!

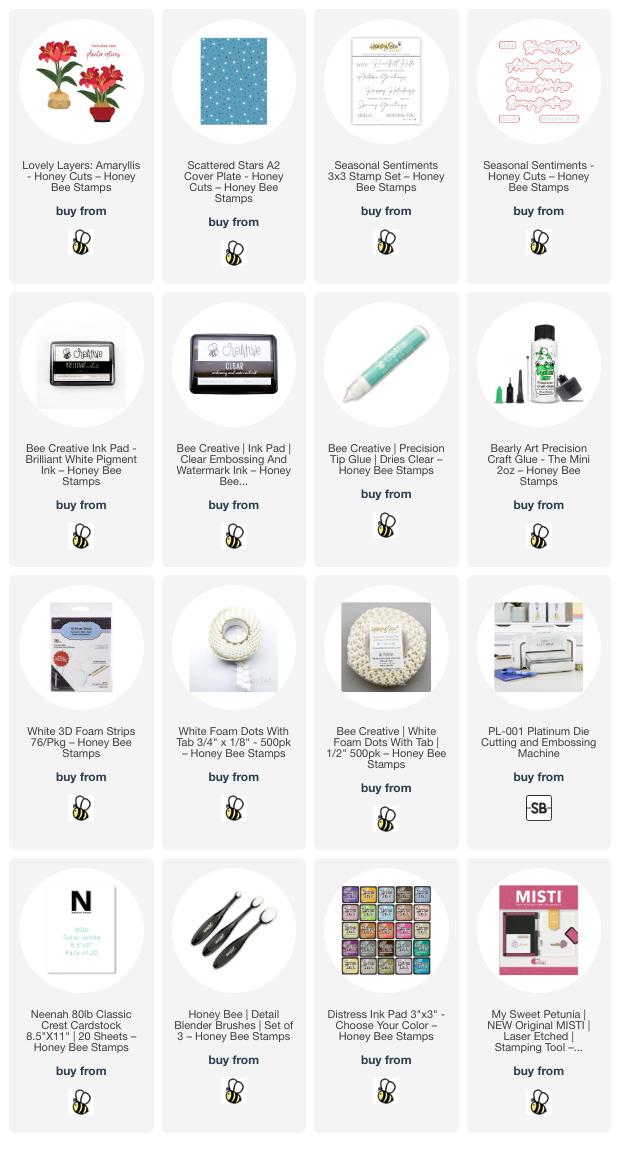
Hello, crafty friends!  Can you believe November is almost over?!!  Well, I have another Christmas card to share with you.  This card features the beautiful Lovely Layers: Seasonal Frame by Honey Bee Stamps.  I've always loved those old windows where someone has added greenery and flowers to it and used it as a wall hanging!  There are many different dies included in this set to use for the holidays, autumn, and spring themed cards too.

First I created the A2 card base and layers. I added a piece of patterned paper from the Grain and Grunge paper pad, trimmed it to 4-¼" x 5-½" and glued it to my card base. Next I die cut 80# Neenah with the window frame from the Lovely Layers: Seasonal Frame three times. After I glued the three layers together, I adhered it to the card front.

To fill in the window openings, I chose a blue snowy piece of paper from the Winter Wonder paper pad and ran it through my die cutting machine with the window frame die. This time I used the four squares from the die cut and adhered them into the window openings.

I chose one of the flowers, the greenery, bird, pinecone and berries dies from the Seasonal Frame and die cut the pieces from 80# Neenah. I used my detail blender brushes to color the pieces with various inks. Several of the inks I used were Distress Ink. The colors I used are: Candied Apple, Aged Mahogany, Shabby Shutters, Mowed Lawn, and Rustic Wilderness. The other inks are from my stash.

I glued the bird and flower layers together, then arranged the pieces on my card. When I was happy with the arrangement, I used glue with a fine tip nozzle to adhere the pieces. I also used my favorite reverse tweezers in the assembly.

The sentiment is from the Seasonal Sentiments stamp set and stamped in black ink. After I cut it out with the coordinating die, I added a foam tape strip to the back to pop it up on the card.

Here is when I decided to add a bit of glitter! Haha! I used that fine-tipped glue to add lines of glue to the flowers and berries. Then I sprinkled on some fine white glitter. When the glue had dried, I used a soft brush to sweep away any stray glitter. I love the subtle sparkle!

I can think of several ways to use the Seasonal Frame and can't wait to try making one with bright springtime colors! Thanks so much for stopping by. I appreciate you!

Thank you for shopping with my affiliate links (never any additional cost to you)!
Wednesday, November 1, 2023

Holiday Card with Layered Amaryllis

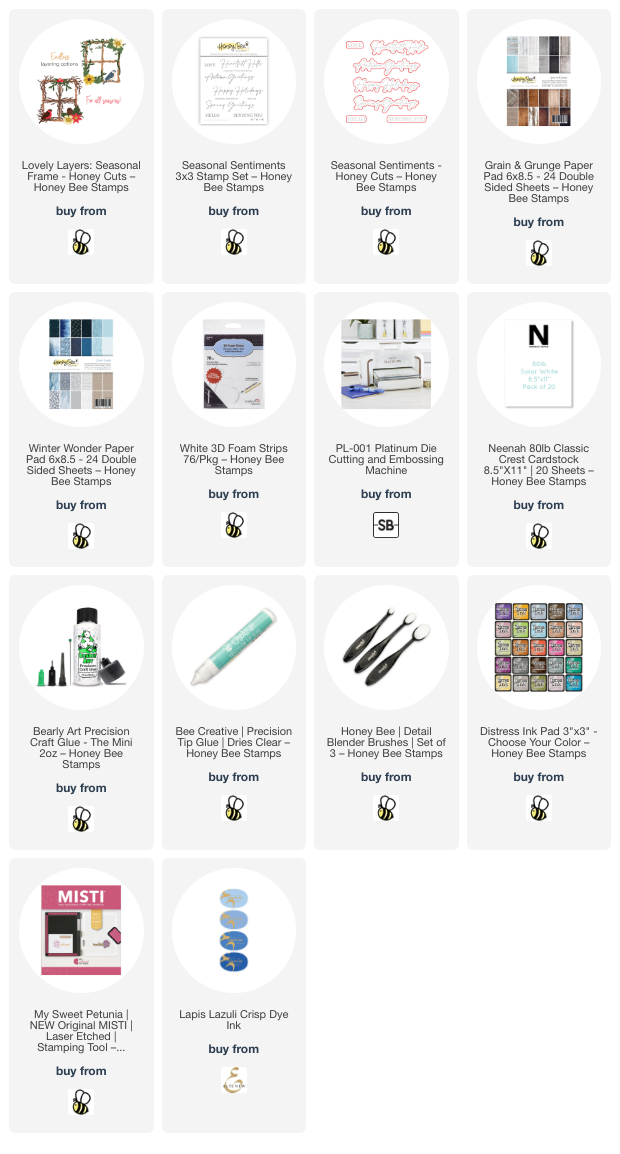
Hello crafty friends, and happy November 1st! Today I'm sharing my holiday card that features the beautiful Lovely Layers: Amaryllis from the recent Holiday Wishes release. Did you know amaryllis come in all shades of reds, pinks and also white? I love the white flowers and decided to use that as inspiration for my card.

I made the card base by using an ink blender brush to add Chipped Sapphire Distress Ink around the edges of an A2 panel of dark blue cardstock. Then I die cut the piece with the new Scattered Stars Cover Plate die. I glued it to an A2 top-folding card base.

Next I die cut all of the pieces in the Lovely Layers: Amaryllis from 80# Neenah. ( I will save the other flower pot for another project.) I die cut the amaryllis layers twice more.

I used Copic markers to color all of the pieces. Here's a list of the colors I used.

  • flower pot: R89, R39, R29, R27
  • amaryllis leaves: G28, G43, G24
  • amaryllis petals: G43, G24, YG61C3, C1, C00
  • amaryllis stamens: G20, Y02
  • amaryllis bulbs: E18, E17, E15

When I finished coloring, I used glue to adhere the layers. Since this was my first time to use the Lovely Layers: Amaryllis, I used the very helpful layering guide found via a link in the product description. Then I arranged the flowers in the pot and adhered them with glue.

Before I adhered the amaryllis and pot to the card, I used a blender brush and Bee Creative Brilliant White pigment ink to add a "glow" on the blue cardstock that would be behind the flowers.

I stamped the sentiment from the Seasonal Sentiments with Clear Embossing ink onto blue cardstock. I added white embossing powder and set it with my heat tool. I cut it out with the coordinating die.

I added some thin and regular foam dots to the back of the pot of amaryllis to adhere it to the card. The sentiment is adhere with a narrow strip of foam tape on the right half and glue on the left.

At this point I really wanted to add some bling to the card! However, I decided to leave it be. I think my previous card had enough sparkles to last a bit! Haha!

Thanks so very much for stopping by today! I hope your day is filled with crafty fun!

I so appreciate you shopping with my affiliate links (never any additional cost to you)!