Saturday, May 7, 2022

Altenew Craft-A-Flower: Butterfly Bush Release Blog Hop + Giveaway (total of $200 prizes)

Hello, and welcome to my stop of the blog hop to celebrate the release of Altenew's gorgeous Craft-A-Flower: Butterfly Bush!  You should have arrived here from the blog of Virginia Lu.  If you'd like to start at the beginning of the hop, head over to the Altenew Card Blog.

Don't forget that the Craft-A-Flower line is available as a monthly subscription.  When you sign up for the subscription, you are guaranteed a spot in the monthly Craft-A-Flower releases and will receive a set each month--at a specially discounted price! ($35.99 reduced to $29.99)

*******************************************

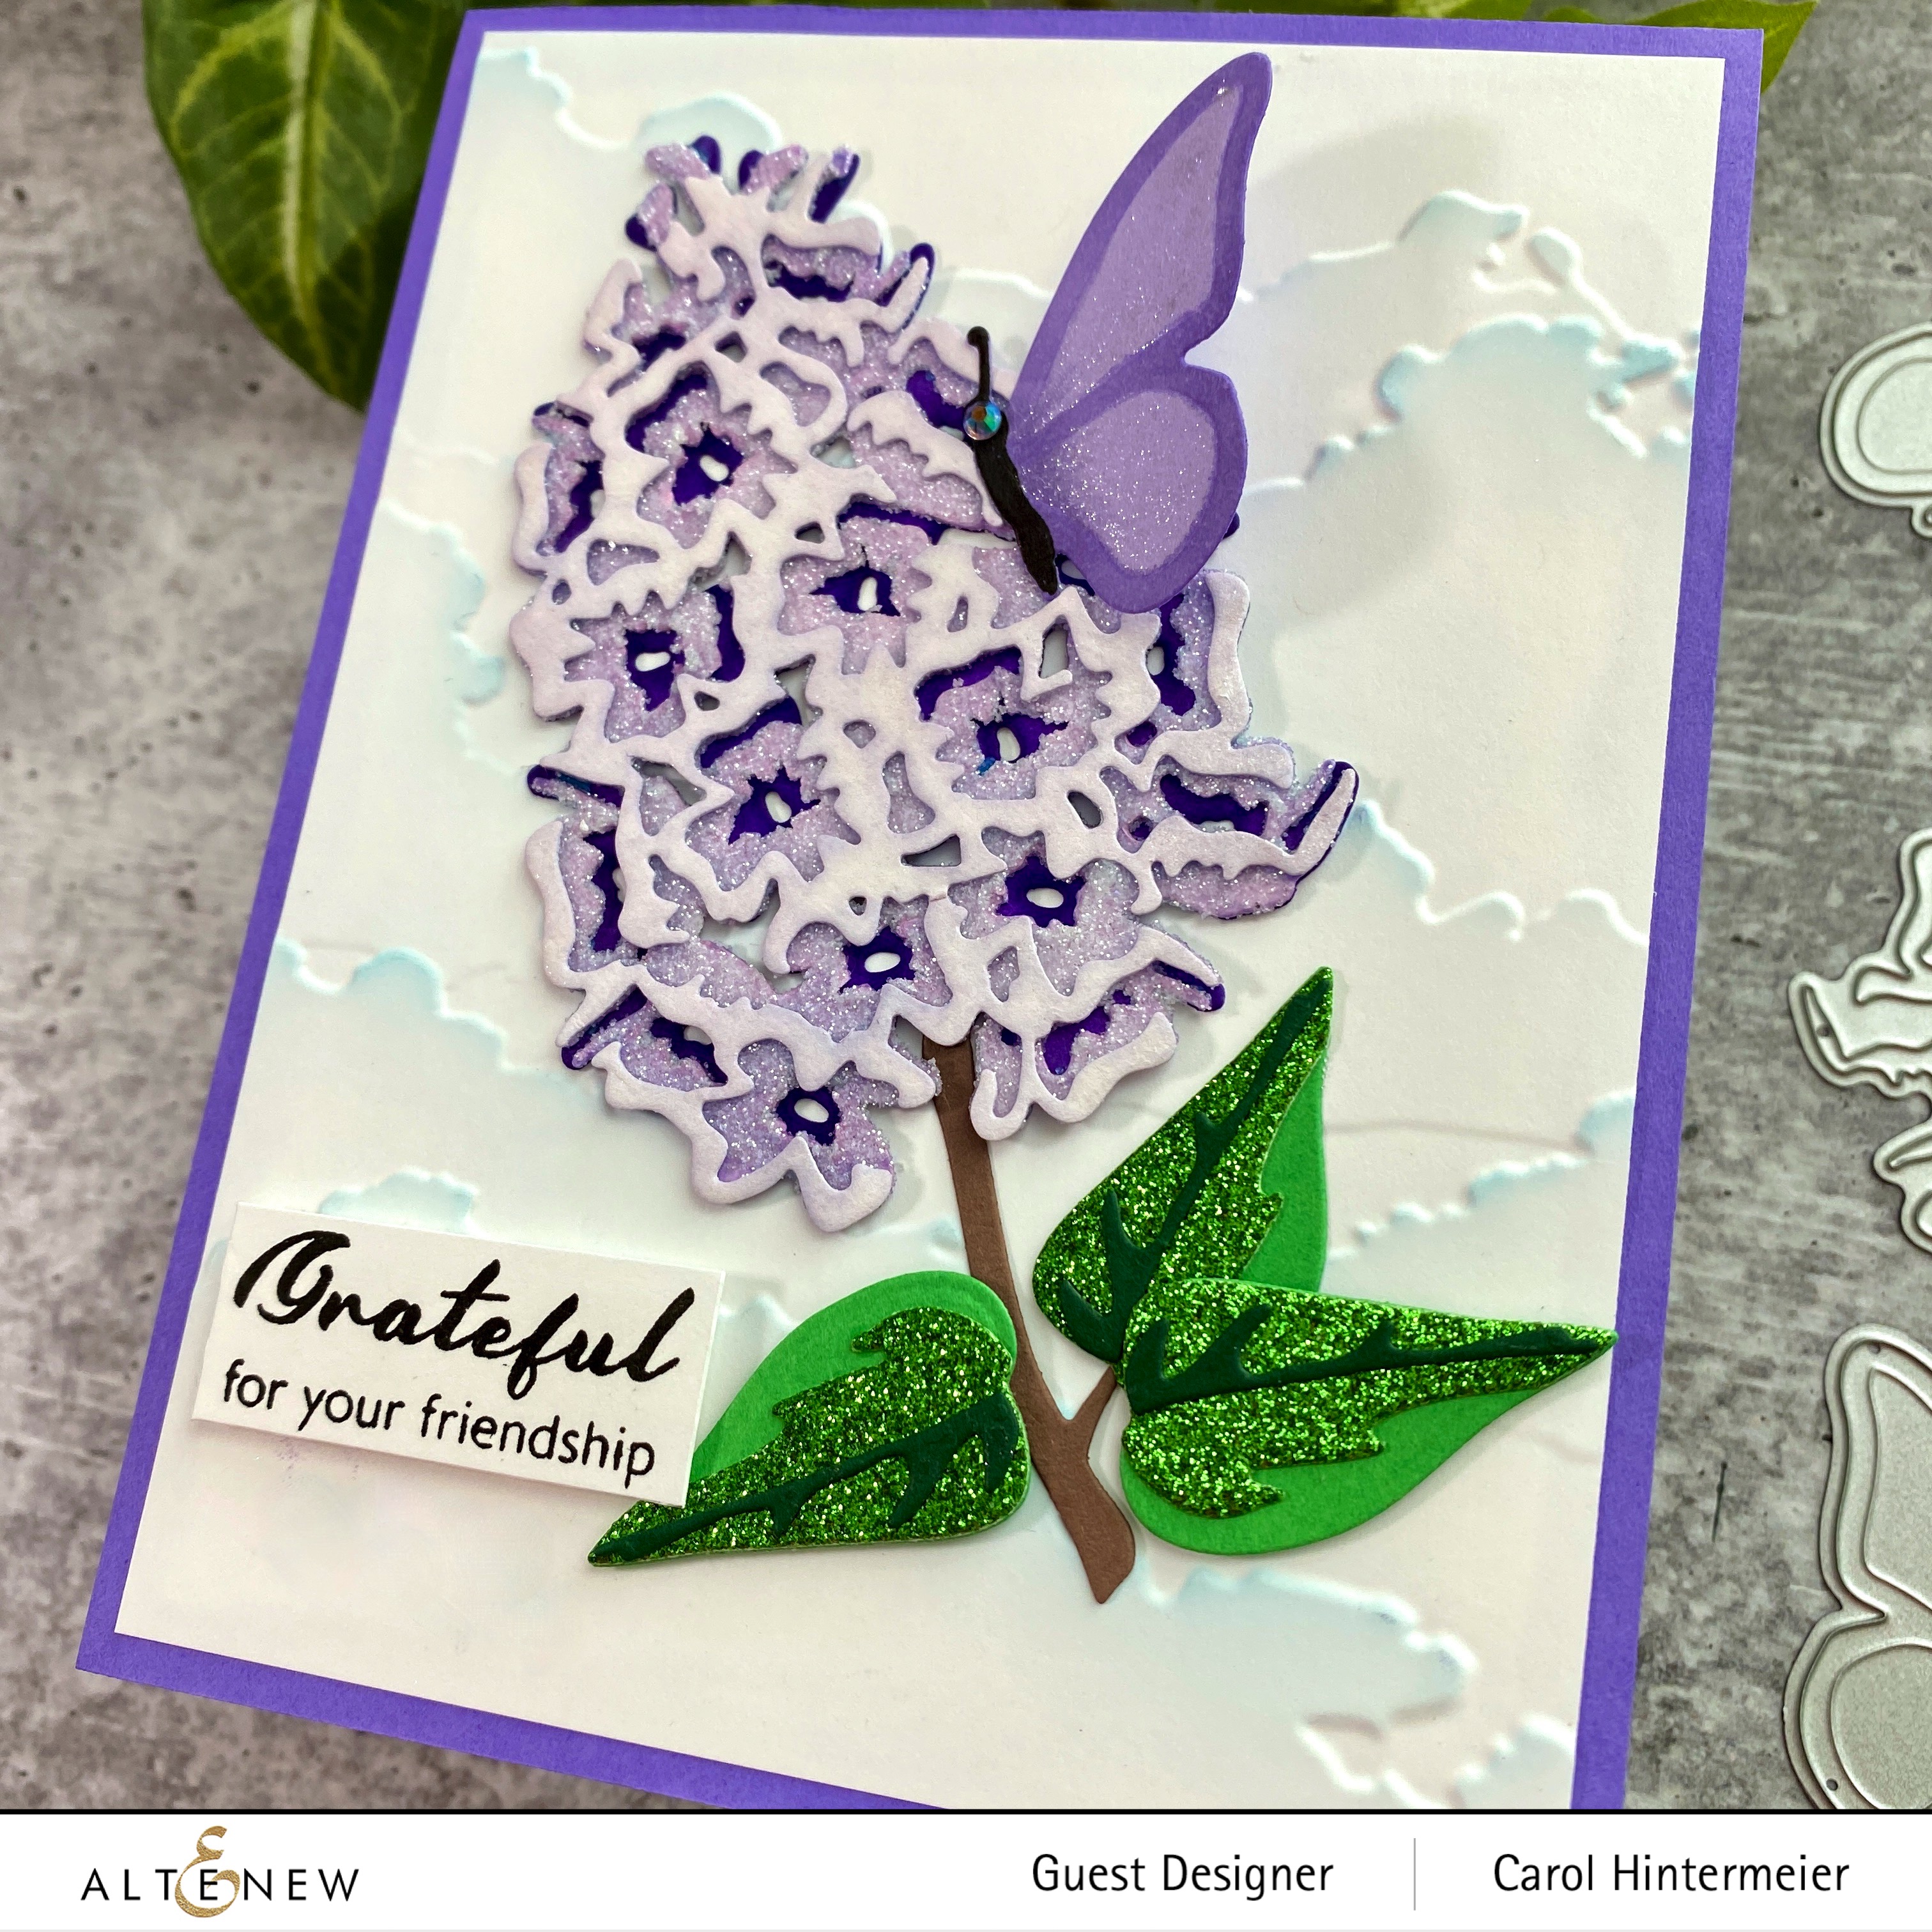
To begin, I created my card base by inking the edges of an A2 top-folding card with Hydrangea Crisp Dye ink.  Then I embossing white cardstock with the Cloudy Day 3D embossing folder.  I trimmed it to 4" x 5-¼" and then used the large ink blending tool to add some light blue ink to the embossed clouds.  The flat surface of this brush makes it very easy to add the ink just to the embossing!

Next I die cut the Craft-A-Flower: Butterfly Bush flower dies from white cardstock.  I used the inks in the Enchanted Garden Ink Cube set and blending brushes to color the pieces.  I decided I wanted the center layer of the Butterfly Bush to be sparkly, so I added a layer of some glitter paste over the colored image.  I did need to use my craft pick to remove the paste from the die cut openings.  When it was dry, I adhered the layers together with glue.  (I wish all the sparkle showed up in photos!)

I used papers from the Green Meadows, Coffee Break, and New Purple Gradient Cardstock sets for the leaves, stem and butterfly.  One layer of the leaves uses Titanite from the Forest Canopy Glitter Gradient Cardstock set.  I adhered the layers together and added them to the card with glue.  I used a sentiment from the Build-A-Flower: Coneflower set, stamped it in black ink, and popped it up with foam tape.
Thanks so much for stopping by!  Be sure to leave a comment for your chance to win an awesome prize before hopping on to the next stop!

Your next stop on the hop is Nathalie DeSousa.

Giveaway Prizes
$200 in total prizes! To celebrate this release, Altenew is giving away a $50 gift certificate to 2 lucky winners and a $20 gift certificate to 5 winners! Please leave a comment on the Altenew Card Blog and/or each designer’s blog post on the blog hop list below by 05/13/2022 for a chance to win. Altenew will draw 7 random winners from the comments left on each stop of this blog hop and announce the winners on the Altenew Winners Page on 05/15/2022.

Blog Hop Order:

Altenew Card Blog

Jenny Colacicco

Cheryl Espie

Jaycee Gaspar

LauraJane

Terri Koszler

Nenette S. Madero

Virginia Lu

Carol Hintermeier ---> that's me!
Nathalie DeSousa

Angela Brennan

Reiko Tsuchida

Rosie Neustaedter

Ann Taylor

Laurie Patterson

Sande Woodson

Amy Hill

Linda Westfall

Natasha Davies

Susan Stagno

Daniel Diaz

Eva Bussom

Hussena Calcuttawala

Nandini Karmarkar

Nichol Spohr

Preeti Chandran

SathyaKala Sankaran

Susan Busada

Friday, May 6, 2022

Sweet Birthday Card with a Dimensional Paper Gardenia

Hello crafty friends!  Today I'm sharing a birthday card I made using Spellbinders' gorgeous Gardenia Etched Dies from the Through the Garden Gate Collection by Susan Tierney-Cockburn.  I am quite fond of gardenias and their lovely scent because this flower brings back sweet nostalgic memories for me.  There is something about taking paper and shaping it into a beautiful flower that just makes me lose all track of time!  Haha!

It's been a while since I've made any dimensional flowers like this, but no worries!  Susan, the designer of these dies, does video tutorials for each of her sets to help us get the layers just right!  Watch Susan's Gardenia video to see what I mean!

I die cut each of the dies for the gardenia from Susan's Garden Specialty Cardstock with my Spellbinders Platinum die cutting machine.  The dies have the number of times to die cut that particular piece etched on them.  I colored the centers of each petal layer with Scattered Straw Distress ink with a small blender brush.  I blended Rustic Wilderness, Mowed Lawn, and Twisted Citron Distress inks onto the leaves.  NOTE:  I discovered that when I used Distress Oxide inks, the metal flower shaping tools left marks where the ink was!  Something about the ingredients in the Oxides does this, I suppose!

I shaped the flower layers and leaves following the directions Susan gave in her video.  I used various tools from Susan's Garden Ultimate Tool Kit to aid in shaping the petals and leaves.  I used liquid glue to adhere each layer together.  I set the flower aside to dry while I made my card base.

For the card base, first I used the frame from the Tulip Trio die set to cut white cardstock.  I adhered it to an A2 sized piece of pink cardstock.  Then I adhered the layers to my white card base.  I used the circle die from the Tulip Trio die set to cut pink cardstock.  I popped it up with foam tape on the card front.

Next I stamped the sentiment from the Essential Sentiments set onto the card with black ink.  Then I adhered the flower and leaves.  I think every birthday card should have sparkles, so I added a few gem stickers to my card.  I added some subtle sparkle by using a clear glitter pen around the edges of the flower petals.

This was such an enjoyable card to make, and I hope I've given you more inspiration for this beautiful set. Thank you so very much for stopping by!  Have a wonderful Friday!

Wednesday, May 4, 2022

Springtime Wisteria Thank You Card

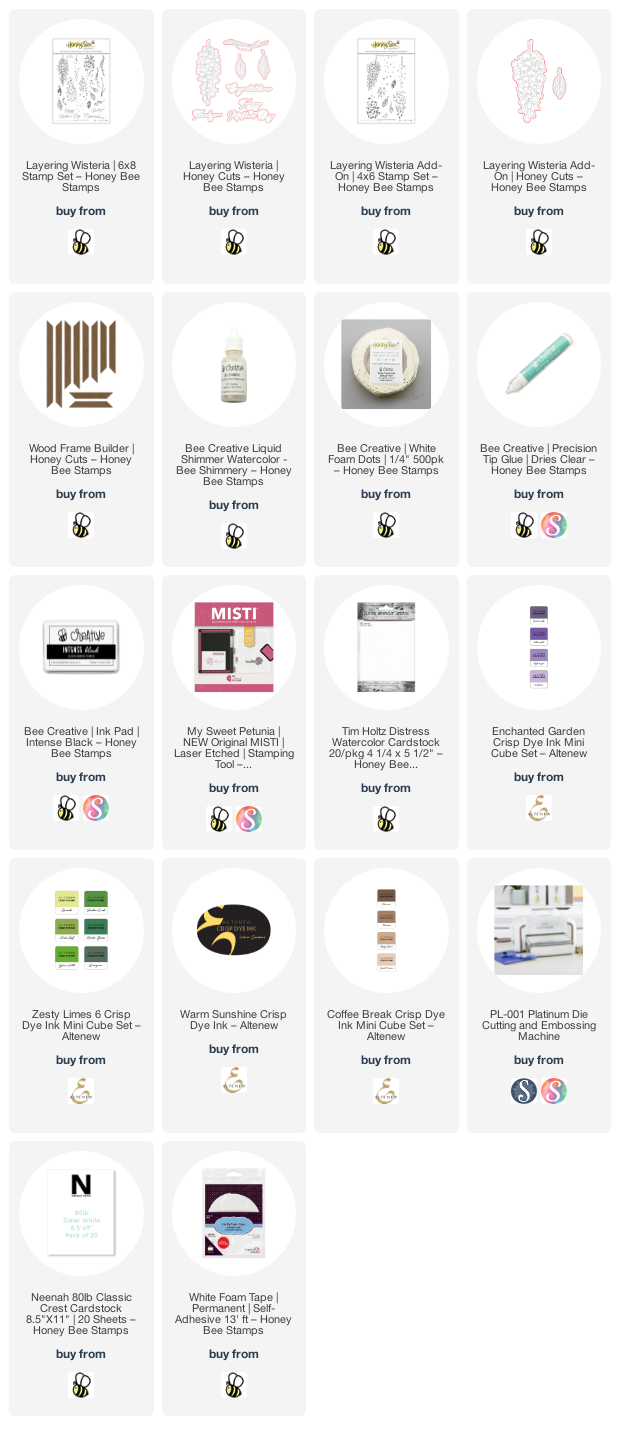
Hello crafty friends! Today I'm sharing a card made with the new Honey Bee Stamps Layering Wisteria stamp set, Layering Wisteria Add-On stamp set, and the coordinating Honey Cuts for both. These are brand new and part of the amazing Birthday Bliss release. I find I can never have enough thank you cards in my stash and I'm in love with the fonts of the sentiments in this set!

To make the stamping of these layering sets easy, I followed a template technique I was reminded of when I saw Jennifer McGuire's video demonstrating this! You will need your MISTI, or other stamp positioning tool, for this technique. I die cut the Layering Wisteria and Layering Wisteria Add-On Honey Cuts flowers and leaves first, retaining one of the negative portions to place my die cuts in. Then you center your stamps in the open space, insert the die cut pieces, and stamp each one. I know this sounds a bit confusing, but if you watch her video, I think you'll see what I mean. I also used the very helpful stamp layering guide that you will find on the Honey Bee website by scrolling through the product photos.

I used various purple, green, and brown inks (linked in the product list below) from my stash to stamp the layers of the wisteria, leaves, and branch. Die cutting these pieces with the coordinating Layering Wisteria Honey Cuts and Layering Wisteria Add-On Honey Cuts before stamping is sure a time saver! I set these aside and worked on my card base.

I pressed some of the purple inks I used for stamping onto my glass mat. Then I used some water and a paint brush to add splatters onto some watercolor cardstock. Next I added drops of the new, and SO beautiful, Bee Shimmery Liquid Shimmer Watercolor. When this was dry, I adhered the piece to my A2 card base. I adhered the frame that I die cut from the Wood Frame Builder Honey Cuts with foam tape to add dimension.

I arranged the wisteria blossoms and leaves on my card, attaching them with foam dots and some Bee Creative glue. Then I stamped the sentiment from the Layering Wisteria set with Intense Black ink and die cut it with the coordinating Honey Cut. I used foam tape to attach it to the card.

I was amazed at how pretty and sparkly the Bee Shimmery liquid shimmer watercolor is! So I painted on more of it onto the darker portions of the wisteria blossoms. Then I just splattered what was left all over the card! LOL! It's even prettier in real life!!

Thank you so much for stopping by today!  Have a wonderful, crafty day!

Sunday, May 1, 2022

Altenew Build-A-Garden: Magnificent Branch Release Blog Hop + Giveaway ($200 total prizes)

Hello, and welcome to the blog hop to celebrate Altenew's release of the absolutely gorgeous Build-A-Garden: Magnificent Branch!  You should have arrived here from the blog of Jaycee Gaspar.  If you need to start at the beginning, head on over to the Altenew Card Blog.

From Altenew:

Enjoy our Build-A-Garden project set, an exciting monthly package that is sure to get the creative juices flowing! Each month includes a stamp set along with a coordinating stencil set and/or die set PLUS a customer-favorite Mini Blending Brush! Build your collection of brushes from month to month so you will never be left looking for the perfect tool while crafting.

This set contains the following products:

- one 6" x 8" stamp set containing 10 stamps made in the USA from high-quality photopolymer

- one layering stencil set containing 4 stencils that coordinate with the stamp set

- one Mini Blending Brush for ink blending

Note: These products are NOT sold separately. 

Click here to check out all of the details of the monthly Build-A-Garden subscription!

******************************************

I thought about stamping the Build-A-Garden: Magnificent Branch image onto two A2 cards.  However, I just think it's so beautiful as one large image on a slimline card, and that's what I went with!  First I stamped it with black ink and then used the coordinating Build-A-Garden: Magnificent Branch Layering Stencils to color it with ink blending brushes and various Altenew Crisp Dye Inks.  The colors I used are Coral Bliss, Heart Beat, Vineyard Berry, Maple Yellow, Firefly, Grass Field, and Mountain Pine.  For the branch I used Gathered Twigs Distress Ink.

After I finished the stenciling, I smooshed the ink pads onto my glass mat and used a watercolor brush to pick up the colors and added more more depth and details to the leaves and flowers.  When it was dry, I trimmed the card to 8" x 3-½".

For the coordinating mat layer I inked the edges of a 8-¼" x 3-¾" piece of white cardstock with Coral Bliss Crisp Dye ink.  Just drag the ink pad along the edges for a quick and easy coordinating layer!  

I adhered the mat layer to my slimline card base with glue.  Then I stamped the sentiment, including in the stamp set, onto a strip of vellum with clear embossing ink.  I added black embossing powder and heat set it.  Next I trimmed it into a strip and adhered the edges on the back of my stamped and colored panel.  

I adhered the piece to the card and added a few clear acrylic drops for some shine.  

Thank you very much for stopping by!  Be sure to leave a comment here, before heading to the next stop,  for your chance to win an awesome prize.

The next stop is the blog of Jenny Colacicco!

Giveaway Prizes

$200 in total prizes! To celebrate this release, Altenew is giving away a $50 gift certificate to 2 lucky winners and a $20 gift certificate to 5 winners! Please leave a comment on the Altenew Card Blog and/or each designer’s blog post on the blog hop list below by 05/07/2022 for a chance to win. Altenew will draw 7 random winners from the comments left on each stop of this blog hop and announce the winners on the Altenew Winners Page on 05/09/2022.

Blog Hop Order:

Saturday, April 30, 2022

Happy Happy Happy Birthday Cards -- It's Honey Bee Stamps 7th Birthday!

Hello crafty friends!  Today is a fun day as we are celebrating Honey Bee Stamps' 7th birthday with an Instagram hop!  We are showcasing new products from their brand new release called Birthday Bliss!  I have two cards that I created from one fabulous cover plate die.  Read on for the details!

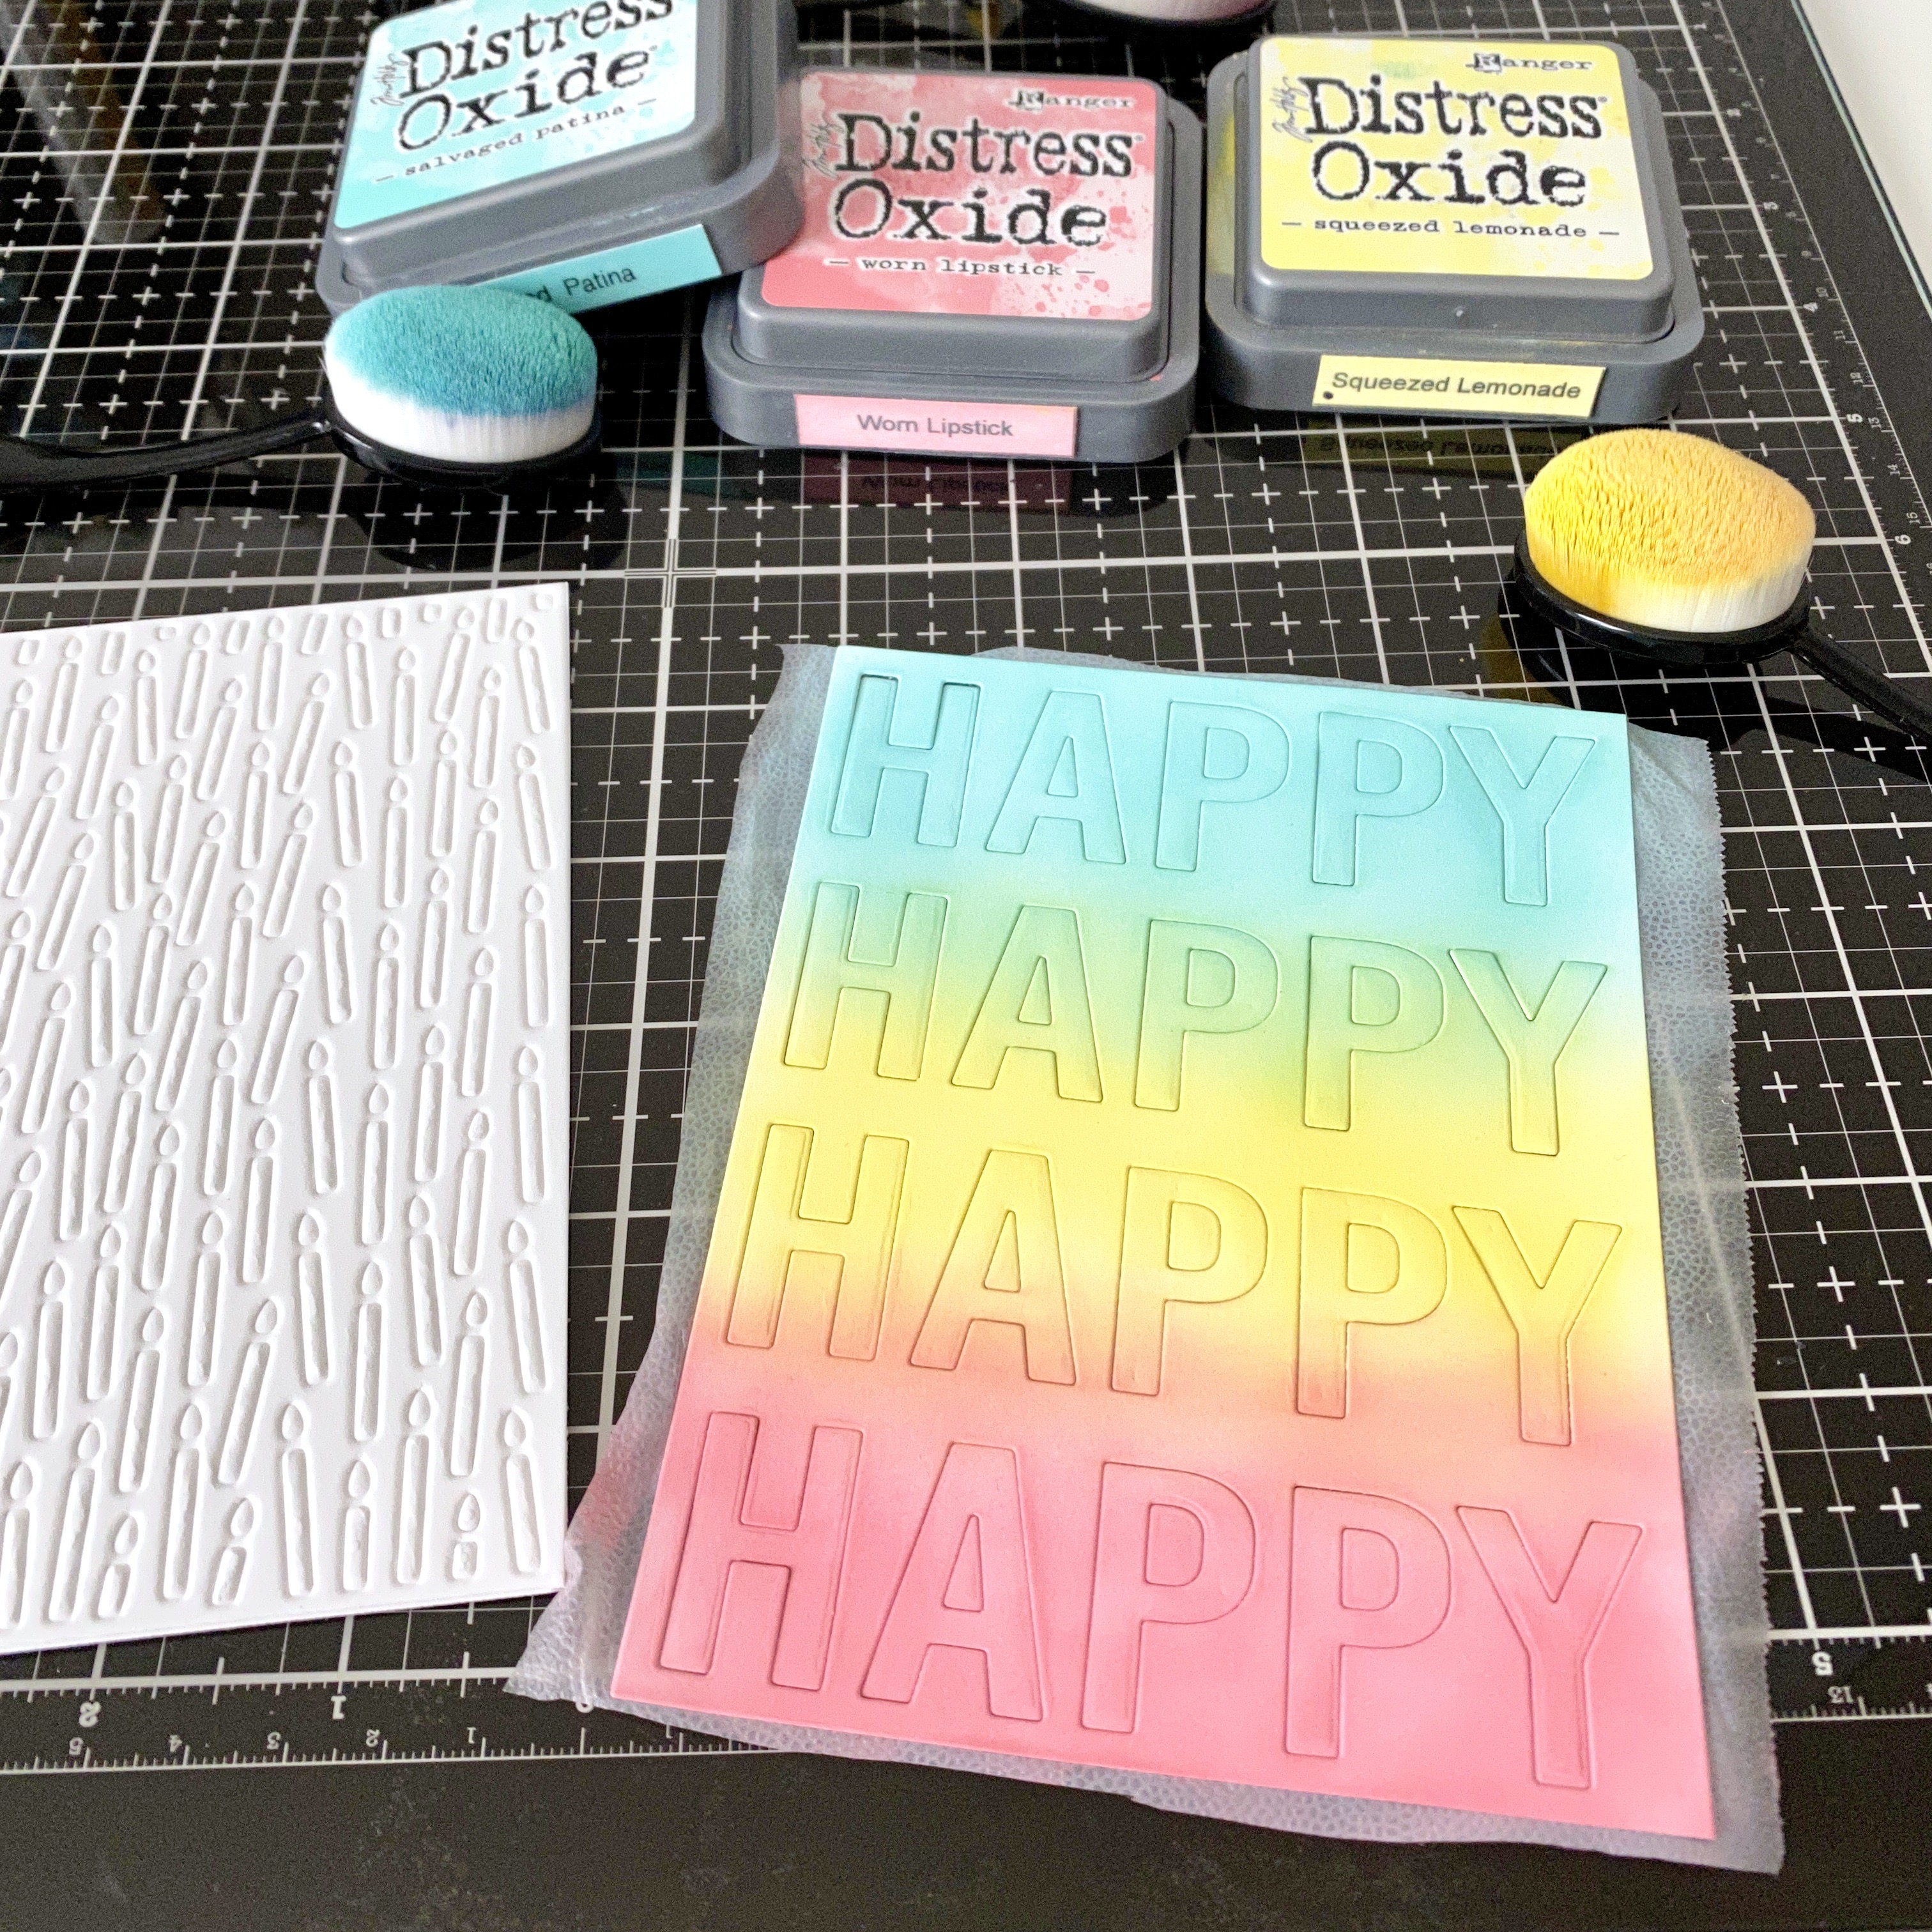
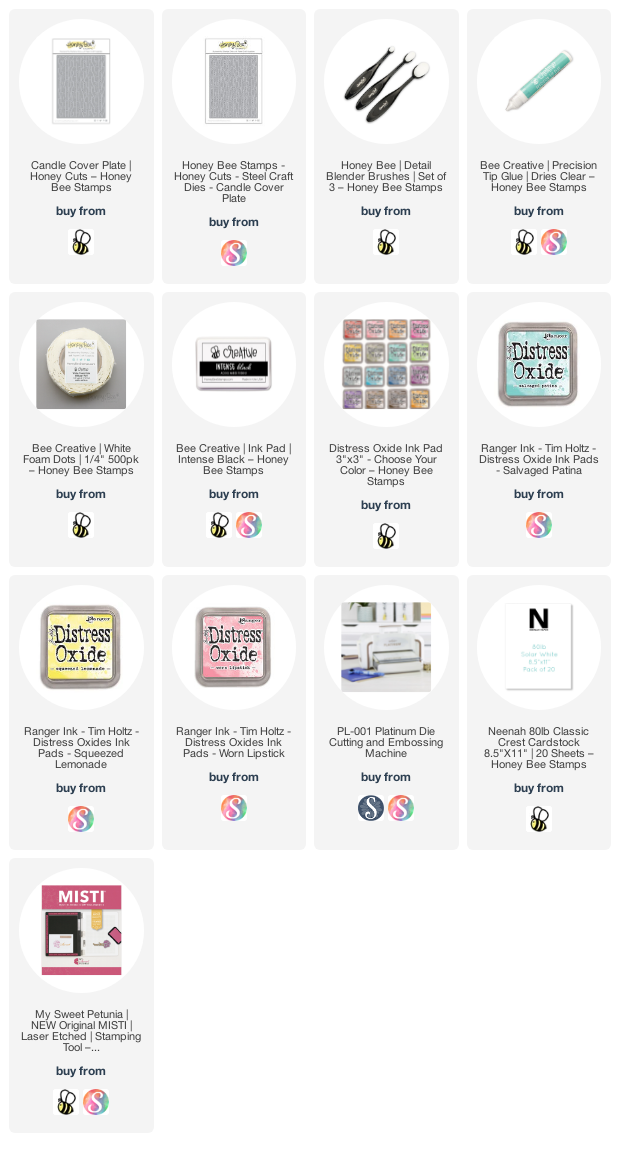
First I die cut the Happy Happy Happy A2 cover plate three times from 80# Neenah cardstock.  I kept all of the pieces of each die cut in place by sticking on a piece of Press N Seal.  Next I blended Distress Oxide inks on one of them.  I used an ink blender brush and Salvaged Patine, Squeezed Lemonade, and Worn Lipstick Distress Oxides.  I liked blending onto the die cut piece as I could better decide how far to bring each color down.

I peeled off the negative pieces of all three die cuts and glued them together.  Be sure to save the center pieces of the letters!!  I set that aside to dry while I began my first card.

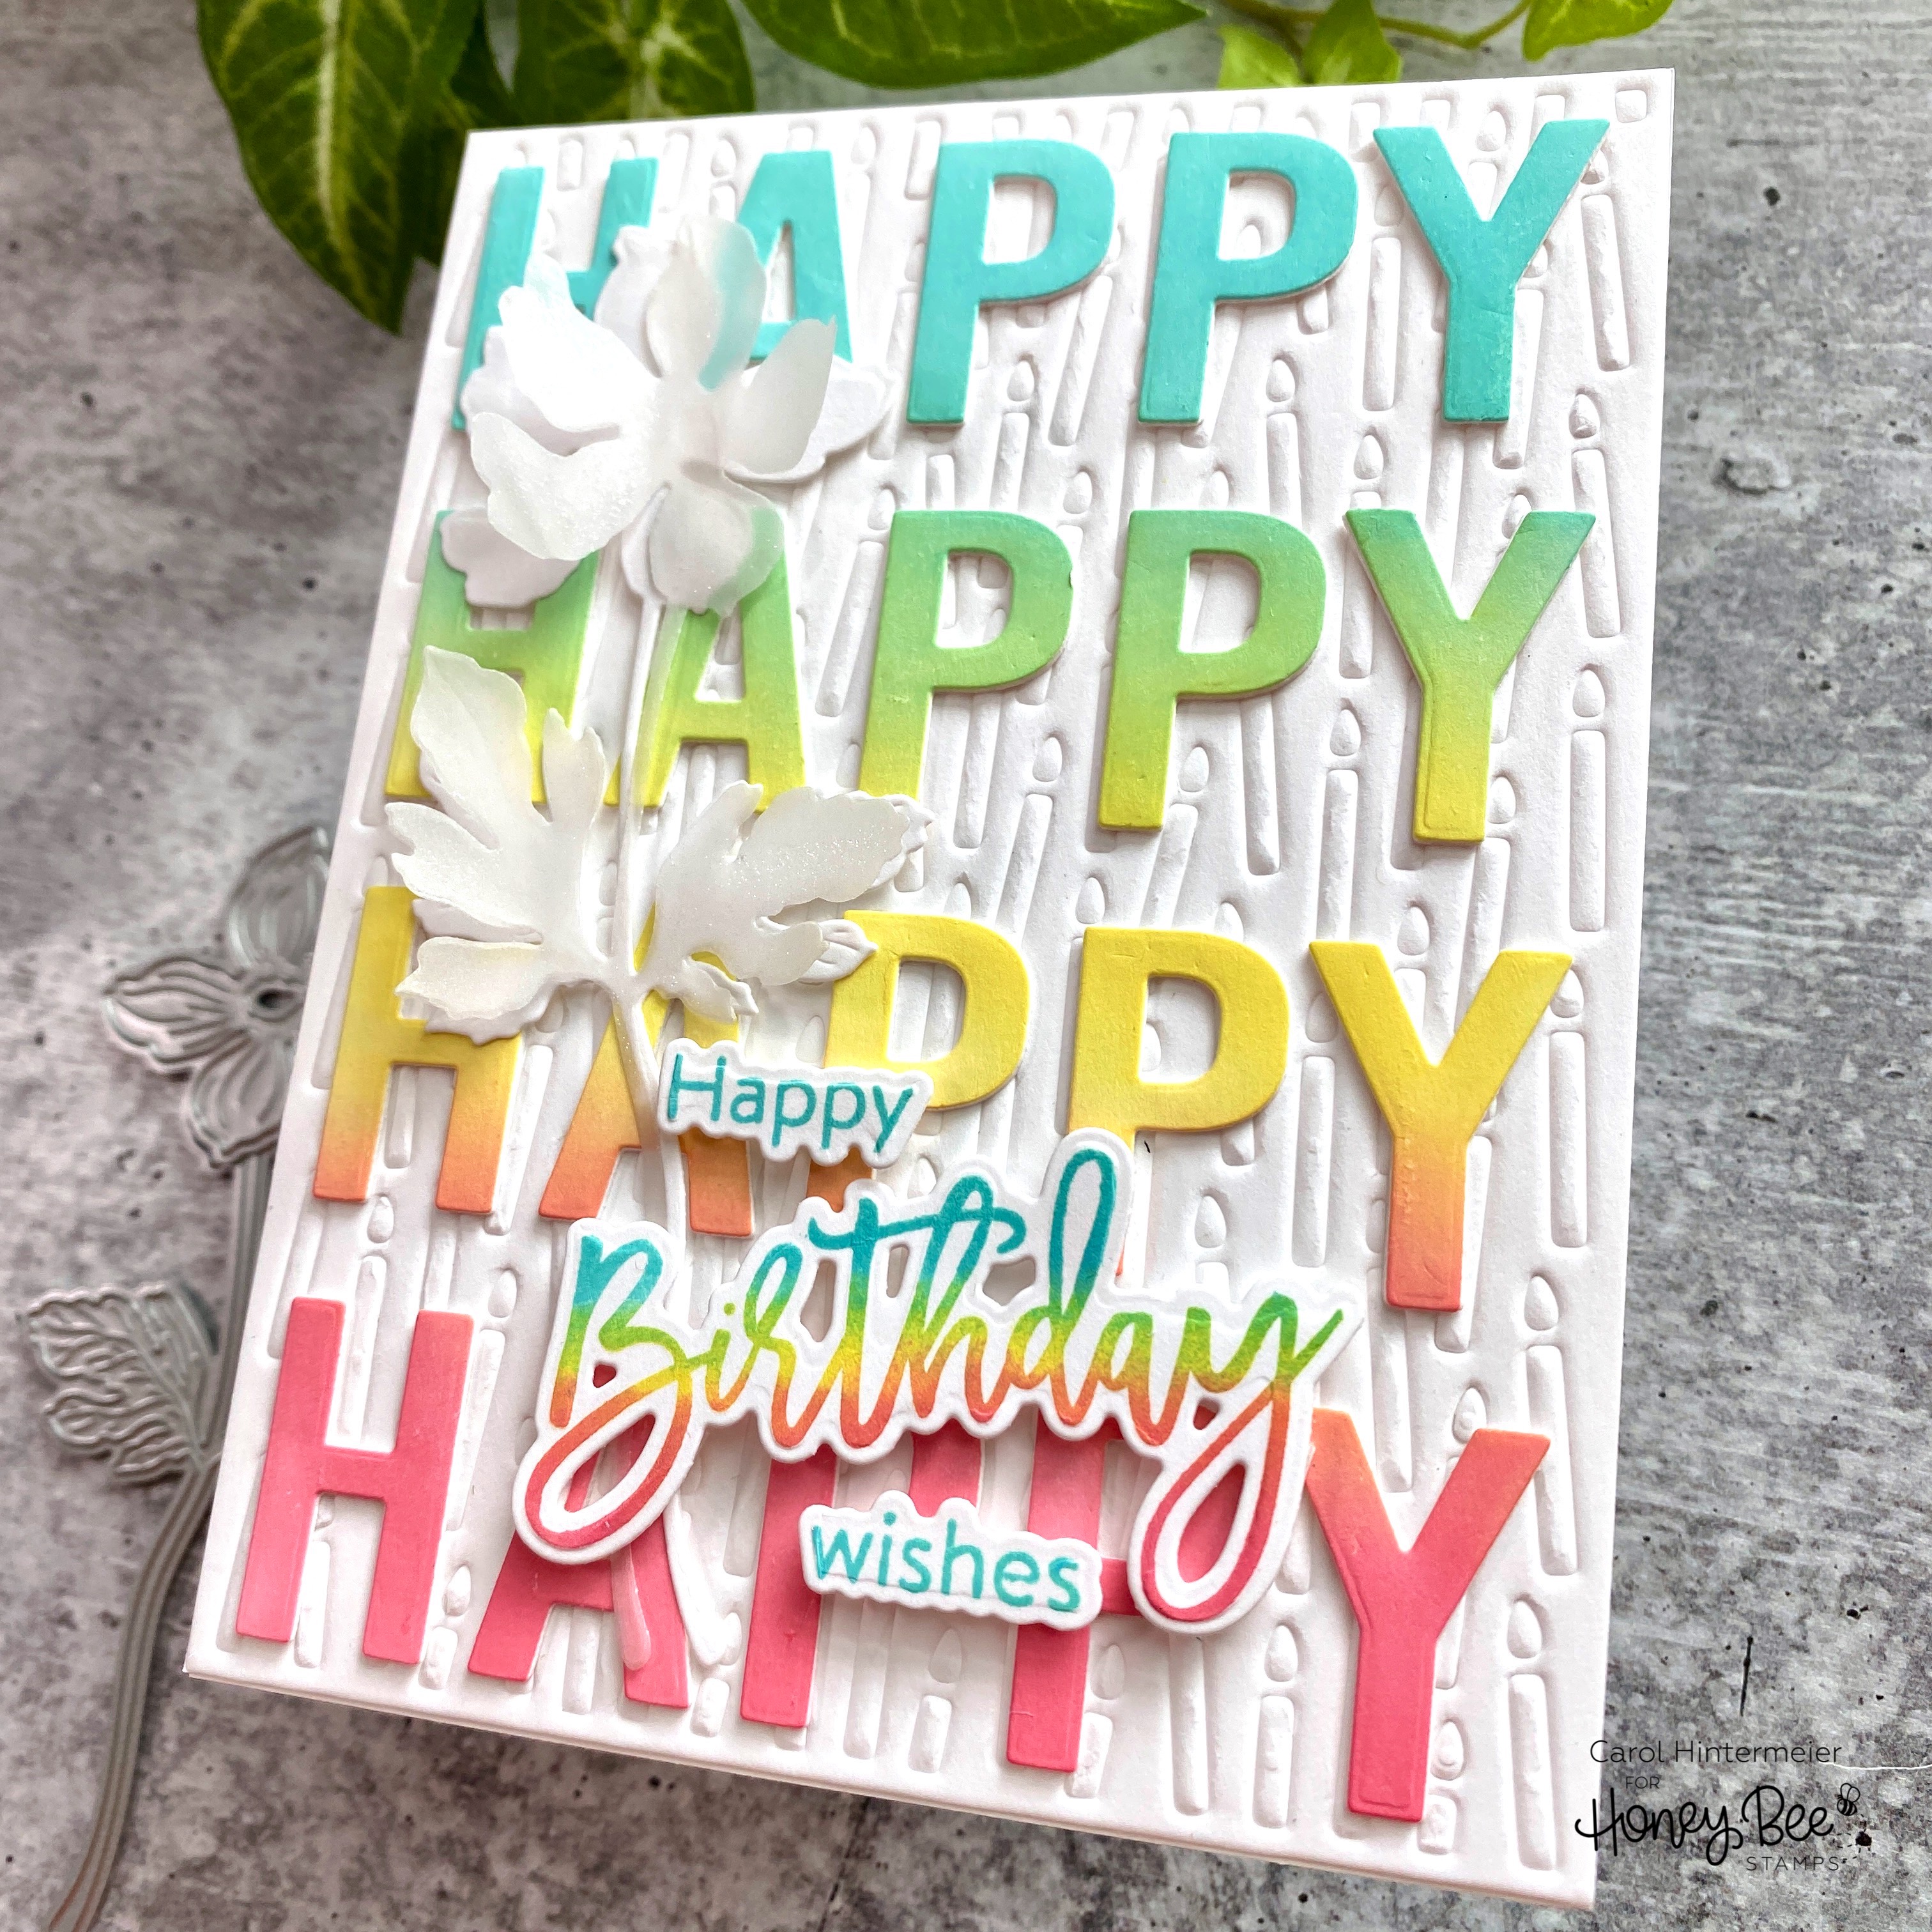
First I dry embossed the Candle Cover Plate die onto an A2 sized white card.  (Dry embossing is a fun way to stretch your dies--just use the tan rubber mat and the embossing sandwich for your machine.)  I glued that onto my card base.

Next I adhered all three layers of the letters together.  I used removable tape to temporarily hold the negative Happy Happy Happy cover plate die cut onto the front of my card to be like a template for the letter placement.  Then I used that to perfectly position all of the letters.  When the glue was dry, I removed the negative piece.

I die cut one of the flowers from the new Lovely Layers: Wildflowers once from white cardstock, and another time from vellum.  I adhered them to the card with dots of glue.

I stamped the sentiments from the also new Birthday Wishes set in the same Distress Oxides.  I stamped "birthday" using sponge daubers to achieve the ombré effect.  I used the coordinating dies to cut them out (I love having dies for the sentiments!!)  Then I popped them up with foam tape.  For a bit of sparkle, I added used a clear glitter pen on the vellum flower (which is why the petals are curled up!)

My second card uses the negative pieces from the Happy Happy Happy Cover Plate die cuts.  I glued the layers together, and then glued them to an A2 card base.

Next I glued the middle pieces into the letters A, and the P's.  Then I die cut another flower from the Lovely Layers: Wildflowers and inked on some Worn Lipstick Distress Oxide onto the top flower layer.  I used the other two Oxide colors for the other pieces of the flower.  Then I adhered it to the card.

I stamped the sentiment from the Happy Happy Happy stamp set in black ink and die cut it with the coordinating die.  I popped it up with foam tape.

These were so fun to make!  I love the "happy" colors too!  Do you have a favorite?  I hope you'll pop over to my Instagram and leave me a comment there.  Honey Bee will be choosing two lucky people to win a $25 gift card to their shop!  Happy 7th birthday Honey Bee!

Thank you so much for stopping by!  Have a fabulous Saturday!

Tuesday, April 26, 2022

Life Was Meant For Good Friends

Hello craft friends!  Today I'm sharing a card I made using Rubbernecker Stamps adorable new Group of Friends set!  This is such a great set and it has three other fabulous sentiments for all of your friendship cards!

First I stamped the Group of Friends image with Copic safe black ink.  I Copic colored the bear first and then added texture to his fur with a scrap piece of washcloth and Copic Colorless Blender.  Just add a few drops of the Blender to the rag and dab.  Check out the before and after!  


I proceeded to color the other friends with my Copic markers.  I colored the elephant next, then the pig.  And horrors, I just did NOT like the shade of pink the pig turned out to be!  (Think Pepto-Bismal pink!!)   I couldn't correct it with more markers, and not even colored pencils!

So, rather than start all over, I fussy cut the elephant and bear together.  I put it aside for later and I re-stamped the Group of Friends and colored all but the elephant and bear.  I just put a line of color along the outer edges so it wouldn't show when I popped the fussy cut one up.

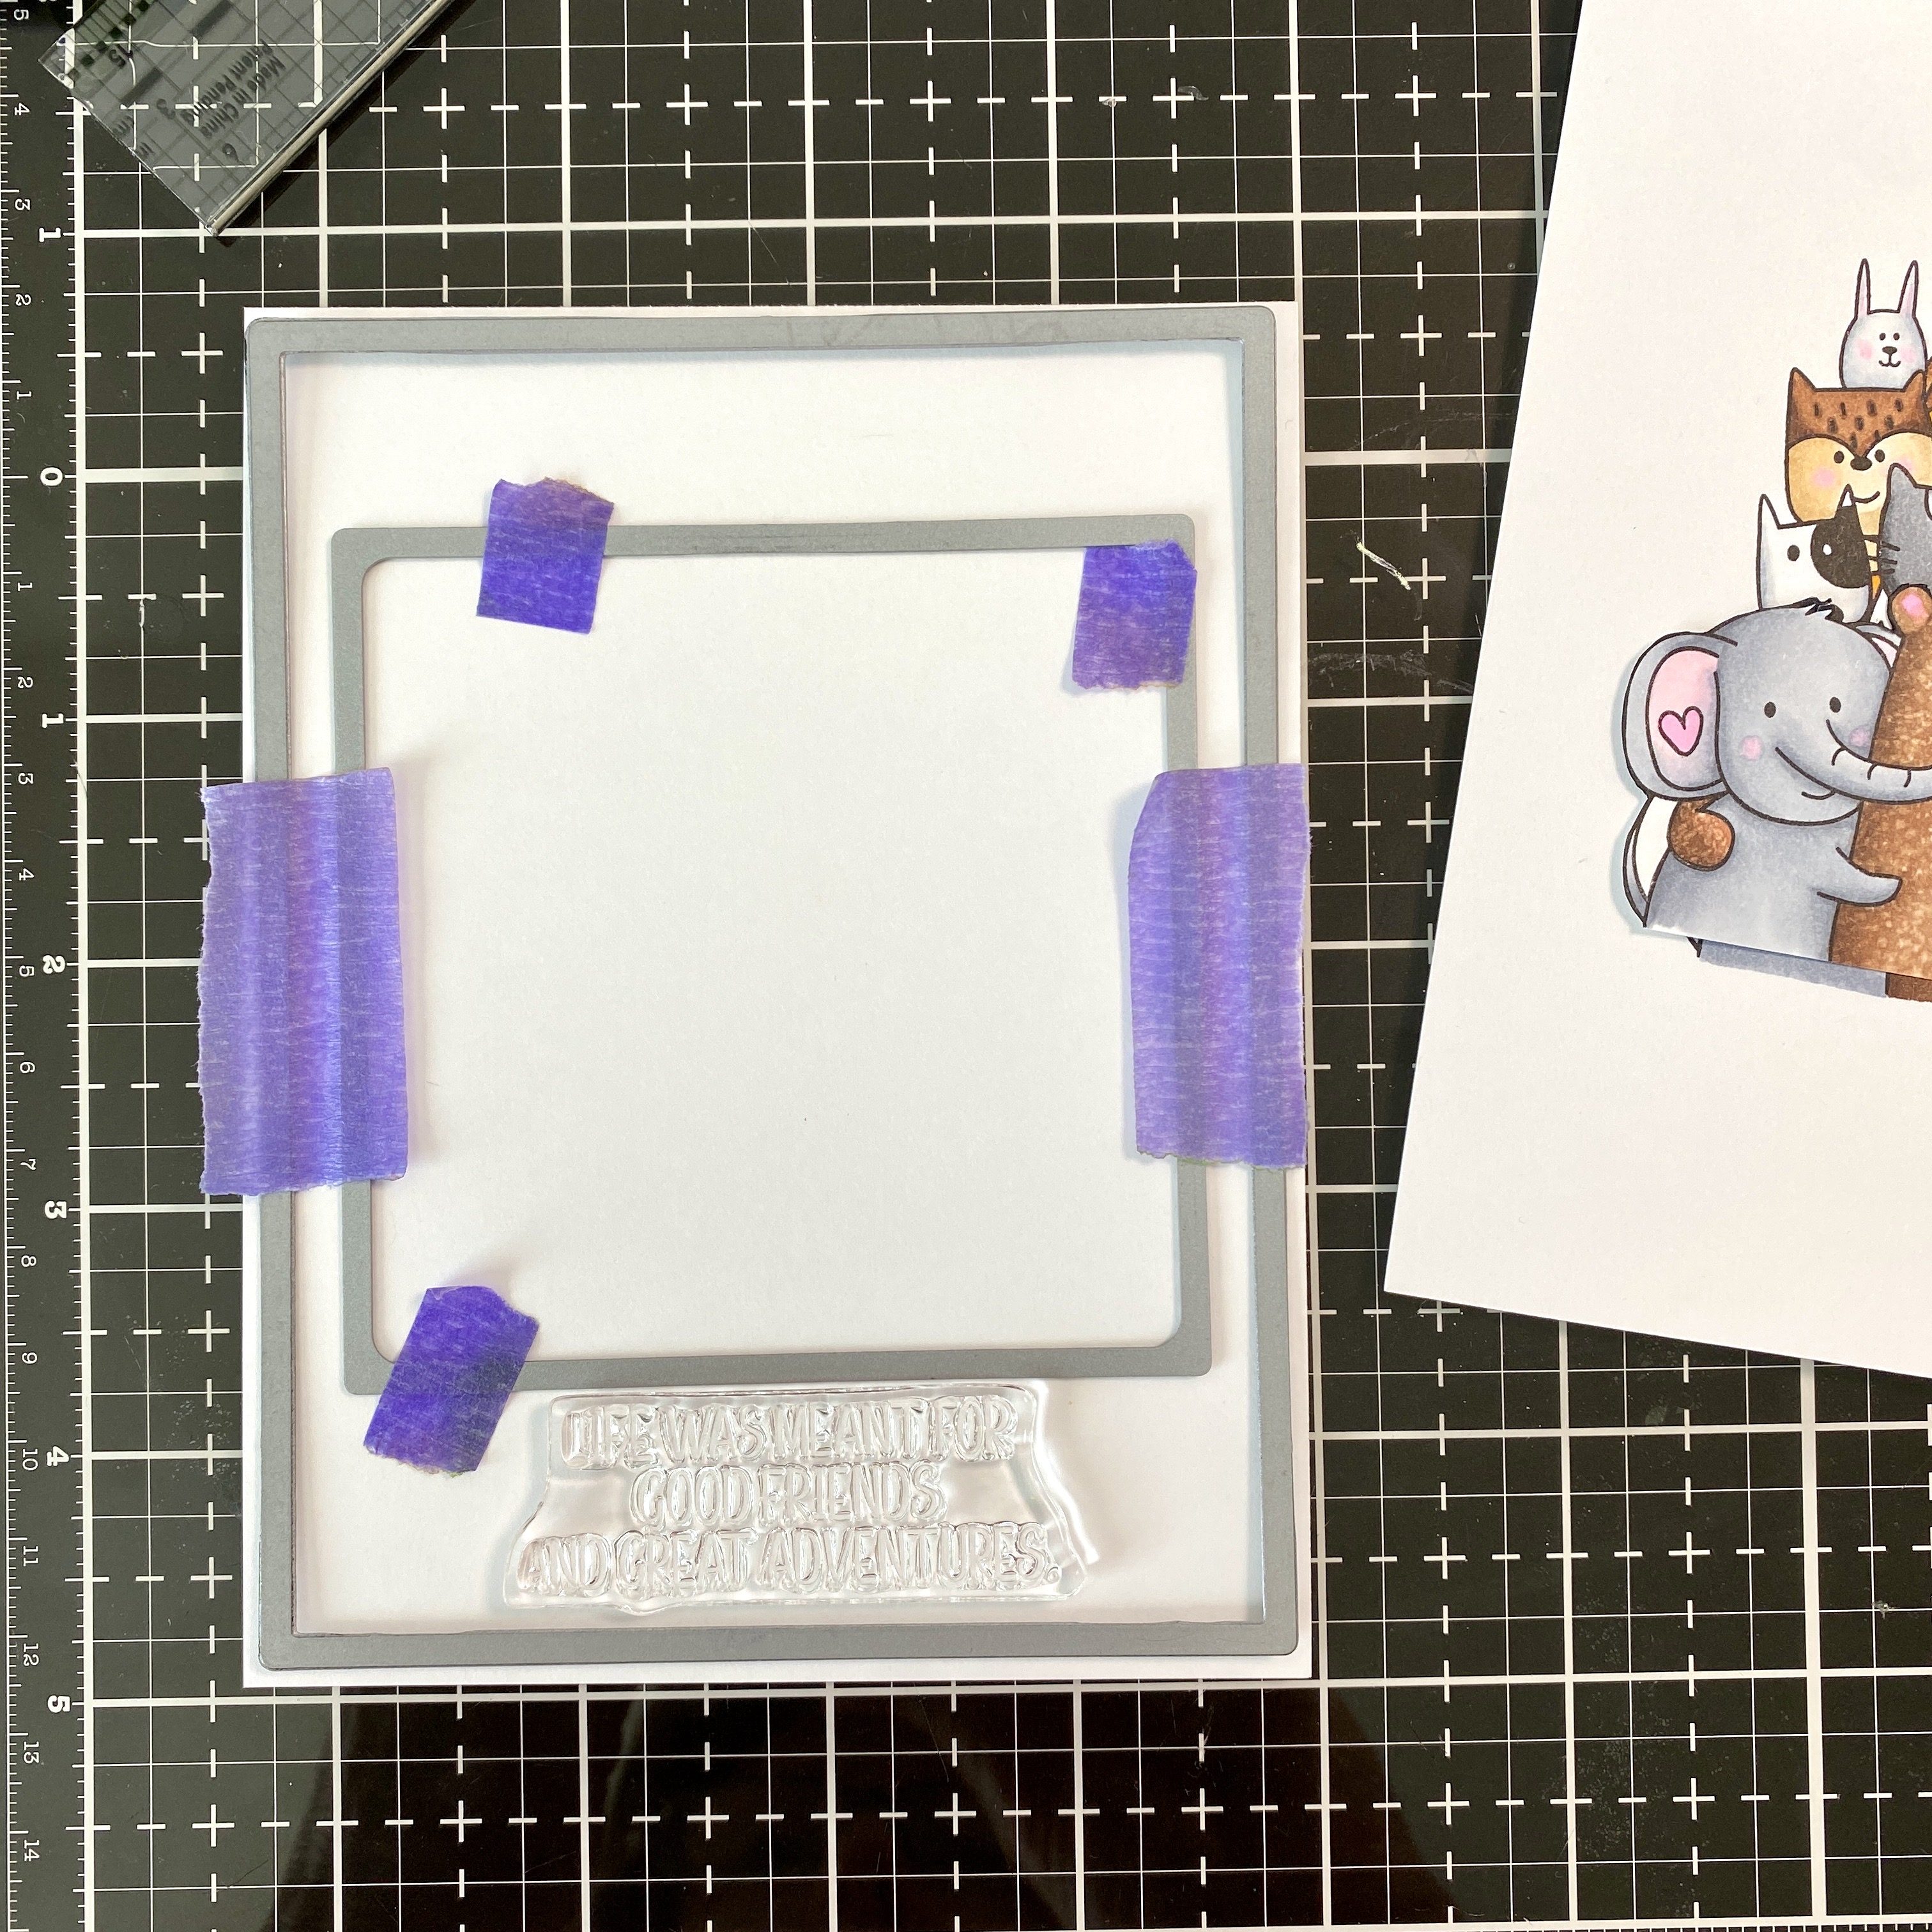
Next I created the frame.  I wanted this to look like a Polaroid selfie so I positioned the largest Nested Rectangle Small Stitch die with the next to largest Nested Square Stitch die.  I taped them together, leaving enough room for the sentiment at the bottom.

After I die cut these, I did some partial die cutting by sliding the rectangle die down a bit to create a narrow strip along the top of the frame.

Next I stamped the sentiment with Versamark embossing ink, sprinkled on some black embossing powder and heat set it.

My next step was to trim the stamped and colored image down to fit the frame.  Then I used some green and brown Copics to freehand color a tree in the background.  I used a couple blue markers for the sky.

I added foam tape to the back of the frame and attached the colored image to the frame.  I used some patterned paper for the layer on my card base and adhered the image to the card.

My final step was to add foam tape to the back of the fussy cut bear and elephant and pop it up onto the card!  The dimension is fabulous, especially in real life!  Photos sometimes just don't capture the details!

This is such a sweet image and I hope you've enjoyed my card.  Thanks so much for stopping by!

Monday, April 25, 2022

Altenew April 2022 Spring Garden Collection Release Blog Hop + Giveaway ($300 in total prizes)

Hello, and welcome to Altenew's blog hop to celebrate the Spring Garden release!  You should have arrived from the awesome blog of Virginia Lu.  If you need to start at the beginning of the hop, head over to the Altenew Card Blog.

The entire Spring Garden collection is available now!  Be sure to check out all of the amazing new products in Altenew's shop.

***********************************************

I have three cards I created for this release and blog hop.  The first card features the amazing, and so beautiful, Bountiful Bouquet stamp set and coordinating die.

I stamped the outline of the florals with black ink.  Then I followed the included layering guide and stamped the other layers for the flowers and leaves.  I used the Crisp Dye Ink cubes from these sets:  Sweet Dreams, Green Meadows, and Summer Afternoon.  I die cut it with the Bountiful Bouquet die and added foam tape to the back.

I created my card base by adhering a strip of yellow gingham patterned paper along the right side.  Then I die cut the edge of a piece of A2 sized white cardstock with the Creative Edges: Scalloped Scallops Die set.  I added spatters of Warm Sunshine ink by smooshing it onto my glass craft mat and using a watercolor brush.

I stamped the sentiment, one of six, from the Bountiful Bouquet set in black ink and popped it up onto the card.


***********************************************

I just recently jumped into the fun of using hot foil plates and I have to say, I absolutely love these new ones from Altenew!

I started by foiling some 80# cardstock with rose gold foil and the Vibrant Florals Hot Foil Plate.  Then using the coordinating Vibrant Florals Simple Coloring Stencil set I added Crisp Dye inks with ink blenders.  For the flowers I used Pink Pearl, Coral Bliss and Snapdragon Crisp Dye inks and the leaves are colored with Forest Glades and Evergreen.

I added some spatters of Coral Bliss and some gold metallic paint with my paintbrush.  TIP:  Use the Vibrant Florals Hot Foil Plate as a mask while splattering, unless you want splatters on the flower, which would be very pretty too!

In the first photo you may have noticed the new Altenew Ultra Sticky Double-Sided tape.  Well, this is some good and sticky tape!  I used strips of the tape to foil the new Wonderfully Made sentiment.  I just added strips of the tape to some white cardstock, making sure each strip was next to the previous strip with no gaps.  Then I added a piece of rose gold foil to the cardstock with the tape strips (shiny side up).  (As I'm writing this, I realize that I could have then peeled off the clear film to leave only the foil behind.)  

So...evidently you can also just go ahead and die cut it without removing the foil.  I absolutely love this Wonderfully Made die and know I will use it often!  I die cut white cardstock with the die and adhered it to the back of the foiled sentiment for more stability.  Then I adhered it to a strip of vellum and wrapped and adhered the vellum on the back of the card.

***********************************************

My next card uses the beautiful Morning Blooms Hot Foil Plate.  I used gold foil this time on some 80# cardstock.  I absolutely love the effect, and ease, of the coloring with the Morning Blooms Simple Coloring Stencil set!  I used various inks from my stash to color the flowers and little hummingbird.

I added the foiled and colored piece to a gold layer before adhering it to my A2 card base.

I stamped the sentiment from the Versatile Vases set  in black ink.  After I trimmed it into a strip, I added foam tape to pop it up on the card.  I fussy cut the hummingbird and popped it up too.

Before you head to the next stop, be sure to leave a comment here, on my blog, for your chance to win one of the awesome prizes!  Thank you so much for hopping by!

Your next stop is the blog of the so talented Laurie Willison!


Giveaway Prizes:

$300 in total prizes! To celebrate this release, Altenew is giving away a $50 gift certificate to 2 lucky winners and a $25 gift certificate to 8 winners! Please leave a comment on the Altenew Card Blog and/or each designer’s blog post on the blog hop list below by 05/01/2022 for a chance to win. 

Altenew will draw 10 random winners from the comments left on each stop of this blog hop and announce the winners on the Altenew Winners Page on 05/03/2022.


Blog Hop Order: