Wednesday, January 10, 2024

You Are So Loved -- 3D Embossing & Hot Foil Fun

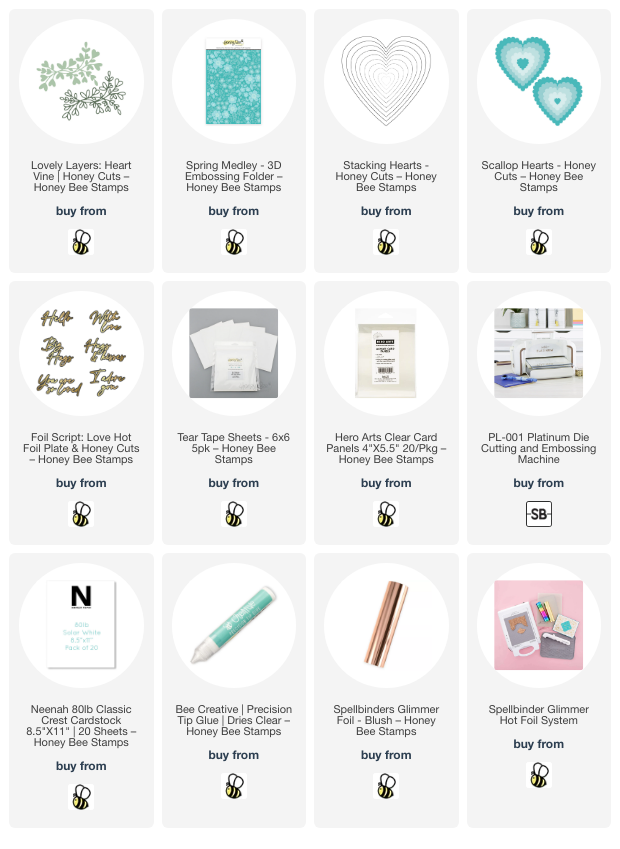
Hello crafty friends! Do you send Valentine cards? Whether you do or not, my card that I'm sharing today could be a Valentine, birthday, or even an anniversary card! It all just depends on the message you add inside the card! I've featured some of my favorite sets from Honey Bee including the Spring Medley 3D embossing folder and the Lovely Layers: Heart Vine Honey Cuts!

First I die some peach colored cardstock with a Stacking Hearts die. Then I embossed the piece with the beautiful Spring Medley 3D embossing folder. Next I trimmed it to 4" x 5-¼". I used a blending brush to add coordinating ink just around the edges.

I glued a piece of acetate to the back to cover the heart opening. When it was dry, I added thick foam tape (if you don't have thick foam tape, add a double layer) around the heart, being careful to leave no gaps between the ends of the foam tape. I also added foam tape around the edges of the embossed panel.

I sprinkled some pretty bling from my stash onto the acetate and then removed the foam tape backing. I added another piece of acetate to cover the opening. Then I removed the backing of the rest of the foam tape, added glue to it, and then adhered it to an A2 card base. (I sometimes add glue to foam tape for two reasons: you can be sure it is firmly adhered and it allows you to slightly move the panel for correct placement.) I set this aside to dry.

Next I die cut a Scallop Heart from 80# Neenah. Then I die cut a darker shade of peach cardstock with a Stacking Hearts die. I placed this heart into the Spring Medley 3D embossing folder and ran it through my die cutting machine. I used glueto adhere them together.

I used my Glimmer Hot Foil System and Blush Glimmer Foil to foil the sentiment from the Foil Script: Love Hot Foil Plates. I cut it out with the included coordinating die.  NOTE: I just noticed this set is "retiring" and is now at a reduced price!

Before I die cut the outline of the Lovely Layers: Heart Vine, I added a piece of Tear Tape Sheet to the back of brushed gold cardstock. I die cut the outline from the brushed gold cardstock and also the solid layer from peach cardstock. I used glue to adhere the layers together and also to adhere it to the card. After I glued the heart layers onto the card, I adhered the sentiment with narrow foam tape strips.

For a bit more shine, I added some gold pearls from the Metallic Mix Pearl Stickers set.

Thank you so very much for stopping by today!  I hope you have lots of crafty fun this week!

Thank you so much for using my affiliate links to shop (never any additional cost to you)!
Monday, January 8, 2024

Spellbinders January Embossing Folder of The Month -- Birthday Card

I'm very happy to be sharing this card I made with Spellbinders January Embossing Folder of The Month!  January's embossing folder is a beautiful leafy one that will make a beautiful background for many different styles of cards!

Spellbinders has many different clubs to join with stamps, dies, embossing folders, BetterPress Letterpress  plates, and more!  There are several other benefits of belonging to a Spellbinders Club.  Check it all out on their club information page.  You can join these clubs this month from January 6 to January 27.

This was a quick and easy card today!  First I used the "Branching Out" Embossing Folder of the Month to emboss an A2 sized piece of 80# Neenah.  I glued that to my card base and set it aside to work on the other elements.

I die cut the Sealed Twine die from pink cardstock and adhered it to the card.  I wrapped the extra around to the back of the card.  Next time, I will probably just cut it flush with the card edges.

Did you see my previous post where I said I misplaced the January Stitching Die set and didn't use the included flowers?  Well, the flowers on this card are from that set!  Haha!  Of course, any small flower dies you have would be beautiful too.  After I die cut them from colored cardstock (colors linked below) I glued the layers together and then added them to my card.

I added a sentiment by making a wax seal with the Sweet Happy Birthday wax seal stamp.  I used a gold pigment pen to color over the details of the seal.

These clubs really do have something for everyone, and if desired, can be cancelled at any time.  Thank you so much for stopping by today!  I appreciate you!

Thank you for shopping with my affiliate links (never any additional cost to you)!

Sunday, January 7, 2024

Spellbinders January Stitching Die of The Month -- A Beautiful Butterfly

Hello crafty friends!  I'm happy to say that I will be sharing the Spellbinders Stitching Die of The Month with you this year!  

Are you familiar with Spellbinders' clubs?  They have no less than 10 different clubs to choose from!  And, there is also a club called the Deluxe Caboodle which includes each of the monthly items at a 60% savings.

There are several other benefits of belonging to a Spellbinders Club.  You can check it all out on their club information page.

Be sure to note that there is a window of time for new subscribers to join.  This month's dates are January 6 to January 27.

--------------------------------------------------------------------------------

The January 2024 Stitching Die of The Month is this adorable bee!  This die set also includes flower dies to use in your card design!

You may notice that the flowers I used on my card are not the ones included in the set.  Well, I'll share my duh moment with you, but don't tell!  I somehow misplaced the entire set after I die cut the bee pieces.  It wasn't until after I had finished the entire card with other flowers (from the Bee Bold Blooms set) that I found it buried under some other random things!

I'm happy to say that inspired me to get my mess cleaned up!  LOL!  I decided to make my bee in some lovely pink colors, instead of the expected black and yellow.  I did some simple straight stitches and added a few French knots in the center of the stitches that look like flowers.  I used 6 strands for my stitching with DMC 3326 and DMC B5200.  I used two strands of DMC D5200 for the wings.

I die cut two panels from the Nested Notched Corner Frames dies for my card layers.  The sentiment is hot foiled (from a set I just discovered has been retired).  There are many sentiments that would work with this card!

Stitching dies really are fun and if you have not tried them, I would encourage you to try!  It's very basic stitching that is very easy to learn.  Of course, these dies are just a beautiful used without stitching!

Thank you for stopping by today!  I hope you have a wonderful week filled with lots of crafty fun!

Thank you so much for shopping with my affiliate links (never any additional cost to you)!

Wednesday, January 3, 2024

Spring-Themed Birthday Card

Hello crafty friends! I hope you had wonderful holidays and that your 2024 is off to a great start! I just mailed out a birthday card and it was the last one in my stash! So I thought I would use Honey Bee Stamps beautiful Lovely Layers: Front Porch to make a spring-themed birthday card!

Since this is the first time I've used the Lovely Layers: Front Porch set, I printed off the helpful layering guide to refer to and plan this card. I die cut the various elements for the porch from white, light gray, brown, teal, green, and peach colored cardstocks. I also used the dies for the bow and wreath from the Lovely Layers: Front Porch Holiday Add-on set.

TIP: Do you want to really show off the embossed lines of the gray stone you see on my card? The machine I have has an embossing mat that will add that extra dimension. I secured the die cut stone piece back into the die and followed the directions for my die cut machine to emboss it. Check your machine to try this out! This really ups the dimension level and is so pretty!

To create the spring theme, I die cut the teal, peach, and green cardstocks with the dies in the Itty Bitty Fall Flowers dies. I die cut some more green cardstock with the Grass Border die and trimmed it into two smaller pieces.

To create a card base I took a top-folding A2 card base and placed the largest die (with the stone details) from the Lovely Layers: Front Porch onto the card base. Be sure that the top edge of the die is about ½" above the top folded card base edge. Then run it through your die cutting machine. Since this will add the stone embossed area to the back of the base, I just place a rectangle of white cardstock inside the card to have a smooth surface for my sentiment.

Before I adhered the Front Porch layers together, I used a BG0000 Copic marker to color the areas that are the windows and behind the windows of the lantern lights. Then I used glue with a fine tip to adhere all of the layers of the Front Porch together. The layering guide is very helpful for your first time!!

I stamped the sentiment from the Be Still stamp set with Intense Black ink. I love having coordinating dies for sentiments, and used it to cut out the phrase.

For some pretty embellishments on the wreath and flowers, I used pearls from the Pacific Northwest and Ocean Waves Pearl Stickers sets.

As much as I so love making holiday cards, it always feels so fresh and new to start the year with cheerful springtime cards! The Lovely Layers: Front Porch has so many possibilities, and I hope you have enjoyed my process for this card today!

Thank you, always, for stopping by. I hope you have a wonderful day, and a very crafty 2024!

Thank you for using my affiliate links to shop (never any additional cost to you)!

Saturday, December 30, 2023

Three Fun Gift Tags To Make!

Happy New Year's Eve Eve crafty friends!  Today I'm sharing a few gift tags I made with Rubbernecker's Holiday Tags Dies.  Two are Christmas gift tags that I'll save for next year (yay!) and another is a gift tag that is perfect for that New Year's Eve favorite bubbly beverage!

I think y'all will understand how super busy things have been, so I'm keeping this post short and sweet!  Please go over to my post on Rubbernecker's Blog for all of the fun details to make these tags.

I made this NYE tag from black cardstock that I first added chunky glitter glaze through the Birthday Balloons stencil.  After it dried I cut out the tags with the largest Holiday Tags die.  The white tag behind is to write my message to the recipient.

I finished up the tag details with the Wine Glass and Bottle dies, Small Tags dies, and the New Year's Party stamp set.

I used ribbons from my stash to tie it to the bottle.  I love how this turned out!

These next two gift tags are made from patterned papers (linked below), the Pine Tree Forest die, and the Kittie Says Sentiment stamps.

To finish up, I'd like to thank each and every one of you that have stopped by my blog this year.  It really does mean a lot to me, and especially when you leave me a comment!  I wish all the very best for you, and yours, as 2023 closes.

May 2024 be all that you hope for!  Stay crafty, and I'll "see" you next year!

Thank you for shopping with my affiliate links (never any additional cost to you)!


Wednesday, December 27, 2023

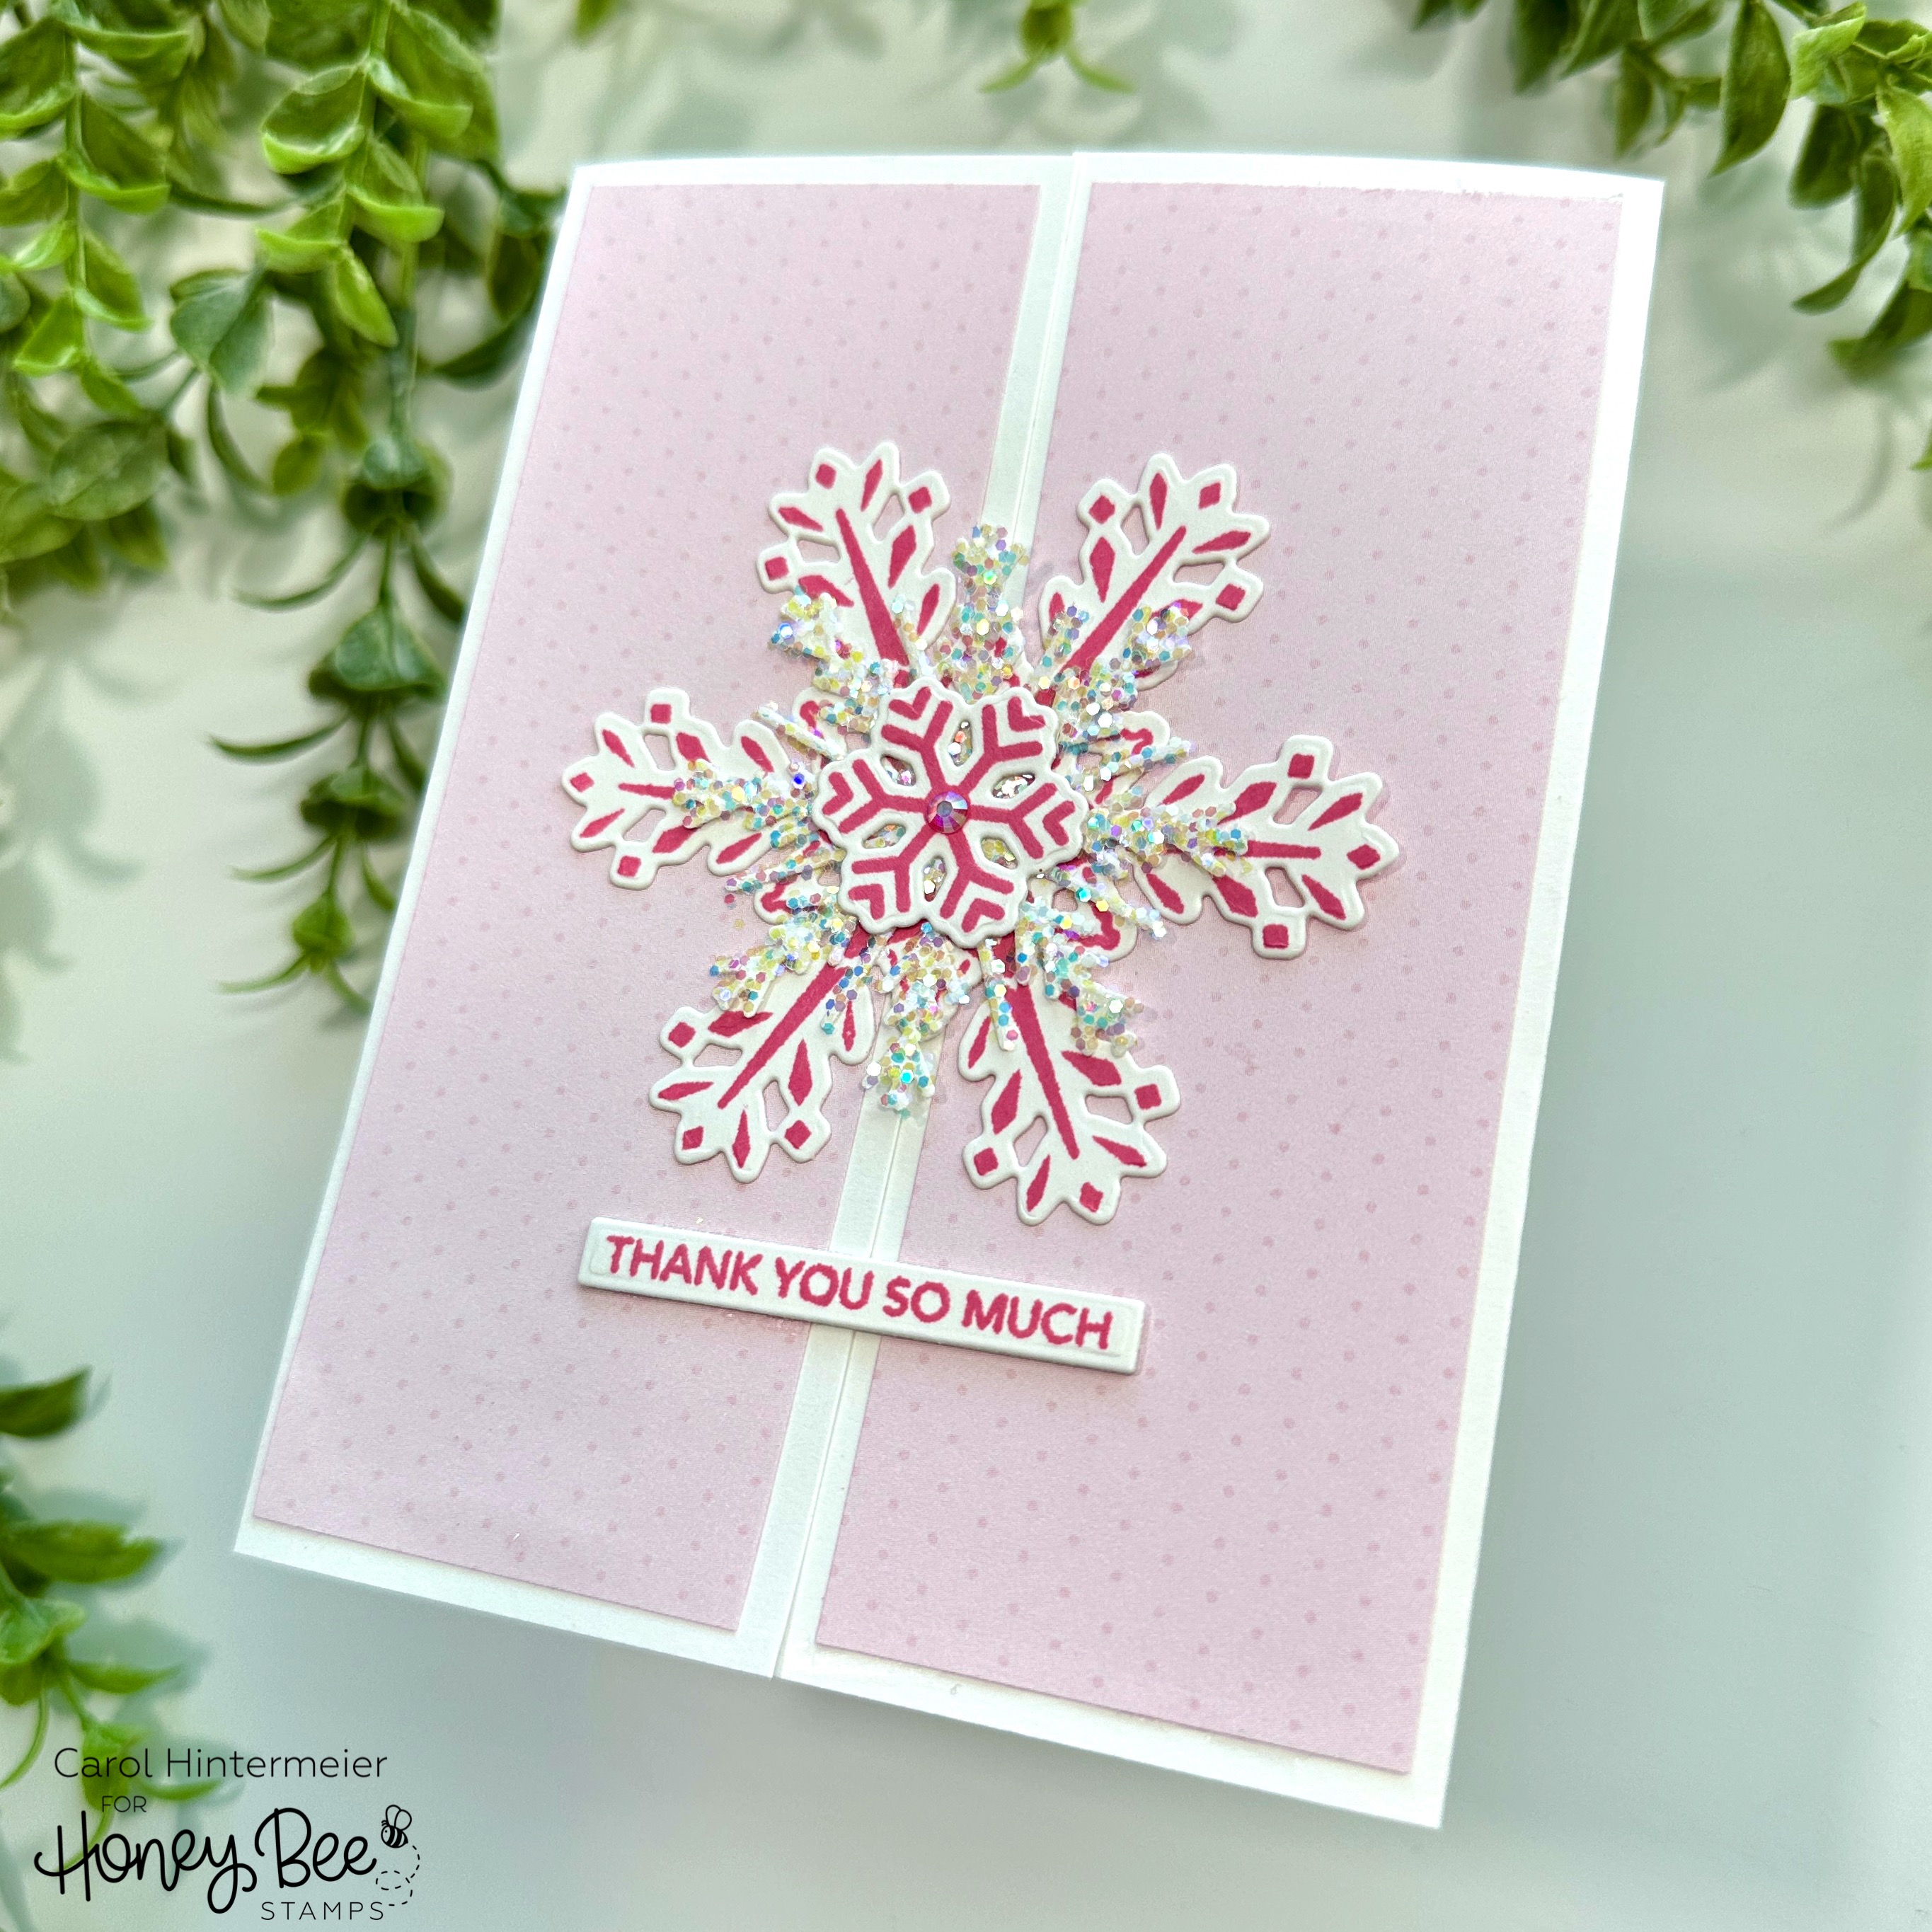
Snowflake Gate Thank You Card

 Hello crafty friends! I sure hope your holidays have been good so far! Now that the holiday cards are out, I'm needing some thank you cards! Today I'm sharing this quick and easy card featuring the Lovely Layers: Large Snowflakes and the Let It Snow stamps and Dies!

First I created my gate fold card base. I cut a piece of 80# Neenah to 8-½" x 5-½". Then I used my score board to score a line at each end at 2-1/8". Next I trimmed some dotted patterned paper from the Pinstripes & Polka Dots: Holiday paper pad into two 2-1/8" x 5-½" panels.

I used glue to adhere the pink panels to each side of the card base.

Next I stamped two snowflakes from the Let It Snow stamp set with a matching pink ink. I cut them out with the coordinating dies.

I chose a sentiment from the Mini Messages: Holiday stamp set and stamped it in the same pink ink. I used a Mini Messages Banners die to cut it out. I die cut two more banners to glue to the back of the sentiment to add dimension and stability.

For the sparkly snowflake, I first added a piece of a Tear Tape sheet to 80# Neenah. (Leave the top backing sheet on.) I chose a snowflake from the Lovely Layers: Large Snowflakes and placed it on top of the cardstock with the backing sheet facing up.

After I ran the snowflake through my die cutting machine, I used my die release tool to remove the backing from the adhesive. Then I sprinkled on some iridescent chunky glitter (using a coffee filter to catch the excess glitter) and pressed the glitter into the adhesive.

I layered the three snowflakes and adhered the two smaller ones on top of the large one with glue. Next I added glue to the back of the large snowflake, but only to the left side!! You don't want to glue it to both sides or your card will not open!

To finish up I adhered the sentiment, again, adding glue only to the left half of the back of it. I added a pretty gem sticker to the center of the snowflakes (from the Holiday Wishes Gem Stickers).

Thank you so much for stopping by today!  I hope you have a fun and safe New Year's eve and a fabulous start to 2024!  See you next year!

Thank you for using my affiliate links to shop (never any additional cost to you)!

Wednesday, December 20, 2023

Two Fun and Easy Holiday Gift Card/Treat Boxes

Hello crafty friends! Today I'm sharing two versions of gift card boxes I made with the Vintage Gift Card Box dies and the Christmas Lights Vintage Gift Card Box Add-on stamps and dies. These cute boxes are perfect for your gift cards with lots of room to include some sweet treats! I also custom died ribbons to coordinate with my colors! Read on for the details.

First I die cut two each of the Vintage Gift Card Box dies from satin silver cardstock. I used glue to adhere each of the boxes' pieces.

This box with the blue trim took a bit longer than the other box simply because I heat embossed the stamps from the Christmas Lights Vintage Gift Card Box Add-on stamp set. I used the pine branch stamp, one ornament, and some of the snowflakes in the set along with two from the Let It Snow stamp set. All were stamped with clear embossing ink. I heat embossed the images after sprinkling on silver embossing powder and some green sparkle embossing powder from my stash. Then I cut out the heat embossed images with the coordinating Christmas Lights dies and Let It Snow dies.

Next I used B02, B01, and B000 Copic markers to color the ornament and the bow. To custom die the ribbon I placed the ribbon into a small glass dish. Then I added drops of B02 and B01 Copic re-inkers. With a disposable glove on my hand I smooshed the ribbon until the ink was distributed and used my heat tool to dry it.

I tied the ribbon around the box and adhered the heat embossed elements with glue and foam tape. After I used a hole punch to punch a hole at the top of the ornament, I tied it and the snowflake around the bow with baker's twine. Finally, I added a few coordinating pearls from the Winter Pearl Stickers set.

This next box has some patterned paper from the Holiday Wishes paper pad that I die cut with the rectangle die in the Christmas Lights Add-on set. I also die cut the leaves and berries with dies in the Lovely Layers: Candy Cane Honey Cutsfrom colored cardstock.

I added Snowfall Grit Paste to the edges of the leaves and set them aside to dry. I died more crinkle ribbon by spraying it with Tart Cranberry Distress Mica Stain. I used a disposable glove again and held it with my reverse tweezers while I dried it with my heat tool.

I will have a reel posted on my Instagram sometime tomorrow morning, if you would like to see some of my creative process for these boxes!

I stamped the sentiments from the Mini Messages: Holiday in matching red ink and cut them out with the coordinating Mini Messages Banners. I adhered the sentiments with some foam tape strips.

This cute Vintage Gift Card box is large enough to hold at least a dozen candy kisses and your gift card too!


These are so great to have on hand for those last-minute gifts!  Thank you so much for stopping by today!  I hope your holiday season is filled with joy and happiness! Merry Christmas!

Thank you for shopping with my affiliate links (never any additional cost to you)!