Wednesday, November 8, 2023

Have Yourself A Merry Little Christmas

Hello, crafty friends!  Today I'm sharing another holiday card featuring Honey Bee Stamps gorgeous Good Tidings stamp set with the coordinating coloring stencils and dies.  P.S.:  I also had the privilege of being a guest designer over on the blog of Scrapbook & Cards Today where I also featured this card!


This card includes two of my favorite trending crafty items:  coloring stencils and 3D embossing folders!  (I’m so happy that embossing folders have made a comeback!)  While this card may look complicated, I’m going to share my tips for easy ways to take your card from “very pretty” to “wow” by adding just a few extra details!


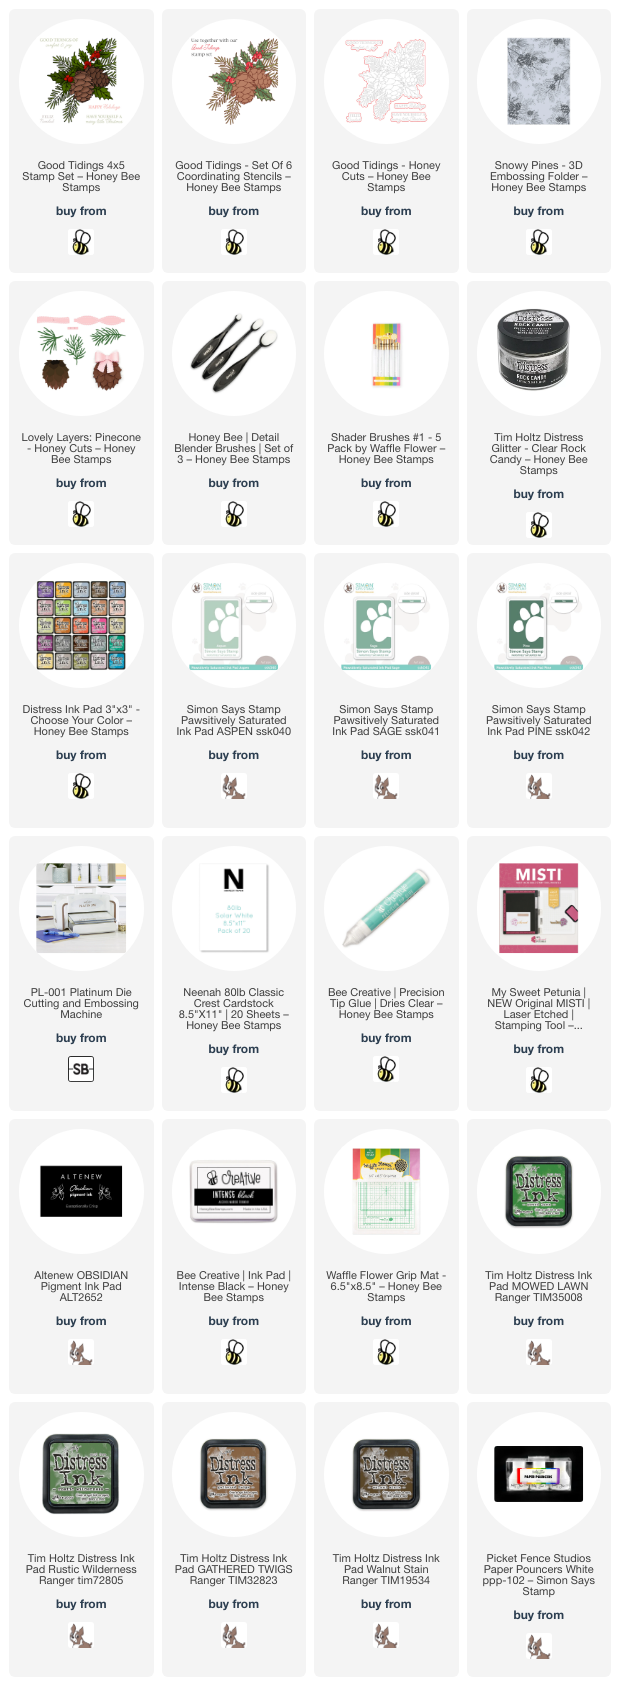
First I put a 4-¼” x 5-½” piece of 80# Neenah Solar White into the Snowy Pines 3D Embossing Folder.  Run that through your die cutting machine with the recommended sandwich for your type of machine.  This gorgeous embossed white background will make the images pop!  I used glue to adhere it to a top-folding A2 card base.


I don't know about you, but I have had several instances that I have smeared the black outline of the stamped image during stenciling, so I like to do all of the stenciling first.

The six stencils in the Good Tidings stencil set are numbered and fully etched with the entire image to make lining up each layer super easy!  I began with stencil Layer 1 and used small detail blending brushes to add the inks. I used a few Distress Inks in the colors of Gathered Twigs, Walnut Stain, Mowed Lawn, Rustic Wilderness, Festive Berries, and Aged Mahogany.  For the pine branches of the stencils and the Lovely Layers: Pinecone I used some green inks from Simon Says Stamp (linked below).

After I finished with each Good Tidings stencil layer, I placed the panel into my MISTI.  Then I put the Good Tidings outline stamp over the colored image.  I only had to spend about a minute to line up the stamp with the stenciled image!  I picked up the stamp with the MISTI door and inked it up with a black pigment ink.  Using a pigment ink will give a beautiful crisp stamped image!  I cut the image out with the coordinating Good Tidings Honey Cut.

Of course, if you are not comfortable stamping after you have colored your image with the stencils, go ahead and stamp it first!  Just make sure that the ink is totally dry to avoid any smearing.

Another way I like to add details to a stamped image is to use a coloring medium, such as alcohol markers or colored pencils to add more depth to the shadowed areas of your image!  Since I used a pigment ink to stamp the image, I needed to use colored pencils.  (Pigment ink and alcohol markers are not compatible.)

I took a photo after I added the colored pencils to one pinecone so you can see the difference.  The difference is quite noticeable!


Another way to up the beauty of your card is to add more interest to your focal image with additional die cuts that coordinate with the theme of the card.   The pine sprigs I added from the Lovely Layers: Pinecone Honey Cuts are a good example.  I die cut them from white cardstock and used Picket Fence Studios Paper Pouncers to add two shades of green ink to the sprigs.  These Paper Pouncers make it so easy to quickly color die cuts like these!  After adding additional color to deepen the shadows, I used a white pencil to highlight the edges of the pinecone layers.  Just use a very light hand with your pencil to get a subtle effect!


I rarely make a card without adding dimension and this card is no exception!  I added foam tape to the back of the colored image to adhere it to my card.  I played around with the arrangement of the pine sprigs by tucking them here and there under the Good Tidings image.  Once I was happy with the arrangement, I added dots of glue to adhere them in place.


My final tip for taking your card to the wow level is to add sparkle!  Now, I’m a sparkle-loving gal, so I used glue with a  fine tip to place lines of glue in various spots on the branches and image.  Then I sprinkled Clear Rock Candy Distress Glitter over the glue and tapped the excess into a coffee filter to funnel it back into the jar.  If glitter is not your thing, you can use a clear glitter pen to add that pretty sparkle to your card.


I chose one of the four sentiments in the Good Tidings stamp set (the fonts are beautiful!) and stamped it with black pigment ink.  I love how Honey Bee Stamps has coordinating dies for the sentiments!


I sure hope you’ve enjoyed my card making process today and have learned some new tips for taking your card to the next level!  Thank you so much for stopping by!  Have a wonderful and crafty day!


Thanks so very much for shopping with my affiliate links (never any additional cost to you)!

Saturday, November 4, 2023

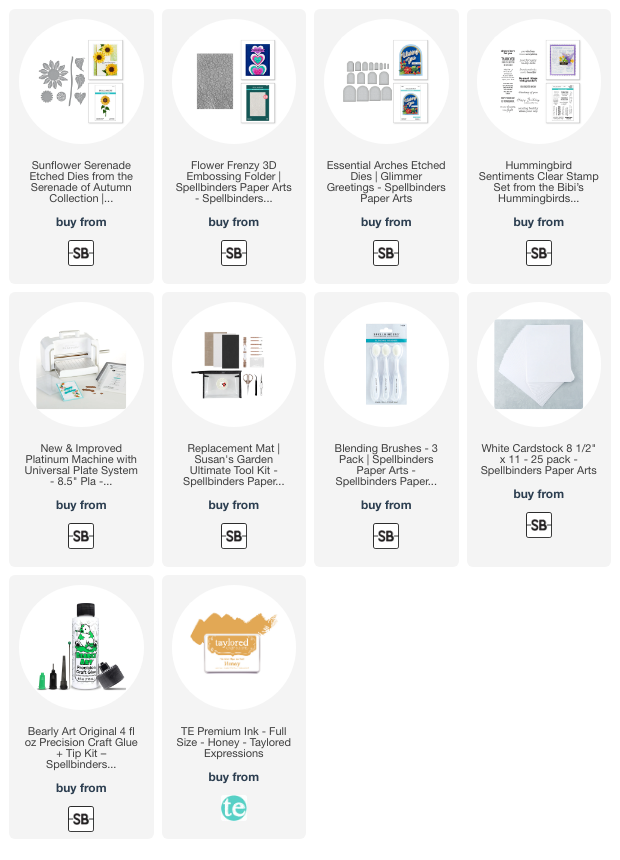
Thinking of You Card -- Sunflower Serenade

Hello, crafty friends!  Today I'm sharing this card that features Spellbinders' Sunflower Serenade die set!  I added a sentiment that makes this card perfect for many different occasions.

First I die cut the Sunflower Serenade dies from 80# Neenah.  (I die cut two of the flower die.)  I used small ink blending brushes to add some warm golden yellows to the flower petals and two green inks to the leaves and stem.

For extra dimension on the flower, I used a ball stylus from the Ultimate Tool Kit to shape the petals.  Next I glued the flower together and set it aside while I made the frame.

For the frame, I used 80# Neenah and die cut the opening with the 5th largest Essential Arches die.  Then I blended on a warm yellow ink over all of the piece.  Next I placed it into the Flower Frenzy 3D embossing folder and ran it through my Platinum die cutting machine.

To make the embossed detail stand out even more, I added a bit darker warm yellow ink by lightly brushing the details with a blender brush.  I glued the flower onto an A2 card base, and added foam tape to the back of the frame to adhere it to the card.

The sentiment is from the Hummingbird Sentiments set.  I trimmed it into a strip and popped it up with a few foam squares.  It doesn't really show in the photos, but I added some pretty and subtle sparkle with a Wink of Stella glitter pen.

Thank you for stopping by!  I hope you're having lots of fun crafty time this weekend!!

Thank you very much for using my affiliate links to shop (never any additional cost to you)!

Friday, November 3, 2023

Cutest Bear Christmas Card

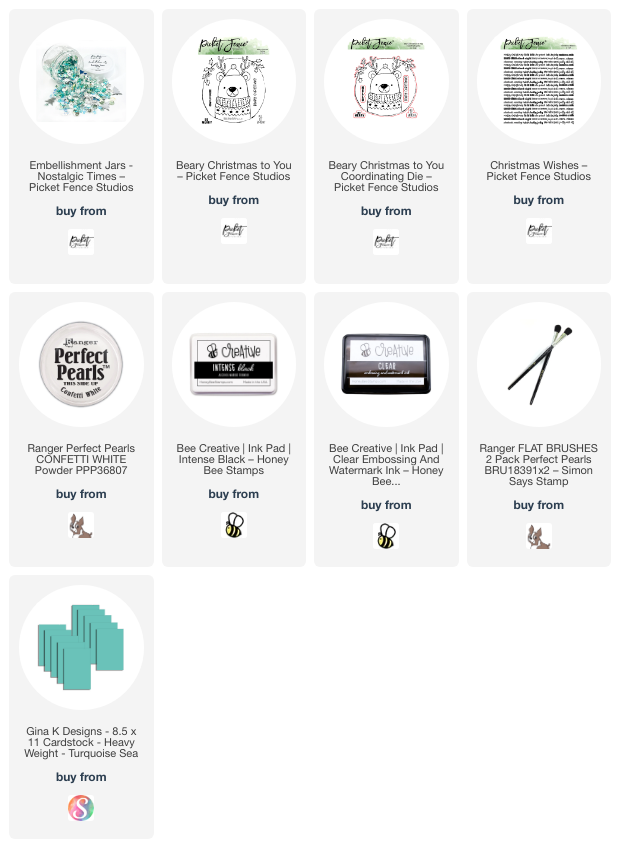
I have always loved bear stamps, and this Beary Christmas To You stamp set by Picket Fence Studios is no exception!  I think it's absolutely adorable!

I stamped the bear in the Beary Christmas To You set with Copic safe ink.  After I colored him with my Copic markers, I cut him out with the coordinating die.

I wanted to do something a bit different with the Christmas Wishes background stamp, so first I stamped it with clear embossing ink onto coordinating teal cardstock that I cut to 4" x 5-¼".  Then I used a soft brush to add Confetti White Perfect Pearls.  I used a clean microfiber cloth to gently wipe off the extra.

I used glue to adhere the teal panel to my A2 card base.  I added foam tape to the back of the bear image to pop it up on the card front.  I chose one of the four included sentiments from the Beary Christmas To You set and stamped it in black ink.  After I cut it out with the coordinating die, I adhered it to the card.

For some sparkle, I chose some sequin from the Nostalgic Times Sequin mix and used Distress Collage Matt Medium to adhere.  The bit of sparkle on the bear's hat is glitter from my stash.

And that's it for this cutest bear card ever!  Thanks so much for stopping by.  I hope your Friday is fabulous!

Thank you for using my affiliate links to shop (never any additional cost to you)!

Thursday, November 2, 2023

Snowflakes Holiday Card with a 3D Embossing Folder

Hello friends!  Today I'm sharing a quick post for my card featuring more beautiful new products from Honey Bee Stamps' Holiday Wishes release!  I shared this card over on Instagram for the Honey Bee hop too!  There will be two $50 gift cards awarded to two crafters that comment by November 3.  Check it out today or tomorrow for your chance to win!  

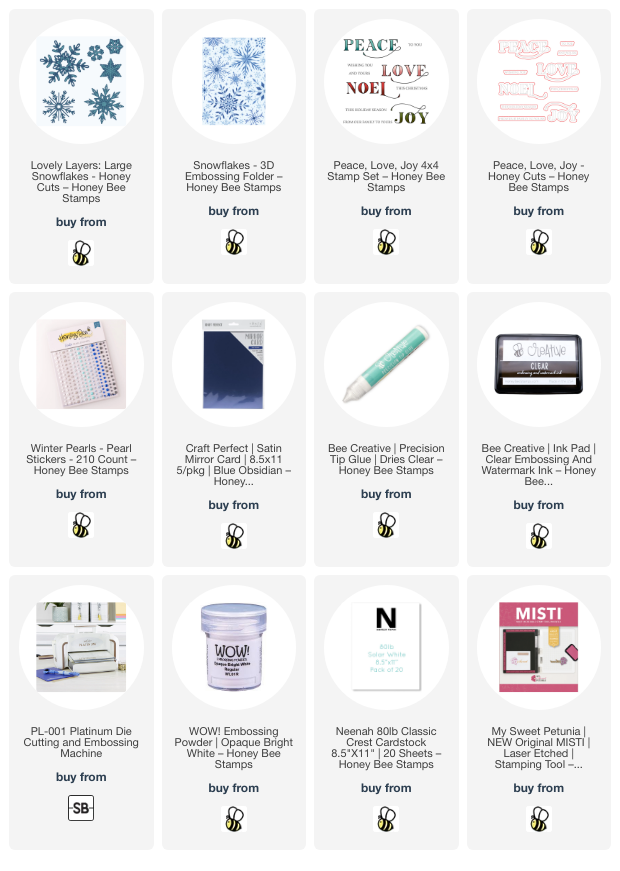
My card features the gorgeous new Snowflakes 3D embossing folder with the Lovely Layers: Large Snowflakes die set.

This card was so simple to make!  I used 80# Neenah, Blue Obsidian mirror card, and silver glitter paper from my stash for the various card base layers and the snowflakes.  (Check the links below for all current products.)

I stamped the sentiment from the Peace, Love, Joy stamp set with clear embossing ink onto a piece of the Blue Obsidian cardstock.  I added white embossing powder and heat set it.  I was careful to not concentrate the heat for too long on the mirror cardstock.  Pretty much treated it as I would heat embossing on vellum.  I cut the sentiment out with the coordinating die.

I added a few beautiful pearls from the Winter Pearls stickers set.  Thanks so much for stopping by.  I hope you have a wonderful and crafty weekend!

Thank you for using my affiliate links to shop (never any additional cost to you)!

Wednesday, November 1, 2023

Holiday Card with Layered Amaryllis

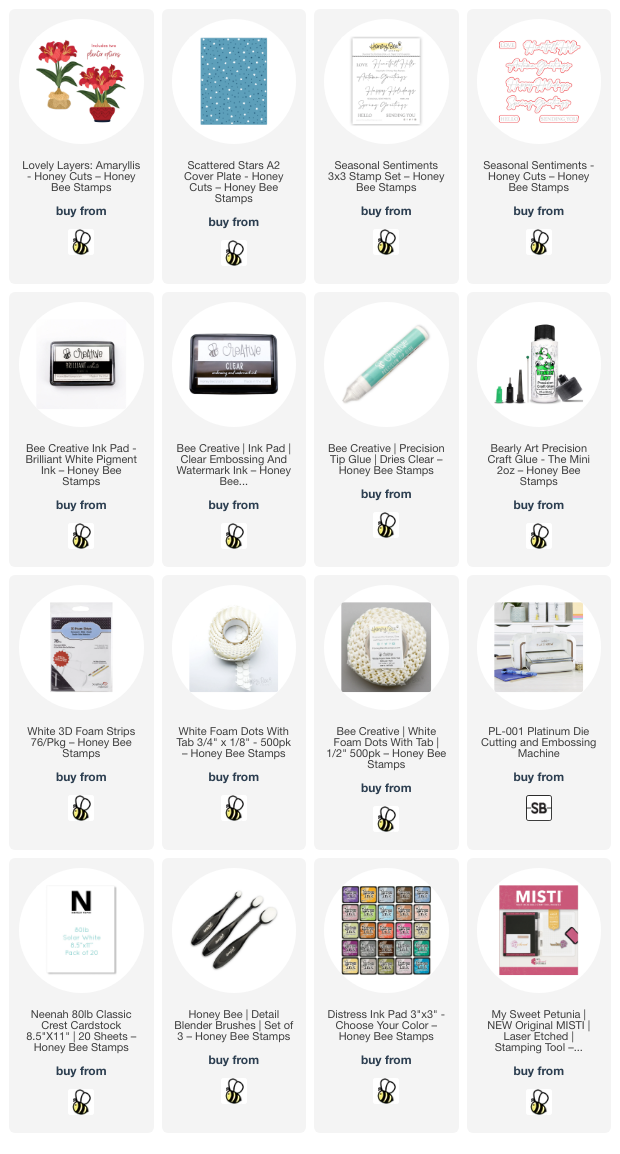
Hello crafty friends, and happy November 1st! Today I'm sharing my holiday card that features the beautiful Lovely Layers: Amaryllis from the recent Holiday Wishes release. Did you know amaryllis come in all shades of reds, pinks and also white? I love the white flowers and decided to use that as inspiration for my card.

I made the card base by using an ink blender brush to add Chipped Sapphire Distress Ink around the edges of an A2 panel of dark blue cardstock. Then I die cut the piece with the new Scattered Stars Cover Plate die. I glued it to an A2 top-folding card base.

Next I die cut all of the pieces in the Lovely Layers: Amaryllis from 80# Neenah. ( I will save the other flower pot for another project.) I die cut the amaryllis layers twice more.

I used Copic markers to color all of the pieces. Here's a list of the colors I used.

  • flower pot: R89, R39, R29, R27
  • amaryllis leaves: G28, G43, G24
  • amaryllis petals: G43, G24, YG61, C3, C1, C00
  • amaryllis stamens: G20, Y02
  • amaryllis bulbs: E18, E17, E15

When I finished coloring, I used glue to adhere the layers. Since this was my first time to use the Lovely Layers: Amaryllis, I used the very helpful layering guide found via a link in the product description. Then I arranged the flowers in the pot and adhered them with glue.

Before I adhered the amaryllis and pot to the card, I used a blender brush and Bee Creative Brilliant White pigment ink to add a "glow" on the blue cardstock that would be behind the flowers.

I stamped the sentiment from the Seasonal Sentiments with Clear Embossing ink onto blue cardstock. I added white embossing powder and set it with my heat tool. I cut it out with the coordinating die.

I added some thin and regular foam dots to the back of the pot of amaryllis to adhere it to the card. The sentiment is adhere with a narrow strip of foam tape on the right half and glue on the left.

At this point I really wanted to add some bling to the card! However, I decided to leave it be. I think my previous card had enough sparkles to last a bit! Haha!

Thanks so very much for stopping by today! I hope your day is filled with crafty fun!

I so appreciate you shopping with my affiliate links (never any additional cost to you)!

Wednesday, October 25, 2023

Sparkly Candy Cane Christmas Card

Hello crafty friends! Have you checked out Honey Bee Stamps gorgeous Holiday Wishes release? There are so many awesome products that I can't wait to create with! Today I'm sharing my card featuring the new Lovely Layers: Candy Canes!

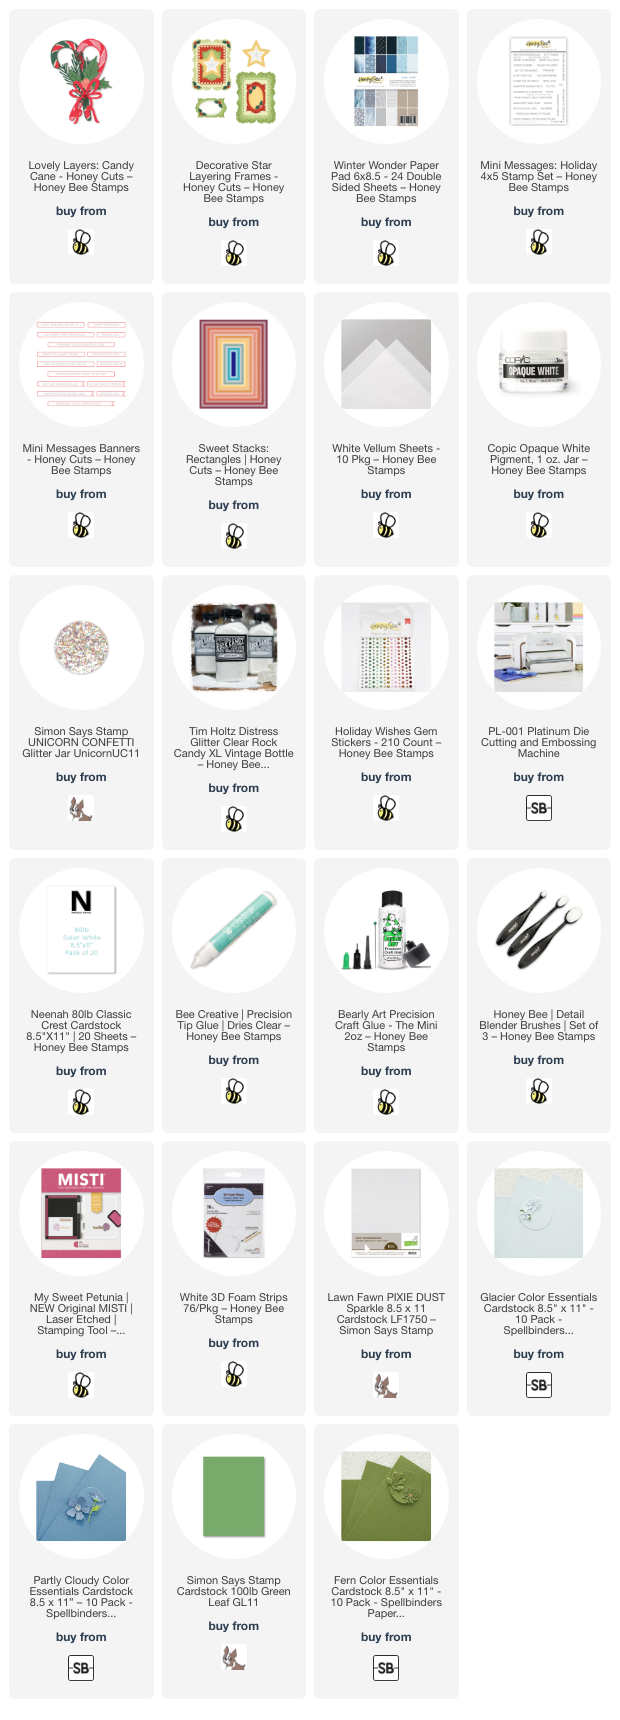
I let this gorgeous patterned paper from the new Winter Wonder paper pad be my inspiration for my card's color palette. I love this shade of blue for winter/Christmas cards! I die cut two each of the Lovely Layers: Candy Canes layers from a light blue, dark blue, and white sparkle cardstock. Next I die cut the greenery in this set from two shades of green cardstock. I added shading to the greenery with blender brushes and Mowed Lawn and Rustic Wilderness Distress inks.  (Links for the cardstock are below.)

The berries and bow are also die cut from the same white glitter cardstock. I adhered the layers of the candy canes with Bee Creative glue.

I used the largest Sweet Stacks: Rectangles to die cut the patterned paper from the Winter Wonder paper pad and glued it to my A2 card base. Next I die cut vellum with the Decorative Star Layering Frames largest die. But don't adhere it to the card base yet!

I arranged the Lovely Layers: Candy Canes elements and then used Bee Creative glue to adhere each piece to the vellum. I only added a few dots of glue to each piece so the vellum wouldn't buckle much. I did use a few foam squares at the top of the upper candy cane to support it over the other pieces.

Of course, my wintery Christmas card had to have lots of extras! Before I adhered the vellum to the card, I splattered white paint all over. Then I added some beautiful iridescent chunky glitter to the greenery. If you don't have that glitter, Clear Rock Candy glitter would be beautiful too! 

After the glitter was dry, I added drops of glue to the back of the vellum, hiding the drops behind the elements of the card. Then I attached it to the card and let it dry.

I stamped the sentiment from the Mini Messages: Holiday stamp set with Stormy Sky Distress Oxide ink. Using my MISTI allowed me to stamp it a few times for a good impression. After I cut it out with a die from the Mini Messages Banners Honey Cuts, I added foam tape to the back to adhere it to my card.

A few gem stickers from the Holiday Wishes stickers finished it off with a bit more sparkle!

I love all the sparkle; and if you'd like to see it even better, check out the reel I'll have posted very soon over on my Instagram! 

I hope you've found more inspiration here for the Holiday Wishes release! Thank you so much for stopping! Have a wonderful and crafty day!

Thank you for using my affiliate links to shop (never any additional cost to you)!

Tuesday, October 24, 2023

Leaf Trio Die Autumn Thank You Card

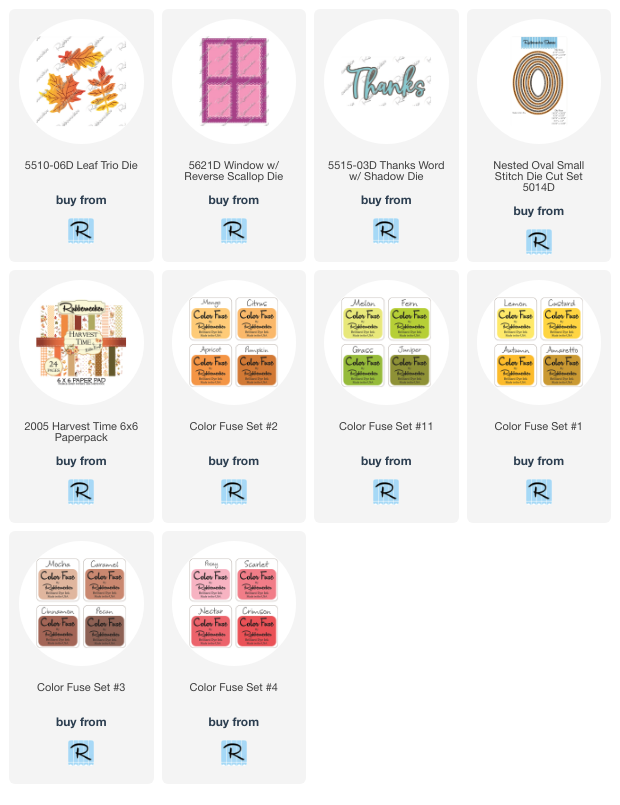
Hello crafty friends!  Today I'm sharing a gorgeous autumn Thank You card!  My collaged background features Rubbernecker Stamps beautiful Leaf Trio Die along with some other elements from their shop.

I used a large piece of Strathmore Bristol Smooth cardstock and ink blended several autumn colored dye inks in a random pattern until the piece was covered.  Then I die cut the Leaf Trio Dies from the inked cardstock several times until I had die cut the entire panel.

Then I die cut three pieces of white cardstock with the Window w/Reverse Scallop die.  I glued the layers together and set it aside to dry.

Next I trimmed a piece of striped cardstock from the Harvest Time paper pad to 3-¾" x 5".  I arranged all of the die cut leaves onto the paper and adhered them with glue.  I let some overhang the edge and trimmed off the excess to use to fill in empty spots along the edge.

I die cut and adhered three of the top layer of the Thanks Word w/Shadow die.  The shadow is orange cardstock from the Harvest Time paper pad.  I used the same orange cardstock as a base layer for the collage piece.

I arranged five of the remaining leaves around the sentiment adding a double bow made with twine.

I always like a bit of sparkle so I added some pretty coordinating gem stickers near the sentiment.

Thank you so much for stopping by!  I hope you have a wonderful day!


 Thank you so much for using my affiliate links to shop (never any additional cost to you)!