Hello, crafty friends! Today I'm sharing another holiday card featuring Honey Bee Stamps gorgeous Good Tidings stamp set with the coordinating coloring stencils and dies. P.S.: I also had the privilege of being a guest designer over on the blog of Scrapbook & Cards Today where I also featured this card!
This card includes two of my favorite trending crafty items: coloring stencils and 3D embossing folders! (I’m so happy that embossing folders have made a comeback!) While this card may look complicated, I’m going to share my tips for easy ways to take your card from “very pretty” to “wow” by adding just a few extra details!

First I put a 4-¼” x 5-½” piece of 80# Neenah Solar White into the Snowy Pines 3D Embossing Folder. Run that through your die cutting machine with the recommended sandwich for your type of machine. This gorgeous embossed white background will make the images pop! I used glue to adhere it to a top-folding A2 card base.

I don't know about you, but I have had several instances that I have smeared the black outline of the stamped image during stenciling, so I like to do all of the stenciling first.
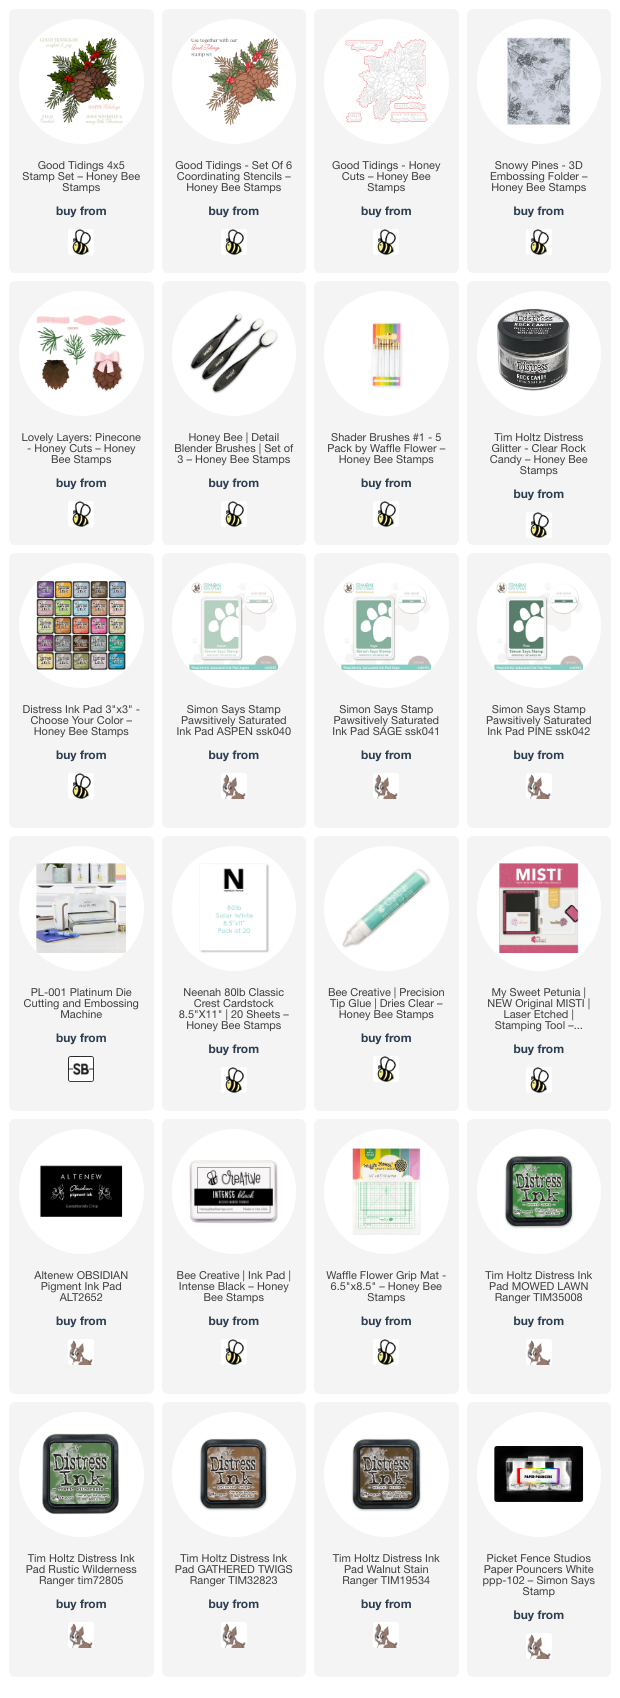
The six stencils in the Good Tidings stencil set are numbered and fully etched with the entire image to make lining up each layer super easy! I began with stencil Layer 1 and used small detail blending brushes to add the inks. I used a few Distress Inks in the colors of Gathered Twigs, Walnut Stain, Mowed Lawn, Rustic Wilderness, Festive Berries, and Aged Mahogany. For the pine branches of the stencils and the Lovely Layers: Pinecone I used some green inks from Simon Says Stamp (linked below).
After I finished with each Good Tidings stencil layer, I placed the panel into my MISTI. Then I put the Good Tidings outline stamp over the colored image. I only had to spend about a minute to line up the stamp with the stenciled image! I picked up the stamp with the MISTI door and inked it up with a black pigment ink. Using a pigment ink will give a beautiful crisp stamped image! I cut the image out with the coordinating Good Tidings Honey Cut.
Of course, if you are not comfortable stamping after you have colored your image with the stencils, go ahead and stamp it first! Just make sure that the ink is totally dry to avoid any smearing.
Another way I like to add details to a stamped image is to use a coloring medium, such as alcohol markers or colored pencils to add more depth to the shadowed areas of your image! Since I used a pigment ink to stamp the image, I needed to use colored pencils. (Pigment ink and alcohol markers are not compatible.)
I took a photo after I added the colored pencils to one pinecone so you can see the difference. The difference is quite noticeable!

Another way to up the beauty of your card is to add more interest to your focal image with additional die cuts that coordinate with the theme of the card. The pine sprigs I added from the Lovely Layers: Pinecone Honey Cuts are a good example. I die cut them from white cardstock and used Picket Fence Studios Paper Pouncers to add two shades of green ink to the sprigs. These Paper Pouncers make it so easy to quickly color die cuts like these! After adding additional color to deepen the shadows, I used a white pencil to highlight the edges of the pinecone layers. Just use a very light hand with your pencil to get a subtle effect!

I rarely make a card without adding dimension and this card is no exception! I added foam tape to the back of the colored image to adhere it to my card. I played around with the arrangement of the pine sprigs by tucking them here and there under the Good Tidings image. Once I was happy with the arrangement, I added dots of glue to adhere them in place.
My final tip for taking your card to the wow level is to add sparkle! Now, I’m a sparkle-loving gal, so I used glue with a fine tip to place lines of glue in various spots on the branches and image. Then I sprinkled Clear Rock Candy Distress Glitter over the glue and tapped the excess into a coffee filter to funnel it back into the jar. If glitter is not your thing, you can use a clear glitter pen to add that pretty sparkle to your card.
I chose one of the four sentiments in the Good Tidings stamp set (the fonts are beautiful!) and stamped it with black pigment ink. I love how Honey Bee Stamps has coordinating dies for the sentiments!

I sure hope you’ve enjoyed my card making process today and have learned some new tips for taking your card to the next level! Thank you so much for stopping by! Have a wonderful and crafty day!
Thanks so very much for shopping with my affiliate links (never any additional cost to you)!