Sunday, May 10, 2020

One Sweet Stamp, Three Ways | Rubbernecker Stamps

Hello Rubbernecker friends!  Today I'm using just one sweet stamp with its coordinating die, to make three sweet cards!  I've used the Tree with Bench Swing stamp to create one clean and simple card, plus two more that are a bit more involved.  It didn't take me very long at all to put these together!


All three cards are top-folding A2 card bases made with Neenah Solar White 80# card stock.  For each card, the swing image is colored with Copic markers.  Also, I've added some clear acrylic hearts to each card for a touch of bling!  This first card is my CAS card, which let me tell you, is WAY out of my comfort zone!  Haha!


Card directions:
  • Die cut white card stock with the largest Nested Inside Scallop die.
  • Blend Beachside ink, from Color Fuse Set #9, in the center with an ink blending brush.
  • Add some thin foam tape to the back and attach it to the card base.
  • Add foam squares to the back of the colored and die cut swing and adhere it to the card front.
  • Stamp the sentiment from the Kittie Says Phrases #1 with Versamark clear embossing ink onto black card stock.  (Don't forget to use your anti-static bag first!)
  • Sprinkle with white embossing powder and heat set.
  • Trim the sentiment and adhere it to the card with foam squares.


For this next card I created an ombre striped background to go behind the tag.


Card directions:
  • Ink up the Horizontal Stripes background stamp with each color from Color Fuse Set #9 in an ombre pattern.  I used a clean paper towel as I went along to dab the edges of each ink color to eliminate any harsh lines.
  • I used a MISTI stamp positioner and stamped it a couple of times until I was happy with my stamping.
  • Die cut the striped panel with the largest Nested Rectangle Small Stitched die and adhere it to the card base.
  • Die cut one tag from the Nested Tag Stitched dies.  Ink up the center with Beachside ink from Color Fuse Set #9.
  • I died some white ribbon to coordinate and tied it onto the tag. (see photo below)  To die the ribbon, I smooshed some ink onto my glass mat and spritzed the ribbon and ink with a bit of water.  Swirl the ribbon around to absorb the ink and set aside to dry.
  • Adhere the swing to the tag.
  • Stamp the sentiment Kittie Says Phrases #1 in black ink.
  • Adhere the tag to the card front with foam tape.

Die your own ribbon!

My final card is just a bit more detailed, but definitely easy to make!


Card directions:

  • Ink up the Branch Shadow background stamp with Fern ink from Color Fuse Set #11 and stamp onto a 4-¼" x 5-½" white card stock.  Trim to 4" x 5-¼".
  • Using the coordinating swing die, position it on the card front and run through your die cutting machine. (Photo #1 below.)
  • Die cut the swing in the stamped Branch Shadow piece.  I did this by placing it inside the card base and taping them together with temporary tape.  (See Photo #2.)  Place the die on the previous die cut opening on the card front.  Make sure your card base is not folded before you run it through your die cutting machine.
  • This step very easy when using a stamp positioner such as the MISTI.  Stamp the swing on the inside of the card by closing up your card base.  Center the stamp in the die cut opening, then pick up the stamp with the positioner door.  
  • I did a test by placing some scrap paper in and stamping onto it first to make sure I had the stamp centered.
  • Remove the scrap paper and stamp the swing onto the inside of the card.
  • Color the swing and stamp the sentiment in black ink.  This sentiment is from the Best Friends set.
  • Adhere the Branch Shadow piece to the card front making sure to line up the die cut openings.
  • Stamp the sentiment from Best Friends in black ink.
   

I love how you get a peak at this adorable swing and then see the full scene when you open the card!


Oh, I forgot to add that I used a black .05 Micron pen to draw around the die cut opening.  I think it brings more definition and attention to it this way.


Thank you so much for stopping by!  I hope you've found some inspiration here for using this sweet stamp!  Have a wonderful and crafty week!


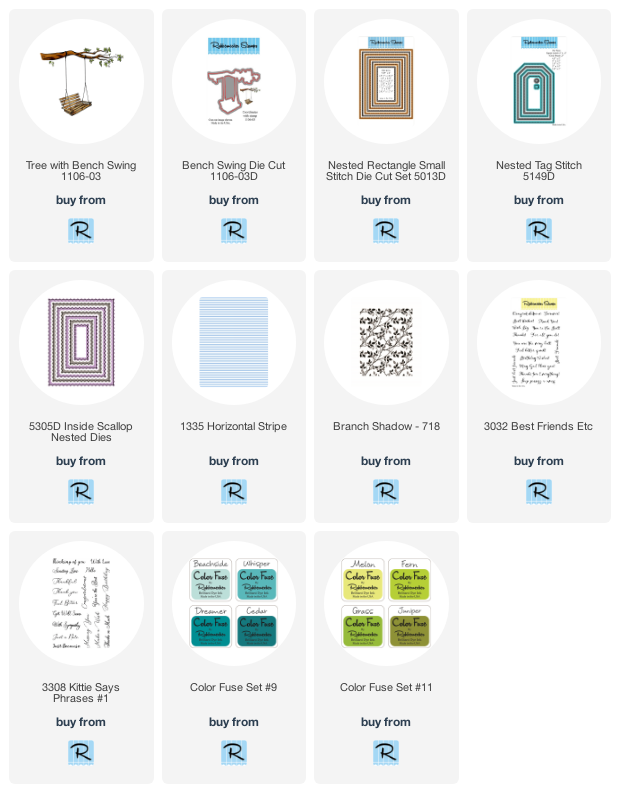
Rubbernecker products used:
Thursday, May 7, 2020

Invitation Set with Greenery Invites | Art Impressions

Hello friends!  Today I'm happy to be the feature designer for today's new challenge over at Art Impressions.  The new challenge is called "You're Invited" and the new Greenery Invites set is just perfect for this one!


Here are the beginning steps for this set:
  • Trim Neenah Solar White 110# into three pieces--two at 4-¼" x 2-¾" and another to 4" x 5-¼".  I recommend using the 110# card stock so the warping isn't too bad when heat embossing.
  • Stamp the wreath onto the 4" x 5-¼" card stock with Copic safe ink.
  • Stamp the greenery onto the two smaller cards.
  • Color the images with Copic markers.  My colors are listed below.
  • After my coloring was done, I decided to stamp the berry branch randomly around the wreath.
  • Die cut some gold metallic card stock with Altenew Fine Frames Cover die  and the Altenew Fine Frames Rectangle die twice.  Adhere the two pieces together for each frame.  Set aside to dry.
  • Emboss the sentiments onto the cards by stamping with Versamark and sprinkling on the embossing powder.  I used a black embossing powder.  If you do, be sure to use that anti-static bag thoroughly to eliminate the black specks.

To finish up I adhered the gold frames.  I added foam tape to the back of the larger card and adhered it to a top-folding A2 card base.


I thought the berries needed some dimension, so I added some Ebony Black Nuvo Crystal Drops to each one.  I also added a few drops to the other cards to tie the theme together even more.


There are so many ways to use this set!  I didn't use all the images included, and also, there's a "thank you" sentiment so you can make beautiful thank you cards with this set too!  Thank you so much for stopping by and I hope you'll join in this new challenge!


Copic markers:
rounded leaves:  G46, YG45, G12, YG41, YG11
oblong leaves:  G17, G05, G02

Monday, May 4, 2020

Best Friends Forever! | Art Impressions

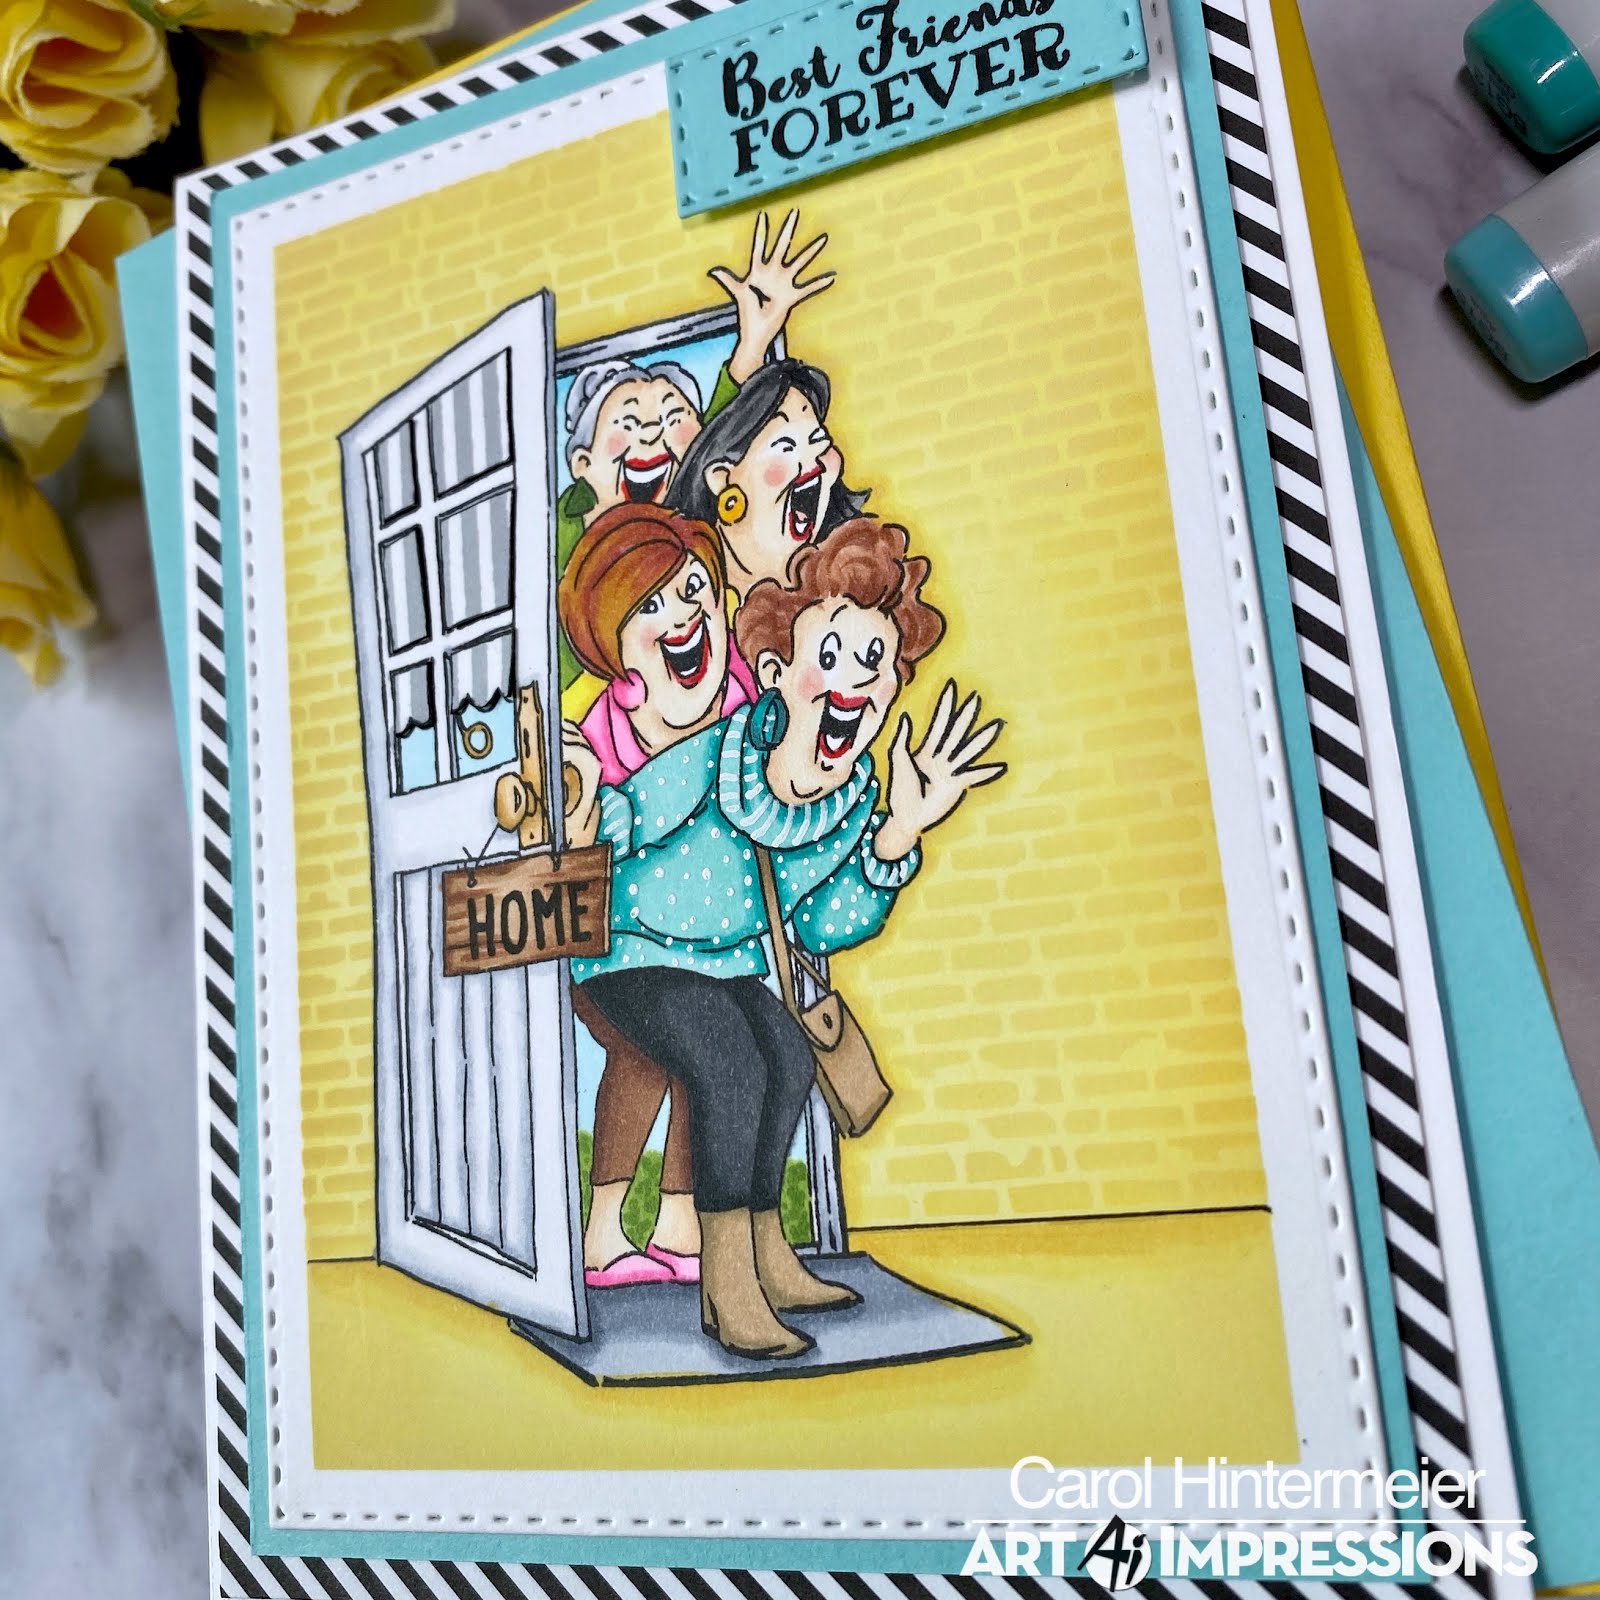
Happy Monday friends!  Today I have a fun card that would be perfect for sending to all of our friends that we miss so much!  I've used Art Impressions' new We're Here Set for this card.


I began by stamping the image onto white card stock that I die cut with a Rectangle Double Stitched die.  I also stamped it onto some masking paper and fussy cut it out.  I used the Copic markers listed below to color the image.  I used a white gel pen to add details to the blue sweater.  I found a "Home" stamp in my stash and stamped it onto the door sign.


For the background, I put the mask over the image and taped off the die cut edges.  I used a rectangle masking stencil and a blender brush to add Squeezed Lemonade Distress Oxide ink.  I used a black pen to draw a line to separate the floor and wall and used some Post-It Tape to mask the floor.  Next I used a brick stencil to ink on more Squeezed Lemonade ink.  I blended a bit of Mustard Seed Distress Oxide around the edges.

After removing the masks, I layered the panel onto some blue card stock and some black/white patterned paper.  I adhered these layers to a top-folding A2 card base.  I stamped the sentiment onto some of the blue card stock and die cut it with the smallest Rectangle Double Stitched die.  I shifted the die cut piece in the die and ran it through my machine again to make it shorter.  I repeated this for the other end.  I popped the sentiment up with some foam tape.


Thanks so much for stopping by today!  Have a wonderful, crafty week!


Copic markers:
BG000, BG01, BG11, BG13, BG15, BG18,
C00, C1, C3, E07, E08, E13, E15, E21, E23,
E25, E27, E31, E39, E50, E51,
N5, N7, N9, R20, R35, RV02, RV04,
T3, T5, T9, Y00, Y06, Y13, Y15, Y28,
YR20, YR21, YR23, YR24,
YG17, YG25, YG67

Supplies:
Distress Oxide Inks: Squeezed Lemonade, Mustard Seed

Thursday, April 30, 2020

A Kind Word Gatefold Card | Honey Bee Stamps

Hello my friends!  I hope today finds you well and safe.  I had so much fun watercoloring this beautiful Honey Bee Stamps In Full Blooms stamp!  This is part of their new release and was designed by the amazing Emily Midgett!  I'm sure you've seen this fabulous release celebrating Honey Bee's 5th year, but if you haven't click HERE--there is so much awesomeness in this release!  I had so much fun making this gatefold card to show off this beauty!


Let's get started by creating the gatefold card base! Score an 8-½" x 4-¼" piece of Neenah Solar White card stock at 2-¾" from each end.  To finish each side of the gatefold I trimmed a piece of patterned paper from the Birthday Bash 6x6 paper pad to 2 pieces at 2-½" x 4".  I centered those on the front flaps and adhered them down.

Next I used an anti-static pouch on a piece of Strathmore Bristol Smooth card stock.  Then I stamped the image with Versamark clear embossing ink.  I sprinkled on WOW! Metallic Gold Rich embossing powder and heat embossed it.  I used a No. 2 round brush to color this with just a few watercolors.  For the flowers I used Ken Oliver's Orchid Color Burst.  The leaves were colored with Jellybean Green Color Burst, along with a yellow-green watercolor from my stash.  I dotted the berries with some yellow watercolor.  When it was dry, I used the coordinating die to cut it out.


Next die cut the Polygon Thin Frames die cut with gold card stock once, and white card stock twice. I adhered the largest of these frames together with Ranger Multi Medium Matte.  Once these were dry I adhered them to the floral piece.   I love how this all coordinates together!

I stamped the sentiment from the In Full Bloom set with Versafine Onyx Black ink.  I don't usually put a sentiment on the inside of my cards but I decided that a special gatefold card needs a special sentiment inside.  I stamped the In Full Bloom in a light purple ink and used a sentiment from Grateful Each Day to complete it.


Finally, I adhered my floral image to the left panel.  Be sure to only add glue to one-half of the back of the main image!!  I added a few gold sequins from the Gold Lights Confetti Mix.


This card really was so easy to put together and I hope I've inspired you to give this beautiful set a try!  Stay well, and stay crafty!!

Supplies:
Honey Bee Stamps In Full Bloom stamps & Honey Cuts
Honey Bee Stamps Birthday Bash 6x6 paper pad
Honey Bee Stamps Polygon Thin Frames Honey Cuts
Honey Bee Stamps Grateful Each Day stamps
Honey Bee Stamps Gold Lights Confetti Mix

Let's Party! & Week 2 Art Impressions' Best Friends Challenge

Hello friends!  It's week two of Art Impressions' Best Friends challenge!  Just in time for this challenge is this new and fun set called Practically Perfect that I've used on my card today.  It's one of two new sets in this line--the other one is called We're Here Set (check back on Monday to see my card using this one!) Oh, these sets are on sale when I checked on Monday!


I stamped the image in Copic safe ink (Ink On 3 Blackout Detail ink is my favorite).  Next I die cut it with a Square Double Stitched die.  I then colored it with the crazy (Haha!) amount of Copic markers which are listed at the end, if you're interested!  I used some patterned paper for my layers.  I didn't realize this 6x6 paper is retired.  I did find a 6x8 pad of it--if you want to look it up, it's called Happy Hooray by Pebbles.

I added fun details to all the ladies tops with some fine tip pens.  I used a few pens from my Staedtler 20 pen set of finalizers, along with a Micron .005 black pen, and a couple of Cricut fine tip pens.

The bottom yellow layer is cut to 5-½" x 5-½" and adhered to a top-folding card base of the same size.  I used another square stitched die from my stash to cut the next layer.  I adhered an orange layer behind the colored image and popped it up with foam tape.


I stamped the sentiment in Versafine Onyx black ink and trimmed it into a flag shape.  I used a scrap piece of the yellow paper to layer it and popped it up with a foam squares.


I'm sure you're like me and cannot wait for the day that we can actually have that party--together!!!!  At least we can have fun with these fabulous stamp sets!  Stay safe, healthy and CRAFTY!!


Copic markers:
B00, B01, BG01, BG02, C00, C1, C3, C5, C7, C9,
E11, E21, E25, E27, E29, E31, E34, E35, E50, E51, E57, E99,
G12, G20, G40, R11, R14, R20, R21, R22
Y00, Y11, Y13, Y15, Y21, Y26, YG45, YR29

Supplies:

Monday, April 27, 2020

How to Make Paper Charms for a Watercolor Bookmark | Art Impressions

Hello my friends!  I had so much fun creating this beautiful watercolored bookmark with Art Impressions Bookmark Dies and making the little paper charms to add to it!


Here are the basic steps for creating the bookmark and the watercoloring (all watercoloring is done the "Ai way"!  See Art Impressions YouTube for specific techniques) :
  • Die cut the Bookmark Die from a piece of Strathmore Bristol Smooth card stock.
  • Ink the large birdhouse with 969-Chocolate and 565-Deep Blue and stamp it onto the die cut bookmark. Pull the color out with your brush adding shadows where needed.
  • Scribble 493-Reflex Blue onto your palette and pick up some with your brush and add to the birdhouse roof.
  • Stamp the greenery from Foliage Set-4051 with 177-Dark Jade and dab the color with a damp brush.
  • Stamp the flowers on the vine with 665-Purple.
  • Stamp the tiny grass from Foliage Set-4051 with 177-Dark Jade.
  • Stamp the flowers at the base of the birdhouse.  Use the flower bunch from Flower Set 2 and ink the top half of the stamps with 177-Dark Jade and the flowers with 933-Orange with some 055-Yellow.
  • Pick up 493-Reflex Blue and add in some sky.
  • Stamp the branch from WC Branches Set with 969-Chocolate.  Add leaves with the stamp from WC Foliage Set 2.  I inked it with 177-Dark Jade.
  • Ink up the flying bird with 969 and 565.  Stamp onto the positioner block, position it over the birdhouse, then stamp the bird onto the piece.  Stamp the bird on the ground in the same colors.  Add more color to them with a bit of 493-Reflex Blue with 565-Deep Blue mixed from your pallette.
I used dies that are included with the Bookmark die set to create my little charms.


Die cut two each of each shape you want to use.  I used Copic markers to color the butterfly and the feather.  Note:  color the backside of one feather since it's not symmetrical.  Die cut three tiny hole reinforcers from the Tag Stitched Die set.  Color two to coordinate with the butterfly and feather.  My photos that follow show my assembly for the butterfly.  Adhere one reinforcer with liquid glue to the top center of the die cut.  Add more liquid glue to adhere the two pieces, colored sides facing out.  Let dry.  Assemble the cross and feather the same way.


Next I used a Ranger Emboss It Dabber to add clear embossing ink to one side.  Holding the charm with your reverse tweezers (don't want to get burned!) pour clear embossing powder over the ink and heat emboss.  While it's still hot, dip it back into the clear embossing powder two more times to get the smooth thick finish.  Repeat for the opposite side.  I embossed the cross the same way, but used some white sparkle embossing powder.  I had some small rings in my stash that I attached to the top of the charms.

I colored the white ribbon by scribbling 493-Reflex Blue onto my mat and spritzing water into the ink, then dipping the ribbon into it.  Keep dipping and spritzing water until you have the desired shade.  Let dry, and then tie it, and the charms, onto your bookmark.


I love the added touch the little charms give to this bookmark!  I sure hope I've inspired you to give this a try.  Have a wonderful, crafty week!


Supplies:
Art Impression supplies:
Bookmark Dies
Tag Stitched Dies
WC Large Birdhouse set
Foliage Set-4051
Foliage Set 2-4867
Branches Set-4964
Flower Set 2-4868

Other supplies:
Tombow watercolor markers:
055-Yellow, 177-Dark Jade, 493-Reflex Blue, 565-Deep Blue,
665-Purple, Orange-993, 969-Chocolate
WOW Clear embossing powder
WOW Glitter Sparkling Snow embossing powder
Ranger Emboss It Dabber

Sunday, April 26, 2020

How to Use Layering Stamps with Dies | Rubbernecker Stamps

Hello Rubbernecker friends!  Today I have a bright and cheerful "Just Because" card that's sure to brighten anyone's day!  These beautiful flowers are from the Blossoms In Spring stamp set and the coordinating dies.  I added some dimensional fun with these beautiful Copic colored butterflies from the Brush Butterflies set.  My steps for creating this pretty card are going to be brief, as I hope you will continue reading to learn about using these clear layering stamps in my tips.


Create the card base:
  1. Ink the edges of a 4-¼" x 5-½" white card stock piece with Odyssey ink from Set #7.  I used an ink blending brush to get a smooth blending of the blue ink.
  2. Die cut another piece of white card stock with the largest die from the Nested Rectangle Scallop w/Holes die set.  Adhere it to the inked panel.
  3. Adhere the layered piece to a top-folding A2 card base.

Flowers, leaves, and butterflies:
  1. Ink the flower layers using the included layering guide.  I used Sky, Odyssey and Azure from Set #7.  I always use my MISTI when stamping so I can repeat if necessary.  I used Custard from Set #1 for the flower centers.
  2. Add small drops of Dandelion Yellow Nuvo Crystal Drops to the flower centers and set aside to dry.
  3. Stamp the leaves with ink from Set #11.  I used Fern and Juniper.
  4. Die cut with the coordinating dies.
  5. Stamp the butterflies with Copic-safe ink and color with alcohol markers.
  6. Die cut the butterflies with the coordinating dies.
  7. Adhere the flowers.  The top one with liquid glue, and the bottom flower with foam tape.
  8. Add a small dot of glue to the base of the leaves and tuck under the flowers.
  9. Add a thin line of glue to the center of the butterflies and adhere.
  10. When the glue on the butterflies is dry, bend up the wings slightly for some dimension.
  11. Add sparkle to the butterflies wings with a clear sparkle pen.
I LOVE these dimensional butterflies on the flowers!  This really adds so much interest.


Here are some tips that I hope will be helpful!  Click on the photos for a larger view.


These next three photo show a tip on how to be sure you have the outline stamp lined up correctly.  You will need your stamp positioner for this (I use a MISTI).  Line up the outline stamp with the layered image.  Pick up the stamp with the MISTI door.  Lay a piece of acetate over the image, ink up the stamp and stamp onto the acetate.  I can see here that I have it lined up just right!


This card has all three of my most favorite colors!  Blue, green and yellow make me happy!


I hope my tips will help you when you use your layering stamps and that you'll be inspired to give them a try!  Thank you for stopping by today and have a wonderful, crafty week!


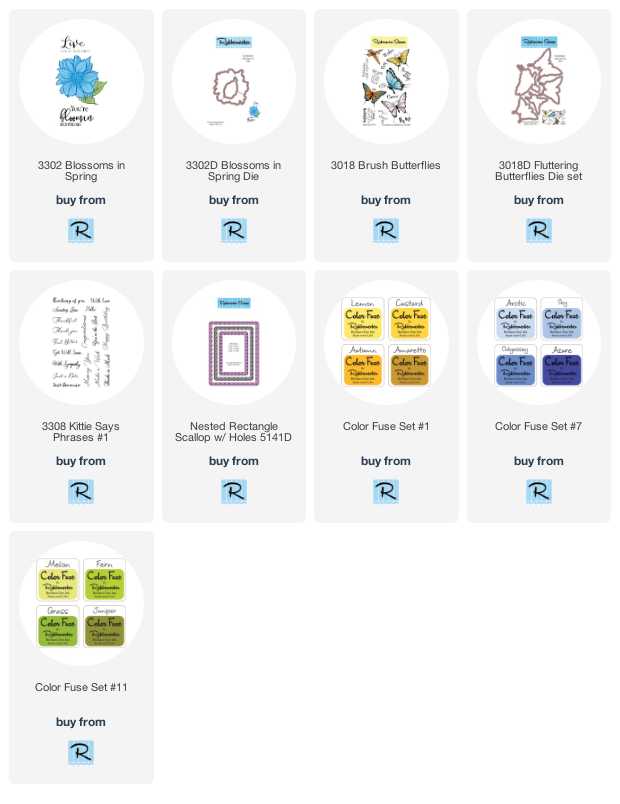
Shop the supplies by clicking these links: