Hello my friends! I have a cool technique that I tried for my floral card today! I've used the beautiful Fragrant Blooms stamps and coordinating dies to create a floral see-through card. This was so fun and not at all hard to create!

In full disclosure, the technique for this design totally comes from the awesome Jennifer McGuire. She has some good tips that make this easy to create (see her YouTube here.)
Here are the details for my card:
- Stamp a lot of the flowers and greenery from the Fragrant Blooms set.
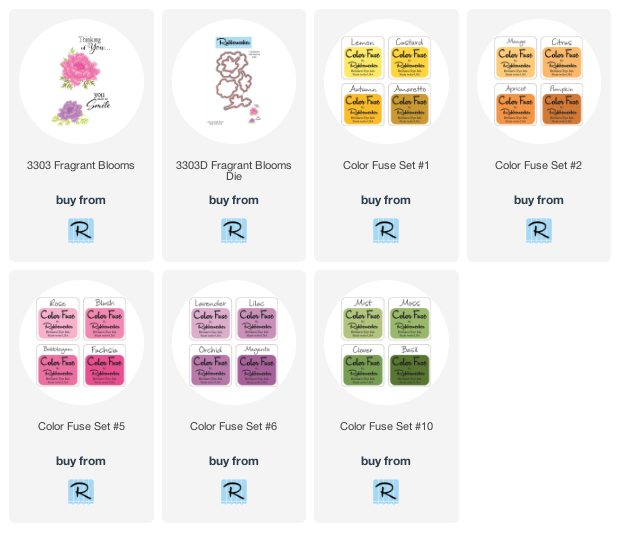
- Stamp the purple flowers: Lavender, Orchid, and Magenta from Color Fuse Set #6.
- Yellow flowers: Lemon, Custard, and Autumn from Color Fuse Set #1.
- Pink flowers: Rose, Bubblegum, and Fuchsia from Color Fuse Set #5.
- Greenery: Moss and Basil from Color Fuse Set #10. I stamped the lightest color, Moss, on the tops of the greenery. Then stamped the darker color, Basil.
- Stamp the flower centers. I used Apricot from Color Fuse Set #2 for the yellow flowers.
- Since I stamped the pink and purple flowers third layer with the darkest ink, I needed to think of something for the centers. I remembered some yellow embossing powder I've had in my stash forever! I stamped the centers with Versamark clear embossing ink, sprinkled on the yellow embossing powder and heat embossed it.
- For all of the stamping, I used my MISTI and stamped the layers 2-3 times, depending upon the depth of color I was wanting.
- Die cut all of the images with the coordinating dies.
- Arrange the pieces on an A2 sized card stock. Do not adhere!
- Let some of the flowers and leaves hang over the edges making sure that the pieces are overlapping as you go.
- When you have them arranged, take a piece of Press N Seal and put it over your arrangement and press down to stick them all on. Using the A2 card stock piece as a guide, trim off the flowers and greenery that extend beyond the edges. (Note: You will be trimming the Press N Seal too.)
- Flip this over and remove the A2 card stock piece. Add dots of glue under the areas that overlap to connect all the pieces.
- Remove the Press N Seal and add dots of glue to the overlapping pieces on the front side.
- Die cut more of both flowers from white card stock. Glue these to the backside of the piece to give it a cleaner look when it's opened. You can see the overhang on this next photo--trim that off.

- Cut a piece of white card stock to 4-¼" x 6". Score it at ½" and fold over.
- Adhere the flap to the top part of the see-through card front. See the next photo as more explanation.


I almost forgot--I added some Ripened Pumpkin Nuvo Crystal Drops to the yellow flowers' centers. They were missing something, I thought, and now they coordinate better with the other heat embossed centers.

I stamped the sentiment that's from the same set in Versafine Onyx Black ink and fussy cut it out. I added a few foam squares and adhered it to the card front.

I stamped the sentiment that's from the same set in Versafine Onyx Black ink and fussy cut it out. I added a few foam squares and adhered it to the card front.

I love how this turned out and it's a fun and different way to use die cut florals! Thanks so much for stopping by today!