Sunday, November 10, 2024

Quick and Easy Stenciled Thank You Card

Hello crafty friends!  I love making quick and easy thank you cards in bright and cheerful colors!  I'm sharing all of the complete details of this card over on the Brass & Bliss blog today.

The stenciled layer uses the pretty Fall Flourish stencil set.  It includes three layering stencils that you use to create your background.

I love how in spite of the name "Fall Flourish" this set can absolutely be used for any season!  I only had to use four ink colors!  I used these colors from the Color Fuse ink line:  Dreamer, Grass, Juniper, and Pecan.

Next I've used the new Thank You Die set.  I inked up white cardstock with the teal ink and die cut the top layer of the Thank You die set.  I cut it twice more from white cardstock and glued the layers together.  I love dies that have a shadow layer as it helps the sentiment stand out from a more busy background!

This was really that easy!  If you would like to see lots of step-by-step photos and directions, join me over on the Brass & Bliss blog.  Thank you so much for stopping by!

Friday, November 8, 2024

Cheers, It's Your Special Day

Happy Friday crafty friends!  Today I'm sharing this card I made that features Picket Fence Studios Cheers My Friend die set!  I love ink blending and this card has plenty of that!

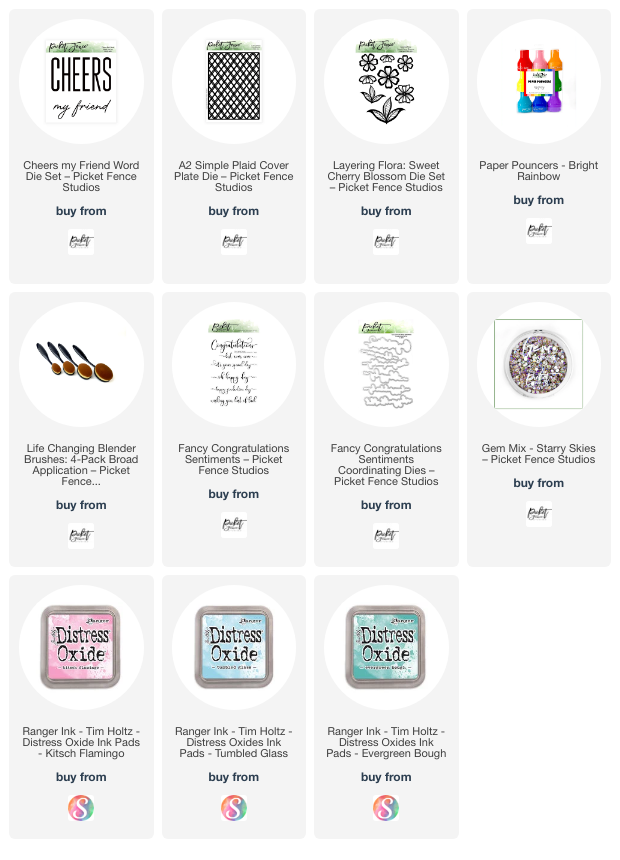
The background ink blended panel was created with three Distress Oxide inks.  I used blending brushes for adding Kitsch Flamingo, Tumbled Glass, and Evergreen Bough.  I glued the layer to an A2 card base.

Next, from white cardstock, I die cut the A2 Simple Plaid Cover Plate, the "cheer" die from the Cheers My Friend die set (x4), and a few leaves from the Layering Flora: Sweet Cherry Blossom die set.

Then I used a Paper Pouncer to add Kitsch Flamingo Oxide ink to one layer of "cheer".  I glued all of the layers together and set them aside.

I stamped a sentiment from the Fancy Congratulations Sentiments and cut it out with the coordinating die.

For easy alignment of Cheers, I used the negative piece to position and glue each letter to the card.  The leaves and sentiment are adhered with glue.

Then I added a few sparkles from the Starry Skies gems.

Super easy, right?!  Thanks so much for stopping by today.  I hope you have a fabulous and crafty weekend!

Thank you for choosing to use my affiliate links to shop (never any additional cost to you)!

Thursday, November 7, 2024

Altenew November 2024 Release Blog Hop + Huge Giveaways

 Hello friends!  I'm thrilled to be part of the blog hop to celebrate Altenew's fabulous November 2024 Release!

The link for the blog hop stops is below.  If you would like to start at the beginning, please head over to the Altenew blog.

Be sure to check out the information below for the awesome prizes!!  

My card today features several new products from  the November Release!  Check it out!

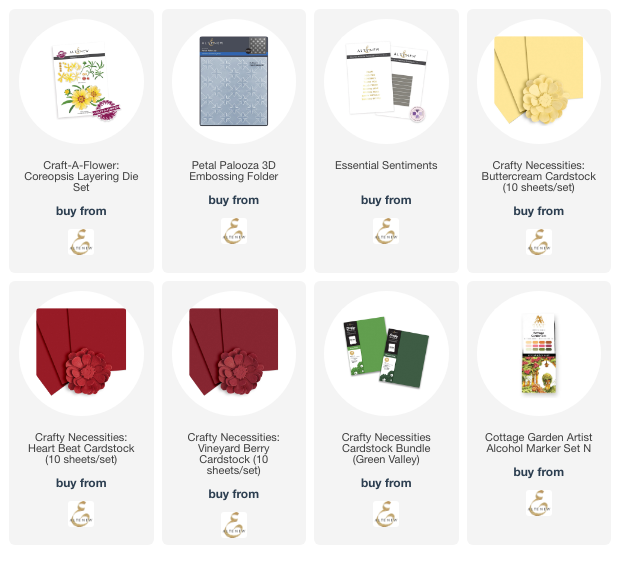
I die cut the Coreopsis Layering Dies from several different colors of Crafty Necessities Cardstock.  The colors I used are in the list below.  Before I glued the flower layers, I used some of the yellow alcohol markers from the new Cottage Card Set of Artist Markers to color the yellow cardstock of the flower centers.

Assembling the flowers is so very easy with the Key Hole System.  The idea of this is genius!!  The packaging also includes a diagramed layering guide.

After glueing the flower layers together, I embossed white cardstock with the new Petal Palooza 3D embossing folder.  I glued the panel to an A2 card base.

After deciding on an arrangement for the flowers and stems, I used glue and a few pieces of foam tape to adhere it to the card.  Then I trimmed the pieces that were hanging off the edge of the card.

The sentiment is one from the Essential Sentiments Hot Foil Plate.  After foiling the gold foil, I cut them out with the coordinating Essential Sentiments die.

I love the options of how many different ways and colors to use this Coreopsis Layering Die Set.  Thanks for stopping by and be sure to click the link below to see more beautiful inspiration.


You are invited to the Inlinkz link party!

Click here to enter
Thank you for using my affiliate links to shop (never any additional cost to you)!

Wednesday, November 6, 2024

Let's Make A Christmas Card with Layering Florals and A 3D Embossing Folder!

Hello crafty friends! Oooh, I had so much fun making this card I'm sharing today! There are so many beautiful elements in Honey Bee Stamps gorgelous Lovely Layers: Mini Holiday Florals! I went with a less traditional color palette for the florals and I love how this turned out!

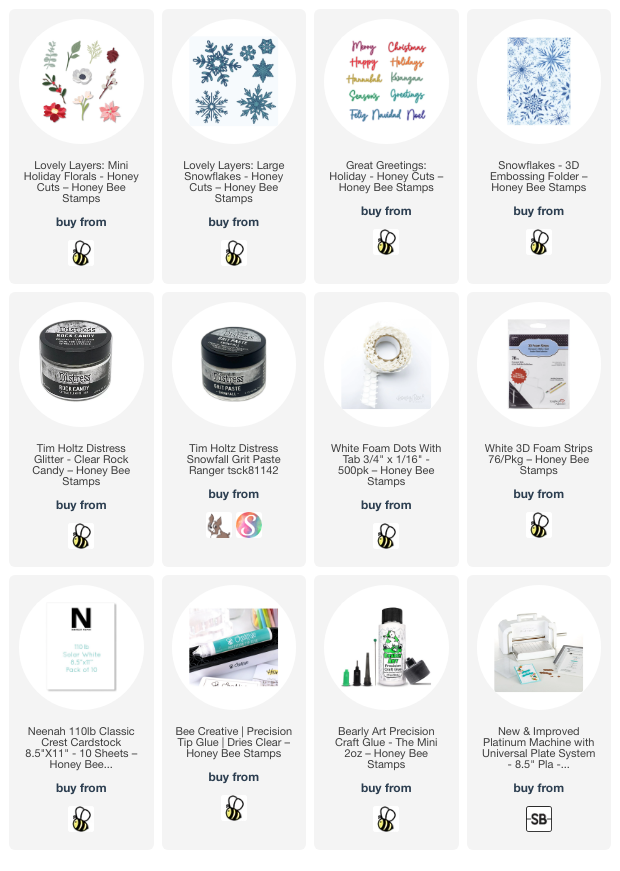
First I chose several colors of cardstock from my stash. Then I looked at the Lovely Layers: Mini Holiday FloralsLayering Guide (found in the product description in the shop) to start planning what color of cardstock I wanted to use for each of the florals.

Before I continue, let me tell you about my tip for sorting out all of the dies! (I will share a photo below to give you a visual of these tips.) This will make it so easy for you to use this set. First I assigned a number to each of the different florals in the Mini Holiday Florals and wrote it on the Layering Guide. Then I went about gathering and sorting the dies according to the number. Once I had the dies sorted out, I added the corresponding number to the card the dies come on. Then I used a fine point Sharpie to add the number to the back of each die for that flower. See what I mean in this photo:

After I die cut the Mini Holiday Florals, I used glue to assemble the flowers. 

Next I die cut three snowflakes that are in the Lovely Layers: Large Snowflakes Honey Cuts from #110 white cardstock. I used a palette tool to add Snowfall Distress Grit Paste to the snowflakes and sprinkled on Clear Rock Candy Distress Glitter. I set them aside to dry.

I added an embossed panel made with the gorgeous Snowflakes 3D embossing folder to an A2 card base. I did a bit of planning of the arrangement of the Mini Holiday Florals. Then I tucked the two larger snowflakes under the left bottom and upper right corners. I used foam dots and glue to adhere the floral elements. I glued the small snowflake onto the arrangement.

The sentiment is from the new Great Greetings: Holiday set and adhered with glue and foam tape.

I decided I wanted a bit more subtle sparkle so I used a paint brush to add more Snowfall Distress Grit Paste to the leaves and flower petals. FYI, the paste easily washed out of my paint brush.

I hope you have enjoyed my card making process and found the tips for sorting the dies helpful. Thank you so much for stopping by!

Thank you so much for using my affiliate links to shop (never any additional cost to you)!

Saturday, November 2, 2024

Snow Globe Christmas Card

 Happy Saturday!  Today there is an awesome Instagram hop to celebrate Honey Bee Stamps new Cozy Christmas release.  There will be two $50 gift cards awarded to two commenters in the hop!

I wanted to share photos and a few bits of info with you about the card I made.

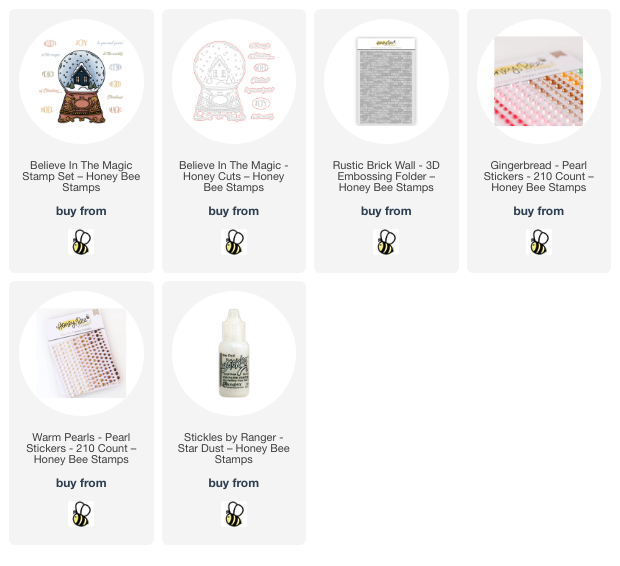
I used the beautiful Believe In The Magic stamp set and coordinating dies for my card.  It is stamped with marker safe black ink and colored with my Copic markers.  I used the W warm gray markers to imitate a metallic base.

There are several different sentiments that fit where I stamped "joy" along with more sub sentiments in the Believe In The Magic set!  I cut the stamped images out with the coordinating dies.

The background layer is one I embossed using the highly detailed new Rustic Brick Wall 3D embossing folder.  I love the detail in the embossing!!

To bling up the snow globe, I added Star Dust Stickles to the stamped snow in the sky and the snow on the ground.  Then I added   I added a bunch of pearls from the Gingerbread Pearl Stickers.  There wasn't quite enough small ones in that pack and I found more of the same color in the Warm Pearls Pearl Stickers.

Be sure to check out the other awesome goodies in the Cozy Christmas release!  There is something for everyone in this release!

Check out the products I've used by clicking the links below (affiliate links-never any additional cost to you)!

Thursday, October 31, 2024

Thinking Of You Floral Card & Stenciled Background

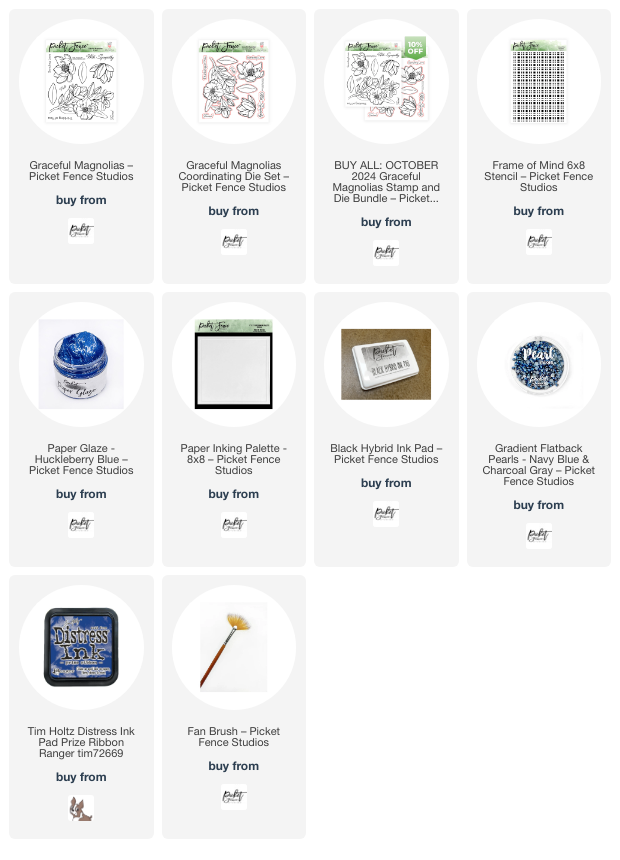
Hello friends!  Today my card features the beautiful Graceful Magnolias stamps and dies by Picket Fence Studios!  Be sure to check out my reel by clicking the Instagram post in the left column.

First I stenciled my background using the Frame of Mind 6x8 Stencil and Huckleberry Blue Paper Glaze.  I only covered one upper and lower corner leaving open space on my A2 card layer.  I set it aside to dry and wash the stencil and tools.

I stamped the Graceful Magnolias flowers and sentiment with Copic safe ink and color them with my markers.  Then I cut them out with the coordinating dies.  

When the stenciled layer was dry, I smooshed my Prize Ribbon Distress Ink pad onto my craft mat, diluted it with water and splattered it onto the piece.

Next I glued the stenciled piece to a layer of coordinating blue cardstock.  Then I used foam tape to adhere the flowers, leaves, and sentiment to the card.

I added some pretty pearls from the Navy Blue & Charcoal Gray pearl mix.

This was a fun, and pretty easy, card to make!  Thanks so very much for stopping by!

Thank you for choosin g to use my affiliate links to shop (never any additional cost to you)!


Wednesday, October 30, 2024

Noel Christmas Card

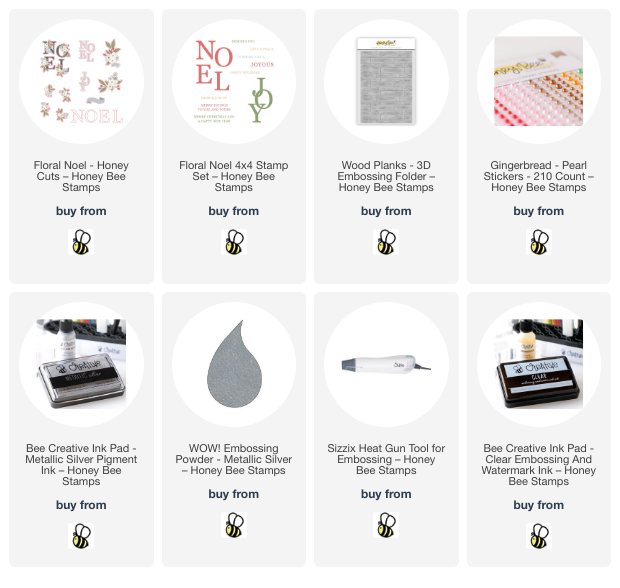
 Hello crafty friends! Have you been as amazed by the Honey Bee Stamps new Cozy Christmas release as I am? One of my favorites (one of many) is the Floral Noel set of stamps, Honey Cuts, and coordinating stencils. So I reached for that set to make my card for this post.

Please note: After I made this card, I was getting links and discovered that the stencils are currently out of stock. The good news is that there will be more available in about a week. So please come back here and click THIS link to check.

I placed a 6" x 6" piece of white cardstock onto my sticky mat. Then I used my ink blending brushes and a few Distress Oxide Inks to color through each of the Floral Noel stencils. I used these colors: Spun Sugar, Worn Lipstick, Festive Berries, Candied Apple, Bundled Sage, and Rustic Wilderness. The flower centers are stenciled with Bee Creative Metallic Silver ink.

When I finished the stenciling, I cut out the images with the coordinating Honey Cuts.

I chose a sentiment from the Floral Noel stamp set to stamp with clear embossing ink onto the inked banner. After sprinkling on silver embossing powder, I used my heat tool to set it.

Next I embossed white cardstock with the awesome Wood Planks 3D embossing folder! I just love the detail!! I trimmed it to 4" x 5-¼" and glued it to an A2 card base.

I added foam dots to the back of each letter of Noel. Tip, I use my nonstick scissors to cut strips of the large foam dots to whatever size I need! Before adhering the letters, I used glue to add the floral cluster.

To finish the card and add a bit of bling, I added pearls from the Gingerbread Pearl Stickers set.

I absolutely love this Floral Noel set! There are so many options to use this with different colors and arrangements! Be sure to check out all of the Cozy Christmas release to find your favorites!

Thank you so much for stopping by!!

Affiliate links (never any additional cost to you)!