Friday, September 20, 2024

Paperwhites and Glass Vase Holiday Card

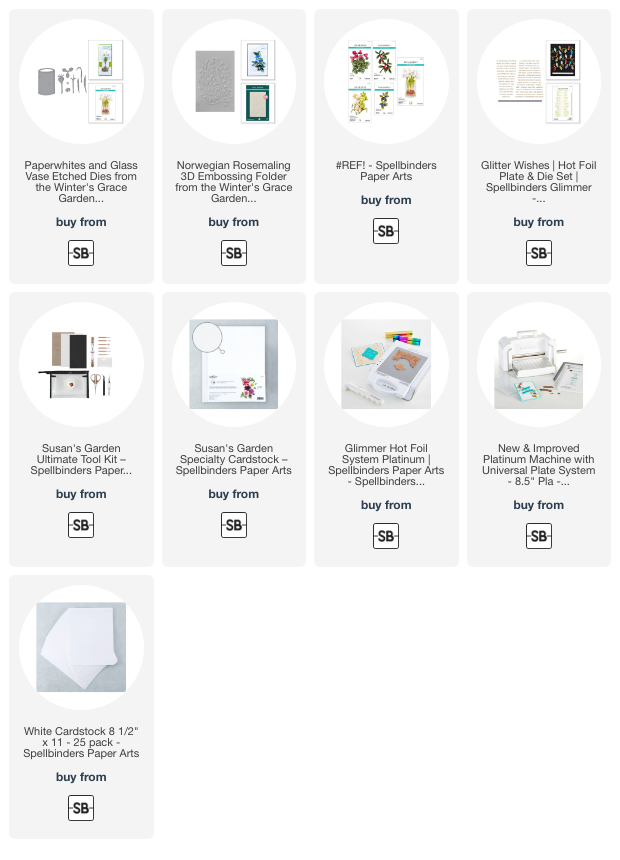
 Happy Friday!  Today I'm sharing this card full of glorious dimension that features the Paperwhites and Glass Vase die set by Susan Tierney-Cockburn for Spellbinders.

If you've been around a while, you most likely know that I love creating these dimensional flowers!  I created the Paperwhite flowers from 80# Neenah and watched the helpful video that is in the photos of the product.  I left the flowers totally without color and used some Copic markers for the leaves, bulbs, and roots.

I die cut the vase from velum.  As you may know, it can be tricky to adhere velum so the adhesive doesn't show.  I was able to add dots of glue to the back of the stems to adhere it to the vase opening.  But then the bottom of the vase was sticking up.  So I decided to try teeny tiny dots of glue on the roots and put something heavy on it to let it dry.  I was so happy to see that the glue doesn't show at all!

I embossed white cardstock with the gorgeous Norwegian Rosemaling 3D embossing folder and trimmed it to 4" x 5-¼".  After I adhered the embossed piece to an A2 card base I adhered the flower arrangement to the layer.  I used glue and a few foam squares that I placed behind the bulbs.

I added a simple hot foiled sentiment from the Glitter Wishes Hot Foil Plates and Die Set.

I totally love how this card turned out and hope you do too and are inspired to try making your own dimensional flowers!  There are four other sets in this Winter's Grace Garden Collection you can check out by clicking the link below.

Thank you so much for stopping by!  Have a wonderful and crafty weekend!

I know you have many choices for shopping and I appreciate you using my affiliate links (never any additional cost to you)!
Wednesday, September 18, 2024

Pumpkin Patch Autumn Card

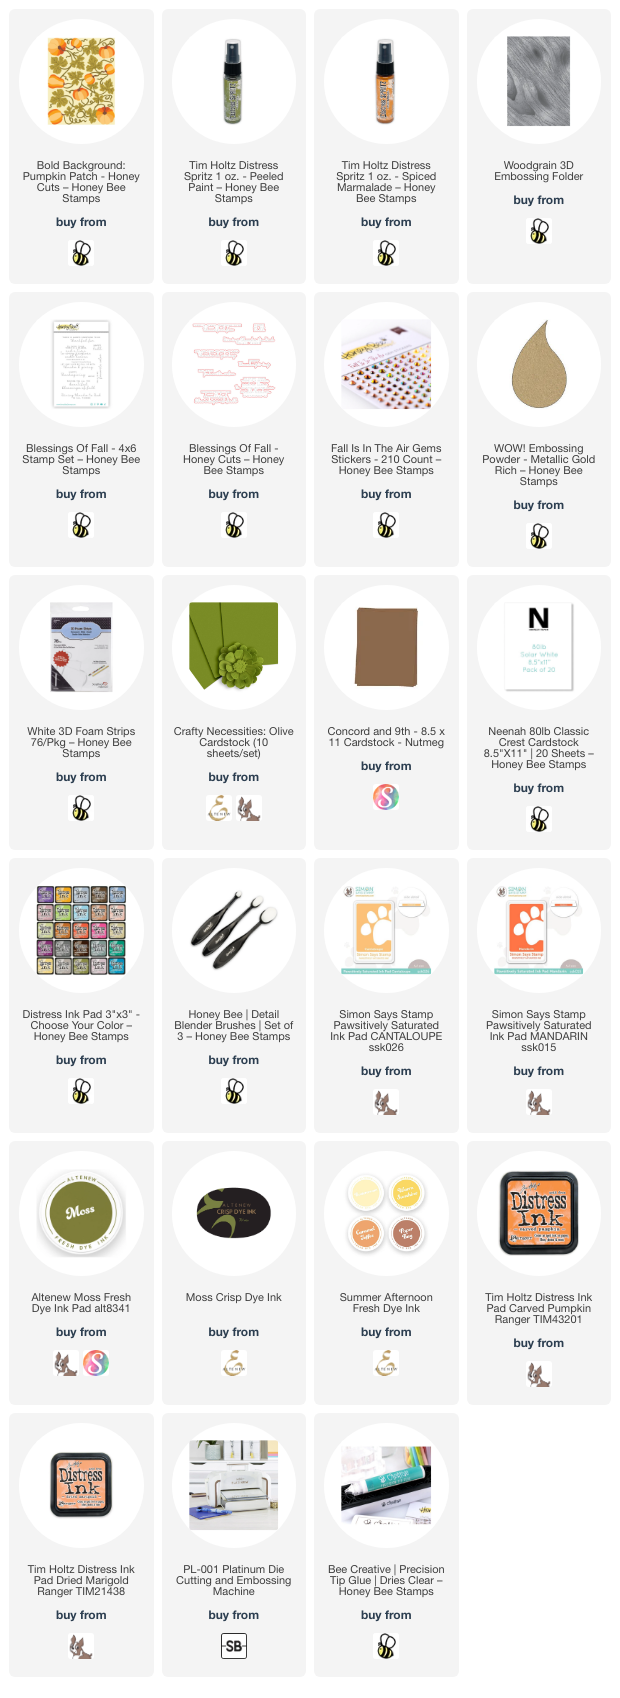
Hello Honey Bee friends! Today I'm sharing my card I made with the beautiful Bold Background: Pumpkin Patch Honey Cuts! I love creating cards in all the colors of autumn!

First I die cut the Bold Background: Pumpkin Patch background die and leaves die from some rich olive green cardstock. I like how all of the leaves are on one die! If you look at the Layering Guide, you will see how many of each leaf you will need. This will give you extra die cut leaves to save for another project!

I spread the background die cut and the leaves onto my craft mat. Then I lightly sprayed them all with some Peeled Paint Distress Spritz. I love the shimmer of this spray!

Next I die cut all of the pumpkin dies from white cardstock. Be sure to refer to the Layering Guide to see how many of each pumpkin you will need. I pulled out several shades of orange and warm yellow inks from my stash and had fun using my blending brushes to add color to the layers.

When I was finished coloring the pumpkin layers, I used glue to adhere the layers together. Then I sprayed them with some Spiced Marmalade Distress Spritz. I die cut the pumpkin stems from brown cardstock and glued one to each pumpkin.

Next I embossed another piece of the olive green cardstock with the Woodgrain 3D embossing folder. I adhered the Pumpkin Patch background die cut to the embossed layer and then glued this to an A2 card base. I love the tone-on-tone textured look of this!

I used my fingers to slightly shape the leaves before gluing them in place. Next I glued the pumpkins to the piece.

I gold heat embossed the sentiment from the Blessing of Fall set onto olive cardstock. Then I cut it out with the coordinating Honey Cut.

I added a bit of sparkle to the card with some gems from the Fall Is In The Air gem stickers set.

I love the warm, rich colors of this card and hope you do too! Thank you so much for stopping by!

I know you have many options for shopping, and I appreciate your using my affiliate links (never any additional cost to you)!

Sunday, September 15, 2024

Gilded Rose Thank You Card With A New Look

Hello crafty friends!  I have a short post today to share a few extra details about the card I’ve featured on my Instagram reel.

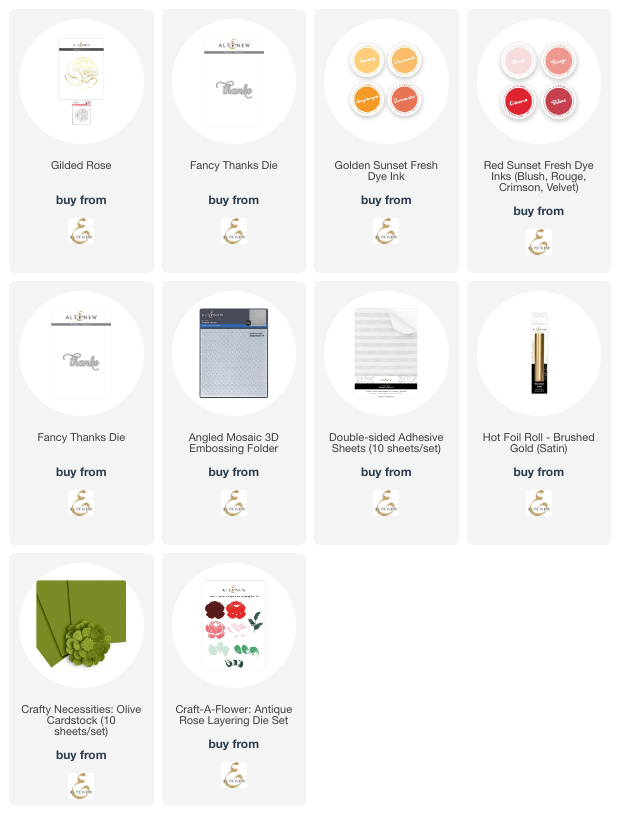
I’ve used the beautiful Gilded Rose hot foil plate again, but with a totally different look!  After I used my Glimmer System to add gold foil to white cardstock, I used a few shades of coral ink and a yellow ink to color the image with blending brushes.  The inks are in the list below.   

Then I cut the image out with my scissors and trimmed a portion off.  I put it onto a panel that I partially embossed with my favorite Angled Mosaic 3D embossing folder.  I added a few sprigs of greenery cut with a die from the Craft-A-Flower: Antique Rose set.  

I die cut the Fancy Thanks sentiment three times with a layer of double-sided adhesive on the top layer.  Then I added more gold foil to the adhesive, burnished the foil, then peeled off the clear sheet for a perfectly coordinating look.


I hope I’ve inspired you today with this new look for the Gilded Rose!  Thanks so much for stopping by!

 Thank you for using my affiliate links to shop (never any additional cost to you)!

Wednesday, September 11, 2024

Giving Thanks For You -- New Lovely Layers: Pheasants

Hello friends! I made a card to share with you that features the new Lovely Layers: Pheasants along with the Fall Forest 3D embossing folder and patterned paper too!

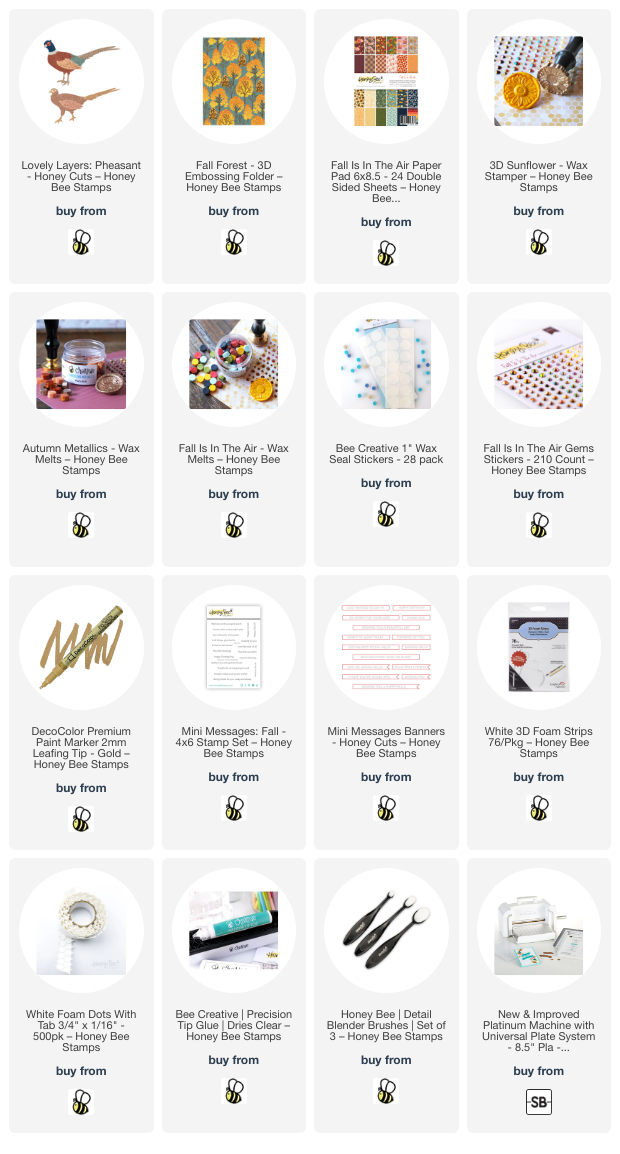
To be honest, I really didn't know what a pheasant bird looked like! Haha! But I did discover that they are not in my state and that the male has beautiful markings! I die cut my Lovely Layers: Pheasants from white cardstock, except for the male's dark teal head and red eye markings. I used Detail Blending Brushes and a few reddish brown inks from my stash to color the layers.

I consulted the Layering Guide to assist in the assembly since this was my first time using these dies. I used glue to adhere the layers and set them aside to create the card base and layers.

I embossed white cardstock with the Fall Forest 3D embossing folder leaving about 1" hanging outside the embossing folder. Then I trimmed the sides and top so that the panel measures 5" x 3-¾". 

I chose a few patterned papers from the Fall Is In The Air paper pad and trimmed a piece 5" x 1" and adhered it to the bottom of the white embossed panel. Then I added a brown and orange strip with glue and trimmed the edges even with the panel. These are adhered to 5-¼" x 4" brown patterned paper and then to an A2 card base.

Did you notice that the Wax Stampers in the Falloween release are 3D?!!! I used the new 3D Sunflower Wax Stamper and some brown toned wax from the Autumn wax melts to create the wax seal for my card. There is also a new Fall Is In The Air wax melts that you can check out. I added some thin cord from my stash below the wax seal. Oh, the wax seal is adhered with a Wax Seal Sticker and some glue just to be sure it stays put!

I stamped a sentiment from the new Mini Messages: Fall Sentiments in brown ink. I used a Mini Messages Banners die to cut it out and then trimmed the ends just a bit more with my scissors. I adhered it with a thin foam strip.

I used a gold pen to color part of the flower's center on the wax seal and added a few Fall Is In The Air gem stickers for a little something extra!

I really love how this card turned out, and I learned about pheasants too!  I really appreciate you stopping by and hope your day is awesome!

I know you have many shopping choices and I appreciate you using my affiliate links (never any additional cost to you)!

Tuesday, September 10, 2024

Joy To The World with Peaceful Christmas Flowers Stamps

Hi crafty friends!  Today I have this card as my featured reel on Instagram and thought I'd share a few details here!  I have featured the beautiful Peaceful Christmas Flowers stamps and coordinating dies on this holiday card.

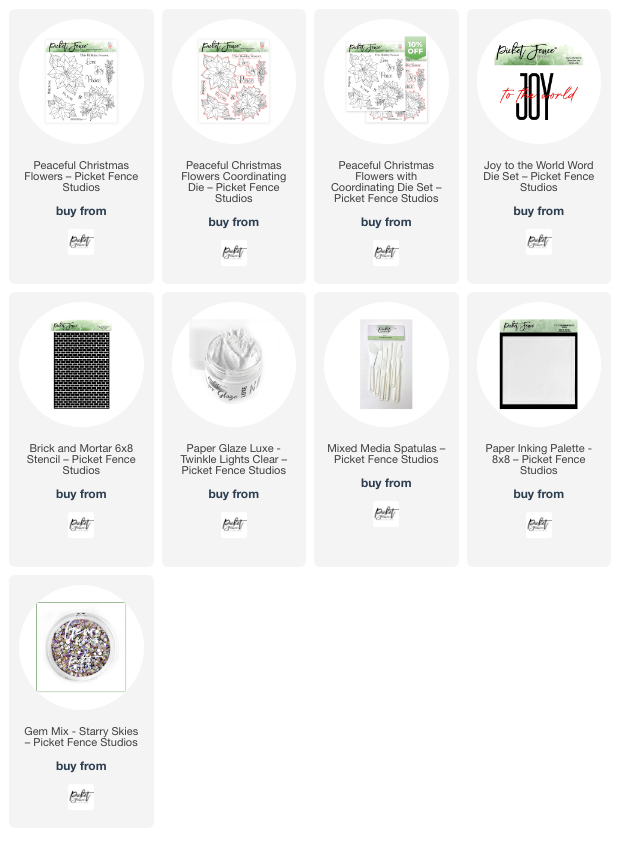
I chose one of the three images from the Peaceful Christmas Flowers set and stamped it in black ink.  I stamped the berry sprig three times.  After I colored the stamped images with my Copic markers, I used the coordinating dies to cut them out.  I have the Copic marker colors listed at the end.

The images are popped up with foam tape onto a stenciled brick background.  This was made with the Brick and Mortar 6x8 Stencil and some Twinkle Lights Clear Paper Glaze.

I stamped the sentiment "Joy" that's in the Peaceful Christmas Flowers stamp set and cut it out with the coordinating die.  "To the world" is part of the Joy to the World stand-alone die set.  I adhered two layers of the die cut from black cardstock for more stability.

Of course, I thought this card needed lots of bling!  I added gems all around that are from the Starry Skies gem mix.

I love the wintery feel the texture paste background gives this card!  I hope you've been inspired a bit by my card.  Thank you for stopping by!

Copic markers used:  BG90, BG93, R59, R46, R17, G28, YG67, YG17, YG25, YG23, YG21, YG03

I know you have many shopping options, and I thank you so much for using my affiliate links to shop (never any additional cost to you)!
Sunday, September 8, 2024

Welcome Autumn Window Scene Card

I'm over on the blog at Brass & Bliss Craft Co. to share all of the fun details of my autumn card!  This features the Winter Window Die set but I omitted the snow die cut and use autumn themed patterned paper!

I die cut the Winter Window Die set from white cardstock, except the curtains, which are die cut from paper in the Harvest Time paper pad.  The "view" from the window is patterned paper from the Festival of Colors paper pad.

I added die cut pumpkins from the Pumpkins and Ivy Die set after I colored them with various Color Fuse inks.  The sentiment is from the Autumn Gnomes Set.  I used my scissors to trim around the top for a different look!

All of the details, ink colors, and step-by-step photos are over on the Brass & Bliss blog!  Thank you for stopping by!

Saturday, September 7, 2024

Simon Says Stamp with An Exclusive from Honey Bee Stamps -- 2024 STAMPtember®

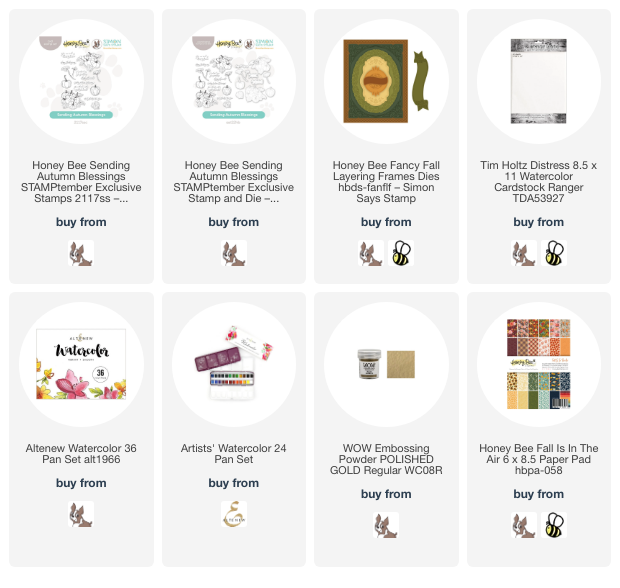
I'm here with a quick post to share my card I made with the collaboration of the day for STAMPtember@!  It's this gorgeous set called Sending Autumn Blessings and is ONLY available in the shop at Simon Says Stamp, while supplies last.

The Sending Autumn Blessings stamp set is filled with gorgeous autumn images and seven sentiments too.  There is also a combo stamp and die set available!

I chose one of the Sending Autumn Blessings beautiful images with pumpkins and heat embossed it in gold on watercolor cardstock.  I used various watercolors from sets in the list below.

After I watercolored the image I cut it out with a die in the Fancy Fall Layering Frames die set.  I added more layers die cut from patterned paper and watercolor cardstock.

Remember, when these sets are gone, they're gone, and will not be reordered!  Have a wonderful and crafty weekend!

Click this image to check it out!

OR here!

Thank you for choosing to use my affiliates links to shop (never any additional cost to you)!