Monday, September 11, 2023

Dancin' & Giftin' Mouse by Spellbinders

 Have you seen this so cute Dancin' & Giftin' Mouse by Spellbinders?  This die set makes such an adorable holiday card, AND the legs move!  How cute is that?!!

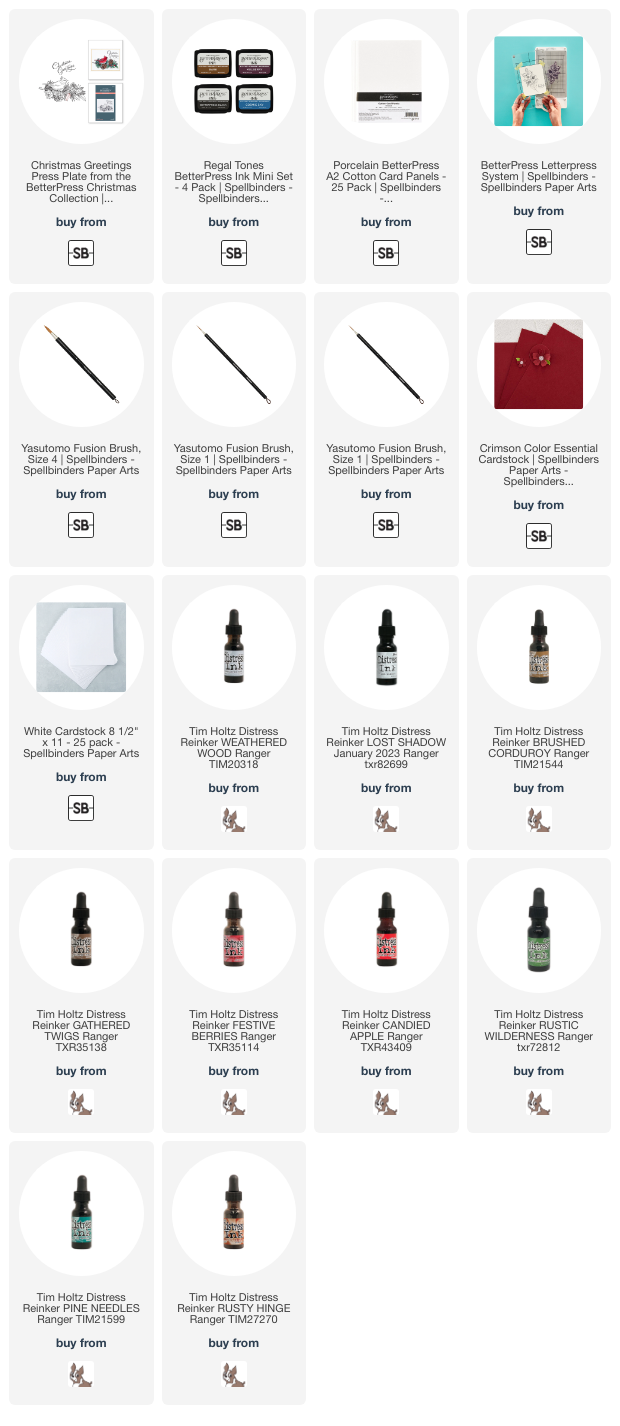
I die cut all of the pieces of the Mouse from various colors of cardstock.  If you click on the images in the product description, you will find a handy guide to help in assembly.  I used a white gel pen to add extra details.

I moved the legs for this next photo.  In real life the legs swing back and forth!

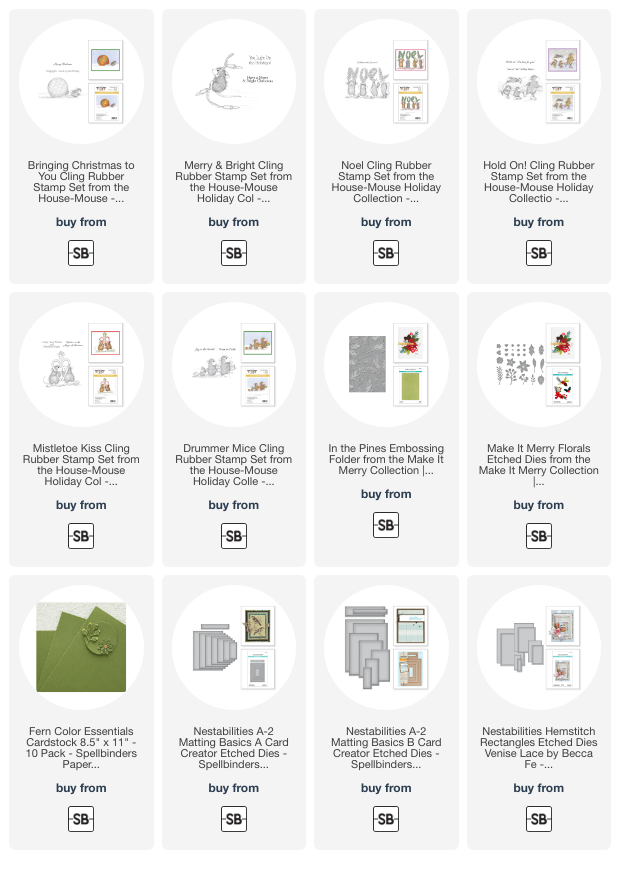
The background is created of layers of green cardstock on an A2 card base.  I partially embossed white cardstock with the beautiful In The Pines embossing folder.  This leaves a smooth surface to stamp the image from the Dancin' Christmas sentiments stamp set.  A strip of green glitter paper coordinates with the bow on the gift.

There are other adorable sets in the Dancin' Christmas line you should check out!

Thank you so much for stopping by!  I hope you have a wonderful week!

Affiliate links (never any additional cost to you)!

Friday, September 8, 2023

A Little Message To Say...

I hope you aren't tired of my cards with the BetterPress!  I have one more today where I've used the Evergreen Branches press plates by Spellbinders.  I found another ink that works fabulously with these press plates too!

I was super excited to find another ink that works beautifully with the press plates.  Spellbinders has several BetterPress ink colors now, but not just the shade of green I was wanting.  I did a lot of testing with Distress Oxides and several other green inks in my stash.  The one that worked perfectly was Simon Says Stamps' Pawsitively Saturated ink in the color of Pine.  It gives just as perfect of an impression as Spellbinders' BetterPress inks, which I do love!

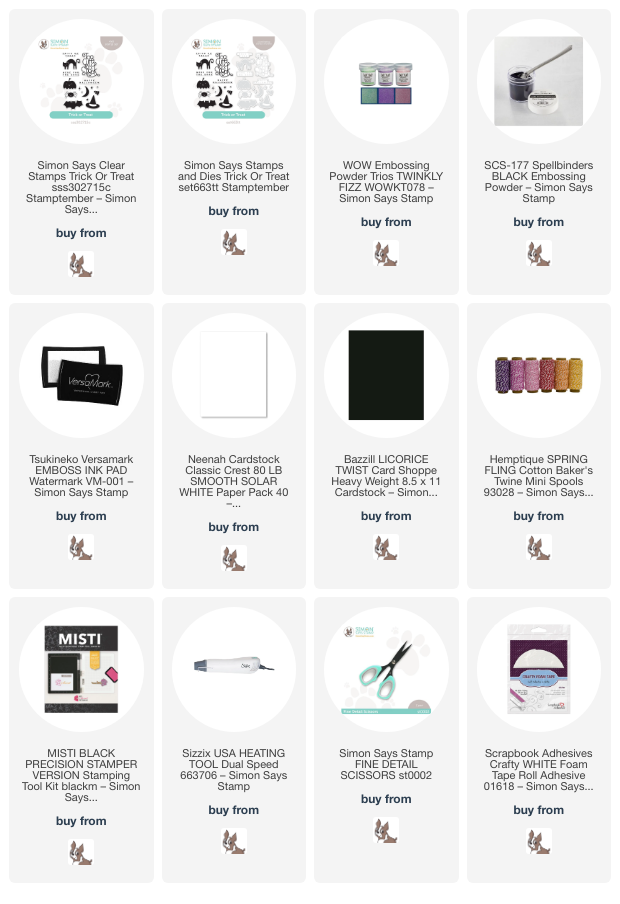
As you can see, I pressed the three Evergreen Branches set onto Porcelain cotton card with the Pine ink for the background with the BetterPress Letterpress System.  I repeated these steps until I had the background filled with pine branches.  I trimmed it 4" x 5-¼", adhered it to a dark green layer, and then to my A2 card base.

I die cut a Notched Corner Frames die with more Porcelain card and pressed one Evergreen Branch in the lower left corner.  I also pressed a sentiment in the upper right corner that is from the A Little Message Sentiments Press Plates set.

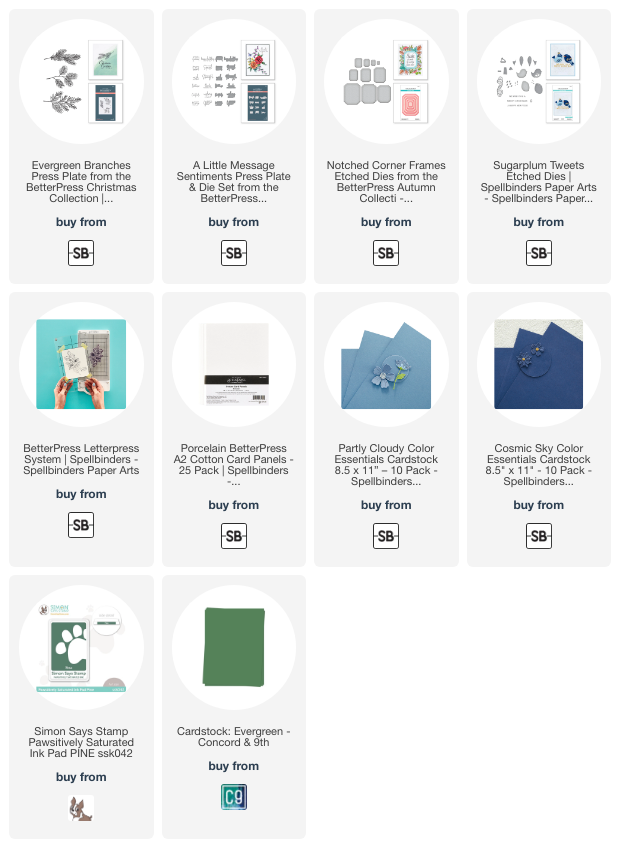
Then I die cut green cardstock with the next larger size of the Notched Corner Frames die.  The layers were glued together and adhered with foam tape onto the background layers with green cardstock. (All available cardstock is in the list below.)

The sweet bird is from the Sugarplum Tweets die set.  I die cut the layers from blue cardstocks and added details with a white gel pen.


Thanks for stopping by.  I hope you have a wonderful Friday!

Thank you for using my affiliate links to shop (never any additional cost to you)!
Wednesday, September 6, 2023

House-Mouse Holiday Collection -- Spellbinders

Hello, friends!  I'm sharing just a peak of my cards featuring the most adorable House-Mouse Holiday collection!  I'm the guest blogger over on the Spellbinders' blog and would love for you to pop over there to see many more photos and details of my cards!

For all of the details of my cards, please join me over on the blog at Spellbinders!!


Affiliate links (never any additional cost to you)!

Autumn Birthday Card With Fall Foliage

Hello crafty friends! Today I'm sharing a birthday card I made with the new Lovely Layers: Mushroom and Lovely Layers: Autumn Bouquet. My color palette was inspired by the gorgeous patterned paper in the Homestead Harvest paper pad. I will always say it--Honey Bee has THE most gorgeous papers of any company!

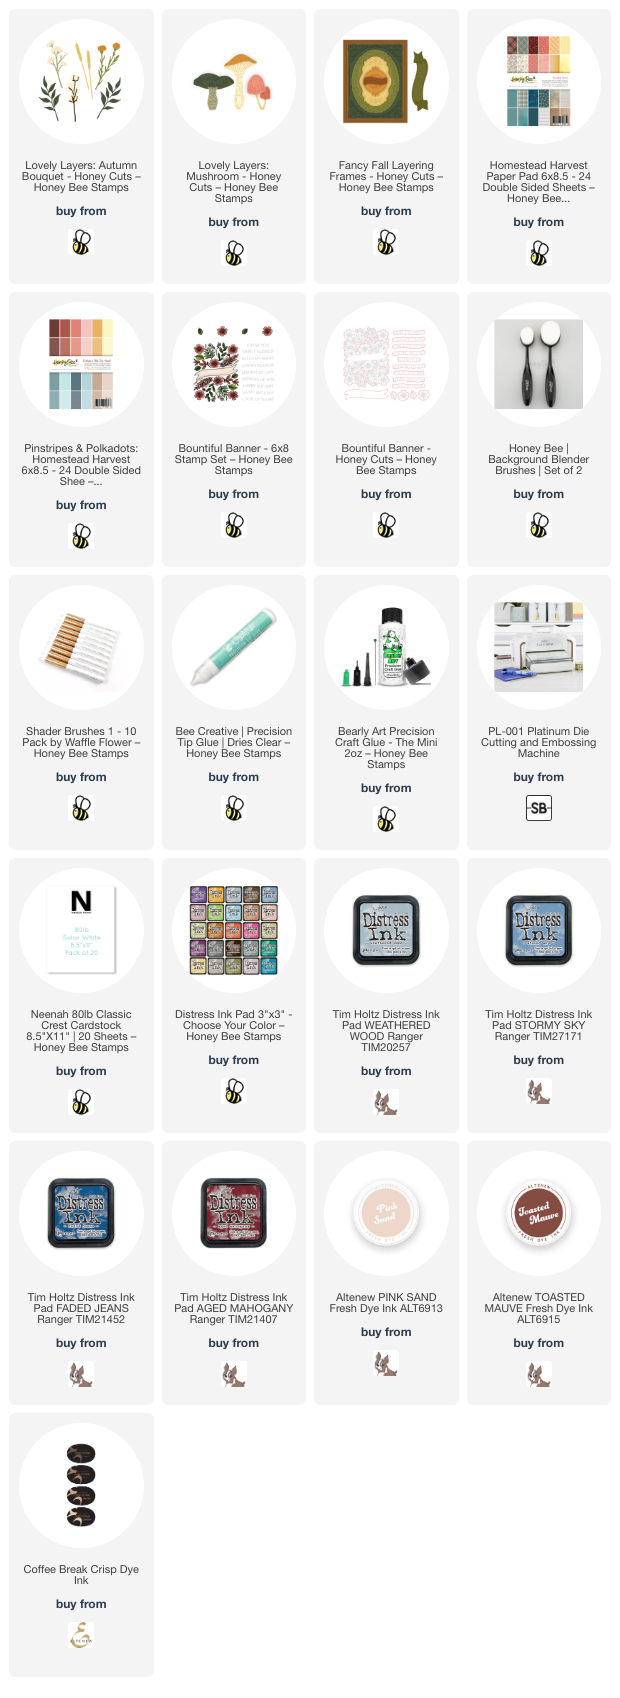
I created an A2 card base and added a layer of the gorgeous patterned paper from the Homestead Harvest paper pad that I die cut from the largest Fancy Fall Layering Frames Honey Cuts. Next I die cut the blue polka-dot paper found in the Pinstripes and Polka Dots: Harvest paper pad with the oval Fancy Fall Layering Frames die.

I added foam tape to the back of the oval to adhere it to the card base. Then I die cut the Lovely Layers: Mushroom from 80# Neenah. (Note: I die cut the two smaller mushrooms two times.) I chose the leafy branch die and the cotton boll layers from the Lovely Layers: Autumn Bouquet to die cut from 80# Neenah.

Then I set about going through my various ink pads to get just the right color combinations to color the die cuts and to coordinate with the patterned paper.

I used small ink blending brushes to blend the ink onto the die cuts. The leaves are colored with Weathered Wood, Stormy Sky and Faded Jeans Distress Inks. The other Distress Ink I used was Aged Mahogany along with another brand of a reddish-brown ink. The cotton bolls are shaded with a few light brown inks in my stash.

I played around with the arrangement of the elements, and when I was satisfied, I picked them all up with a piece of Press N Seal. So handy! Then I added dots of Bee Creative glue to the back of the pieces to adhere them to the oval layer on the card.

I die cut a piece of Neenah Desert Storm cardstock with the banner die in the Fancy Fall Layering Frames die set. The shading I added is Gathered Twigs Distress Ink. I popped it up with foam dots placed at each end of the banner.

I stamped the sentiment from the Bountiful Banner stamp set with brown ink. I die cut it with the coordinating die and used glue to adhere it to the banner.

Have you used your patterned paper colors as inspiration for your cards?  Let me know!  Thank you so very much for stopping by--you are appreciated!!

Thank you so much for using my affiliate links to shop (never any additional cost to you)!
Monday, September 4, 2023

Joy To The World!!

I'm back today to share another Christmas card I made with the Spellbinders BetterPress Letterpress System!  This image is from the Holiday Foliage Joy press plate set.


I pressed the Holiday Foliage Joy image onto Porcelain cotton card after I inked it with the black BetterPress ink.  The sentiment is included and I inked it with Strawberry ink.

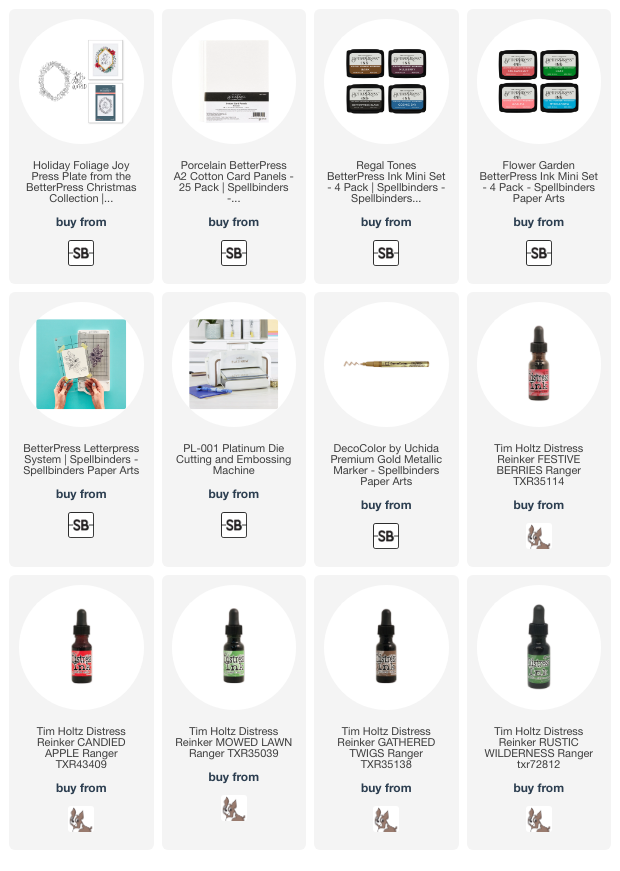
As I did for my card I posted yesterday, I used drops of Distress Ink re-inkers to watercolor the image.  I used a ruler and a gold calligraphy pen to draw the outline inside the foliage.

The Distress re-inkers I used are:  Candied Apple, Festive Berries, Mowed Lawn, and Gathered Twigs.

I trimmed the panel to 4" x 5-¼" and added a red cardstock mat layer before adhering to my A2 card base.

I was tempted to add some bling, but chose to just stop!  LOL!

This was a super short post (for me at least) and that's because this card was really that easy!  Thank you for stopping by and I hope you have a nice holiday today!

Thank you so much for using my affiliate links to shop (never any additional cost to you)!

Sunday, September 3, 2023

Christmas Greetings -- A BetterPress Holiday Card

Happy Sunday!  I'm always so happy when I can add to my Christmas card stash almost four months ahead of the holiday!  My card today features the so pretty BetterPress Christmas Greetings set.

I am loving this new BetterPress Letterpress system!  The pressed image is so crisp and clear--even more so than red rubber stamps!!

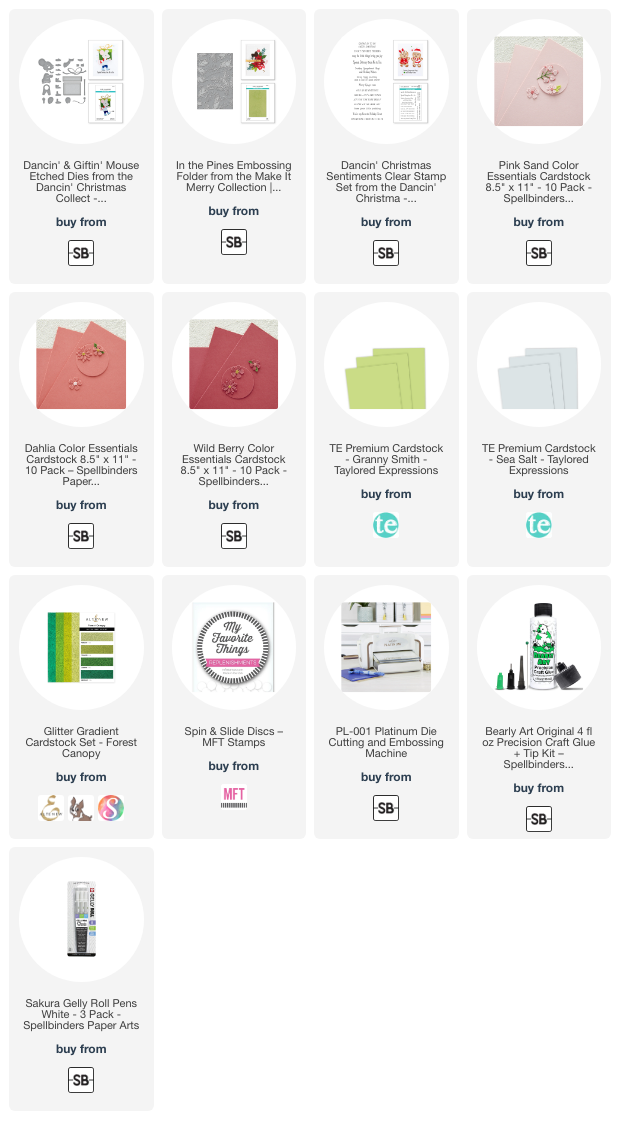
I used the BetterPress system to press the Christmas Greetings image and sentiment with Black ink into a Porcelain cotton card panel.

I colored the sweet image by watercoloring it with drops of diluted Distress Ink re-inkers.  The image is colored to resemble a Tufted Titmouse bird--some of the cutest birds in real life!  (The Distress Ink colors I used are linked below.)

I matted the image with a coordinating red cardstock layer before adhering to to an A2 card base.

I love birdwatching and I equally enjoyed watercoloring this sweet image!  The more I use this BetterPress system, the more and more I like it!!  Thank you so much for stopping by today!

I appreciate your using my affiliate links (never any additional cost to you)!

Saturday, September 2, 2023

Simon Says STAMPtember® 2023 Blog Party!!

Woohoo!!!  Simon Says Stamps' STAMPtember® Blog Party is here!!!   Do you know what STAMPtember® is?  Here is a description from Simon Says Stamp's blog:

We kick off this special, month-long celebration with a GIANT Simon Says Stamp brand release on the 1st! These exclusive products are not limited edition; all of the Simon branded products released on STAMPtember® 1st (like all Simon branded releases) become a part of the Simon catalog and are restocked as needed.

All STAMPtember® long exclusive collaboration stamp sets (many with coordinating dies) will be unveiled—designed by your favorite brands! These special sets are limited edition and only available while supplies last, so if you love it you’ll want to make sure to order it right away! Each collaboration set release date is a secret. This is what makes STAMPtember® so fun—every day is like a new present to unwrap!

You can read about even more here:  STAMPtember® Did You Know?

Next, continue reading until the end because I have an exclusive offer Simon gave me to share with you!  There are many different promotions being offered on the blog's of the designers in this Party today, so be sure to go to as many as you can and find the offer that works best for you!

My card that I'm sharing today is a cute, not spooky, Halloween card!  This features Simon's new Trick or Treat stamp set.  Be sure to check it out because there are several more images in this set that I did not use!

I heat embossed the spider and sentiment with black embossing powder.  I cut them out with my detail scissors.

For the background, I did repeat stamping of the cat.  I used my MISTI to stamp one cat with clear embossing ink.  I heat embossed black embossing powder on that one.  Then I stamped the other cats and embossed them with pink sparkle embossing powder.

I added a black mat layer to the embossed panel and adhere them to an A2 card base.  Then I added foam tape to the back of the sentiment and spider to adhere them to the card.  I tied a string of twine for the spider's web for a touch of fun!

If you would like to stock up on several new goodies from STAMPtember®, or just want other items, this is the coupon code for you!  (Be sure to follow the directions on this image.)  Just click the image to head over to Simon's shop!

Thank you so much for stopping by!  Be sure to head back over to the Simon Says Stamp blog to check out the links in the blog party for lots more awesome inspiration and other shopping codes.

I really appreciate you using my affiliate links to shop (never any additional cost to you)!