Thursday, March 16, 2023

Three Vintage Style Cards with Flea Market Finds Collection by Cathe Holden

Hello my crafty friends!  I'm thrilled to be a guest blogger over on the Spellbinders' Blog today!   

I made three cards that feature the beautiful new Flea Market Finds Collection by Cathe Holden!  Check out the entire collection in the Spellbinders shop.

The details for each of these cards are over on the Spellbinders' Blog.  I'd love for you to pop over and leave a comment for me over there!  Have a wonderful and crafty day!


Wednesday, March 15, 2023

Pretty Pink Posh New Release -- Easter Card Stenciling Fun!

Hi crafty friends!  I'm so thrilled to be a Guest Designer for Pretty Pink Posh's March release!  There are so many beautiful new stamps, dies, and stencils from Easter themed to all the spring time flowers!

There's also an Instagram hop happening with prizes too!  Be sure to click here to join and leave a comment for a chance to win!

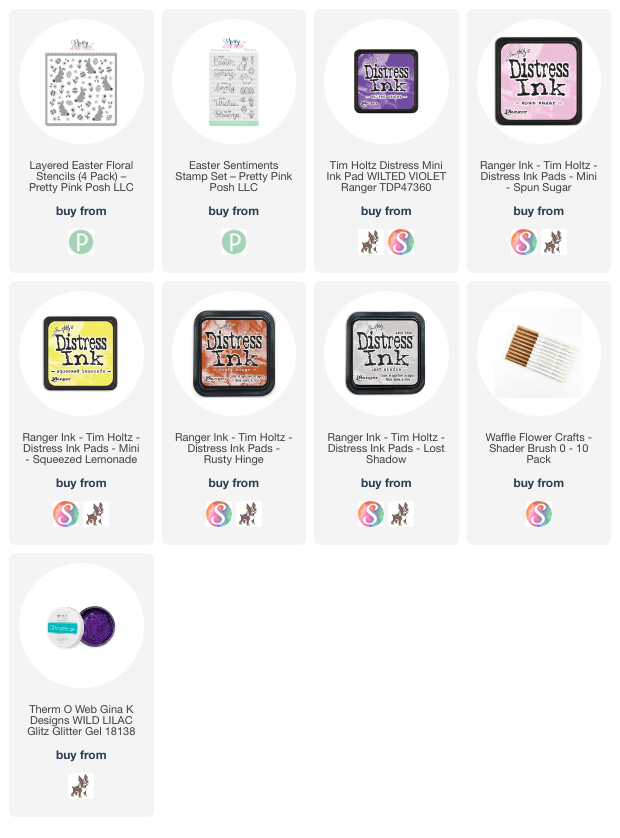
For my card today, I used the adorable four-piece stencil set called Layered Easter Floral.  I used various inks from my stash with small ink blending brushes to color each layer of the stencil.

For the white bunnies you just need to lightly stencil a shadow around the edges with a neutral color.  I used Lost Shadow Distress Ink.  

The next step for my stenciling was adding the pretty Glitz Glitter Gel through the stencil for the dots and stripes on the eggs!  This adds such a pretty dimensional element to the card!

When the purple glitter gel was dry, I placed the stencil layer with the bunnies' tails back on, and added some white opaque texture paste.  I made sure to make each tail thick and fluffy looking.  I hope you can see it in the photos!  So cute!

Thank you so much for stopping by today!  I hope I'll see you over on my Instagram for the hop!

I so appreciate you using my affiliate links (never any additional cost to you)!

Hey Girl! I Miss You

Hello crafty friends!! Today I'm happy to be sharing another sneak peek of the new Simply Spring release! This release will be available on March 15th, after the LIVE Release Party on Honey Bee's YouTube at 7 pm CST. Be sure to tune in because there are always prizes to those that stop in--just leave a comment or two on the YouTube live for your chance!

Please note: The links to any new products I've used will not be live and available until this evening after the Release Party!  Bookmark this page and come back to use the links!

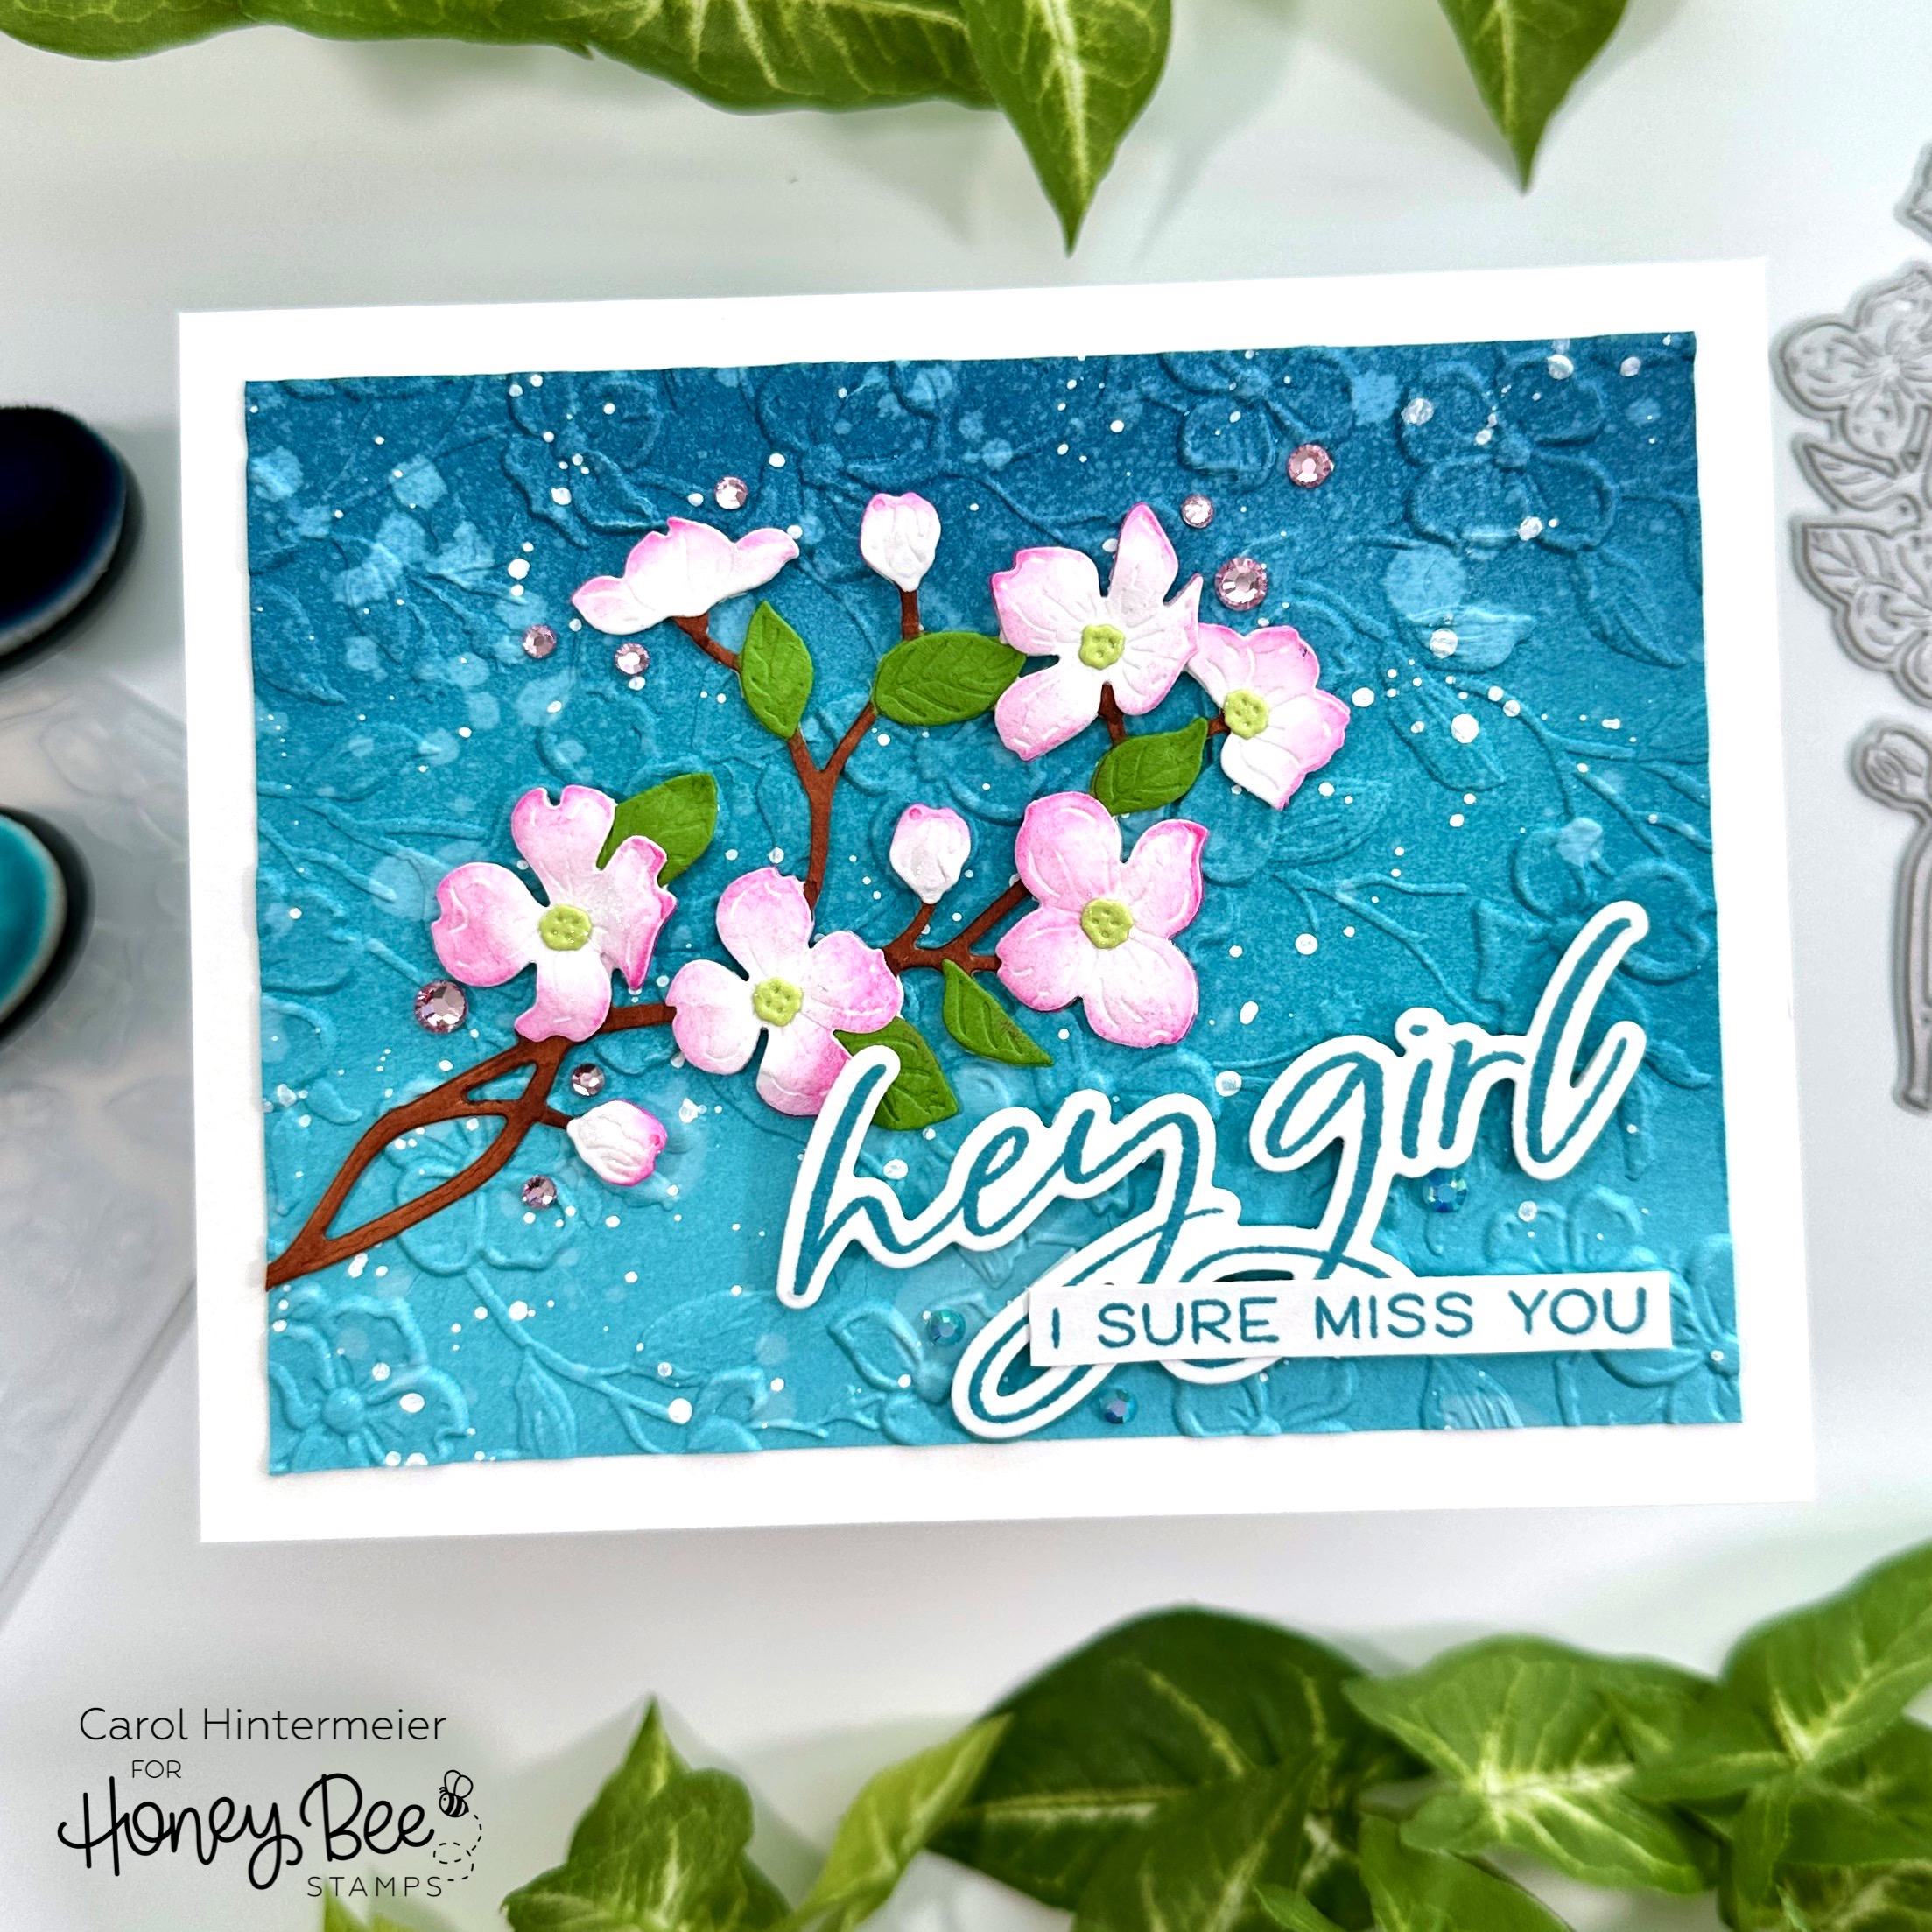
Now on to my card! This is featuring the gorgeous new Lovely Layers: Dogwood Honey Cuts. I've added it to a background with the new Dogwood Blooms 3D embossing folder with a sentiment from the new Big Time Kindness stamp set.

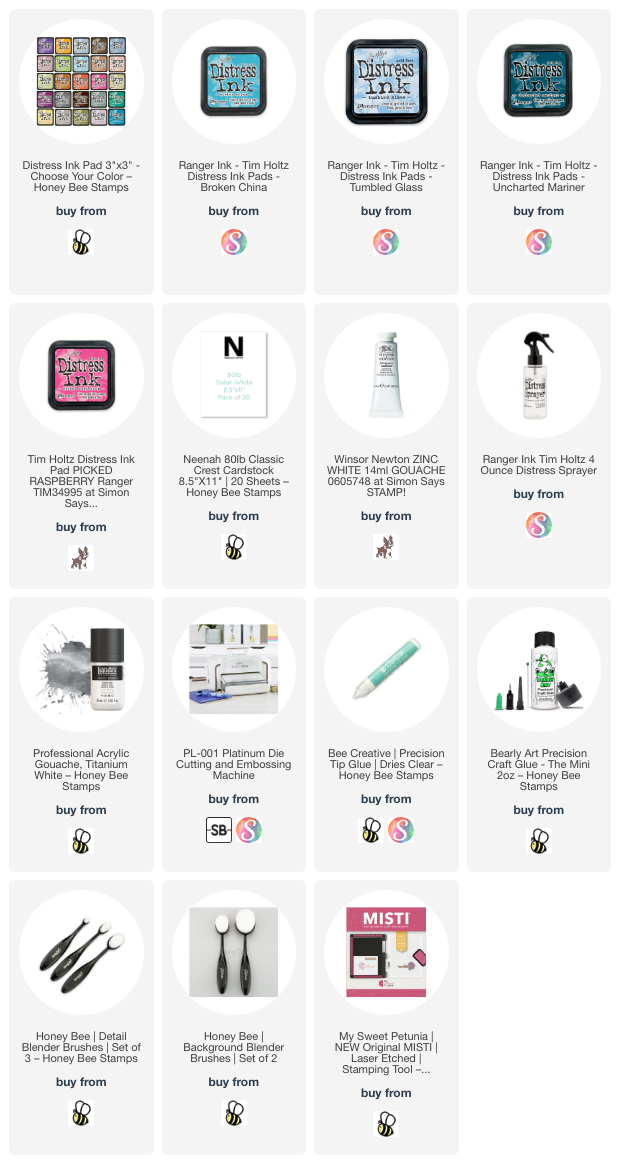
First I created the background by inking white cardstock in an ombré pattern with Detail Blender brushes and Tumbled Glass, Broken China, and Uncharted Mariner Distress Inks. I used a water mister to add water drops, then blotted up the water with a dry, clean paper towel. When the water was dry, I added splatters of diluted white gouache.

Then I put the panel into the Dogwood Blooms 3D embossing folder and ran it through my die cutting machine. I trimmed it to 3-¾" x 5" and glued it to an A2 card base.

I die cut the Lovely Layers: Dogwood from white cardstock except the leaves and flower centers. I used two shades of green cardstock for those. Next I used a brown Copic marker (E37) to color the stem portion of the branch. Then I used a sponge dauber to add Picked Raspberry Distress ink to the edges of the flowers. I used a stylus and foam pad from the Flower Shaping kit to add a bit of dimension to the buds. Next I followed the Layering Guide (available to download on the product link) and used glue to adhere everything onto the branch.

I stamped the sentiments from the Big Time Kindness stamp set with Broken China Distress Ink. I used my MISTI so that I could stamp it a few times to get it smooth. Then I cut it out with the coordinating Honey Cut and trimmed the other piece into a strip. I added foam tape strips to the back to adhere it to the card. 

Just a bit of bling was added with pink and blue gems from the Simply Spring Gem Stickers set.

Thank you so much for stopping by!!  I hope you've enjoyed this little sneak peek of this awesome new Simply Spring release!  If you'd like to see more of my sneak peek cards, please go to my Instagram!

Thank you so much for using my affiliate links to shop (never any additional cost to you)!
Tuesday, March 14, 2023

You Are Amazing -- An Easy Stenciled Card!

Hello friends!  Today I'm sharing my card featuring Rubbernecker Stamps beautiful Someone Like You Stamp set with its coordinating coloring stencil and dies!  I love this type of sentiment for a card since I can use it for several different occasions.

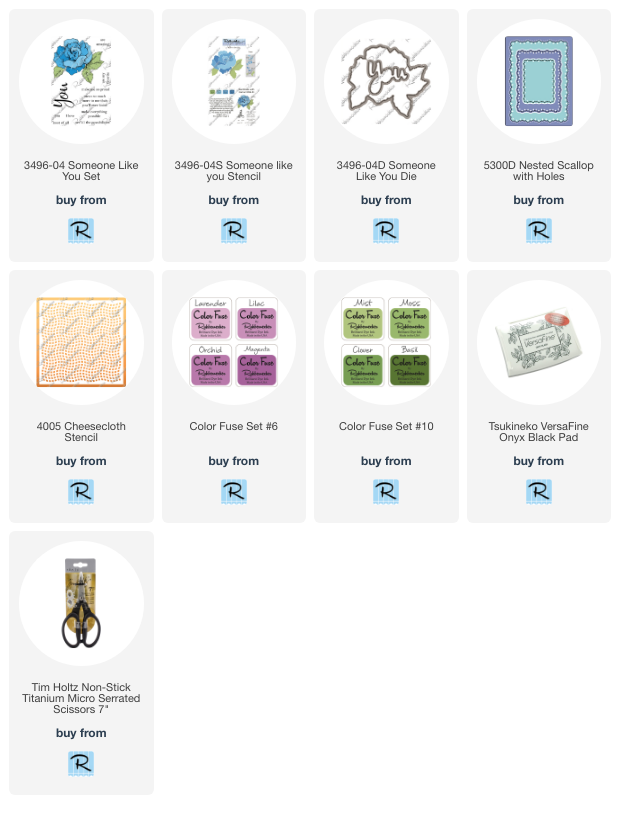
First I use the Someone Like You Stencil to color the flower with purple and green inks (linked below).  The stencil layers are easy enough to line up before stamping the outline stamp.  I like to stamp the outline after the stenciling to avoid any possibility of the black ink smearing.

I carefully lined up the outline stamp in the Someone Like You Stamp set over the stenciled flower.  It really is easy to do, especially with my MISTI!  I picked up the stamp with the MISTI door and inked it up with black ink.  Next I cut it out with the coordinating die.

Then I created the card base and background by die cutting some 80# Neenah with the largest Nested Scallop with Holes die.  This is a great set to have--I really like how it die cuts a "frame" to go around the center piece.

Next I stamped the "are amazing" in black ink near the bottom right corner of the center piece of the die cut panel.  I used the Cheesecloth Stencil to add some Lilac ink from near the bottom left corner and to the top right corner.

I placed the flower over the stenciled die cut and added white and metallic gold paint splatters.  To avoid getting the splatters onto the stamped sentiment I just covered it with a small scrap of paper.

The You is also in the Someone Like You stamp set and has the coordinating die too!

I used glue to adhere the outer frame portion to an A2 card base.  I popped up the center with foam tape and the flower with thin foam squares.

For a touch of sparkle, I added some coordinating gem stickers in groups of three around the flower.

This really was a fun card to make!  I hope you enjoyed the process and have found inspiration too.  Thanks so much for stopping by today!

Thank you for choosing to use my affiliate links (never any additional cost to you).

Thursday, March 9, 2023

Spellbinders Four Petal Collection - For You!

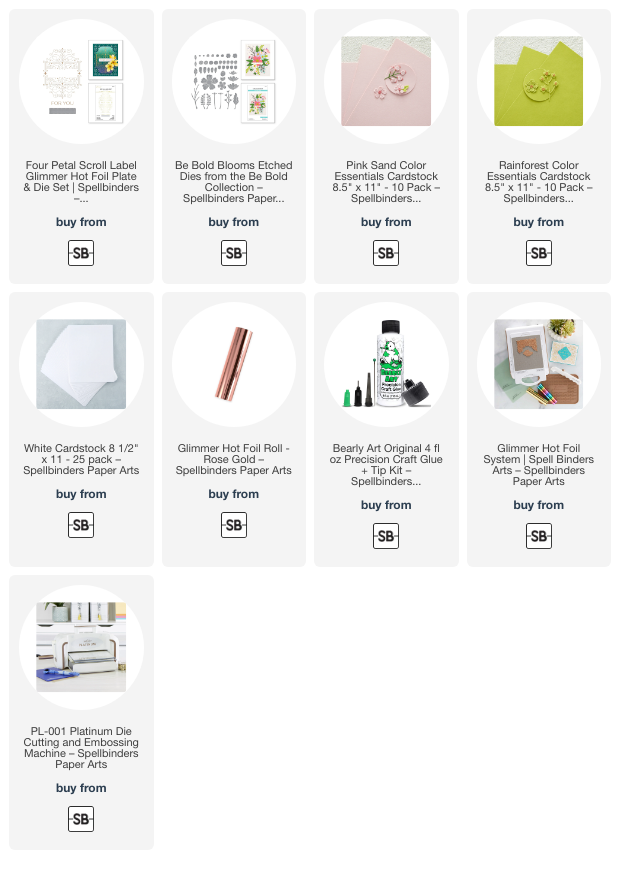
 Hello friends!  Today I have a quick post to share this beautiful card I made using Spellbinders Four Petal Scroll Petal Hot Foil Plates & Die set!

First I used my Glimmer Hot Foil System (the one I linked below is on sale!) and the Four Petal Scroll Label Hot Foil Plate to add Rose Gold foil to the Pink Sand cardstock.  Then I used the included sentiment with more Rose Gold foil with Glimmer Specialty cardstock.  If you haven't tried this ultra smooth cardstock, I highly recommend it!  I get perfect foiling every time!

Next I trimmed the panel to 3-¾" x 5" and adhered it to an A2 card base.

Then I die cut a few flowers, leaves and stems using dies in the Be Bold Blooms die set.  (Another sale alert--the Platinum I linked below is on sale too!)  I used 80# Neenah, Pink Sand, and Rainforest cardstock for these.  A bit of shaping with my fingers adds a touch of dimension to those pretty elements.  I used glue with an extra fine tip to adhere the blooms and leaves.

For a bit more dimension, I used foam tape to pop up the sentiment!

I hope my card has given you inspiration today!  Thank you so much for stopping by!

Thank you so much for using my affiliate links to shop (never any additional cost to you)

Wednesday, March 8, 2023

Happy Birthday Card with a Custom Quilted Background!

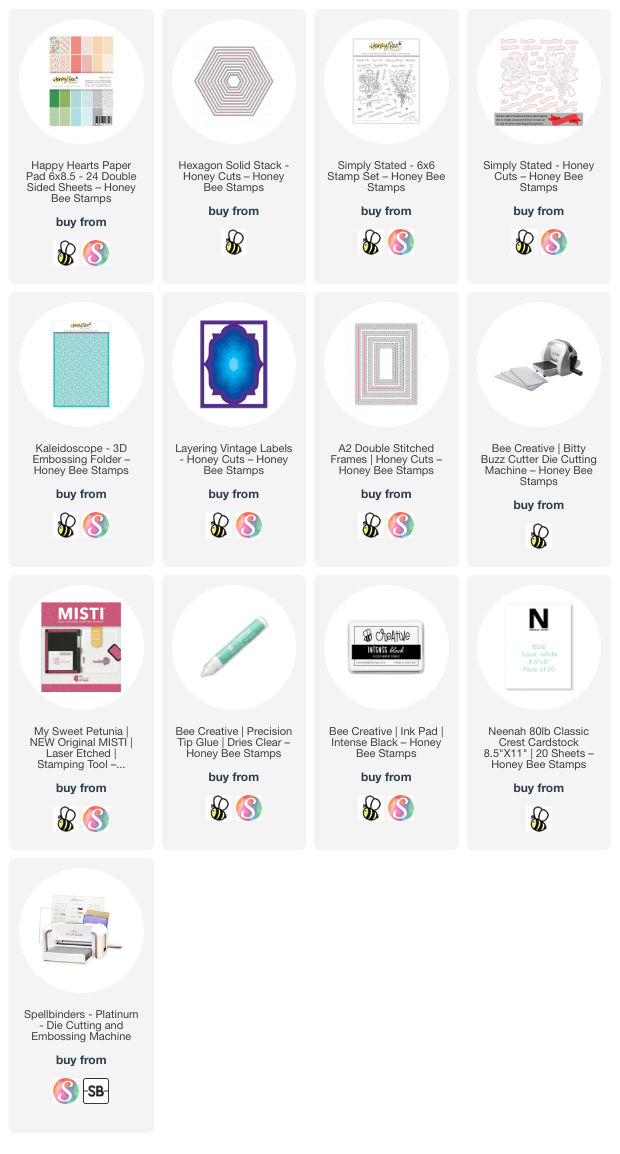
Hello crafty friends! Today I'm sharing a birthday card and I've created a quilted background layer with patterned paper from the Happy Hearts paper pad! I thought this made such a pretty layer for the bouquet in the Simply Stated stamp set!

I chose five different coordinating patterned papers from the Happy Hearts paper pad. Then I had lots of die cutting fun by cutting a bunch of little hexagons with the smallest die in the Hexagon Solid Stack Honey Cuts.  I was so happy that I have the Bitty Buzz Cutter to die cut these! It's small, easy to use, and will sit right in front of you, wherever you are! I die cut a fairly equal number of hexagons for each pattern. Next I used Bee Creative glue to adhere the hexagons to an A2 sized piece of white cardstock. I adhered them all the way to the edge and beyond. Here's a photo to show you:

After I had the entire card covered with hexagons, I used the largest A2 Double Stitched Frames die to cut it out. Then, I put the piece into the Kaleidoscope 3D embossing folder and ran it through my die cutting machine. This looks so pretty and adds that "quilted" look!!

Next I die cut a vellum layer with a die from the Layering Vintage Labels Honey Cuts and adhered it with just a few drops of glue in the center of the piece.

Next I stamped the flower bouquet from the Simply Stated stamp set in Intense Black ink. I colored it with Copic markers in colors that coordinate with the patterned papers. Then I cut it out with the coordinating Honey Cut. I added foam dots to the back of the bouquet to pop it up on my card.

I really wanted to add some gem stickers for sparkle, but after giving it a bit of thought, I decided that this card had enough going on! Haha!

Have you ever made a "quilted card"? You could use squares, diamond shapes, and triangles too! I sure hope I've inspired you with something a bit different today. Thank you so very much for stopping by! Have a wonderful and crafty day!

Thank you for using my affiliate links to shop (never any additional cost to you)!

Wednesday, March 1, 2023

Happy Birthday Card With Layered Tulips

Happy first day of March!! With spring just around the corner and tulips springing up, I was inspired to use the beautiful Lovely Layers: Tulips for my birthday card. There are so many pretty tulip colors and I had a hard time deciding what color(s) to use! So I decided to use one of my favorite colors for my monochromatic card!  I have a reel posted over on my Instagram showing some of the fun process too!

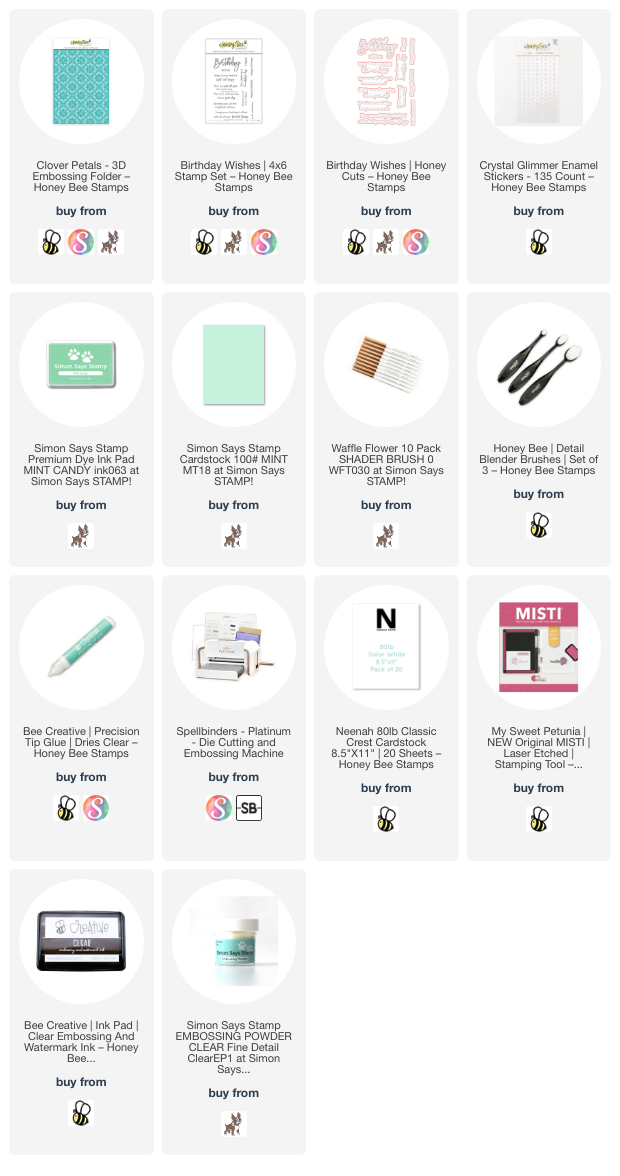
First I created my card base and layer. I embossed some mint green cardstock (linked below) with the Clover Petals 3D embossing folder. But wait! Before embossing, I used a brayer to add coordinating ink to the more flat side of the embossing folder. Using a brayer will give you the smoothest layer of ink versus inking directly with the ink pad. After embossing it may look a bit blotchy, but give it time to totally dry and the ink smooths out leaving the raised portions looking more highlighted. Trim the panel to 3-¾" x 5" and adhere to an A2 card base with glue.

Next I die cut three of the closed tulips and the buds in the Lovely Layers: Tulips Honey Cuts from textured white cardstock. I used the same mint green ink as above to add shading to the tulips. I die cut the stems and leaves from green cardstock. Then I used Bee Creative glue to adhere all of the layers together.

I arranged the tulips on the card then used a piece of Press N Seal to pick the arrangement up. I flipped it over and added foam dots and small square foams to the back of the flowers. Then I added glue to the stems and picked it all up (still adhered to the Press N Seal) and put it on the card front.

The sentiments are from the Birthday Wishes stamp set and stamped in mint green ink, followed by Clear Embossing Ink. Next I added clear embossing powder and heat set it. I cut them out with the coordinating Honey Cuts and then added foam squares to pop them up on the card.

I always have to have my sparkle, so I added some Crystal Glimmer Enamel Stickers to the flowers and near the sentiment.

This was such a super fun, quick, and easy card to make!! Thank you so much for stopping by today. Have a wonderful and crafty week!

Thank you for choosing to shop with my affiliate links (never any additional cost to you).