
Happy first day of March!! With spring just around the corner and tulips springing up, I was inspired to use the beautiful Lovely Layers: Tulips for my birthday card. There are so many pretty tulip colors and I had a hard time deciding what color(s) to use! So I decided to use one of my favorite colors for my monochromatic card! I have a reel posted over on my Instagram showing some of the fun process too!

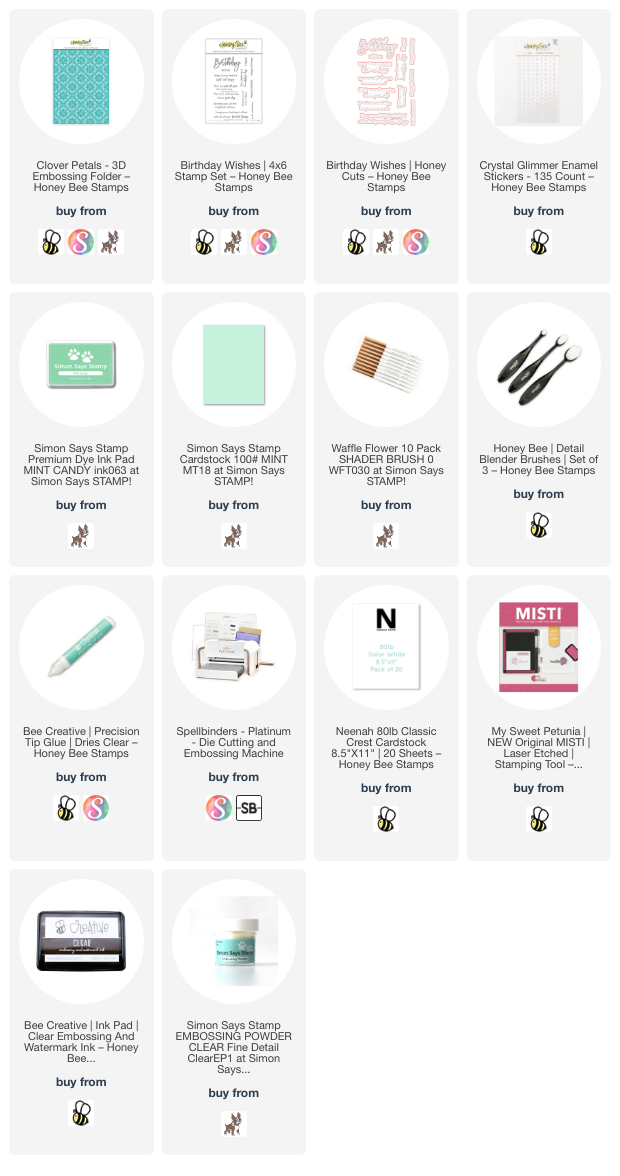
First I created my card base and layer. I embossed some mint green cardstock (linked below) with the Clover Petals 3D embossing folder. But wait! Before embossing, I used a brayer to add coordinating ink to the more flat side of the embossing folder. Using a brayer will give you the smoothest layer of ink versus inking directly with the ink pad. After embossing it may look a bit blotchy, but give it time to totally dry and the ink smooths out leaving the raised portions looking more highlighted. Trim the panel to 3-¾" x 5" and adhere to an A2 card base with glue.
Next I die cut three of the closed tulips and the buds in the Lovely Layers: Tulips Honey Cuts from textured white cardstock. I used the same mint green ink as above to add shading to the tulips. I die cut the stems and leaves from green cardstock. Then I used Bee Creative glue to adhere all of the layers together.

I arranged the tulips on the card then used a piece of Press N Seal to pick the arrangement up. I flipped it over and added foam dots and small square foams to the back of the flowers. Then I added glue to the stems and picked it all up (still adhered to the Press N Seal) and put it on the card front.
The sentiments are from the Birthday Wishes stamp set and stamped in mint green ink, followed by Clear Embossing Ink. Next I added clear embossing powder and heat set it. I cut them out with the coordinating Honey Cuts and then added foam squares to pop them up on the card.
I always have to have my sparkle, so I added some Crystal Glimmer Enamel Stickers to the flowers and near the sentiment.

This was such a super fun, quick, and easy card to make!! Thank you so much for stopping by today. Have a wonderful and crafty week!
Thank you for choosing to shop with my affiliate links (never any additional cost to you).
Beautiful! Love all the detail in those dies, and your detailed background is pretty too
ReplyDelete