
Hello friends! Today I'm sharing my card that features Rubbernecker Stamps beautiful Spring Wreath Die set. I'm so happy it's finally feeling like spring that I want to make nothing but spring time cards! Haha!

First I created the card base and layers by die cutting pieces of 80# Neenah with the Deckle Frame Die and the Diamond Pierced Cover die. I adhered the Diamond Pierced layer to an A2 card base. Then I added foam tape to the Deckle Frame and adhered it to my card.
Next I stamped the sentiment from the Best Friends Stamp Set with Versamark ink and heat set it with black embossing powder. I trimmed it into a banner and popped it up with foam tape.

Next I die cut green cardstock using the leafy stems, branches, and base from the Spring Wreath Die set. I die cut 12 each of the leaves and branches so the wreath would be full and fluffy.
I added a bit of shape and dimension to the leaves by pressing a small tipped stylus onto the back of them. I have linked a few flower shaping tool kits below for you to check out. Then I used glue to adhere the leaves and branches around the base. I trimmed some of the long stems at the bases to make for easier placement. Just start with a single layer of leaves and then continue inserting and gluing additional pieces until you like it!
Instead of trying to die for the exact colors I wanted of cardstock scraps, I used Copic markers to make my own cardstock to die cut the flowers from. I did change the orange and purple flowers with different markers than you see in the next photo. I wanted more contrast and I just colored over those flowers with a YR16 and V15 marker.
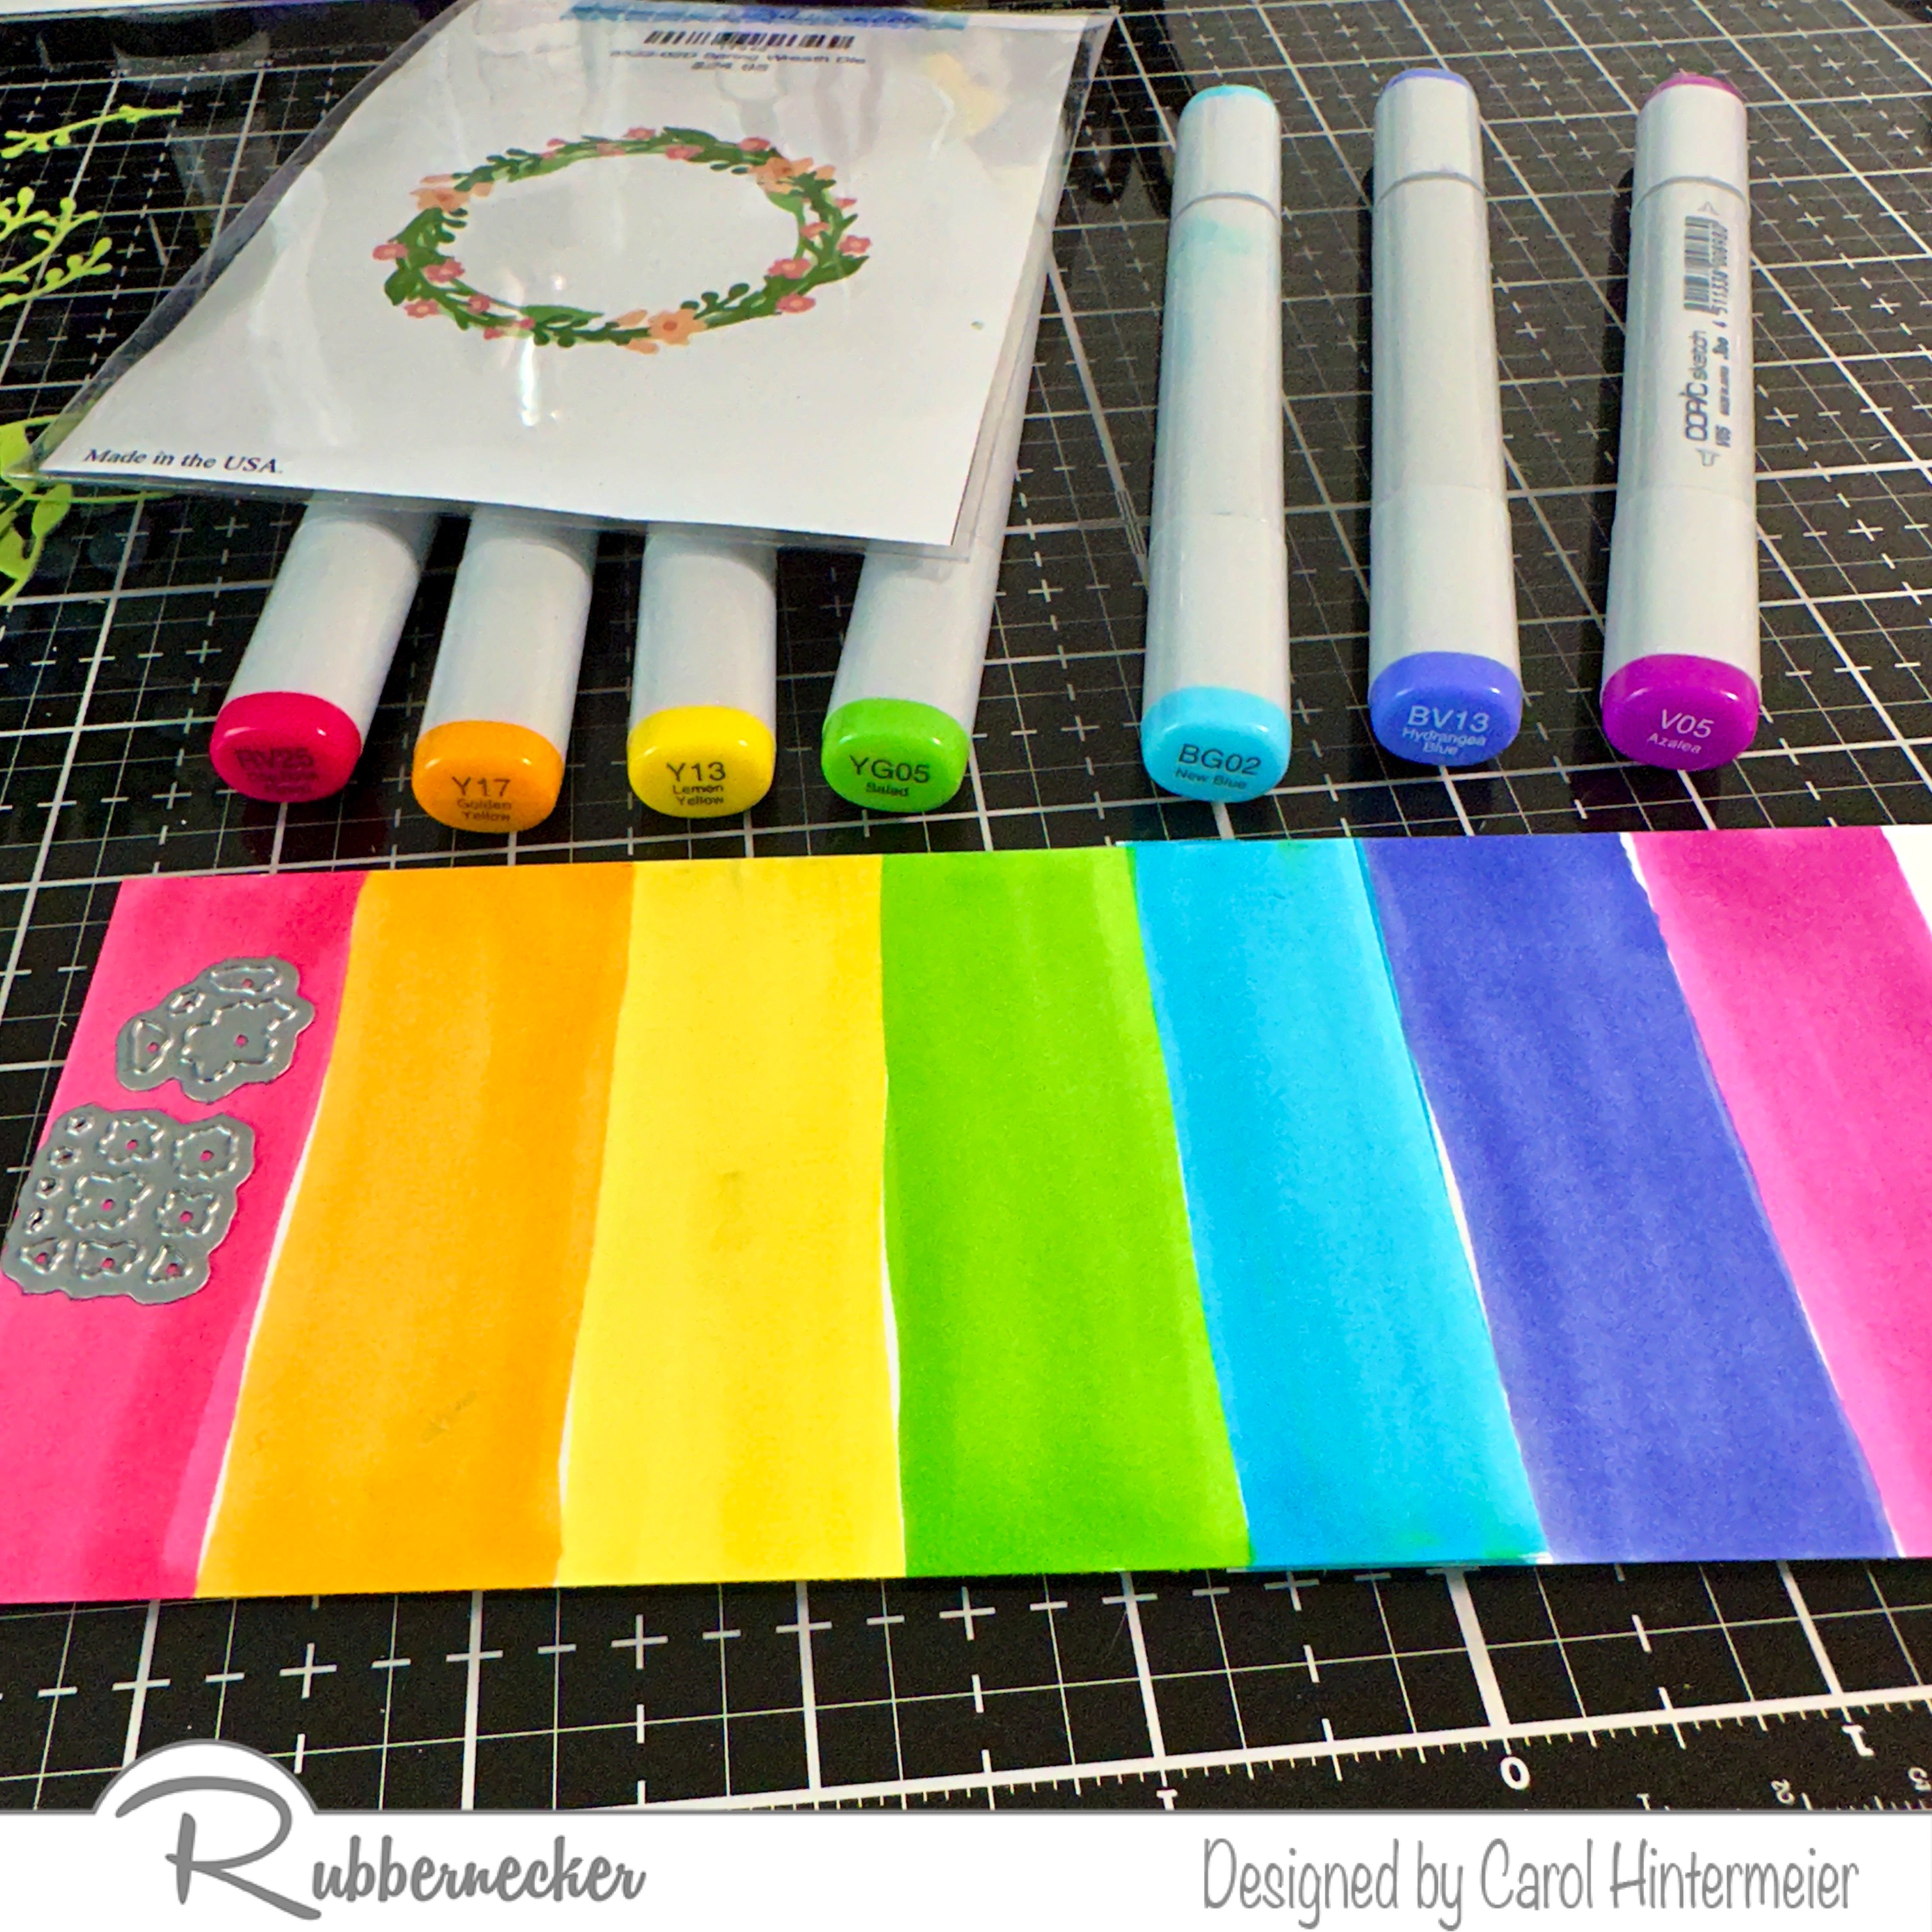
There are two dies for the flowers in the Spring Wreath Die set and I die cut both two times from each color. The die does cut tiny centers for the larger flowers, but I decided to save a bit of time and used yellow and green gel pens to dot the centers. After the gel pen dots were dry, I used a small tipped stylus to quickly shape the flowers.
Reverse tweezers and a fine tipped glue bottle made adhering the pretty little flowers in a rainbow order super easy! I let those dry and then added a few more for fullness.
After I glued the wreath to my card, I tied a double bow of jute twine and used more glue to stick it on.

I'm totally loving how this card turned out and I hope you do too!! I always appreciate you stopping by! It means a lot to me!!
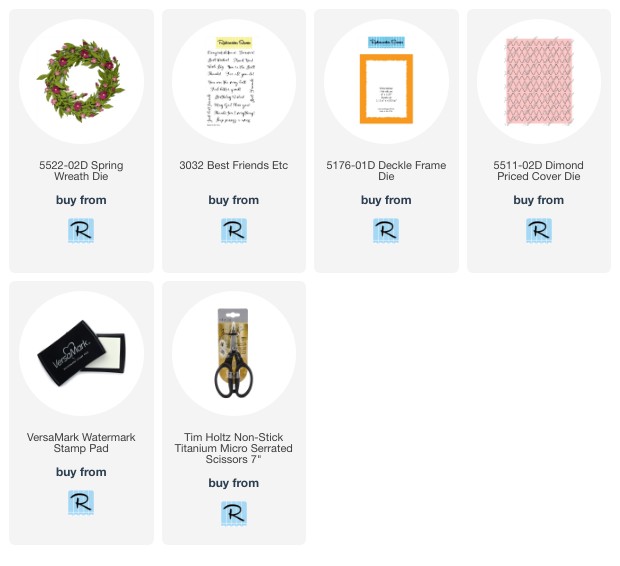
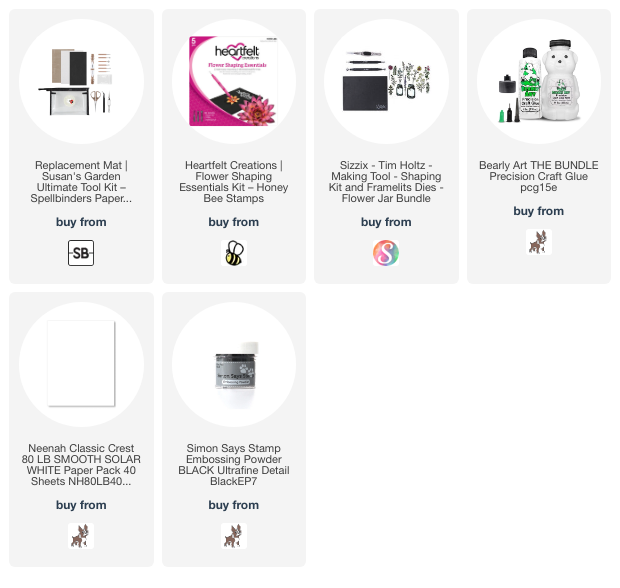
Check out the products I used here (affiliate links--never any additional cost to you)!
Absolutely gorgeous!
ReplyDelete