
Happy sparkly new week my friends! Today I have a beautiful card featuring Rubbernecker Stamps gorgeous layering set called Winter Bouquet. I've layered these beauties onto a sparkly background for that festive feeling! Read on to learn how I created my card.

Card base:
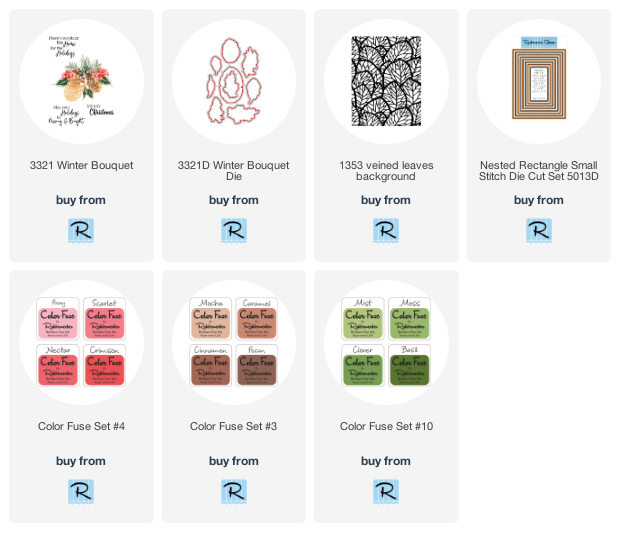
- Stamp the Veined Leaves Background stamp in Versamark clear ink onto 80# Neenah Solar White card stock.
- Sprinkle on embossing powder (I used some gold sparkle embossing powder from my stash.) Heat set.
- Die cut with the largest Nested Rectangle Small Stitch die.
- Cut a 2-½" x 6" strip of vellum. Fold around the embossed panel and adhere on the back side.
- Adhere the panel to a top-folding A2 card base.
Winter Bouquet:
- Stamp the pinecone layers with Mocha, Caramel, Cinnamon, and Pecan inks from Color Fuse set #3. The base layers are stamped in Mocha. Stamp the second layer in Caramel, and then Cinnamon for the third layers. The large pinecone has a fourth layer which I stamped in Pecan.
- The leaves and pine branches are stamped in various greens from Color Fuse set #10.
- Be sure to use the included guide to make your layering easier. Some layers I stamped once, others 2-3 times. You can get different looks by varying the intensity of layers.
- For the berry branches I used Color Fuse set #5. I used Pecan ink for the branches.
- Die cut the pieces with the coordinating dies.

- To make it easy to adhere your pieces to the card, arrange them first off of the card.
- Next I pressed a piece of Press N Seal over my arrangement making sure it is stuck to all of the pieces.
- Now you can flip it over and add glue to the back of the pieces you want adhered flat. Pick up the Press N Seal and flip it over to adhere the pieces with glue to the vellum. I put something heavy on it for several minutes while the glue dried. It does take a bit longer for glue to dry on the vellum, so don't rush this part. Carefully pull up the Press N Seal keeping all of the other pieces stuck to it.
- I added glue to the next layer of elements I wanted glued flat. Once those were dry, I added thin foam squares to the large pinecones and a regular foam square to the small one and adhered them down.
- To finish, I stamped and heat embossed the sentiment with the same gold sparkly embossing powder. I trimmed it into a fishtail banner shape, added foam squares and adhered it to the card.

I hope I've inspired you to give these beautiful layering stamps a try! Thank you so much for stopping by! Have a wonderful, and crafty, week!
No comments:
Post a Comment
Thank you so much for using my product links to shop. Some of the product links I've provided may have what is called an "affiliate" link. By using my links to purchase products, I may earn a bit of a commission, at absolutely no additional cost for you. Thank you for supporting my blog.