Happy sparkly new week my friends! Today I have a beautiful card featuring Rubbernecker Stamps gorgeous layering set called Winter Bouquet. I've layered these beauties onto a sparkly background for that festive feeling! Read on to learn how I created my card.

Card base:
- Stamp the Veined Leaves Background stamp in Versamark clear ink onto 80# Neenah Solar White card stock.
- Sprinkle on embossing powder (I used some gold sparkle embossing powder from my stash.) Heat set.
- Die cut with the largest Nested Rectangle Small Stitch die.
- Cut a 2-½" x 6" strip of vellum. Fold around the embossed panel and adhere on the back side.
- Adhere the panel to a top-folding A2 card base.
Winter Bouquet:
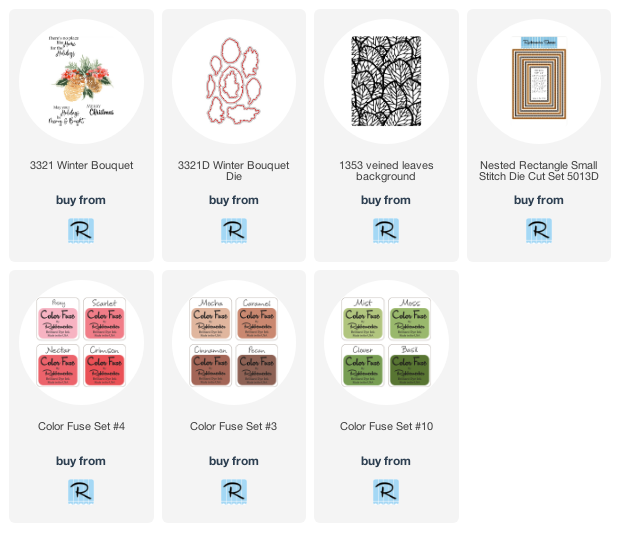
- Stamp the pinecone layers with Mocha, Caramel, Cinnamon, and Pecan inks from Color Fuse set #3. The base layers are stamped in Mocha. Stamp the second layer in Caramel, and then Cinnamon for the third layers. The large pinecone has a fourth layer which I stamped in Pecan.
- The leaves and pine branches are stamped in various greens from Color Fuse set #10.
- Be sure to use the included guide to make your layering easier. Some layers I stamped once, others 2-3 times. You can get different looks by varying the intensity of layers.
- For the berry branches I used Color Fuse set #5. I used Pecan ink for the branches.
- Die cut the pieces with the coordinating dies.

- To make it easy to adhere your pieces to the card, arrange them first off of the card.
- Next I pressed a piece of Press N Seal over my arrangement making sure it is stuck to all of the pieces.
- Now you can flip it over and add glue to the back of the pieces you want adhered flat. Pick up the Press N Seal and flip it over to adhere the pieces with glue to the vellum. I put something heavy on it for several minutes while the glue dried. It does take a bit longer for glue to dry on the vellum, so don't rush this part. Carefully pull up the Press N Seal keeping all of the other pieces stuck to it.
- I added glue to the next layer of elements I wanted glued flat. Once those were dry, I added thin foam squares to the large pinecones and a regular foam square to the small one and adhered them down.
- To finish, I stamped and heat embossed the sentiment with the same gold sparkly embossing powder. I trimmed it into a fishtail banner shape, added foam squares and adhered it to the card.

I hope I've inspired you to give these beautiful layering stamps a try! Thank you so much for stopping by! Have a wonderful, and crafty, week!