Thursday, April 2, 2020

Stop and Smell The Flowers | Ai "Bloom Where You're Planted" Challenge Week 2

Hello friends!  It's week two of Art Impressions Bloom Where You're Planted challenge.  For my inspiration card I've used the newly released, and on sale, WC Large Cabin set.  Be sure to check out all of the new release at 20% off and the sale category where some awesome sets are up to 30% off!!


I watercolored this scene the "Art Impressions' way".  I'm not going to go through the "how to" for my card as you will find so much information on Art Impressions' YouTube channel.  All of the watercolor markers I used are Tombow's and the colors I used are in the supply list below along with the other stamp sets I used.  I did use several stamp sets, but it really wasn't necessary as all of the sets are so versatile.


I first inked up the cabin in blue and brown and stamped it onto Canson watercolor card stock.  This next photo shows my project in the early stages after I painted color on the roof and added blue to the window panes.  I used the tiny grass for the green part of the flowers in the window boxes.  I used a pencil to very lightly sketch in lines for the hill behind the house and added color to the hill and sky.


When my panel was dry, I used a Rectangle Double Stitched die to cut it out.  I then stamped the sentiment in black ink in the lower right corner.


I really had fun adding all the flowers and blooms in the trees!  I hope you are seeing the beautiful signs of spring where you are and that you are well and safe!  Thank you for stopping by.  I sure hope to see your entry in the Bloom Where You're Planted challenge!


Supplies:
Art Impressions:
4868-WC Flower Set 2 (yellow blooms)
4052-WC Flower Set 1 (window box flowers)
5008-WC Flower Set 3 (purple flowers)
4051-WC Foliage Set 1 (tiny grass)
4867-WC Foliage Set 3 (leaves in tree on left)

055-Process Yellow
177-Dark Jade
493-Reflex Blue
565-Deep Blue
665-Purple
879-Brown
925-Scarlet

Monday, March 30, 2020

Just Hopping By! | Art Impressions

Happy Monday my friends!  I am sure hoping you all are well and adjust to our current "normal".  I hope my card for today using the new Art Impressions Easter Bunnies set will bring you a smile and some cheer.  .  This is an adorable set that has several images so you can use it for many more occasions other than Easter!  Also, as I write this post, this is one of the new release sets that are on sale!  Be sure to check out the new release 20% off sale and the 60% off sale of so many other awesome sets!


Here are the steps for my card:
  1. Stamp, in Copic safe ink, the bunny that's laying down on an A2 piece of white card stock.
  2. Stamp the jumping bunny onto a separate piece of card stock.
  3. Color with the Copic markers listed below.
  4. I used a cloud stencil and some Tumbled Glass Distress ink to add clouds to the background.
  5. Die cut this panel with a Double Stitched Rectangle die and adhere to a black card stock layer.
  6. Fussy cut the jumping bunny.
  7. Adhere polka dot paper to a top-folding A2 card base and then the layered panel to that.
  8. Affix an action wobbler to the back of the jumping bunny and add it to the card front.
  9. Use a black pen to draw the dotted line.


I created a short little video clip to show the fun action of the bunny!


I stamped the sentiment in black ink and used a small Rectangle Double Stitched die to cut it out.  I layered it onto some black card stock and popped it up with foam tape.


I really had a lot of fun making this sweet interactive card!  Thanks so much for stopping by!  Crafting is such a great stress reliever and I sure hope I've inspired you to make something!


Copic markers:
C3, C1, C00, Y08, Y04, Y00,
YG67, YG17, YG25, YG03, YG01,
V05, RV55, RV63, RV02, RV10

Supplies:
Honey Bee Stamps Balckground Blender Brushes
Honey Bee Stamps Back To Basics 6x6 paper pad

Wednesday, March 25, 2020

Keeping Christmas Blog Hop - March 2020

Hello friends!  I hope today finds you safe and healthy!  It's time for the monthly Keeping Christmas blog hop and I have a card with a beautiful dimensional wreath for you.  The blog hop list is below and you don't want to miss the awesome inspiration by the so very talented designers!


Today I've used Concord & 9th's Magnolia Wreath stamps and die to create this card.  I have always loved creating dimensional projects and shaping the flowers and greenery!


Create the card base:
  1. Cut a piece of patterned paper to 4" x 5-¼".  Adhere it to a top-folding A2 card base.
  2. Stamp the sentiment near the bottom with Versafine Onyx Black ink.
  3. Die cut the ledge from white card stock.
  4. Score a line on the ledge for some dimension.  Add thin foam tape to the back and adhere it above the sentiment.


Create the wreath:
  1. Stamp the first layer of the wreath with Mist (the lightest green ink).  I used the wonderful new Rubbernecker Stamps Color Fuse inks.  Each set has four ink cubes that are shaded from light to dark.  Links to the specific sets I used are in the product list below.
  2. Stamp the second layer of the wreath with Basil (the darkest green ink).
  3. Stamp and die cut the leafy branch several times in various shades of green and die cut.
  4. Die cut the berry branches and twigs from white card stock.  Ink them with Moss green ink and Caramel brown ink.
  5. Add Red Berry Nuvo Crystal Drops to the berries and set aside to dry.
  6. Die cut the flowers and stamp the center with Mocha (the lightest brown ink).
  7. Adhere a small flower to the center of the larger flower.
  8. Add a small puddle of glue to the layered flower and two small flowers and drop in some Gilt Trip Mini Prills.


Shaping the greenery and flowers/assembling the wreath:
  1. To help shape the flowers and leaf branches, working with a few pieces at a time, very lightly (just one spritz!) mist the back of each piece.
  2. Use the stylus and pull it across the back of each leaf and the flower petals.  Flip them over and lightly press the stem of the branch to shape.
  3. Press the stylus in the center of the flowers in a circular motion.  Let the pieces dry for a few minutes.
  4. Add thin foam tape to the back of the wreath base.
  5. I arranged and adhered five full pieces of the the leafy branches in a circular shape.
  6. Cut the remaining leafy branches in half and adhere around the wreath.
  7. Adhere the flowers, twigs, and berry branches as shown.
  8. I used some brown ink to "color" some twine, tied a bow, and adhered it to the wreath.
  9. To finish, I added thin lines of liquid glue here and there on the leaves and sprinkled on some Hero Arts Icicle Glitter.  I just love the subtle sparkle this glitter gives!


I sure hope I've inspired you to get going on the Christmas cards.  I know that I will be very happy to have these come December!  Thank you for stopping by; and now be sure to check out these fabulous and talented designers to see their Christmas creations:
Carol Hintermeier << that's me!


Supplies:

Monday, March 23, 2020

Some Bunny Loves You | Art Impressions

Happy Monday friends!  Today I have a sweet square card that would be great to send to a family member or a friend.  I used the so sweet Art Impressions Easter Blessings Set.  There are three other images in the set, two of which could be used for any other occasion besides Easter!


I stamped the image in Copic safe ink and colored it with my markers.  I used a white gel pen to add dots to the flower stamens and centers.  Next I die cut it with a Square Double Stitched die and layered it onto some blue gingham paper.  This was adhered to a die cut scallop square.


I stamped the sentiment with black ink in the upper left corner.  I adhered it to a top folding 4-1/8" top folding card base.  The overall size of this sweet card is 4-½" square.


Thank you so much for stopping by today!  Have a fabulous and craft week!


Copic markers:
Background: B000, B0000
blue flowers:  B79, B66, B63, B60
yellow flowers:  Y19, Y08, Y13, Y11, YR23
leaves:  YG67, YG17, YG25, YG03, YG01;
G28, G17, G07, YG09, YG05, YR18
bunny:  N4, N2, N0, RV21, RV10

Supplies:

Sunday, March 22, 2020

Beautiful Color Fuse Inks and Floral Cards | Rubbernecker Stamps

Happy spring my friends!  Today I have TWO cards to share with you using the awesome new Rubbernecker Color Fuse inks!  I'm also featuring two of the new layering stamp sets that are so easy to line up and stamp to create quick and beautiful cards!

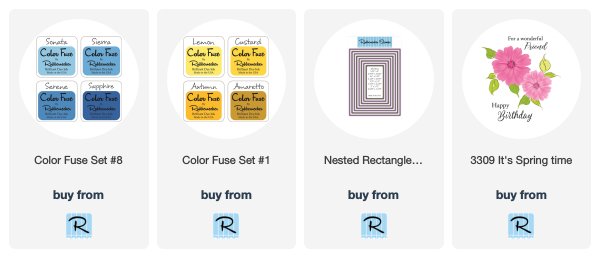
My first card features the new It's Spring Time set and Set #1 and #8 in the Color Fuse line.


The steps to create this are quite easy using the included layering guide:

  1. I use my MISTI and Neenah Solar White card stock for my stamping.  Using a stamp positioner is very helpful as you can re-stamp if needed.
  2. Stamp the first layer with Lemon ink from Set #1 and again with Sonata from Set #8 for the blue flower.
  3. Following the layering guide, stamp the second layer in Custard for the yellow flower and Sierra for the blue flower.
  4. Stamp the third layer in Autumn for the yellow, and Serene for the blue.
  5. Stamp the flower centers in the darkest ink color for each flower.
  6. Cut a square shape for each flower.
  7. Cut black card stock ¼" larger and adhere to the flower layer.
  8. Die cut black card stock with the largest Nested Rectangle Die and white card stock from the second largest die.
  9. Stamp the sentiment in black ink.
  10. Adhere layers to a top-folding A2 5-½" x 4-¼" card base.
  11. Adhere the yellow flowers to the card base with liquid glue and pop up the blue flower with foam tape.


I love how the black layers really set off the flowers!


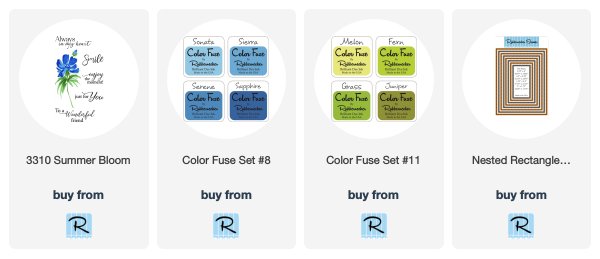
Now, onto my second card using the beautiful Summer Bloom set.


The steps for this card are quite similar to the previous card.

  1. Follow the Layering Guide to stamp the flower, stems and leaves.  Instead of using the darkest blue ink, I just stamped the final layer with Serene blue two times to deepen the color.
  2. I used the first three shades of green from Set #11 for the leaves.
  3. Stamp the sentiment in black ink.
  4. Die cut the panel and a piece of black striped paper with Nested Rectangle Small Stitched dies.
  5. Adhere the layers to a top-folding A2 card base.


I added a few blue crystal gem stickers for a bit of sparkle!


I love these new inks and layering sets, and I hope I've given you inspiration to give them a try!  Thank you so much for stopping by!  Have a wonderful, and crafty, week!


Products for Happy Birthday Card:


Products for Wonderful Friend card:

Thursday, March 19, 2020

Hugs, Kisses, and Rainbow Wishes | Honeybee Stamps

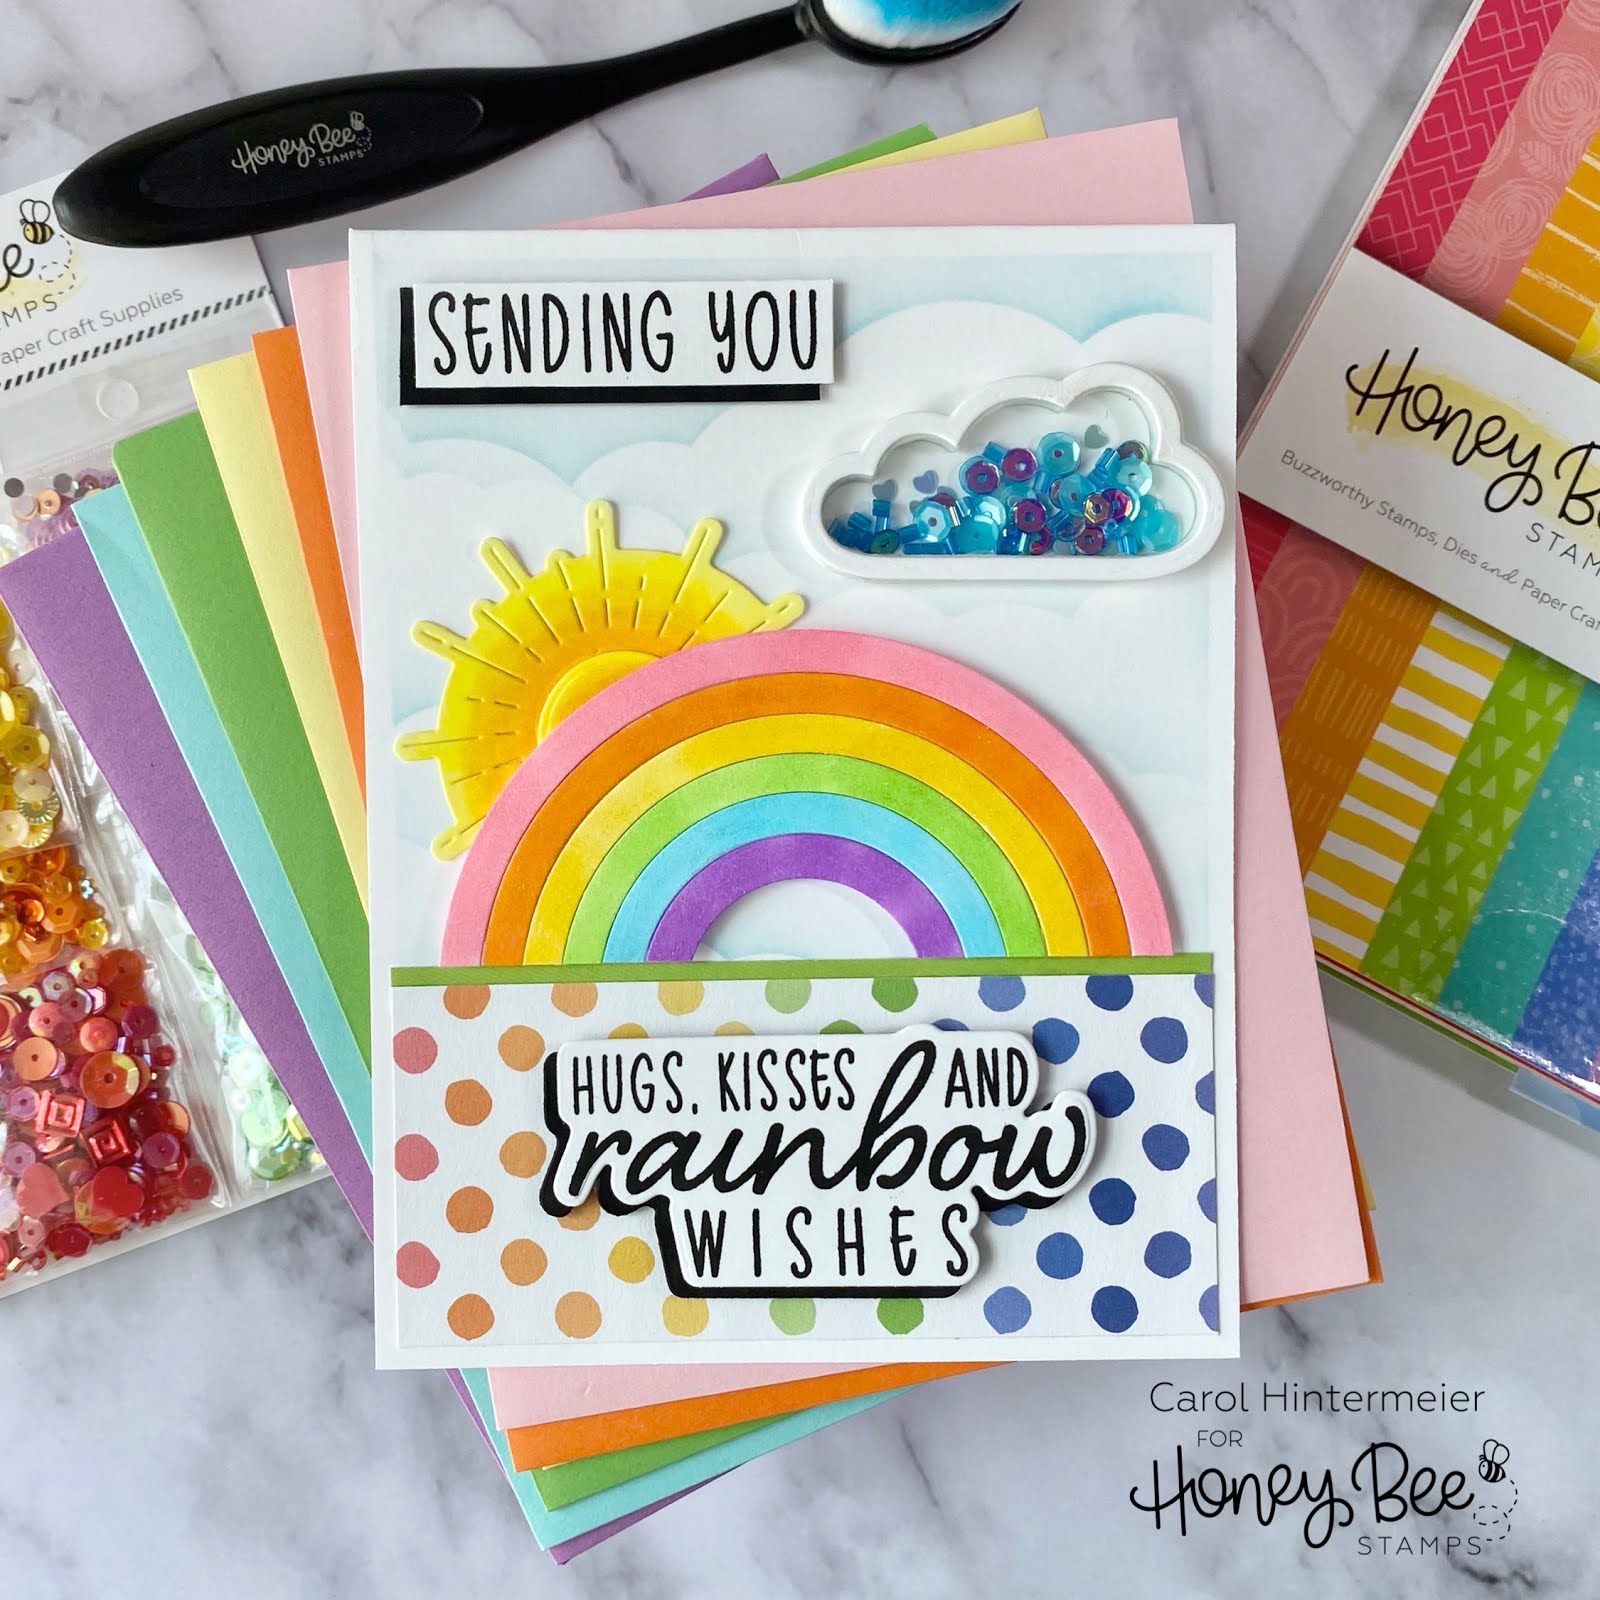
Happy first day of spring my friends!   Today I have a cheerful card using Honey Bee Stamps Rainbow Wishes stamps and Honey Cuts.  It has been cloudy, with off and on rain, for over a week where I am!  I emptied 7" of rain from my rain gauge yesterday!!   With the gloomy weather and news, I just had to make a bright, cheerful card!


I began with a top-folding A2 card base.  I masked the edges with purple tape and stenciled some clouds with Tumbled Glass Distress ink and the cloud stencil from the Outdoor Scene Builder stencil set.  The Honey Bee Background Blender brushes make this so easy!  I added the polka dot strip and the green strip to the bottom of the card base.  These papers are from the Over The Rainbow 6x6 paper pad.


I die cut, from Neenah Solar White card stock, the rainbow, sunshine, and cloud pieces.  I also die cut two more cloud pieces from a foam sheet to make the shaker.  Next I colored the rainbow and sunshine with some Copic markers.  I added double-sided tape to the back of the rainbow pieces to hold it together.  I hand cut some foam to fit behind the rainbow and adhered them together.

For the cloud shaker, I used Ranger Multi Medium Matte adhesive and glued the foam cloud border pieces together.  I adhered the white card stock cloud to my card base and then adhered the foam borders to it.  I added some blue sequins from the Rainbow Deluxe Sequin set, covered it with a cloud-shaped piece of acetate, and topped it with a card stock cloud border.  So fun!!


The sentiments are also from the Rainbow Wishes stamp set and I used the coordinating die for the large sentiment and the black layer behind it.  I used my paper trimmer to cut down the "sending you".  I adhered a black card stock piece behind this one too.  Both are popped up with foam squares. For a bit more sparkle, I added some clear Wink of Stella to the rainbow.


I hope my card brings you as much cheer today as it did me when I was making it!  Sending YOU hugs, kisses and rainbow wishes (and lots of fun crafty time!)  Thank you for stopping by--I appreciate you!


Supplies:
Honey Bee Stamps:

New Easter Bunnies Set & Spring Celebrations Challenge | Art Impressions

Hello friends!  It's week two of Art Impressions' Spring Celebrations challenge!  We are showcasing the newest releases of the Easter Bunnies set and the Graduation set.  My card today is using the adorable Easter Bunnies set.


I stamped these images and colored them with the Copic markers that I've listed below.  I used a cloud stencil (carefully!) and stenciled in the clouds with Tumbled Glass Distress ink and a blender brush.  I used a few pieces of Post-It tape to cover up a few of areas to protect them from the blending.  Then I used the largest of dies in the Rounded Rectangle Double Stitched die set to cut it out.  I traced around the die on the patterned paper and trimmed it and rounded the corners by hand.  I did the same thing to a top-folding A2 card base and then adhered the layers on top.


I stamped the sentiment in black ink and die cut it out with a die from the Tag Stitched die set.  I cut two more tags from white card stock and used a couple of my Copic markers to color them to coordinate with the images.  I added a brad and some foam squares to pop it up for fun!  Finally, I added some clear sparkle to the eggs and the butterflies wings.


I hope you've been inspired to join in our Spring Celebrations challenge.  It doesn't need to be Easter either!  Be sure to check out the details over at Art Impressions, and then enter!  Thank you so much for stopping by today!

Copic markers:
bunnies: E57, E23, E55, E53, E51, E50
grass, leaves:  YG67 YG17 YG25, YG03, YG01
jacket, other purples:  BV13, BV02, BV01, B60
pinks:  RV14, RV13, RV21, RV10, RV00
yellows:  Y19, Y08, Y13, Y11
basket:  YR27, Y26, Y08