
Happy spring my friends! Today I have TWO cards to share with you using the awesome new Rubbernecker Color Fuse inks! I'm also featuring two of the new layering stamp sets that are so easy to line up and stamp to create quick and beautiful cards!
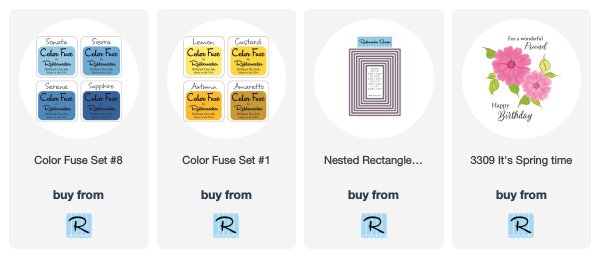
My first card features the new It's Spring Time set and Set #1 and #8 in the Color Fuse line.

My first card features the new It's Spring Time set and Set #1 and #8 in the Color Fuse line.

The steps to create this are quite easy using the included layering guide:

- I use my MISTI and Neenah Solar White card stock for my stamping. Using a stamp positioner is very helpful as you can re-stamp if needed.
- Stamp the first layer with Lemon ink from Set #1 and again with Sonata from Set #8 for the blue flower.
- Following the layering guide, stamp the second layer in Custard for the yellow flower and Sierra for the blue flower.
- Stamp the third layer in Autumn for the yellow, and Serene for the blue.
- Stamp the flower centers in the darkest ink color for each flower.
- Cut a square shape for each flower.
- Cut black card stock ¼" larger and adhere to the flower layer.
- Die cut black card stock with the largest Nested Rectangle Die and white card stock from the second largest die.
- Stamp the sentiment in black ink.
- Adhere layers to a top-folding A2 5-½" x 4-¼" card base.
- Adhere the yellow flowers to the card base with liquid glue and pop up the blue flower with foam tape.

I love how the black layers really set off the flowers!


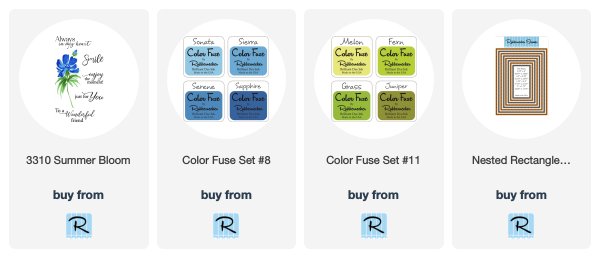
Now, onto my second card using the beautiful Summer Bloom set.


The steps for this card are quite similar to the previous card.

- Follow the Layering Guide to stamp the flower, stems and leaves. Instead of using the darkest blue ink, I just stamped the final layer with Serene blue two times to deepen the color.
- I used the first three shades of green from Set #11 for the leaves.
- Stamp the sentiment in black ink.
- Die cut the panel and a piece of black striped paper with Nested Rectangle Small Stitched dies.
- Adhere the layers to a top-folding A2 card base.

I added a few blue crystal gem stickers for a bit of sparkle!

I love these new inks and layering sets, and I hope I've given you inspiration to give them a try! Thank you so much for stopping by! Have a wonderful, and crafty, week!
Products for Happy Birthday Card:

I love these new inks and layering sets, and I hope I've given you inspiration to give them a try! Thank you so much for stopping by! Have a wonderful, and crafty, week!
Products for Happy Birthday Card:
Products for Wonderful Friend card:
Your beautiful cards definitely bring Spring to the scene! Lovely warmth, inviting flowers and oh that stripey paper is perfect too
ReplyDelete